As summer draws near to its end, I’m anticipating the richer dishes of fall and winter.: the hearty stews, the rich braises, the luxurious roasts—all make it easy for me to bid farewell to summer and its light cuisine. So maybe it was serendipity that led me into my local Whole Foods on Saturday to find chuck roast discounted 25%. How could I resist?
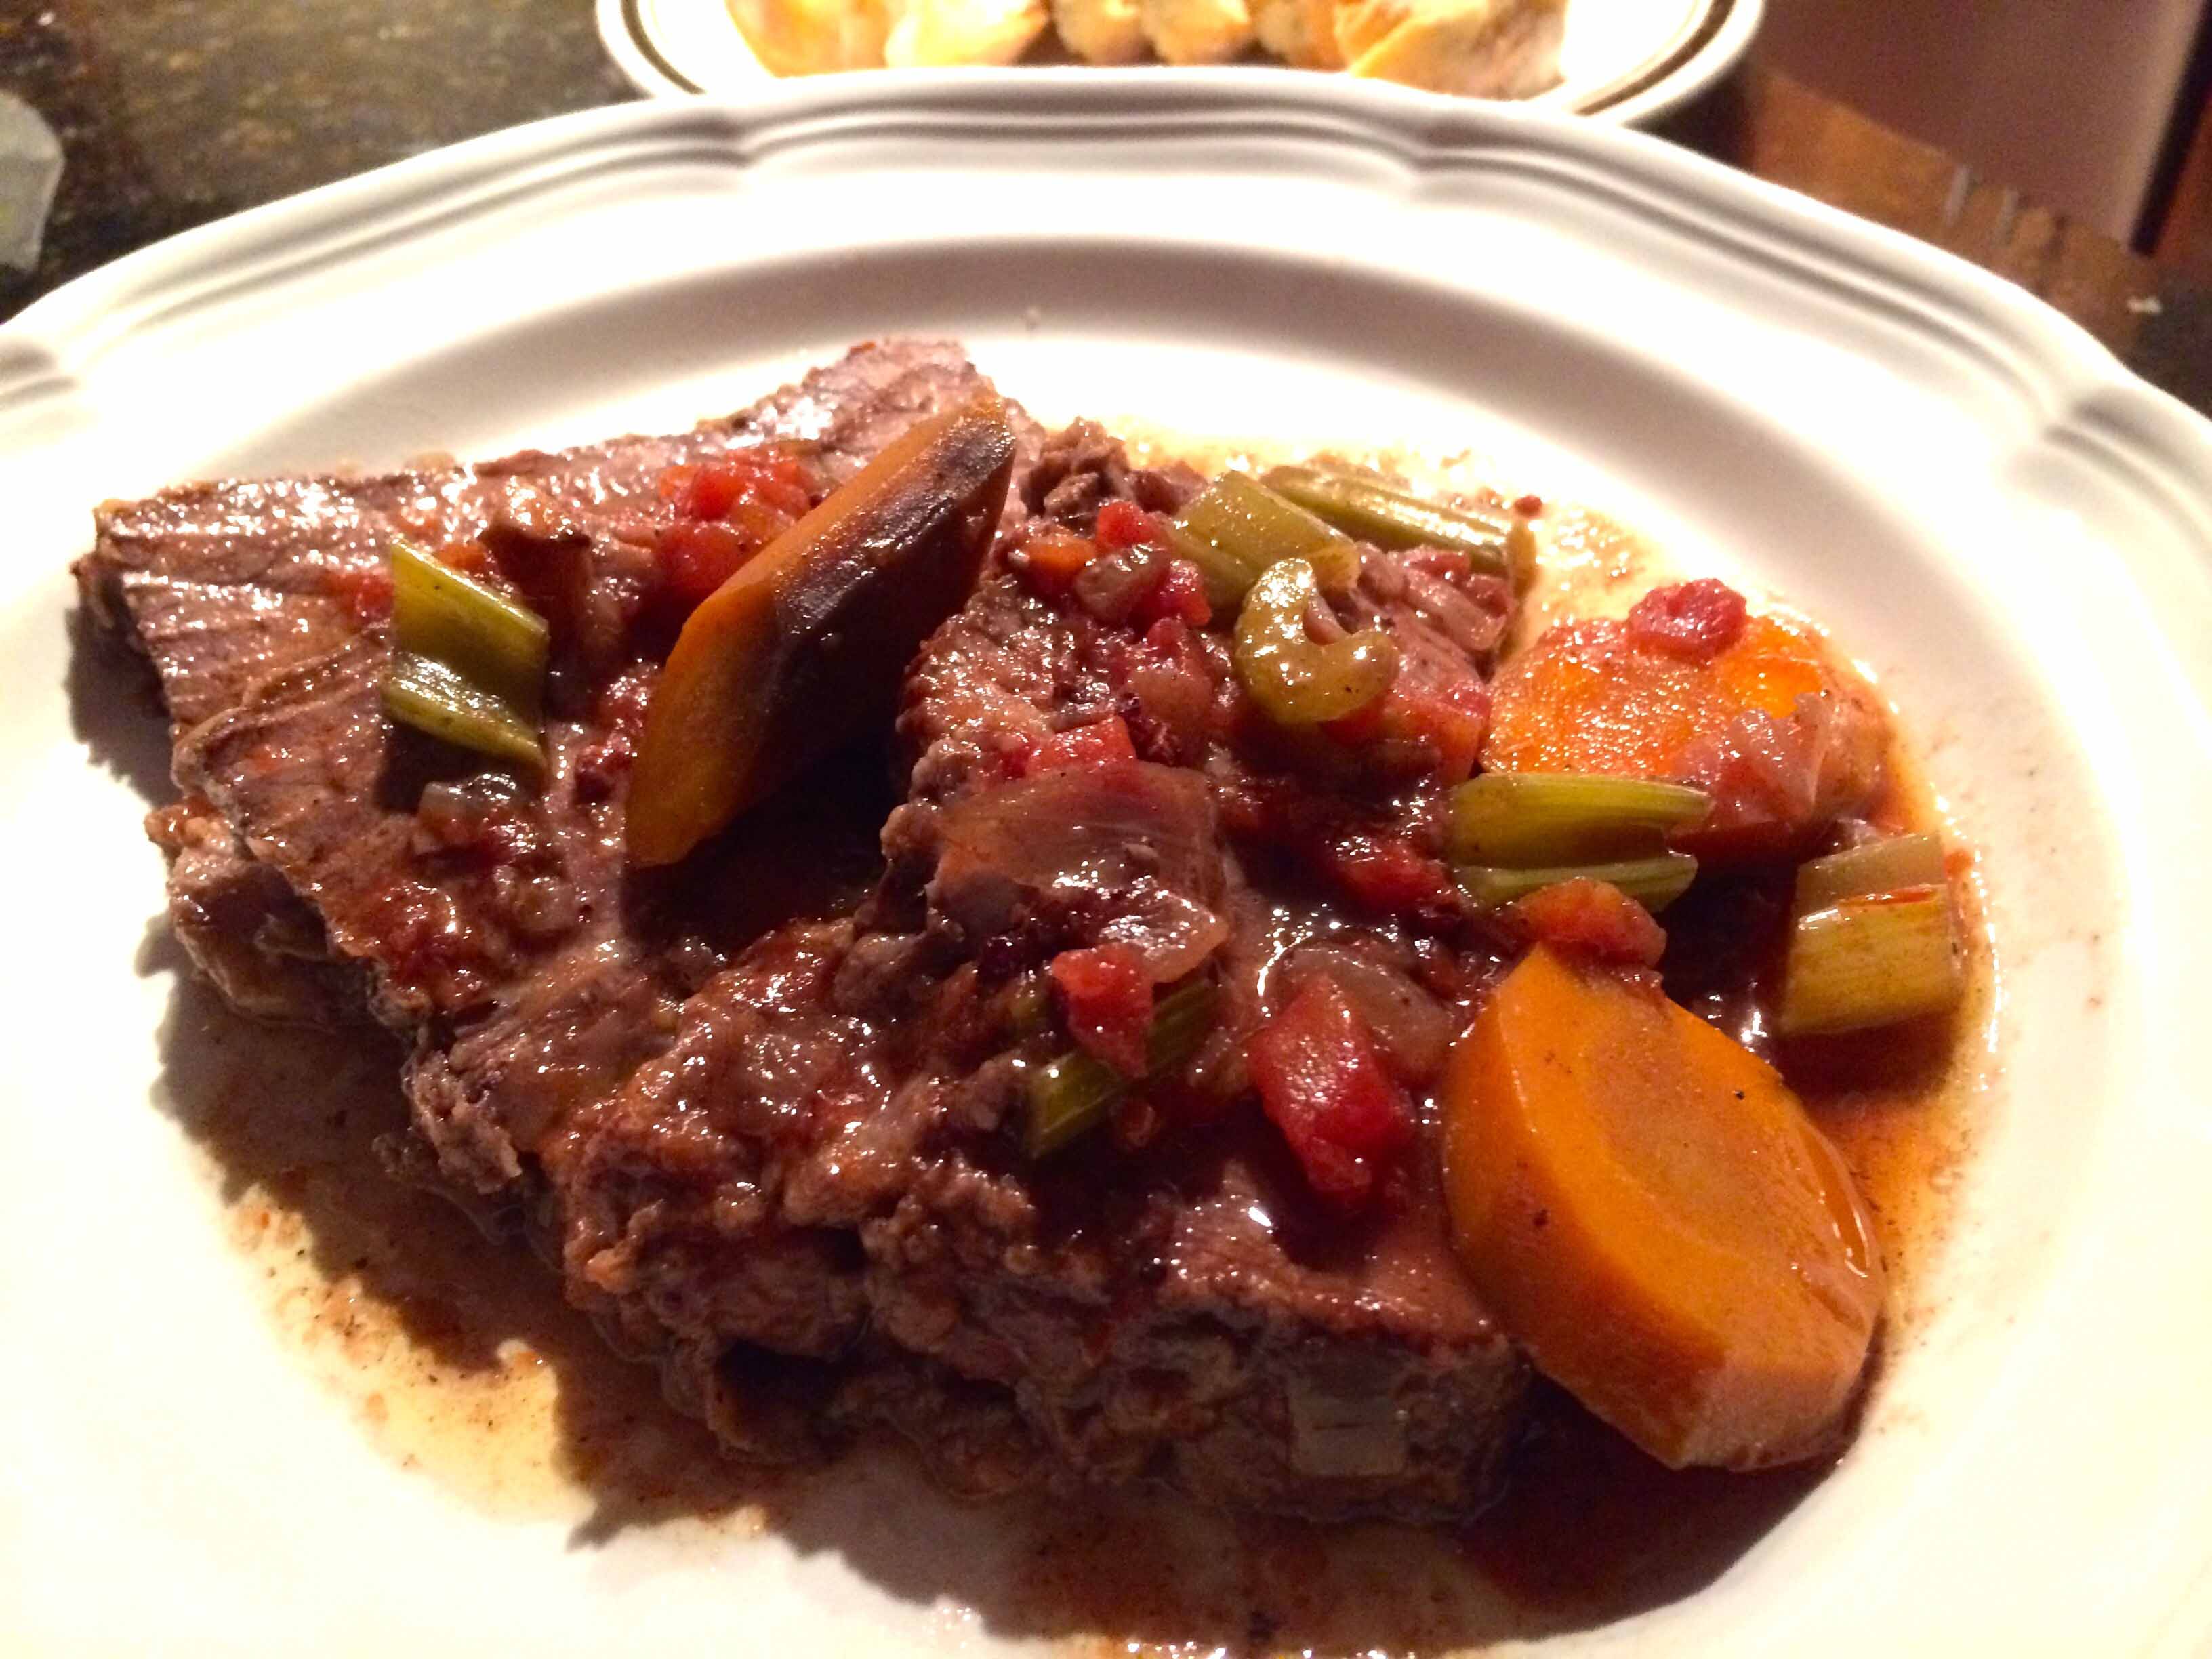
We had a full schedule on Sunday, so I turned to my trusty slow cooker to cook the roast and to Michele Scicolone’s The Italian Slow Cooker for a recipe. (This author’s slow-cooker books (Italian, French, and Mediterranean) are a great resource for this appliance, offering fool-proof, authentic recipes.) I turned to the book’s “Beef, Veal, Pork, and Lamb” section and, once again, was pleasantly surprised to discover that its first recipe was for the cut of meat I had purchased: “Beef in Barolo.”
As my savings at Whole Foods could not justify the expense of a Barolo for cooking, I thought I could more than get by with a younger version of this wine made from the same grape, Nebbiolo. And one more time luck led me to a local merchant where I found a bottle of Langhe from a reputable producer at a very good price.
Here’s a link to the recipe online. If you like your carrots and celery in the braise to have some chew, you may opt, as I did, to slice them on the thick side. However, any way you choose to slice your vegetables, this recipe yields an aromatic and deliciously succulent roast that holds its shape even after six hours of cooking.
Yes! I admit it. I’m a kitchen gadget addict. It started almost 36 years ago with the purchase of one of the original Cusinarts, back when they were still made in France. I was still in graduate school and had a postage-stamp size kitchen with almost no counter space. But that little wonder enabled me to turn out some pretty sophisticated stuff.
Only a few of the many gadgets and appliances that I have bought over the years rank up there with the Cuisinart, and kitchen space is still at a premium, but my addiction, albeit somewhat in check, still persists. My most recent purchase, Breville’s “Crispy Crust” pizza oven, is a case in point.
The latest gadget
It started with a promotional e-mail from Williams-Sonoma. The $50 savings made the offer attractive, but I was still skeptical. A visit to the Australian producer’s website provided all the technical specs as well as videos of this appliance in action. But I still wasn’t convinced. Could this little oven deliver the 660° F baking temperature its manufacturer was promising? I still resisted the urge to run out and buy it. But for two days, I kept checking the web for reviews. Sure, I found some negative assessments, but the majority were positive. I was hooked.
So Friday night, we went to our local WS and after a quick demo from the sales associate we bought it. We waited until Saturday to unpack it, found a place for it in our kitchen, and tested it out last night.
This was also an opportunity to try a new pizza-dough recipe that was suggested to me by food writer and fellow blogger Diane Darrow. In a comment to my August 4th post on pizza crust, she said she had achieved “excellent results” from this recipe published in April 2014 in the New York Times.
Based on a recipe from Roberta’s in Brooklyn’s Bushwick section, it’s one of the easiest I’ve ever used. Although it calls for super precise measurements, it requires no stand mixers or food processors. The dough is mixed and kneaded by hand and takes 20 minutes, exclusive of 3 to 4 hours for the dough to rise. It uses both “00” and all-purpose flour, to which I attribute the crust’s perfect balance between its chew and crisp factors.
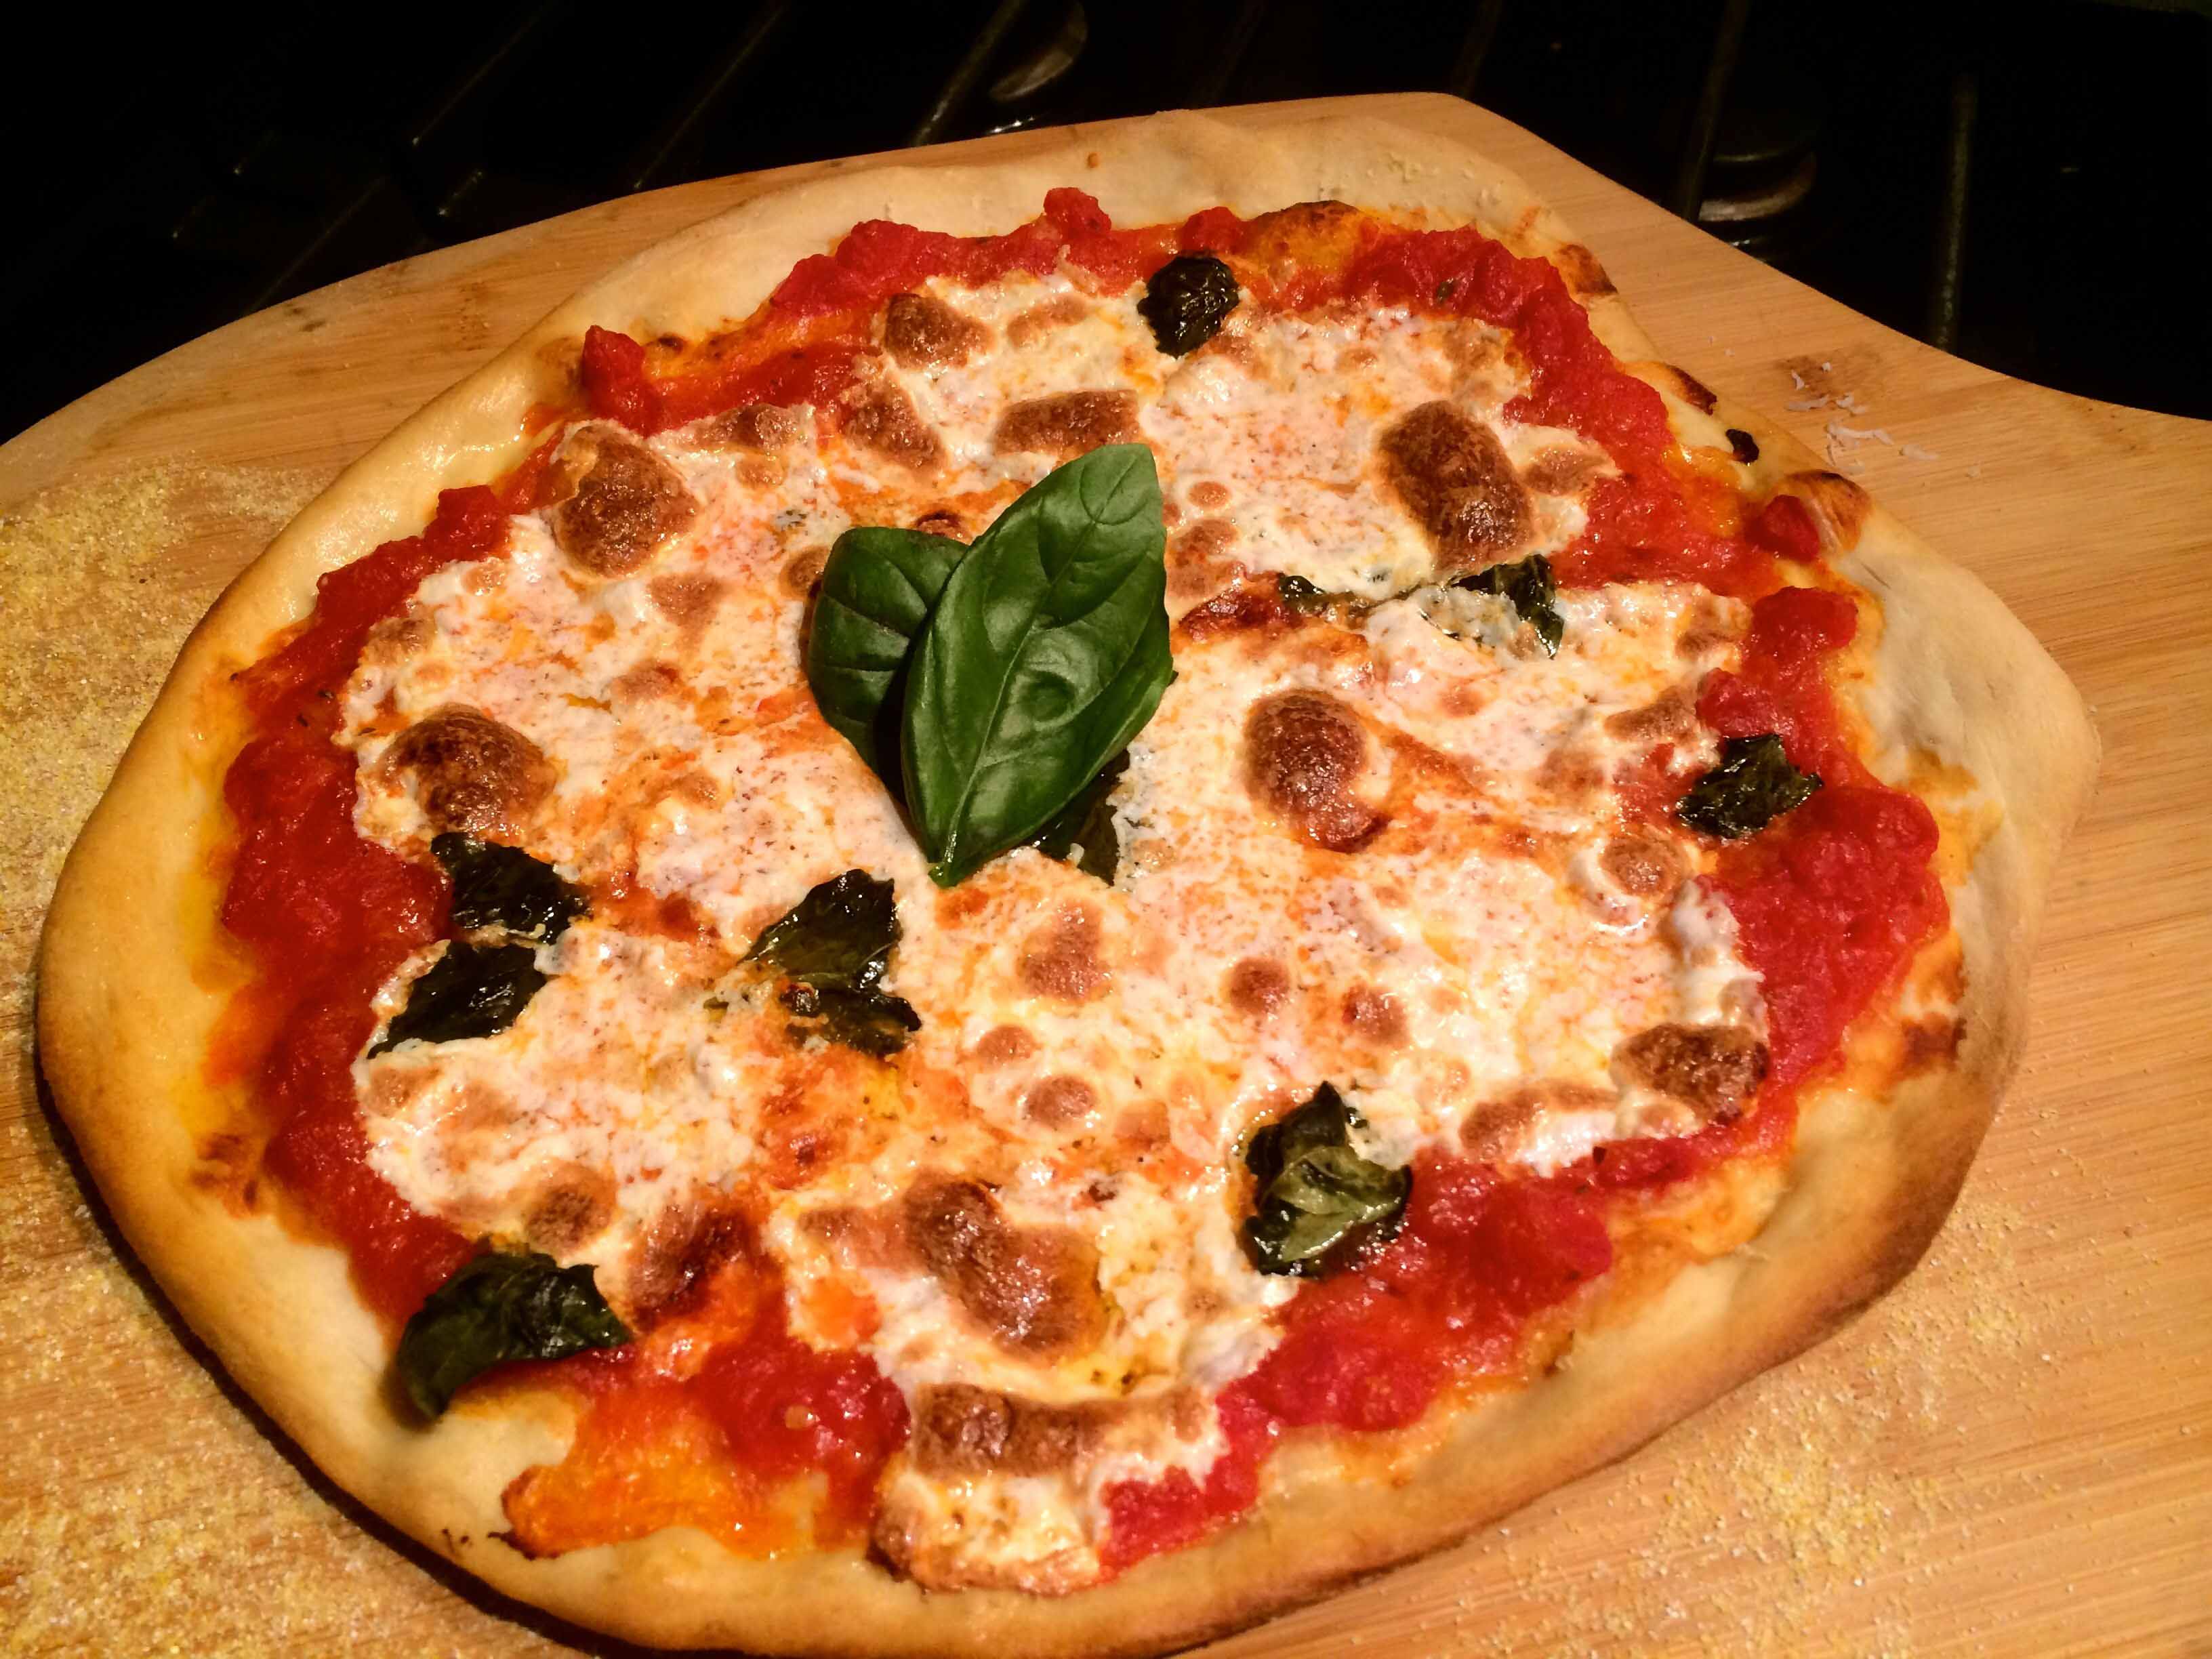
I’m happy to report that the combination of the new dough recipe and pizza oven yielded my best homemade pizza to date. As the oven only accommodates at most a 12-inch pizza, I chose to make two Margherita pizzas with the dough, each slightly shy of the appliance’s maximum diameter.
I cooked the first pizza, which I had failed to stretch out evenly and was consequently super thin at its center, on the oven’s “thin” setting. In about 7 or 8 minutes, the oven, which had been preheated on high for 30 minutes, turned out a very good pizza. The unevenness of the dough, however, made for some undercooked portions of the crust.
The first attempt
While we dined on the first pizza, I left the oven on so it would be ready to accept my second attempt. This time I was more careful with the stretching and baked the pizza at the high end of the oven’s “medium” setting for about 10 to 11 minutes. This time the pizza was more evenly baked, crisper on the bottom, and had a chewy, slightly blistered crust on the edges. Success!
The second attempt: Success!
Am I happy with my new gadget? Yes. Although I can’t say for sure that the oven reached the manufacturer’s touted 660°F, I can say that the texture and appearance of the crust, as well as the shorter cooking times, support a claim of attaining a higher temperature than with a standard home oven. I’ll continue to experiment with the new oven’s settings and work on my pie stretching, but at least for now I think I’ll stick with my new recipe for the dough.
Friday night, end of the week, and being tired generally lead to a quick and easy supper to linger over with a glass of wine. Since we had our share of meat, fish, and pasta this week, I looked through my cookbooks for something vegetable centric. My search eventually led me to Giuliano Hazan’s recipe for a cauliflower gratin in Every Night Italian.
Despite being vegetarian, however, this dish is definitely not “light,” given the amount of cheese and butter it calls for. Nevertheless, as a main course for a meatless supper, I guess its fat content, which, after all, contributes so much flavor, can be rationalized in one way or another.
The ingredient that initially attracted me to this recipe was the fresh sheep’s milk cheese from southern Italy known as primo sale, “first salt.” It was one of my aunt’s favorite cheeses to serve at a Saturday lunch when our family would return from its weekly excursion to the local Italian markets and salumerie. If you can’t find it, Hazan recommends substituting any white sheep’s milk cheese firm enough to slice. A Google search may help you find the primo sale locally.
Cauliflower Gratin with Tomato and Fresh Sheep’s Milk
Adapted from Giuliano Hazan’s Every Night Italian
1 large cauliflower (about 2 pounds)
1 small onion, chopped fine
3 tablespoons unsalted butter
1 (28-ounce) can of whole peeled Italian tomatoes, crushed. (You should have a total of 2 cups with some of the juice.)
3/4 cup Parmigiano Reggiano, freshly grated
Salt
Freshly ground black pepper
1/4 teaspoon ground cloves (optional)
6 ounces primo sale or other fresh sheep’s milk cheese firm enough to slice, sliced thin
Bring a pot of water large enough to accommodate the cauliflower to a boil over high heat.
Preheat the oven to 375° F.
Quarter the cauliflower, discarding the leaves, and add to the water when it has reached a boil. Do not add any salt. Cook until tender, about 20 minutes. When done, drain and rinse under cold water to stop the cooking. Cut the cauliflower into bite-size pieces and set aside.
Meanwhile, sauté the onions in 2 tablespoons of the butter in a 10 inch sauté pan over medium-low. When the onions turn a light gold, add the tomatoes and season with salt, pepper, and the optional ground cloves.
Cook the tomatoes for about 20 minutes or until they have thickened into a sauce.
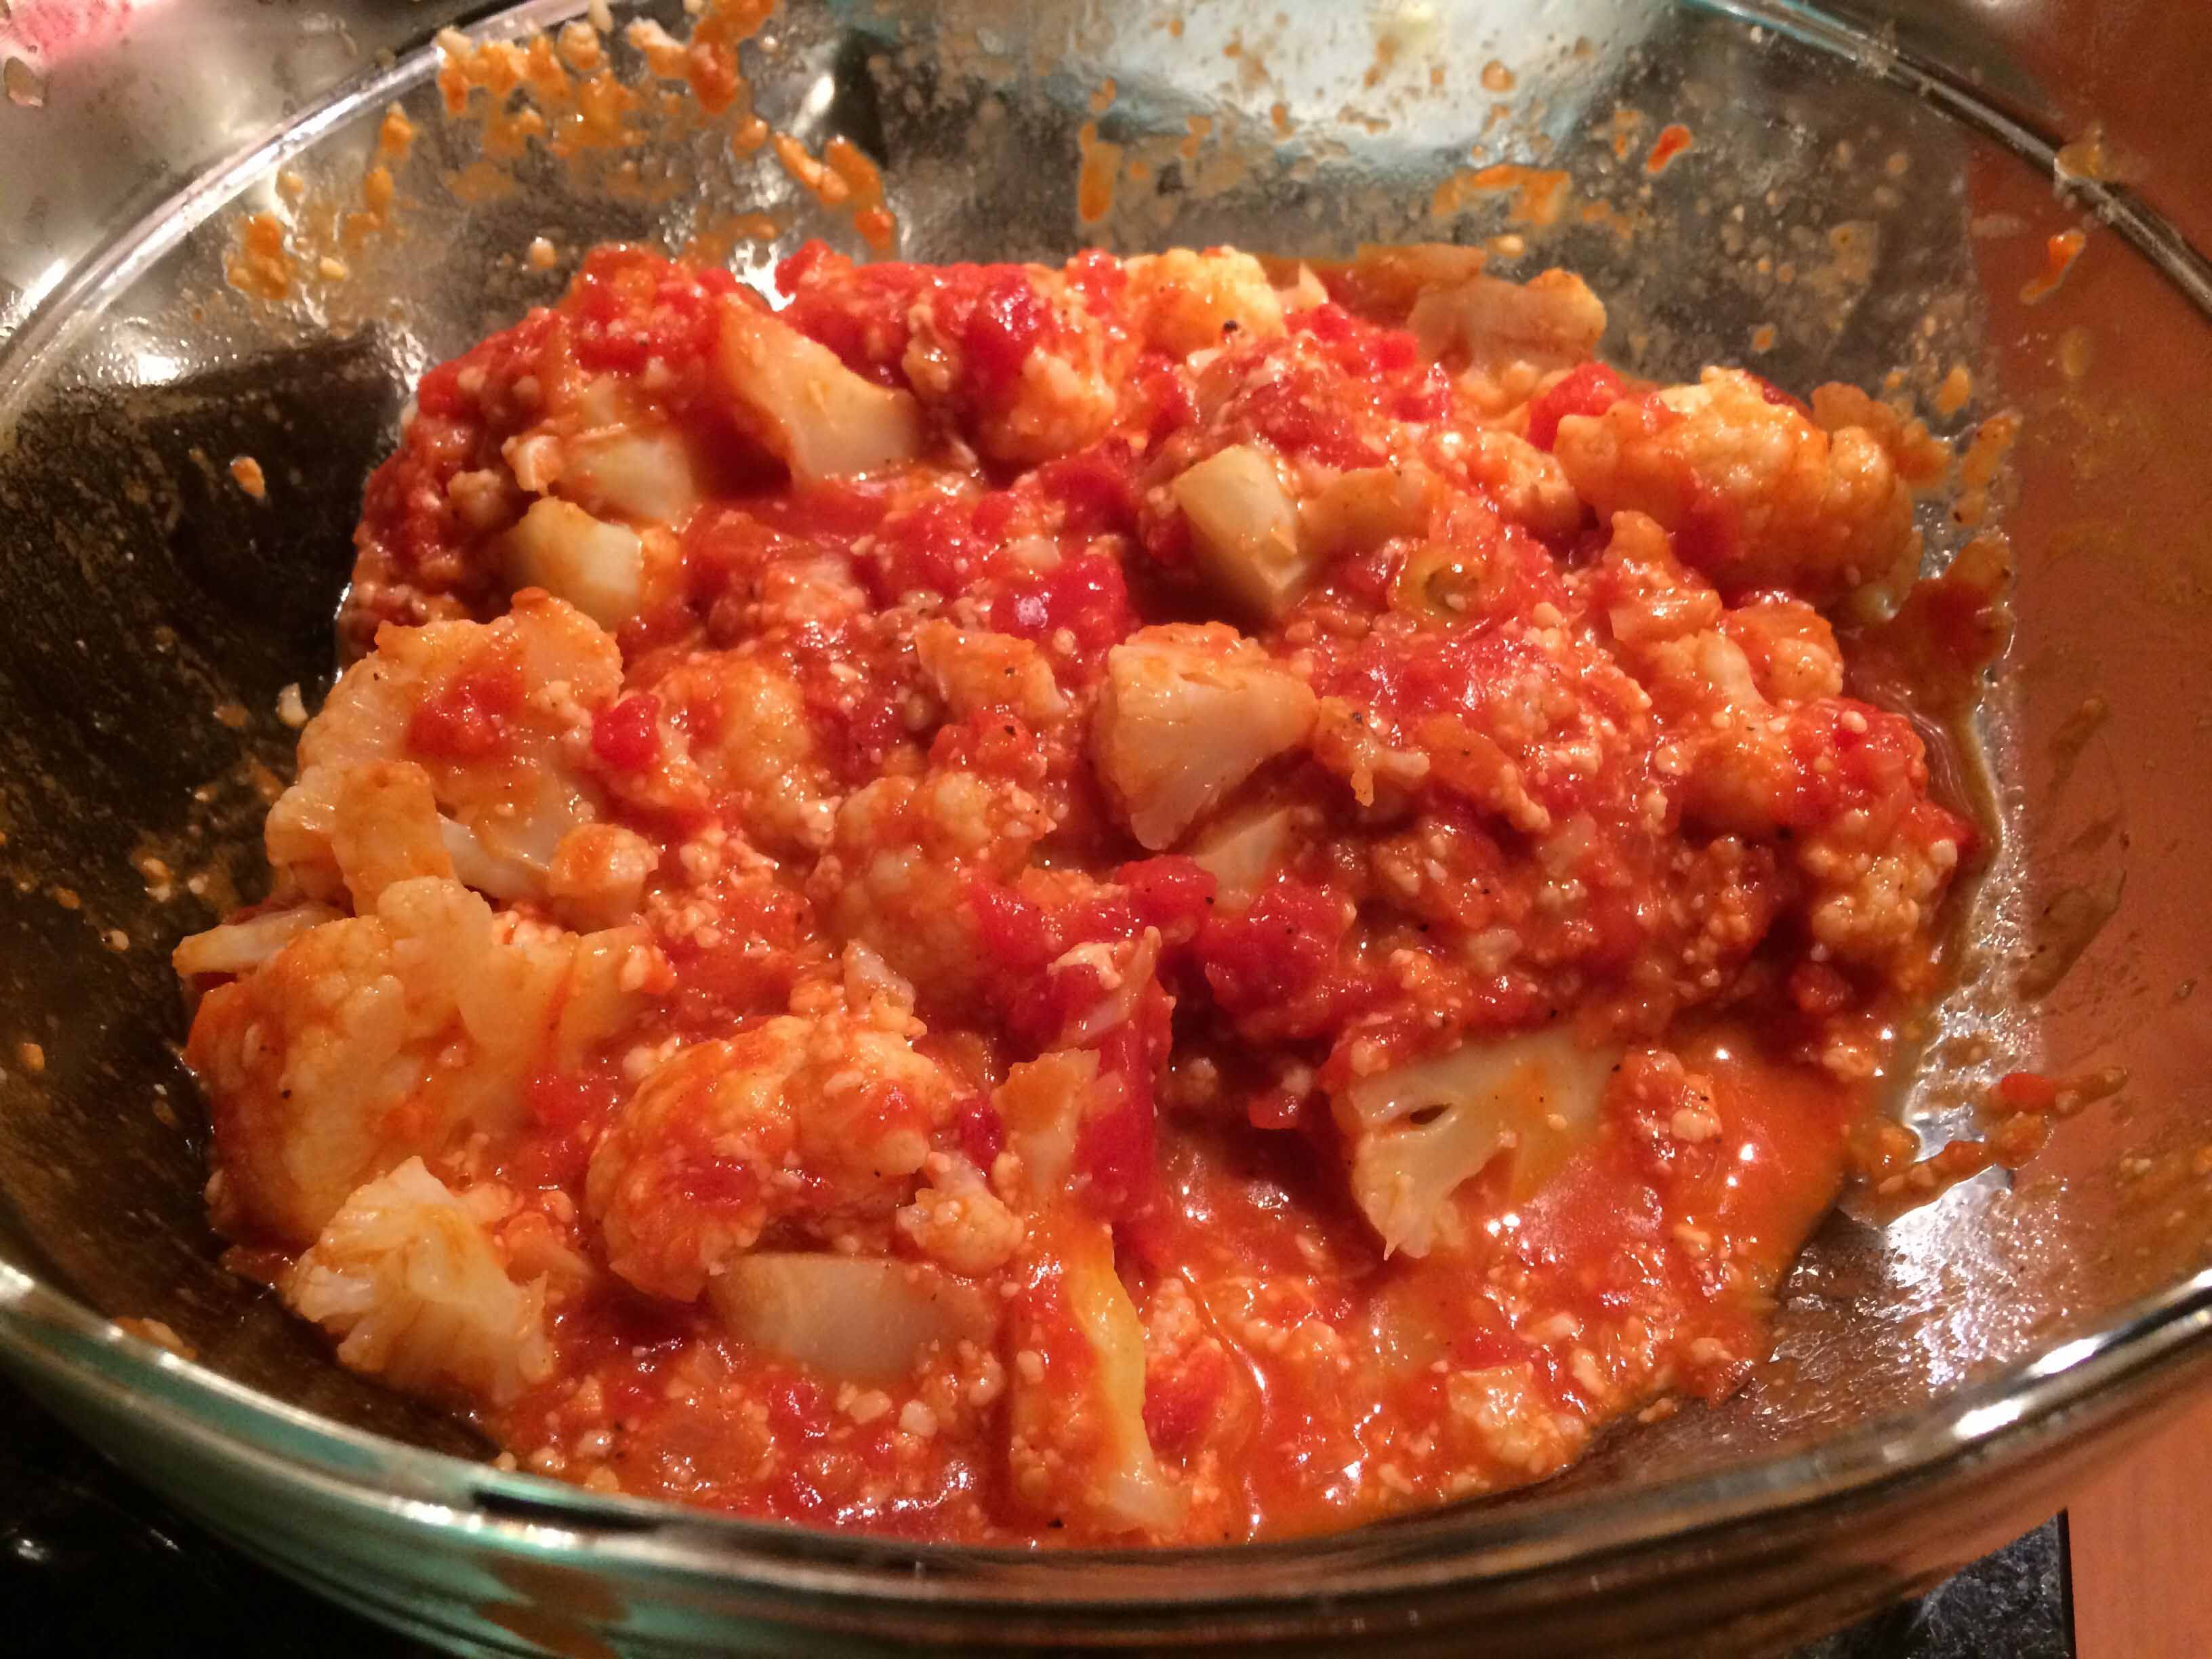
Transfer the tomatoes to a large bowl and stir in the Parmigiano-Reggiano. Gently fold in the cut cauliflower and taste again for seasoning. The cauliflower should be well coated with the sauce.
Cauliflower coated with sauce
Place half of the sauced cauliflower in an 8 by 8 inch, flame-proof baking dish. Cover with half of the sliced primo sale. Cover with the rest of the cauliflower, and top with the remaining sliced cheese. Dot with the remaining tablespoon of butter.
Top layer of the gratin
Place the dish in the preheated oven and bake until the cheese melts, about 15 minutes. If not sufficiently browned, place under the broiler for 2 to 3 minutes.
Last week, I was saddened by the death of one of the Met’s divas, Licia Albanese. She was 105 when she died, a long life indeed. Yet her longevity does not diminish the sense of loss I feel. She was, after all, the first soprano in the first opera I ever heard at the Metropolitan Opera. It was at the old house, and she was singing the role of Violetta in Verdi’s La Traviata. Granted, her voice was not in its prime; and probably nearing 50, she may have been a little too old for the role of a Parisian courtesan. Nevertheless, she commanded the Met’s stage with a presence that only true divas possess.
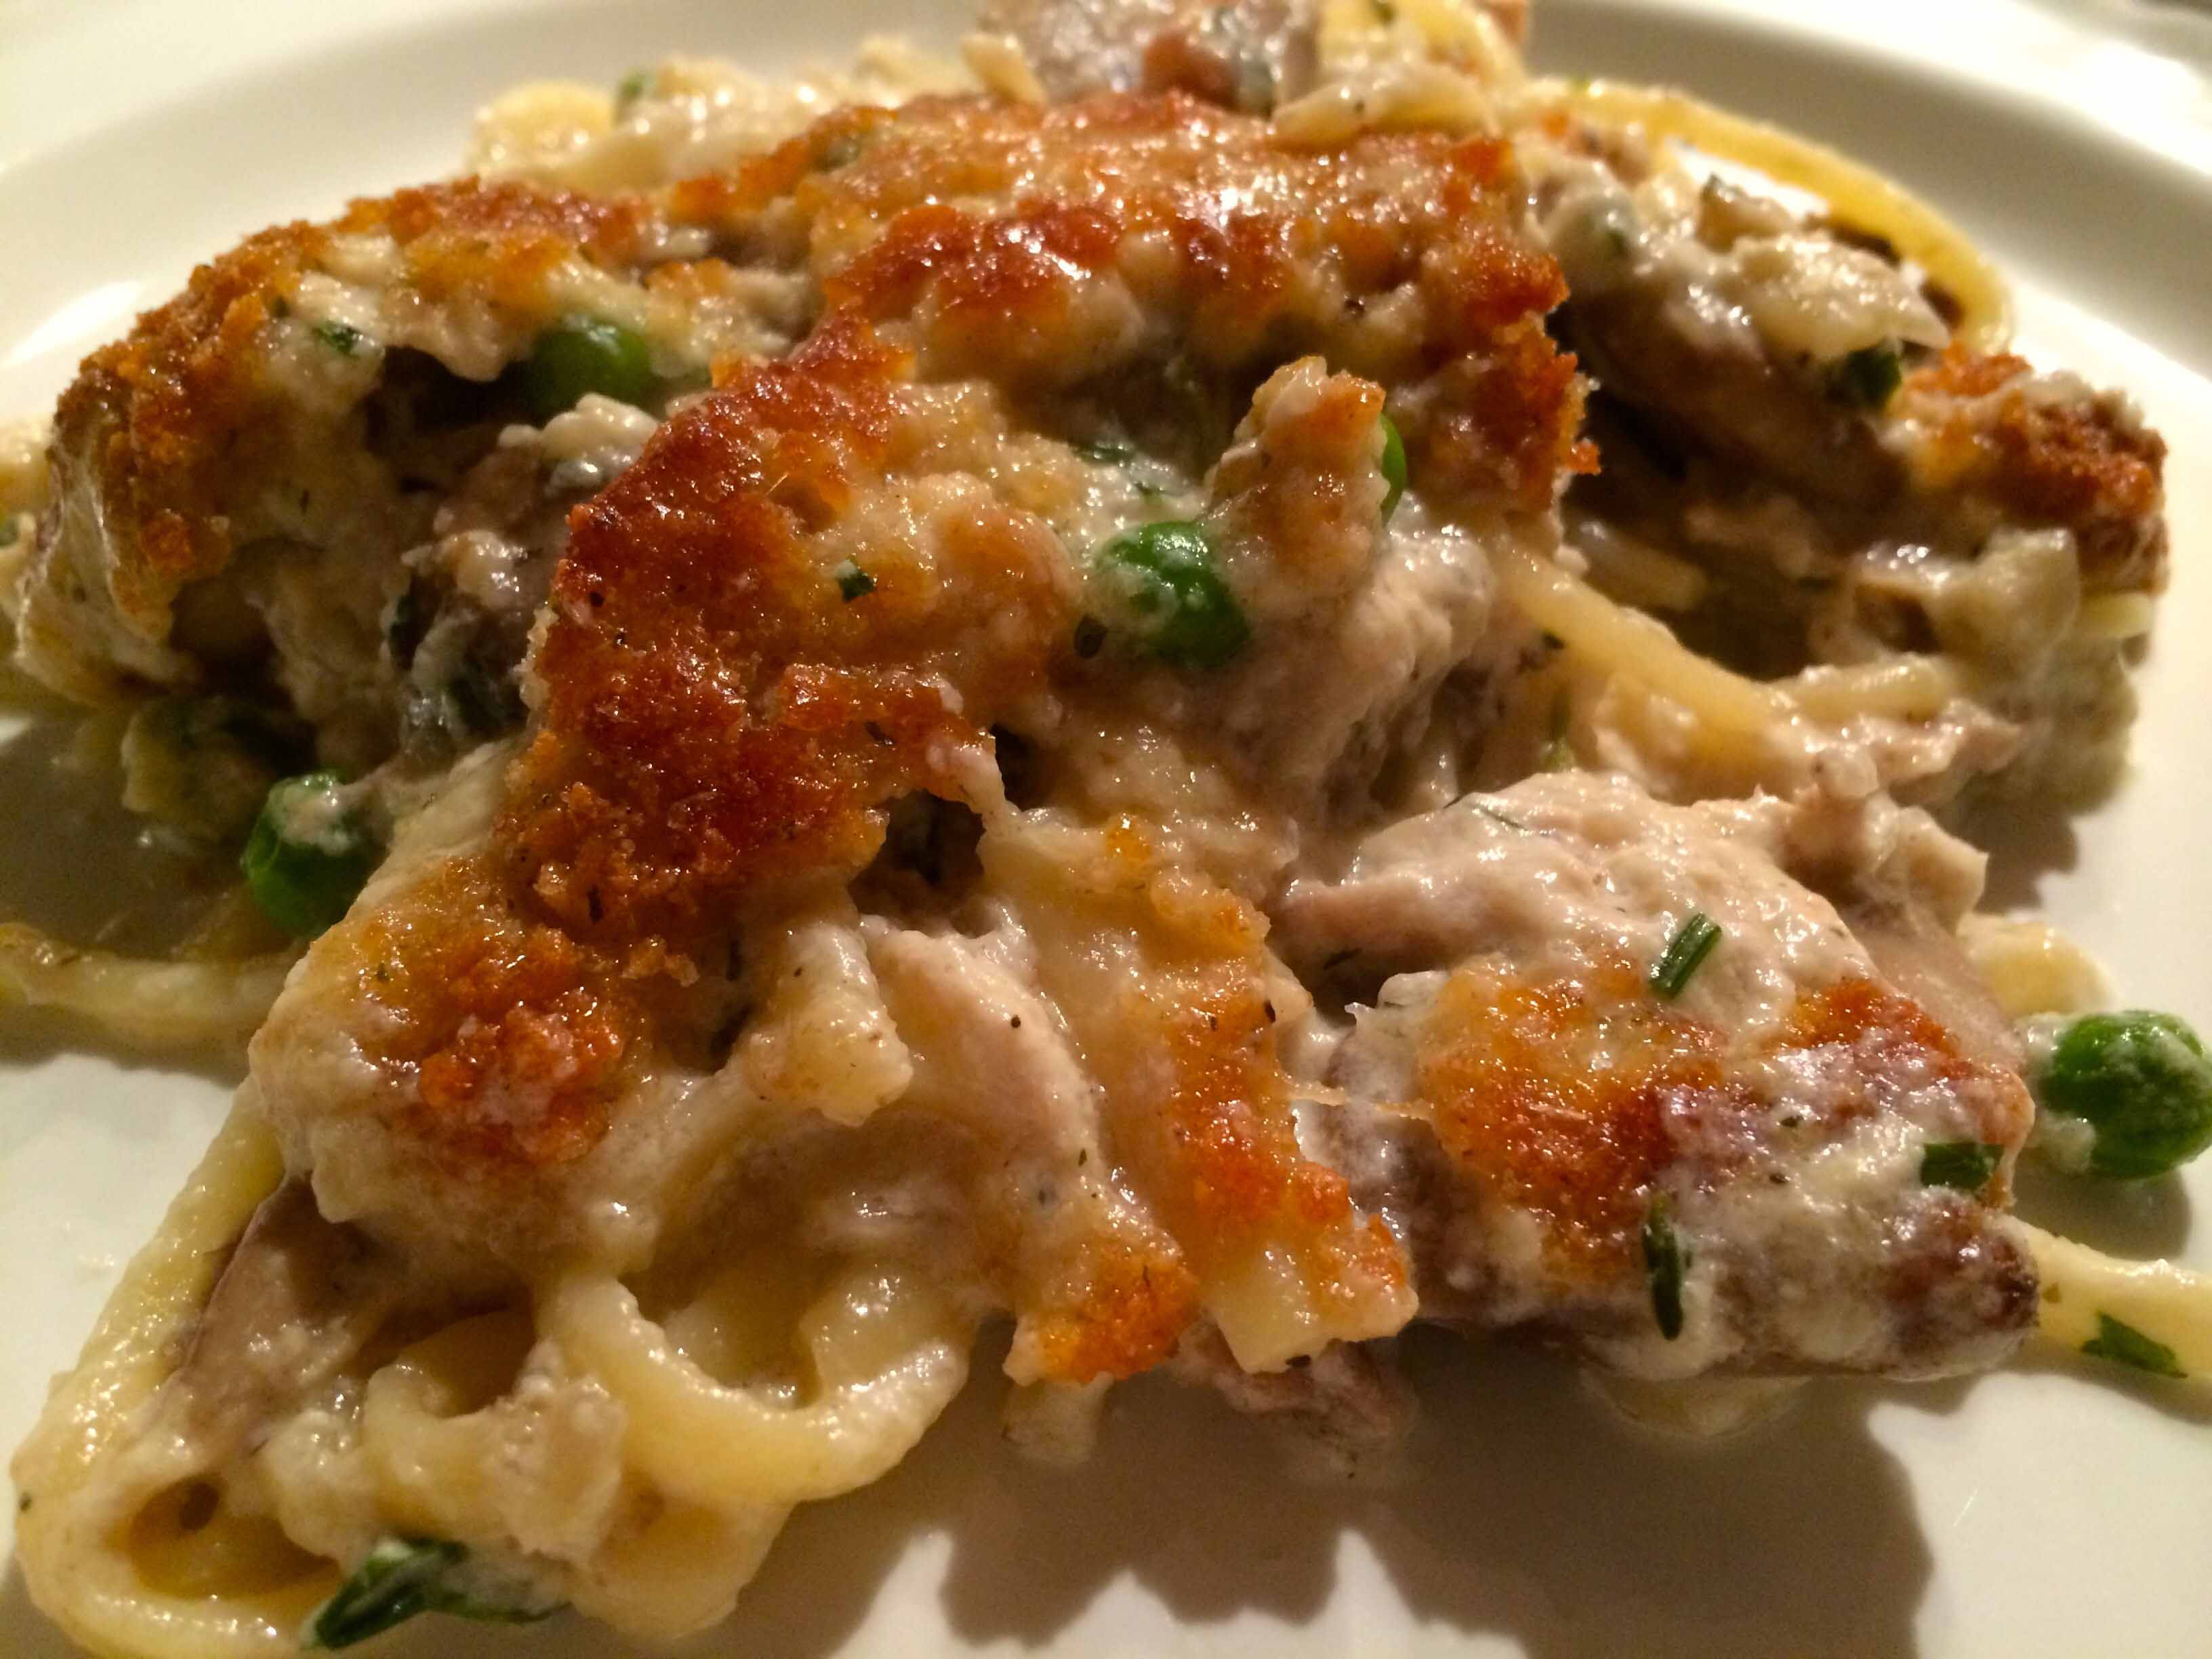
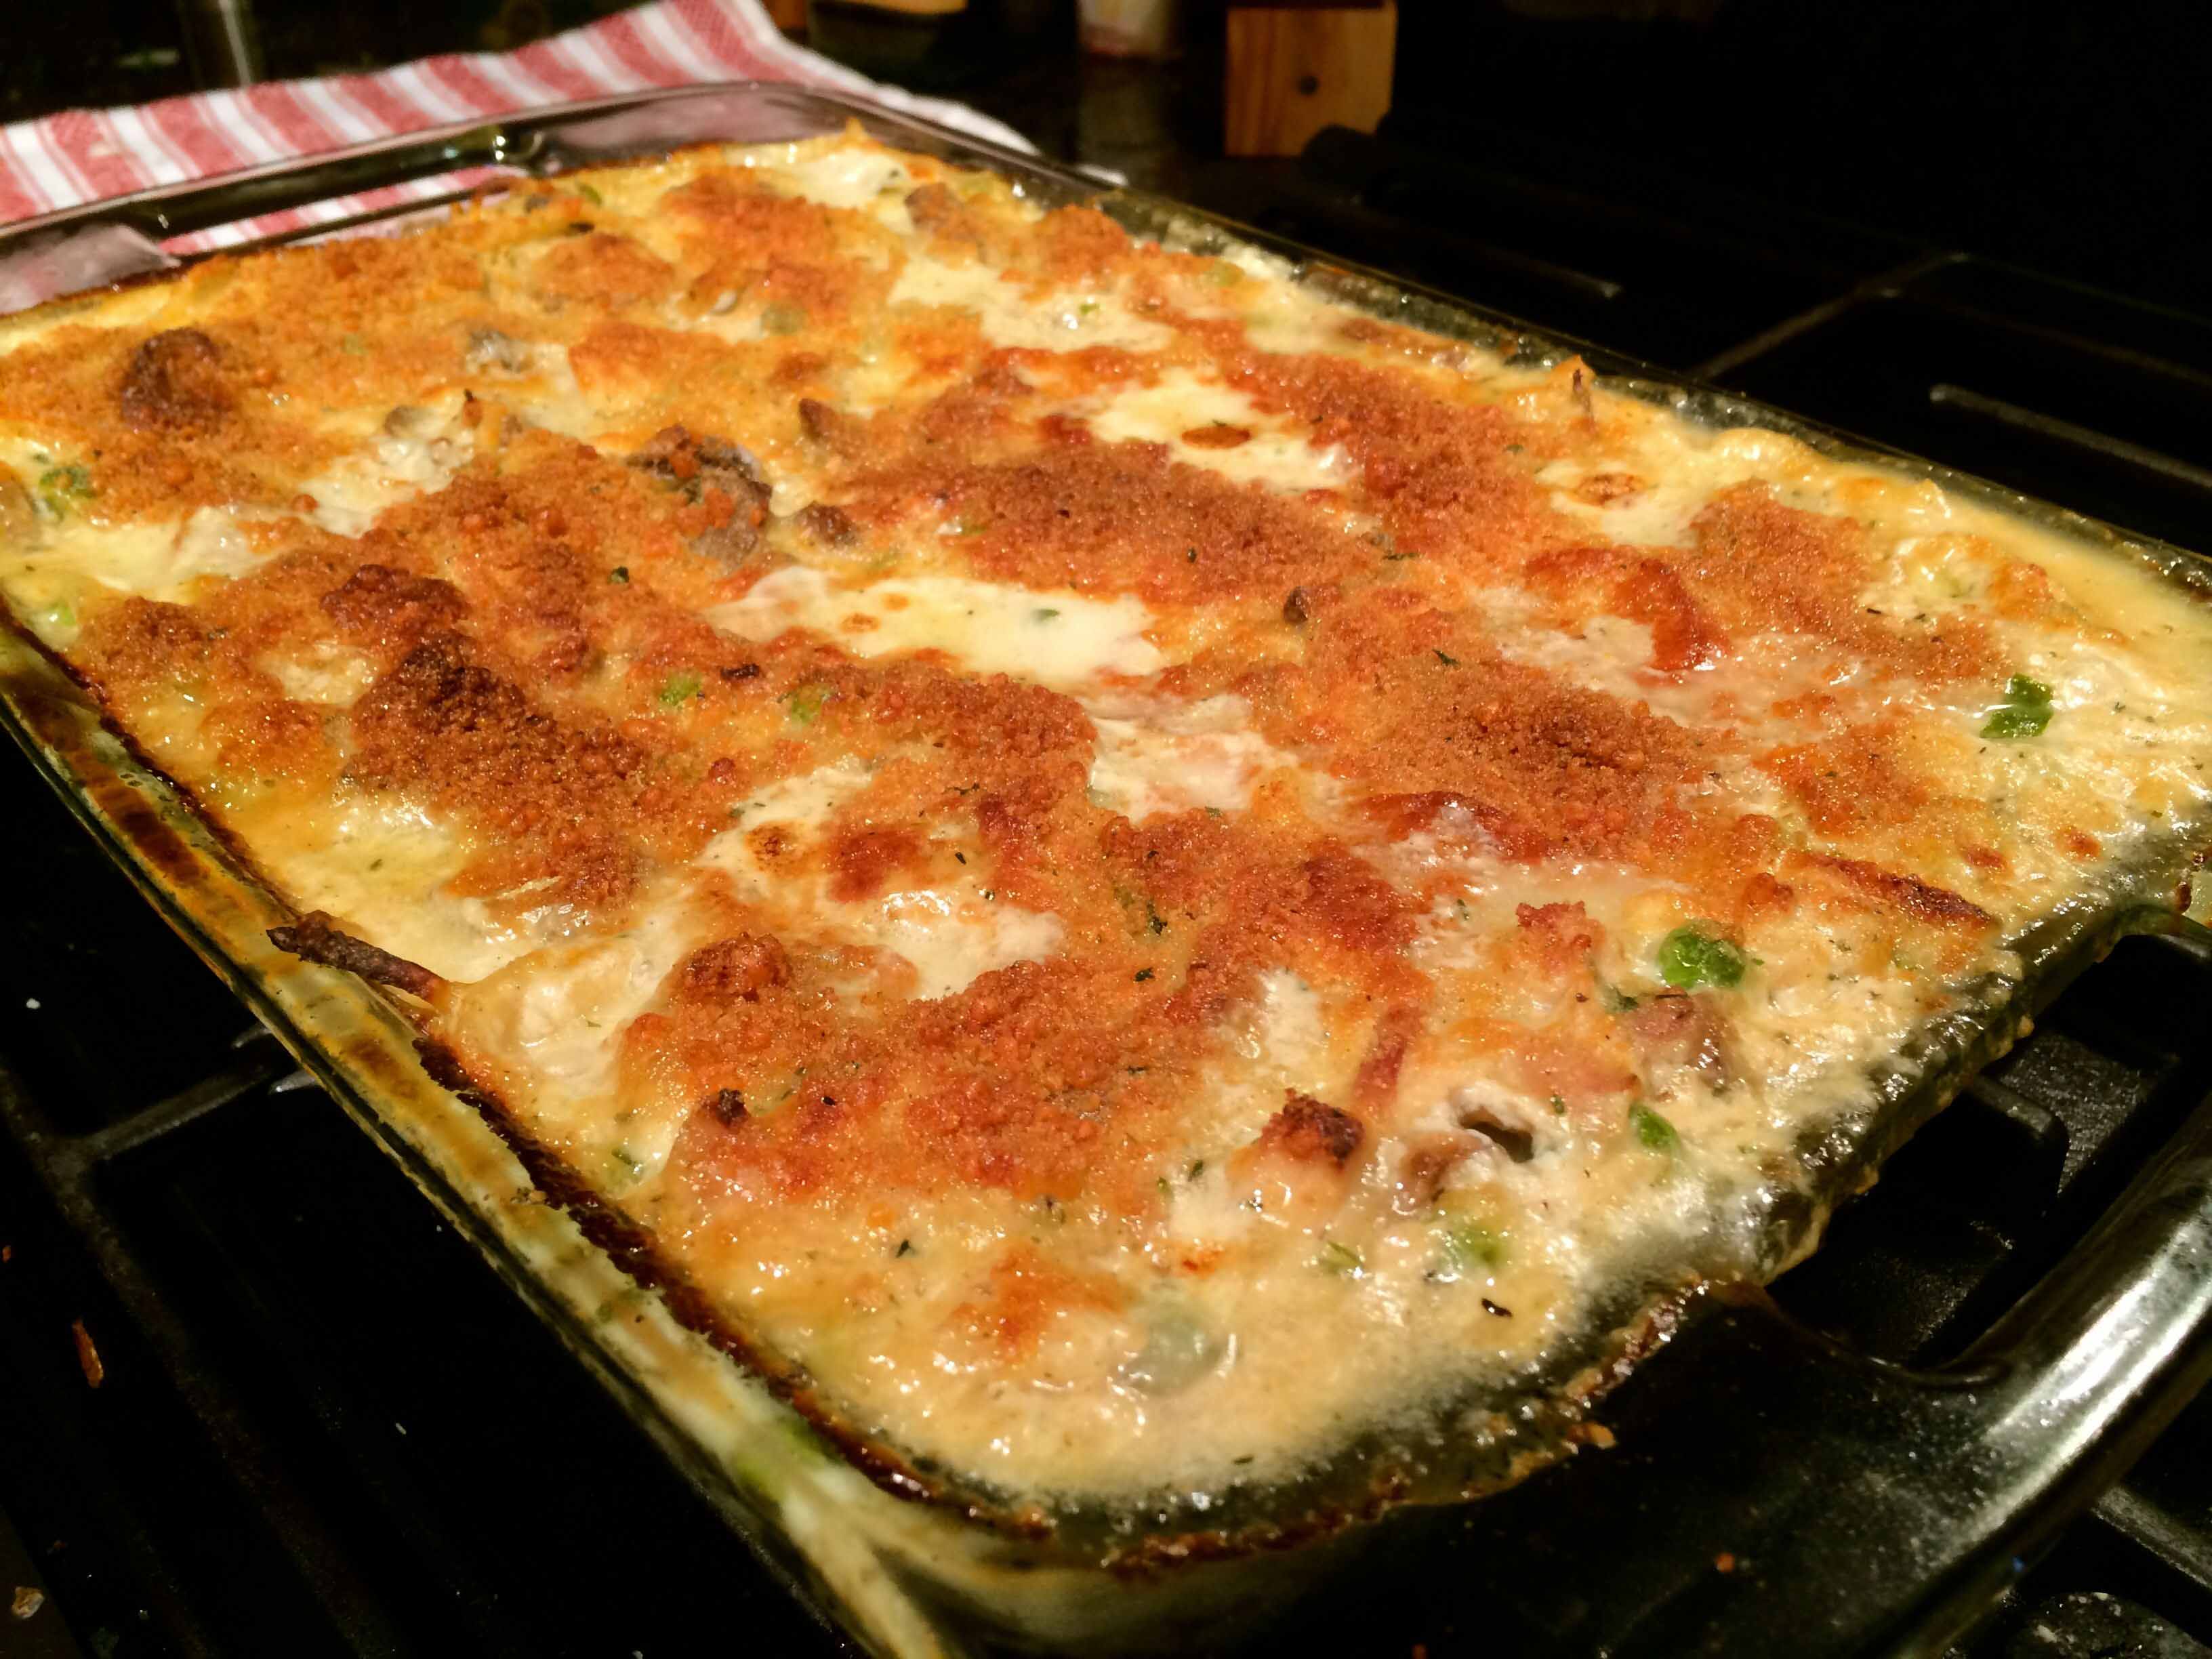
Now, you might be asking, what does this have to do with food? Well, last night I prepared Chicken Tetrazzini, a dish named for another great diva of the past, Luisa Tetrazzini, who actually made her famous debut in 1907 at London’s Covent Garden as Violetta.
Most sources date the origin of the dish, perhaps originally prepared with turkey, between 1908 -1910 and attribute its creation to Ernest Arbogast, who was chef at the Palace Hotel in San Francisco, a city where Tetrazzini resided for quite some time.
Last night, as we sat down to dinner, we raised a glass to Licia Albanese and were reminded to be grateful for the exceptional sopranos we have today who follow in her footsteps at the Met.
My recipe for Chicken Tetrazzini is from the Food Network’s Giada de Laurentiis. Although the list of ingredients is rather long, it’s a relatively simple dish to prepare. It’s also decadently rich with loads of butter, cream, and cheese. But like all indulgent fare, it can be enjoyed guilt free—when consumed in moderation.
Rather than using the recipe’s called for skinless breasts, I skipped the cooking and used the meat I pulled from 1/2 of a left-over rotisserie chicken. I think you could do the same with leftover turkey.
Chicken Tetrazzini Adapted from Giada de Laurentiis
Ingredients
9 tablespoons butter 2 tablespoons olive oil 4 boneless skinless chicken breasts (I substituted the meat from a half of a rotisserie chicken.) 2 1/4 teaspoons salt 1 1/4 teaspoons freshly ground black pepper 1 pound white mushrooms, sliced 1 large onion, finely chopped 5 cloves garlic, minced 1 tablespoon chopped fresh thyme leaves 1/2 cup dry white wine 1/3 cup all-purpose flour 4 cups whole milk, room temperature 1 cup heavy whipping cream, room temperature 1 cup chicken broth 1/8 teaspoon ground nutmeg (I used at least a 1/4 teaspoon.) 12 ounces linguine 3/4 cup frozen peas 1/4 cup chopped fresh Italian parsley leaves 1 cup grated Parmesan 1/4 cup dried Italian-style breadcrumbs
Directions
Preheat the oven to 450 degrees F.
Spread 1 tablespoon of butter over a 13 by 9 by 2-inch baking dish. (I did not grease the baking dish and nothing stuck to it.)
Melt 1 tablespoon each of butter and oil in a deep large nonstick frying pan over medium-high heat. Sprinkle the chicken with 1/2 teaspoon each of salt and pepper. Add the chicken to the hot pan and cook until pale golden and just cooked through, about 4 minutes per side. Transfer the chicken to a plate to cool slightly. Coarsely shred the chicken into bite-size pieces and into a large bowl. (As I mentioned earlier, you can make this dish with leftover chicken or turkey pulled or shredded into bite-size pieces.)
The shredded chicken
Meanwhile, add 1 tablespoon each of butter and oil to the same pan. Add the mushrooms and sauté over medium-high heat until the liquid from the mushrooms evaporates and the mushrooms become pale golden, about 1-2 minutes. Add the onion, garlic, and thyme, and sauté until the onion is translucent, about 8 minutes. Add the wine and simmer until it evaporates, about 2 minutes. Transfer the mushroom mixture to the bowl with the chicken. (It took me much longer to brown the mushrooms, at least 10 minutes. I also cooked the onions for about 6 minutes before adding the garlic to cook for the final 2 minutes.)
The mushrooms, onion, garlic, and thyme
Melt 3 more tablespoons butter in the same pan over medium-low heat. Add the flour and whisk for 2 minutes. Whisk in the milk, cream, broth, nutmeg, remaining 1 3/4 teaspoons salt, and remaining 3/4 teaspoon pepper. Increase the heat to high. Cover and bring to a boil. Simmer, uncovered, until the sauce thickens slightly, whisking often, about 10 minutes. (I added a 1/4 of the cheese (1/4 cup) to the sauce during the last two minutes of cooking.)
Bring a large pot of salted water to a boil. Add the linguine and cook until it is tender but still firm to the bite, stirring occasionally, about 9 minutes. Drain. Add the linguine, sauce, peas, and parsley to the chicken mixture. Toss until the sauce coats the pasta and the mixture is well blended. (The linguine should be cooked a minute or two less than the package’s recommended time for al dente. Remember the pasta will continue to cook during baking.)
Transfer the pasta mixture to the prepared baking dish. Stir the cheese and breadcrumbs in a small bowl to blend. Sprinkle the cheese mixture over the pasta. Dot with the remaining 3 tablespoons of butter. Bake, uncovered, until golden brown on top and the sauce bubbles, about 25 minutes.
Our dinner last night was based on a recipe from The Southern Italian Table by Arthur Schwartz. He’s an authority on the cooking of this region and writes with an informed passion for it that makes one, or at least me, want to rush to the market, get the ingredients for a particular recipe, and come home and cook.
The recipe that caught my eye yesterday was for Salt Seared Swordfish with Garlic and Mint. A minimum of ingredients are combined to create an unctuous raw sauce of olive oil, garlic, and dried mint, which is used to dress swordfish steaks that are quickly seared over a layer of coarse sea salt in a blazing hot skillet.
This is not a recipe for those averse to indulging in garlic or salt but, although used liberally, their flavors along with those of fine extra-virgin olive oil and dried mint seem to heighten the already rich taste of the swordfish.
Make this dish on a weekday night, and you’ll feel as though you’ve been transported to a seaside trattoria in Sicily.
Salt Seared Swordfish with Garlic and Mint Adapted from The Southern Italian Table by Arthur Schwartz
1 tablespoon dried mint (You may need more than a tablespoon of dried leaves to make a tablespoon of sieved.)
6 to 8 large cloves garlic, finely chopped (I used a microplane grater for the garlic.)
At least 6 tablespoons extra-virgin olive oil (Use the finest you have for the most flavor.)
1 tablespoon red wine vinegar (I added a little more than a tablespoon.)
2 tablespoons large-crystal sea salt (You may need more depending on the size of your skillet.)
2 (1/2-inch thick) swordfish steaks, skin removed (My steaks were about an inch thick. I also chose to leave the skins on. I think doing so makes it easier to turn the fish.)
With your fingertips, push the mint through a fine sieve onto a large platter. (To end up with 1 tablespoon of dried mint powder, I used a little more than the 1 tablespoon of dried mint leaves.)
Add the garlic, olive oil and vinegar. Blend with a fork. (Using a microplane for the garlic makes it easier to blend the garlic into the sauce.)
The raw sauce
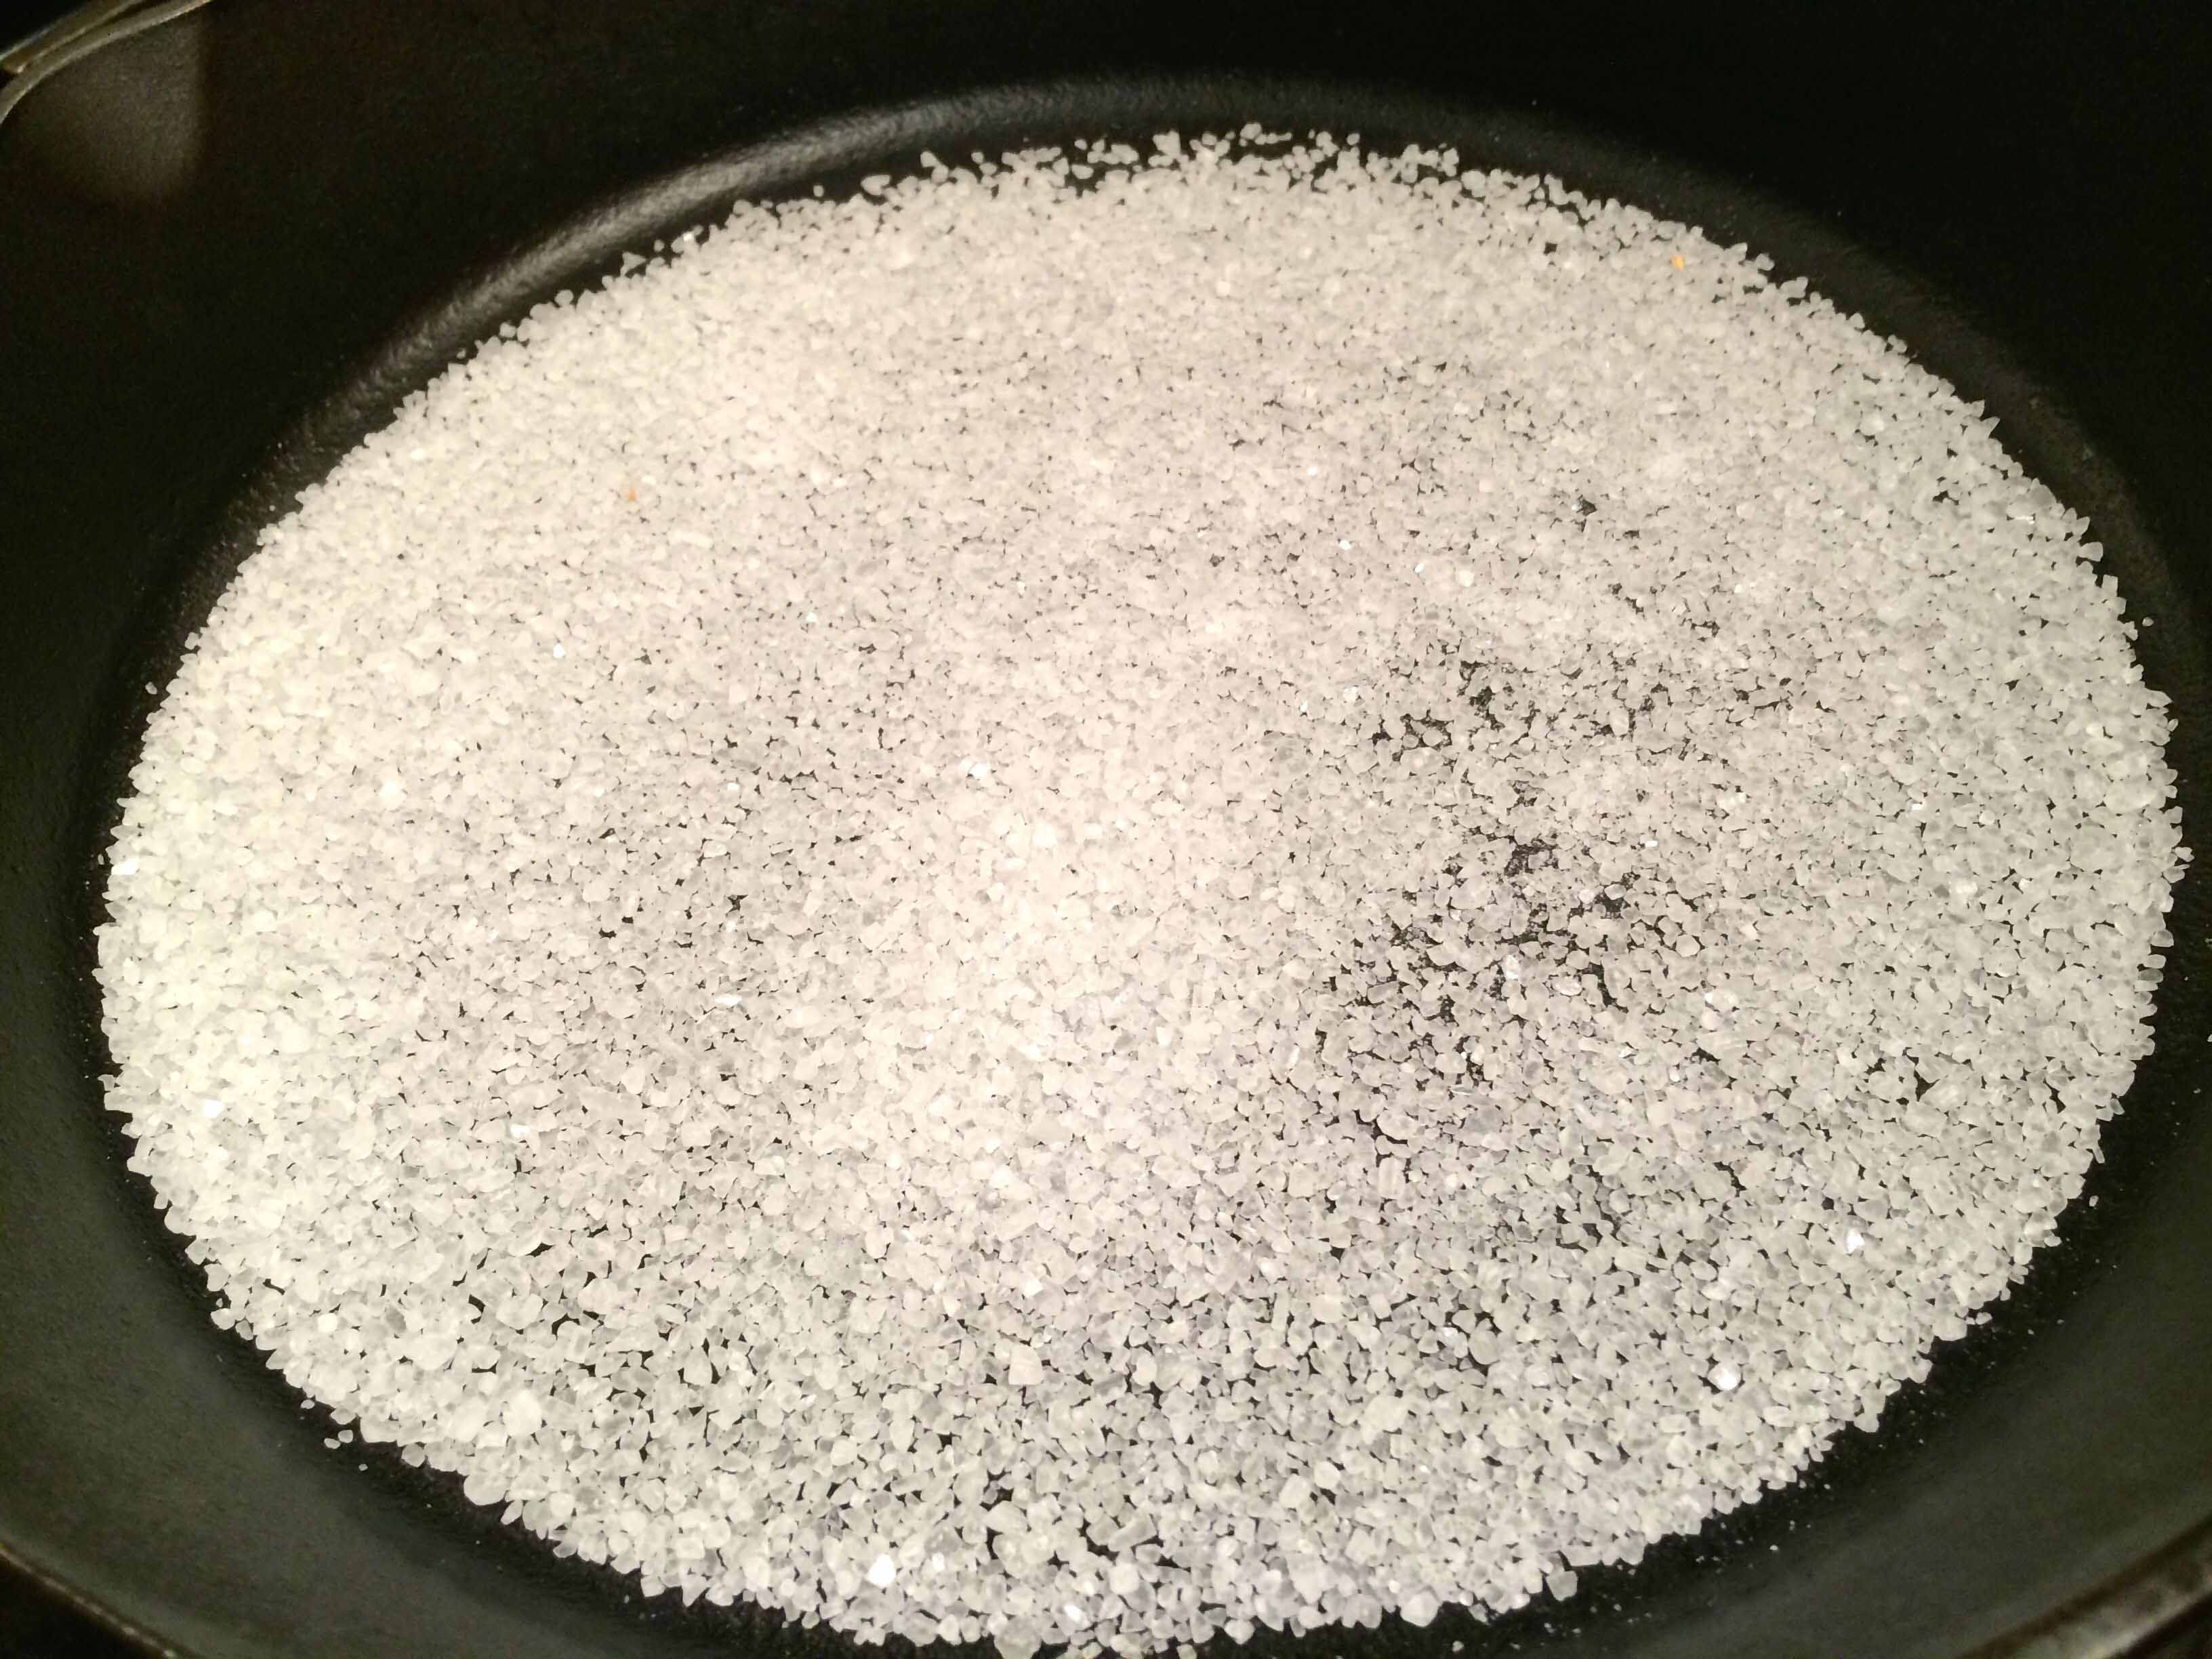
Sprinkle the bottom of a heavy 9- to 10-inch skillet (black cast iron works best) evenly with salt. Place over high heat. When the pan is so hot that you can’t leave your palm 3 inches over it for more than 5 seconds, place the swordfish on top of the salt and cook for 3 minutes. (I’m not an expert on non-stick cookware, but since you’ll be getting the pan very hot, a non-stick skillet may not withstand such a high temperature.)
The layer of salt
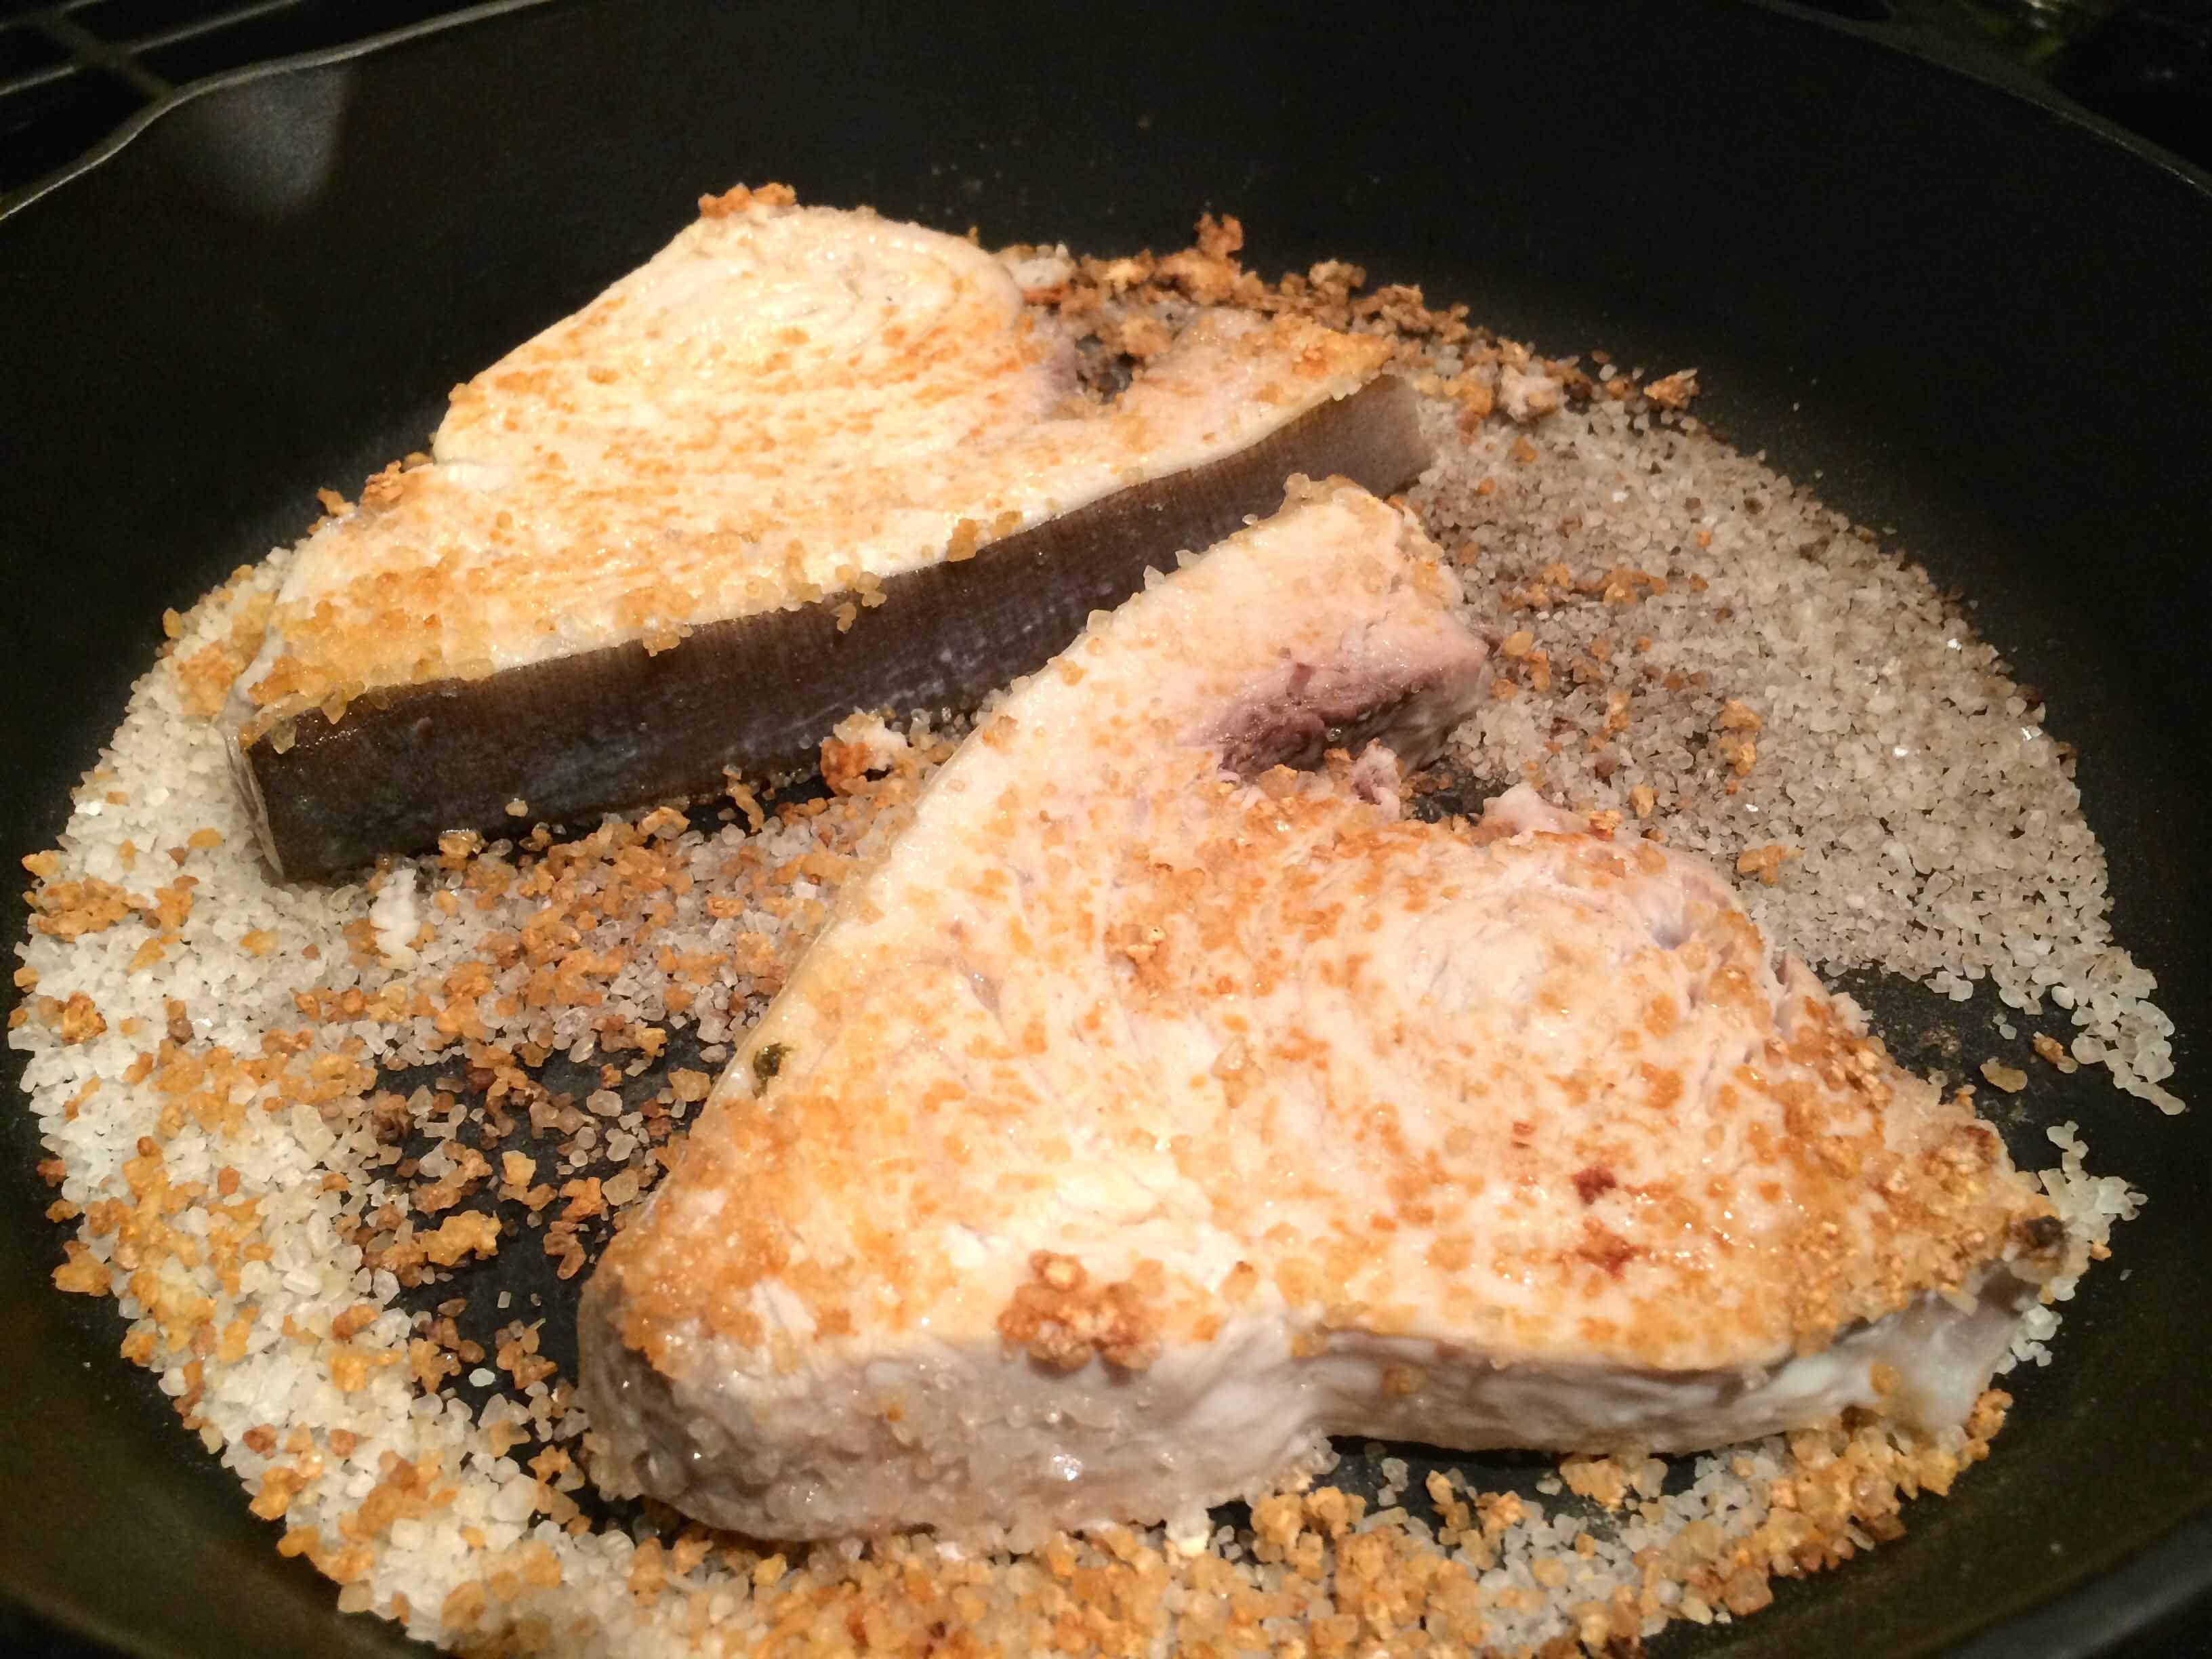
Turn the fish and cook another 2 to 3 minutes for medium-well, without a trace of pink in the center. (For my 1-inch thick steaks, I went for a full 3 minutes on each side.)
The fish turned
Lift the fish from the pan with tongs or a fork and brush off any large pieces of salt clinging to it. (Since we really like salt, I left a few crystals on our steaks.)
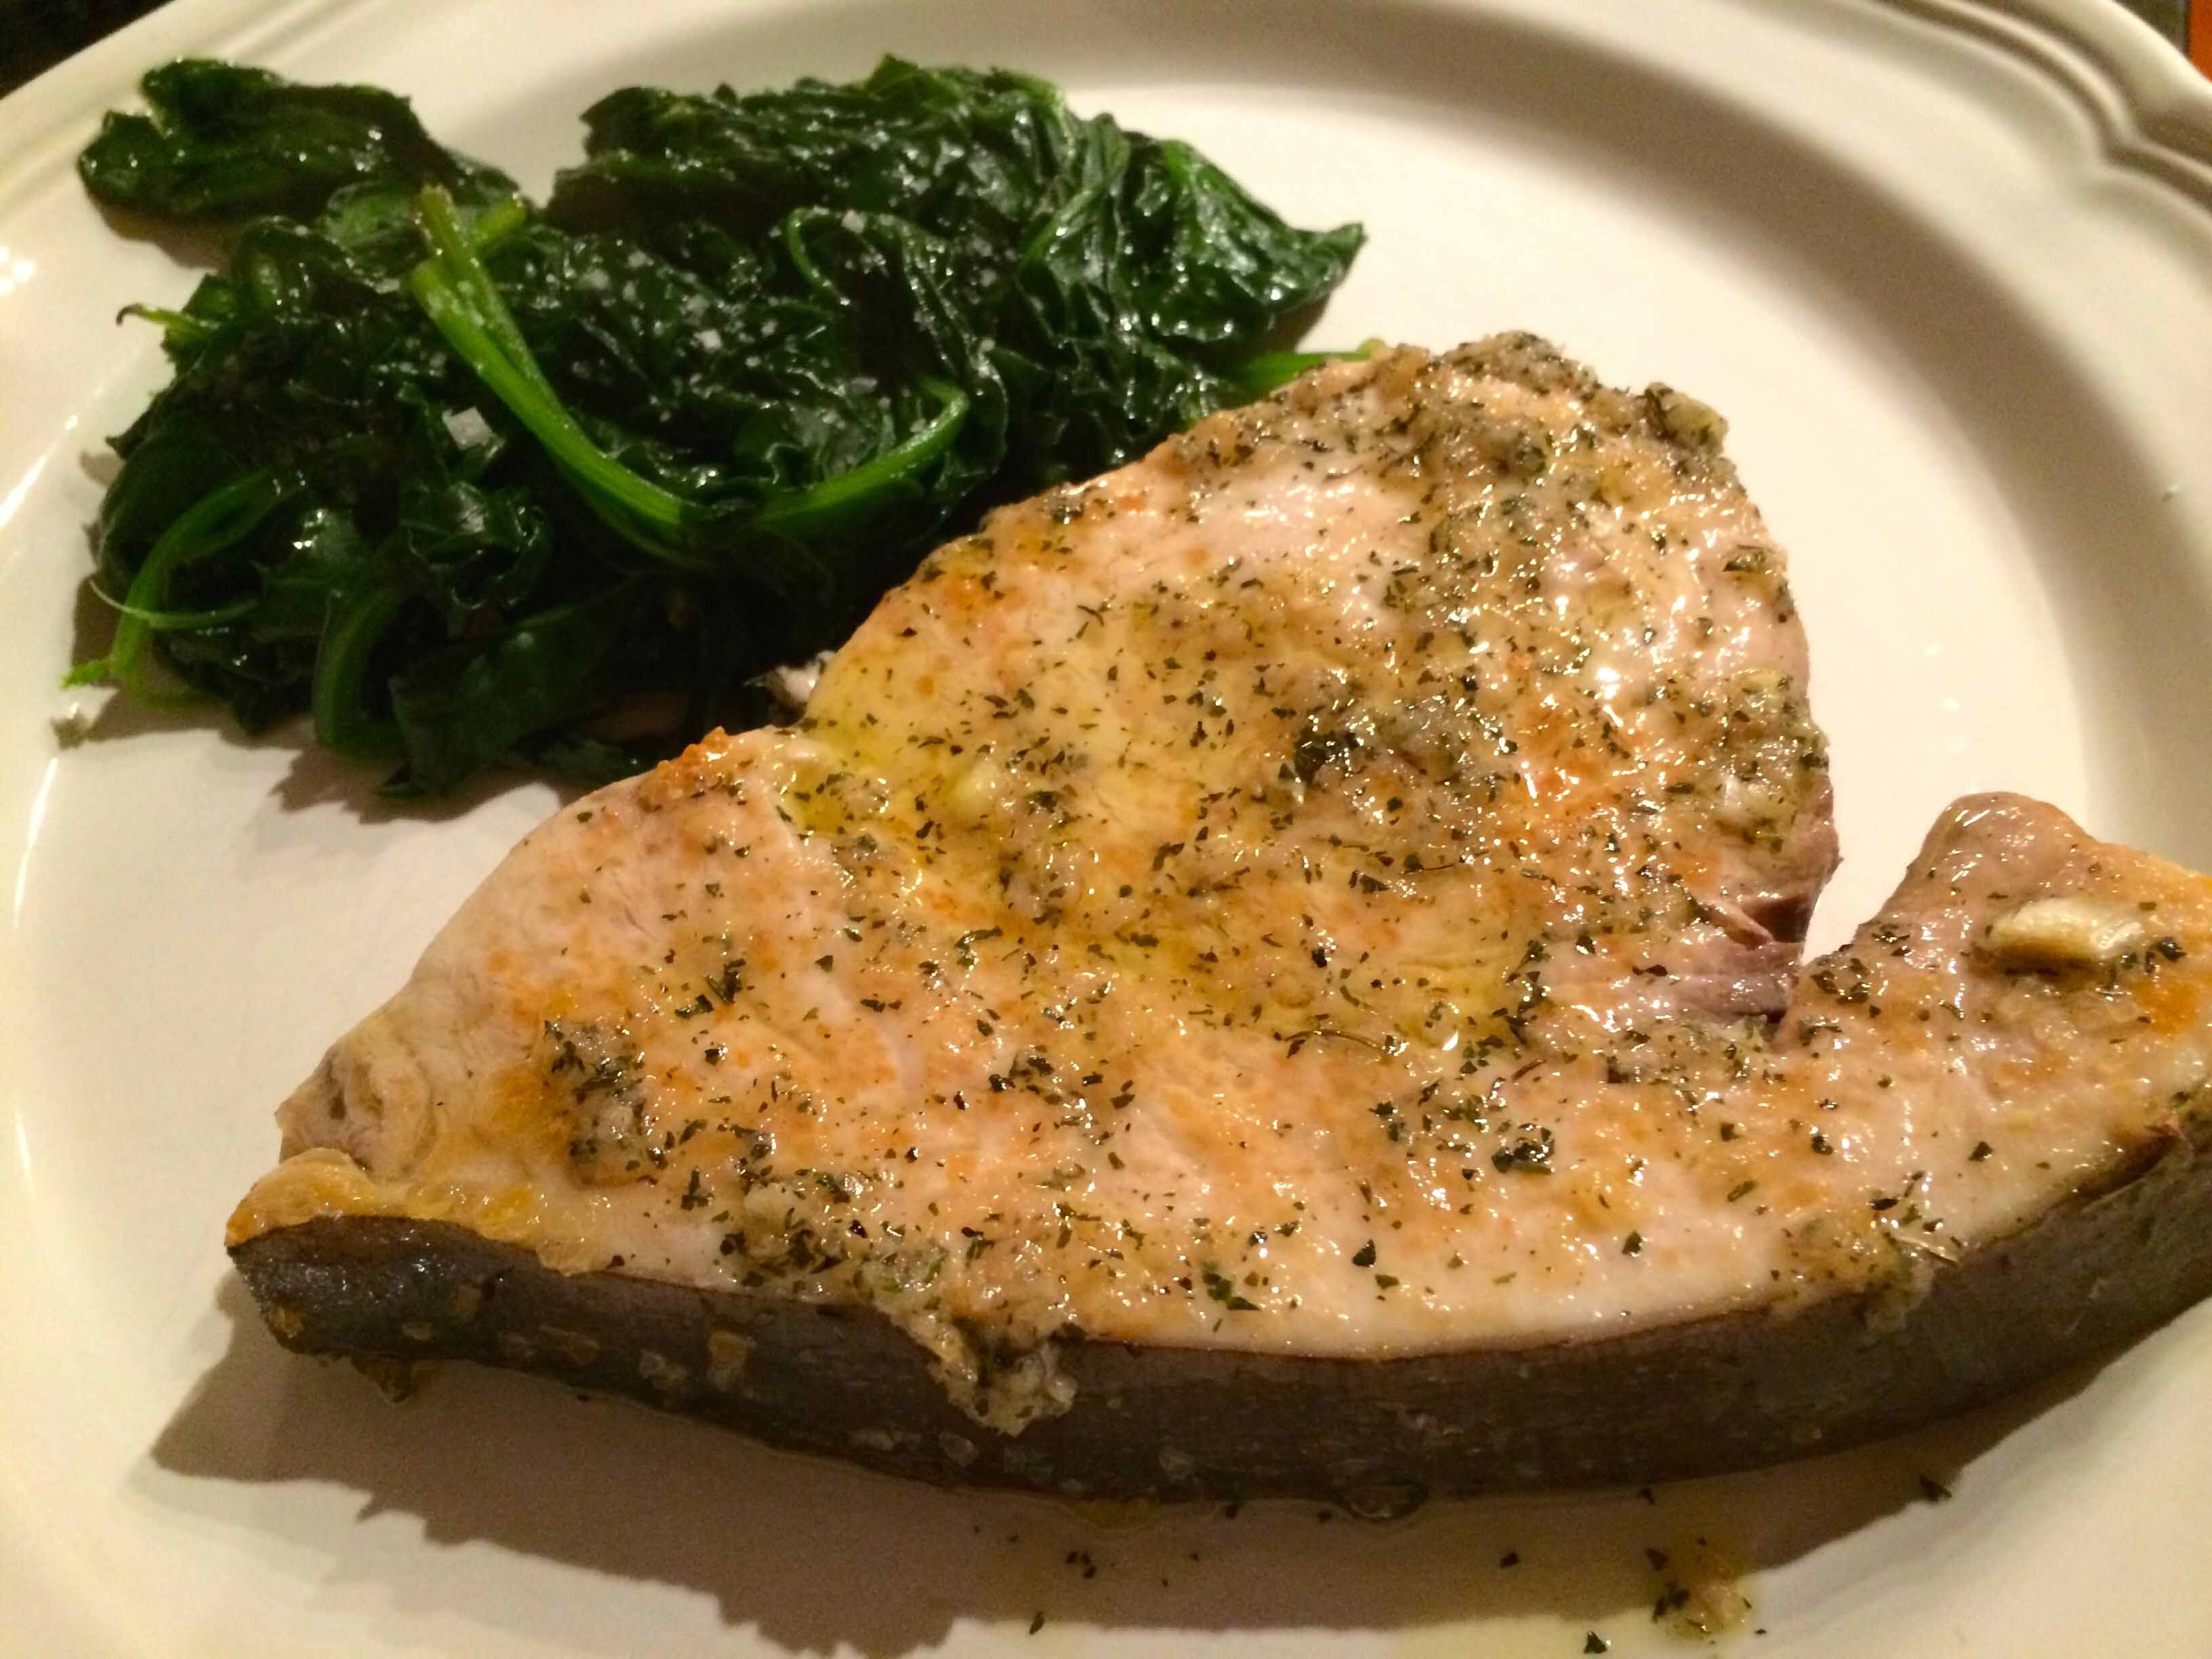
Place the fish on the platter and turn it to coat with the raw sauce, finally spooning some of the sauce on top.
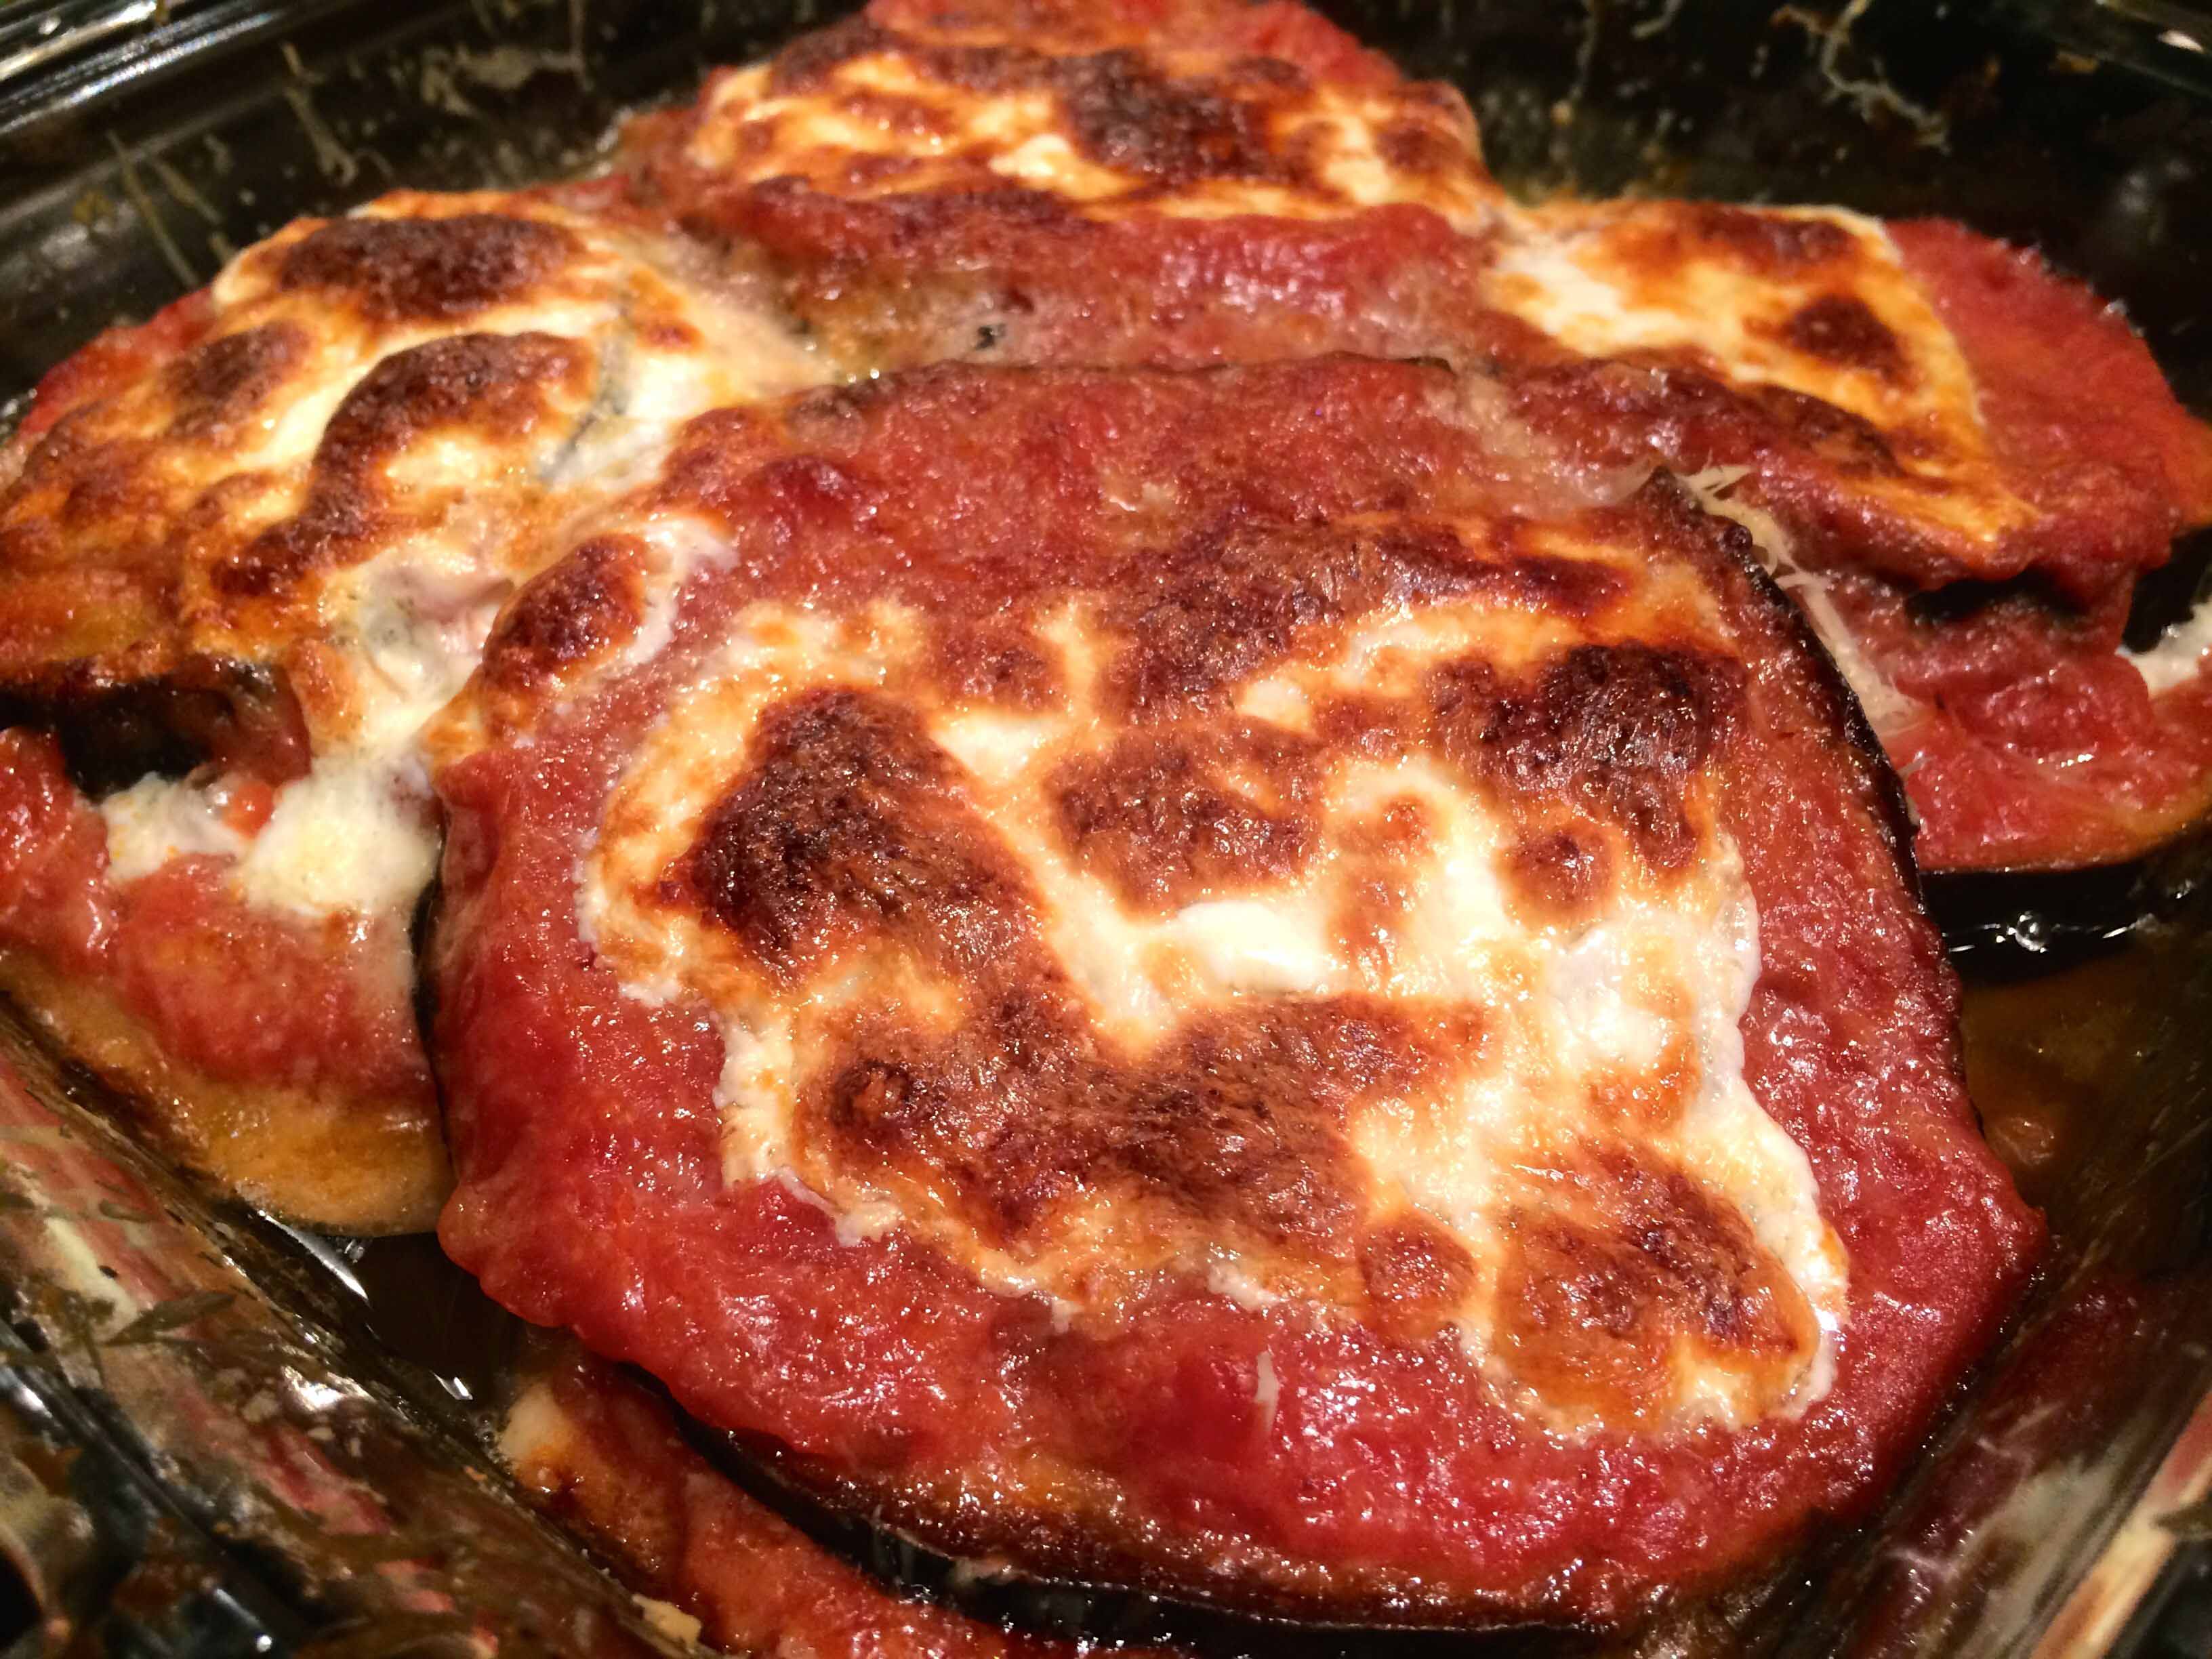
Eggplant Parmigiana was definitely not a favorite dish of mine when I was growing up. Nevertheless, it was often on our table for dinner, and I was thankful that it was there only as a side dish, so I could get away with having only a “teeny weeny” slice alongside the main course.
Today, however, in our home it’s a main dish that I have come to enjoy a lot. I attribute my later-in-life appreciation of it largely to Marcella Hazan, whose recipe in Essentials of Classic Italian Cookingyields a version that is lighter than many other renderings. The reduced weight can be attributed to the fact that, in her recipe, the eggplant is simply dredged with flour rather than being coated with flour, egg and breadcrumbs before frying. She also recommends peeling the eggplant unless using the Italian baby variety.
Over time, I’ve experimented with Hazan’s recipe and have made it even lighter by using uncooked, canned crushed Italian tomatoes rather than a cooked sauce. I also skip the peeling and salting of the eggplant. I find that today’s eggplants are not as bitter as they once were, making the salt purging unnecessary. Finally, rather than slicing the eggplant lengthwise, I opt for rounds, which let’s me fry more slices at a time.
Eggplant Parmigiana Adapted from Marcella Hazan’s Essentials of Classic Italian Cooking
Ingredients:
Extra virgin olive oil
1 large eggplant, sliced into 3/8 to 1/2 inch thick rounds
1 cup all-purpose flour
Salt
Unsalted butter
1 16-ounce can crushed Italian tomatoes
Parmigiano Reggiano
8 ounces fresh mozzarella, sliced thin
Fresh basil leaves
Directions:
Preheat the oven to 400°F.
Into a heavy bottomed skillet, pour the olive oil until it comes unto about 1 inch along the sides.
While the oil is heating dredge with flour as many slices of eggplant that will fit into the skillet without crowding. Do the dredging in batches, right before frying each batch, to keep the floured slices from getting soggy.
When the oil is hot, carefully place the first batch into the skillet and fry, turning each slice once, until lightly browned on both sides. Place the fried slices on a platter or a baking pan lined with paper towels to absorb any excess oil. Lightly salt the slices.
Fried eggplant slices
Continue frying and lightly salting in batches until all the slices are done. Do not stack the eggplant slices when they come out of the oil.
Add a pinch of salt to the uncooked canned tomatoes.
Grease an 8 x 8 inch baking dish with butter.
Line the bottom of the dish with the fried eggplant in a single layer. Spread a little less than 1/3 of the tomatoes over the eggplant. Make a layer of mozzarella and grate a liberal amount of Parmigiano Reggiano over it. Place a few torn pieces of basil over this layer.
Layering the eggplant
Continue making layers with the eggplant, tomatoes, mozzarella, Parmigiano, and basil until you have used up the eggplant. Skip the basil on the top layer. From one large eggplant, I get about 12 slices, which in an 8 x 8 inch baking dish makes for three layers. You will most likely have some left over tomatoes.
Dot the top layer with some unsalted butter and place the dish into the upper third of the preheated oven.
Cook for about 35 minutes. The eggplant should be bubbling and the mozzarella nicely browned.
Just from the oven
Allow to rest and settle for about 5 minutes before slicing and serving.
Last night, I decided to go a little more contemporary in the kitchen and decided to cook, for the first time ever, a pork tenderloin. I don’t know why I’ve never prepared one before, but the current issue of “Cook’s Illustrated” had one of their “technical” features on broiling this cut of meat that captured my interest.
Because I don’t use my broiler that much, other than for browning certain dishes, I found the article most informative and, after reading it, I was motivated to try the accompanying recipe for broiling pork tenderloins.
The magazine’s broiling technique involves preheating the oven to 325° F and then setting it to broil to cook the meat. It also foregoes a broiler pan in favor of a disposable 3-inch deep aluminum roasting pan which, it claims, makes for deeper browning. This recipe really works, and even though there were a few missteps (my pan was a little shy of the called for 3 inch height; I discovered when I went to turn the meat that my broiler had not turned on) the roast nevertheless turned out perfectly cooked, browned, and juicy.
Another reason I chose to make this dish was the sun-dried tomato and basil salsa recipe suggested as an accompaniment. It complemented the buttery flavors of the pork perfectly with a sweet succulence.
Sun-dried tomato and basil salsa
I’ve chosen to give a link to the “Cook’s Illustrated” website, which has a video that demonstrates this cooking method, rather than providing the recipes here. My reason? This is an advertising-free publication that relies heavily on subscriptions to support it and I hope that at least some of my readers will opt either to purchase this issue (September-October 2014) or even take out a subscription to help keep this excellent publication around. Here’s the link: Cook’s Illustrated Broiled Pork Tenderloin Video
Another trip down memory lane. As a child asking “What’s for dinner?”, I used to dread hearing the words “pasta acciughe,” Italian for “anchovy pasta.” But unlike many kids today, my brother and I had to eat, or at least try, whatever was put in front of us. “It’s an acquired taste,” my dad would say.
Well, I must admit it took me a few years to acquire that taste, but now I’m happy I did. Pasta acciughe was frequently served in our home as a first course on Friday nights, as well as during Lent, when we weren’t allowed to have meat. For the longest time, I thought having to eat it was a kind of penance for misbehaving.
Anchovy sauce is both simple to prepare and cooks in about the same time it takes to make the pasta. There are many variations of this dish, but mine is among the most straightforward. It has 4 ingredients: olive oil, garlic, anchovies, and fresh parsley. What I like most about it is that nothing interferes with the pungent, slaty, savory flavor of the anchovies. And although this dish is sometimes served sprinkled with toasted breadcrumbs, I prefer to enjoy mine plain. For me, the breadcrumbs detract from the unctuous texture and briny flavor of the sauce.
For this recipe, I like to use canned salt-cured fillets packed in oil. My favorite brand is Agostino Recca.
Spaghetti with Anchovy Sauce
1/4 cup extra-virgin olive oil
1 clove garlic, minced fine
10 anchovy fillets packed in oil, drained
8 oz spaghetti
Kosher salt
2 tablespoons of chopped flat-leaf parsley
Freshly ground black pepper
In a 10” heavy bottomed skillet, poach the garlic in the olive oil over low heat for approximately 10 to 15 minutes. The garlic should take on only a minimum of color.
Mid-way through the poaching, start cooking the pasta in well salted water. Try to time the cooking of the pasta so that it will be al dente when the sauce if finished.
When the garlic is finished poaching, place the anchovies in the pan and continue to cook mashing them with the back of a wooden spoon until they dissolve into the oil. (About 2 minutes.) When they have dissolved, add the parsley and continue to cook still over low heat for about 2 minutes.
Sauce waiting for the pasta
Using tongs or a spaghetti fork, transfer the cooked pasta to the skillet. Take off the heat and toss the pasta with the sauce until nicely coated. If the sauce is too thick, add a tablespoon of the pasta water to loosen it up.
Sprinkle, if desired, with some freshly ground black pepper and serve.
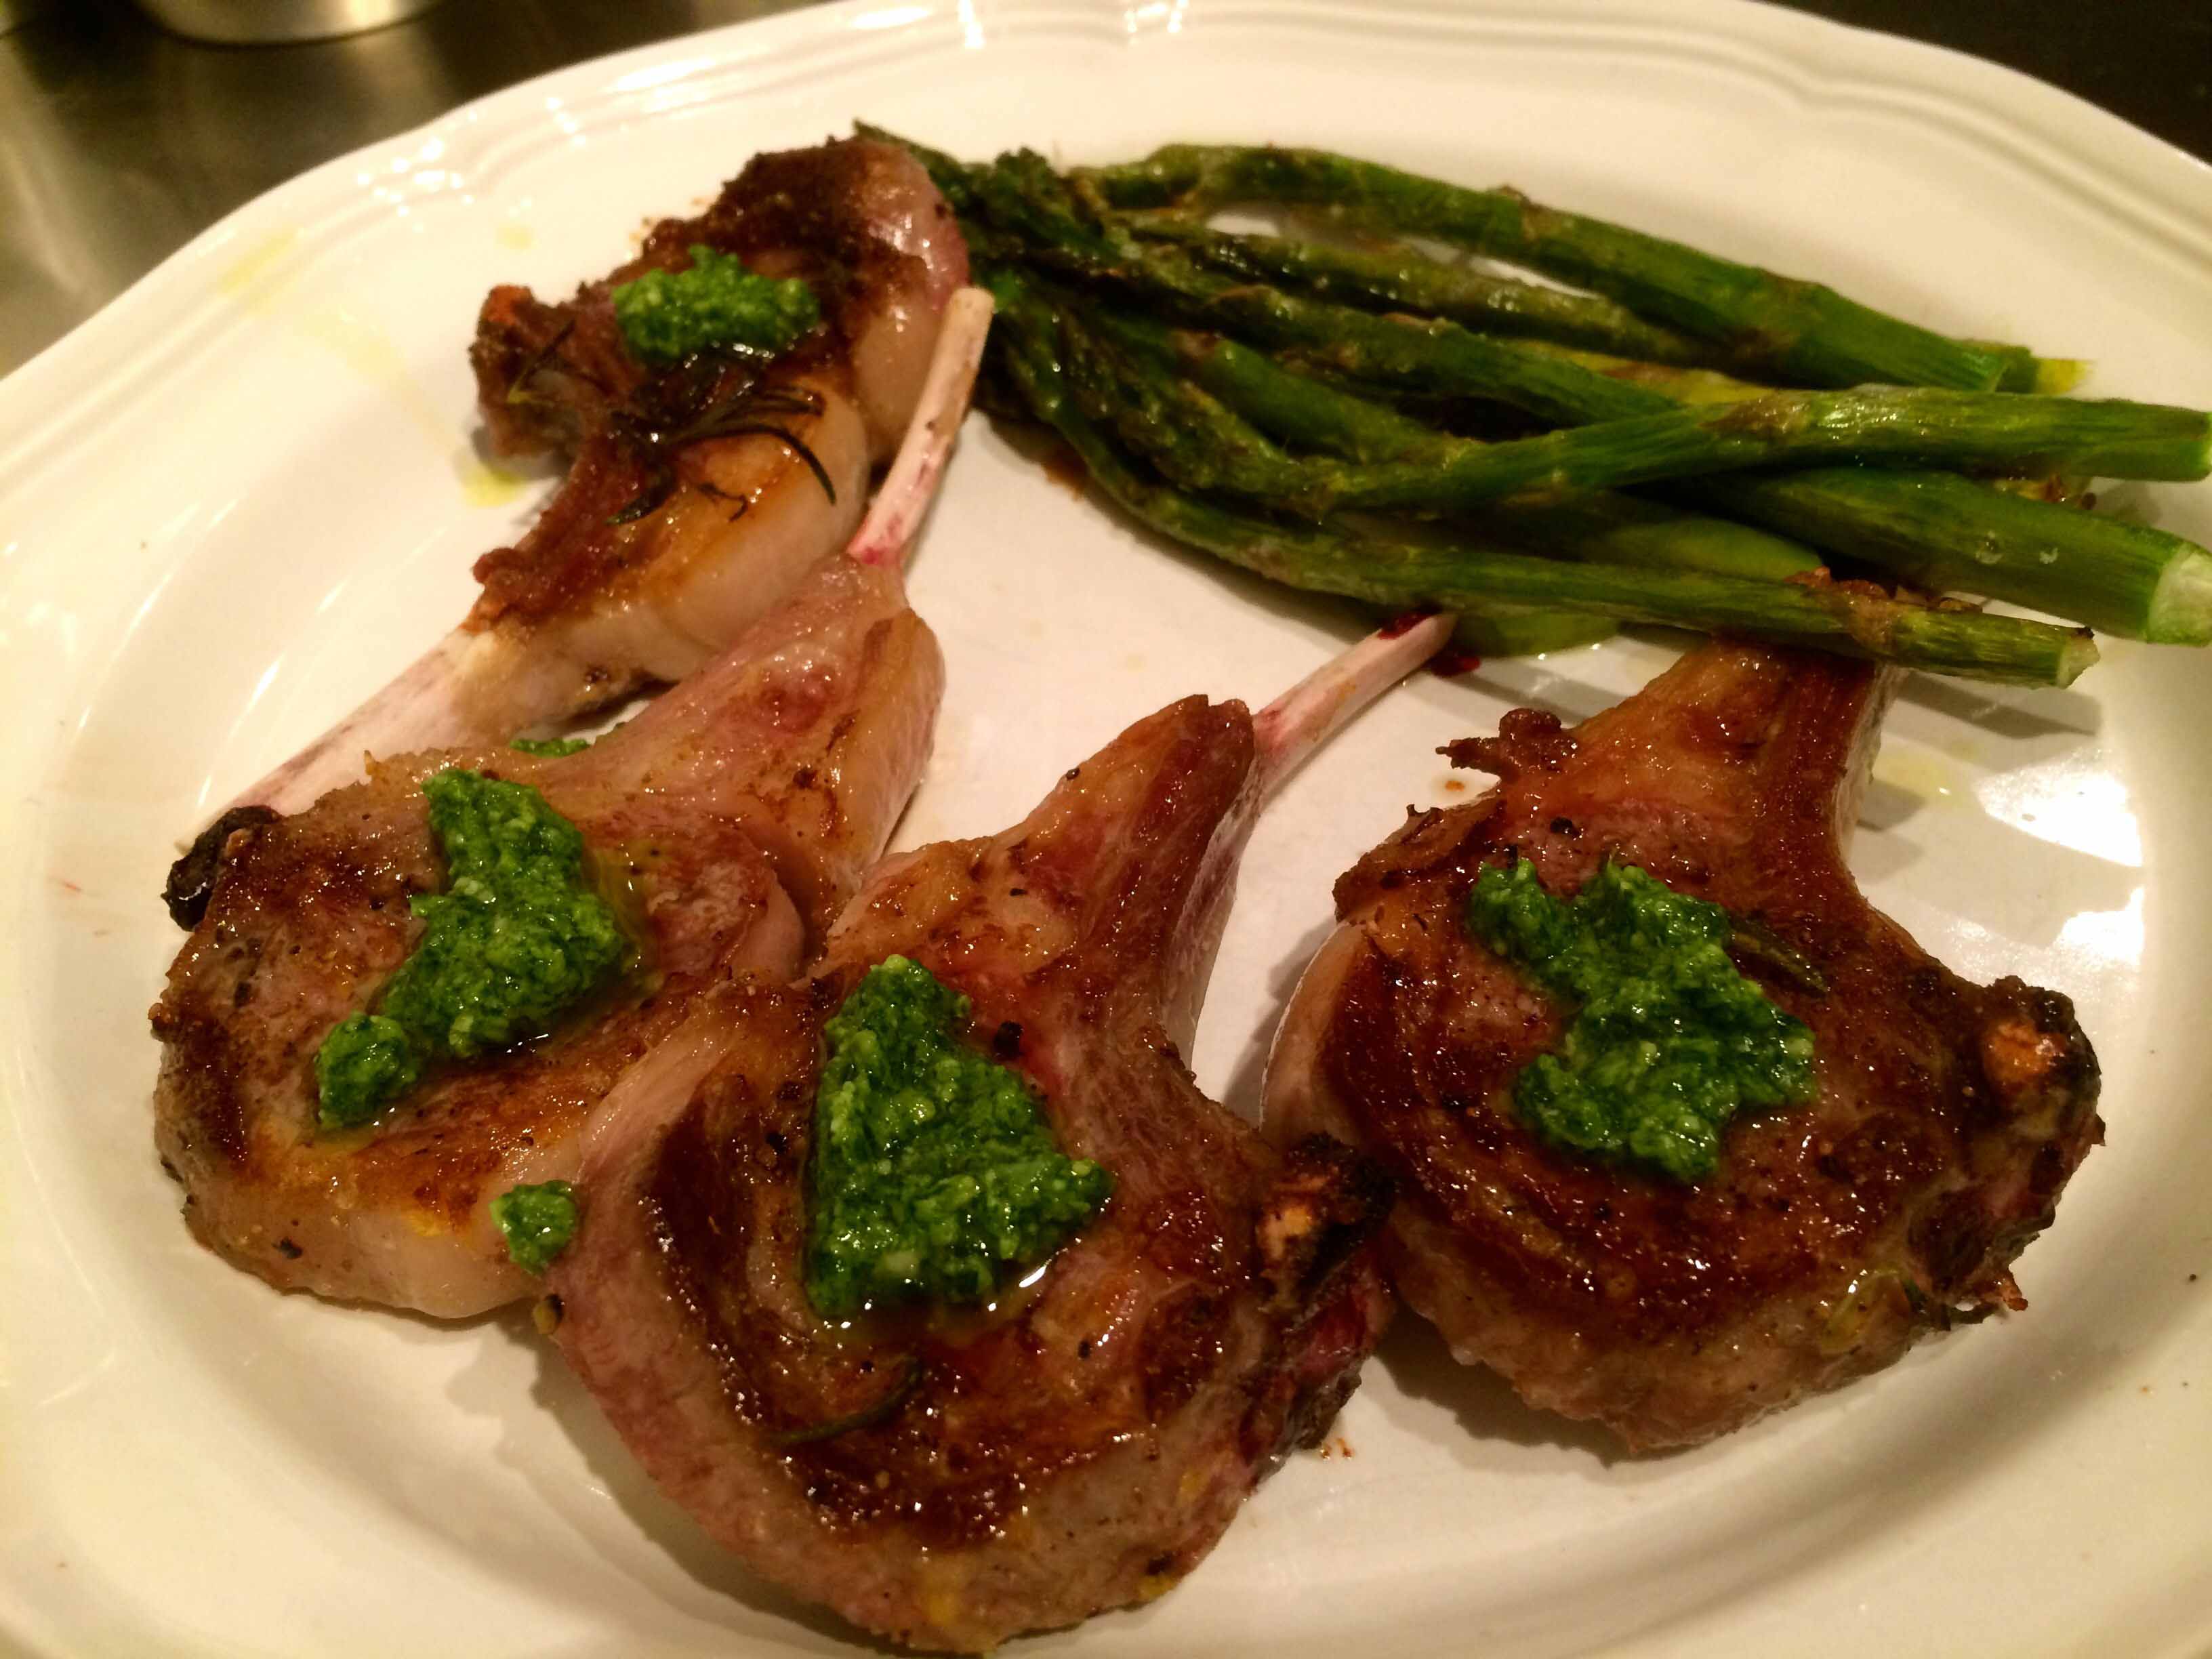
At our home, grilled lamb chops are a favorite Sunday night supper. They’re simple to prepare, quick to cook, and, when on sale as they were yesterday, irresistible.
These grilled baby lamb chops are indeed so good that you can’t wait to pick them up and, when you do, may likely risk burning your fingers. In fact, that’s why in Italy they’re sometimes labeled “scottadito” or “burnt finger.”
This is also a great dish for informal entertaining as it takes only a few minutes a side to grill the chops. In keeping with the “finger-food” theme, I generally serve the lamb chops with roasted asparagus.
Here are my recipes, minus exact measurements. The amount of oil, seasoning, herbs and cheese will be determined by the quantity of chops and asparagus that you are preparing.
For the chops:
Bring the chops to room temperature an hour or so before grilling. During this hour, marinate the chops seasoned with salt, pepper, and a little ground cumin in extra-virgin olive oil, lemon zest, and rosemary.
Chops marinating
Heat a grill pan and grill the chops over medium hight heat for about 3 minutes a side. The exact time will be determined by the thickness of the chops.
Chops on the grill
When done, place on heated plates and serve with a small dollop of pesto on each chop.
For the asparagus:
Preheat the oven to 400°F.
Wash and dry the asparagus. Trim the spears by snapping off the tough lower parts. Place in a baking pan and season with salt and freshly ground nutmeg. Drizzle with extra-virgin olive oil turning the spears to distribute the oil and the seasoning.
Grate a generous amount of Parmigiano-Reggiano over the asparagus and roast for about 15 minutes. The thickness of the asparagus will determine the exact cooking time.
A surprise gift of squash blossoms from the farmers market yesterday morning evoked memories of my aunt using them either for a sauté with cubed potatoes, for a pizza topping of blossoms, garlic, parsley, pecorino, and olive oil, or more often than not for squash-flower fritters. She always called these blooms “flowers” and cursed the day when they were discovered by gourmets and earned the more formal appellation “blossoms,” which elevated their price from pennies to dollars.
The thought of these fritters led me to my aunt’s recipe box, where I found an index card with a recipe written in her own hand labeled simply “Fritter Batter.” Not having had these fried delights for at least 40 years, I thought I would make an attempt.
My aunt’s recipe card
Her recipe simply listed ingredients without any other directions, so I had to rely on my memory for their shape, size, and color. A little research on the subject also led me to allow the batter to rest for a while and allow the baking powder to play its role in the production.
While the batter rested, I gently washed and dried the flowers after removing their stamens. I ripped each flower into two or three pieces and then added them to the batter coating them lightly.
I heated about a half liter of extra-virgin olive oil in a cast-iron skillet over moderately high heat to a point at which a cube of white bread started to fry and turn color.
Using two tablespoons, I formed the battered flowers into fritters, whose shapes resembled those of my aunt’s (or at least into the shapes as I remembered them).
When they were nicely golden on both sides, I lifted them from the pan with a spider and placed them on paper towels to absorb any excess oil. While they were still warm, I sprinkled them with sea salt and served them as appetizers.
A taste of the first fritter, one of the smallest, carried me back in time. The texture and flavor were perfect. However, the thrill of this victory was soon overcome by a sense of defeat as we tasted the larger fritters. Although nicely crisp on the exterior, in their center the batter was a little runny and uncooked.
I learned a lot about fritters from this experience One thing for sure is that before attempting them again, I’ll buy a frying thermometer. I think it will help me to fry them at the perfect temperature and cook them through without over browning.
Despite any disappointment, however, I’m still happy I made these fritters. The nostalgic high made it all worthwhile.