Baked Lamb Shanks

lshanksfinished2sm

Our local butcher had some really good looking lamb shanks on Saturday that I could not resist. Originally, I thought I would braise them, until I came across a recipe from Jaime Oliver’s Cook with Jaime.  This recipe calls for baking them, stuffed with some herb butter, atop of bed of finely sliced aromatics moistened with a few splashes of white wine, in individual foil packets.

What I liked especially about Oliver’s approach was that it highlights the meaty flavor of the lamb. Unlike as in so many braising recipes, there are no spices, tomatoes, or broth.

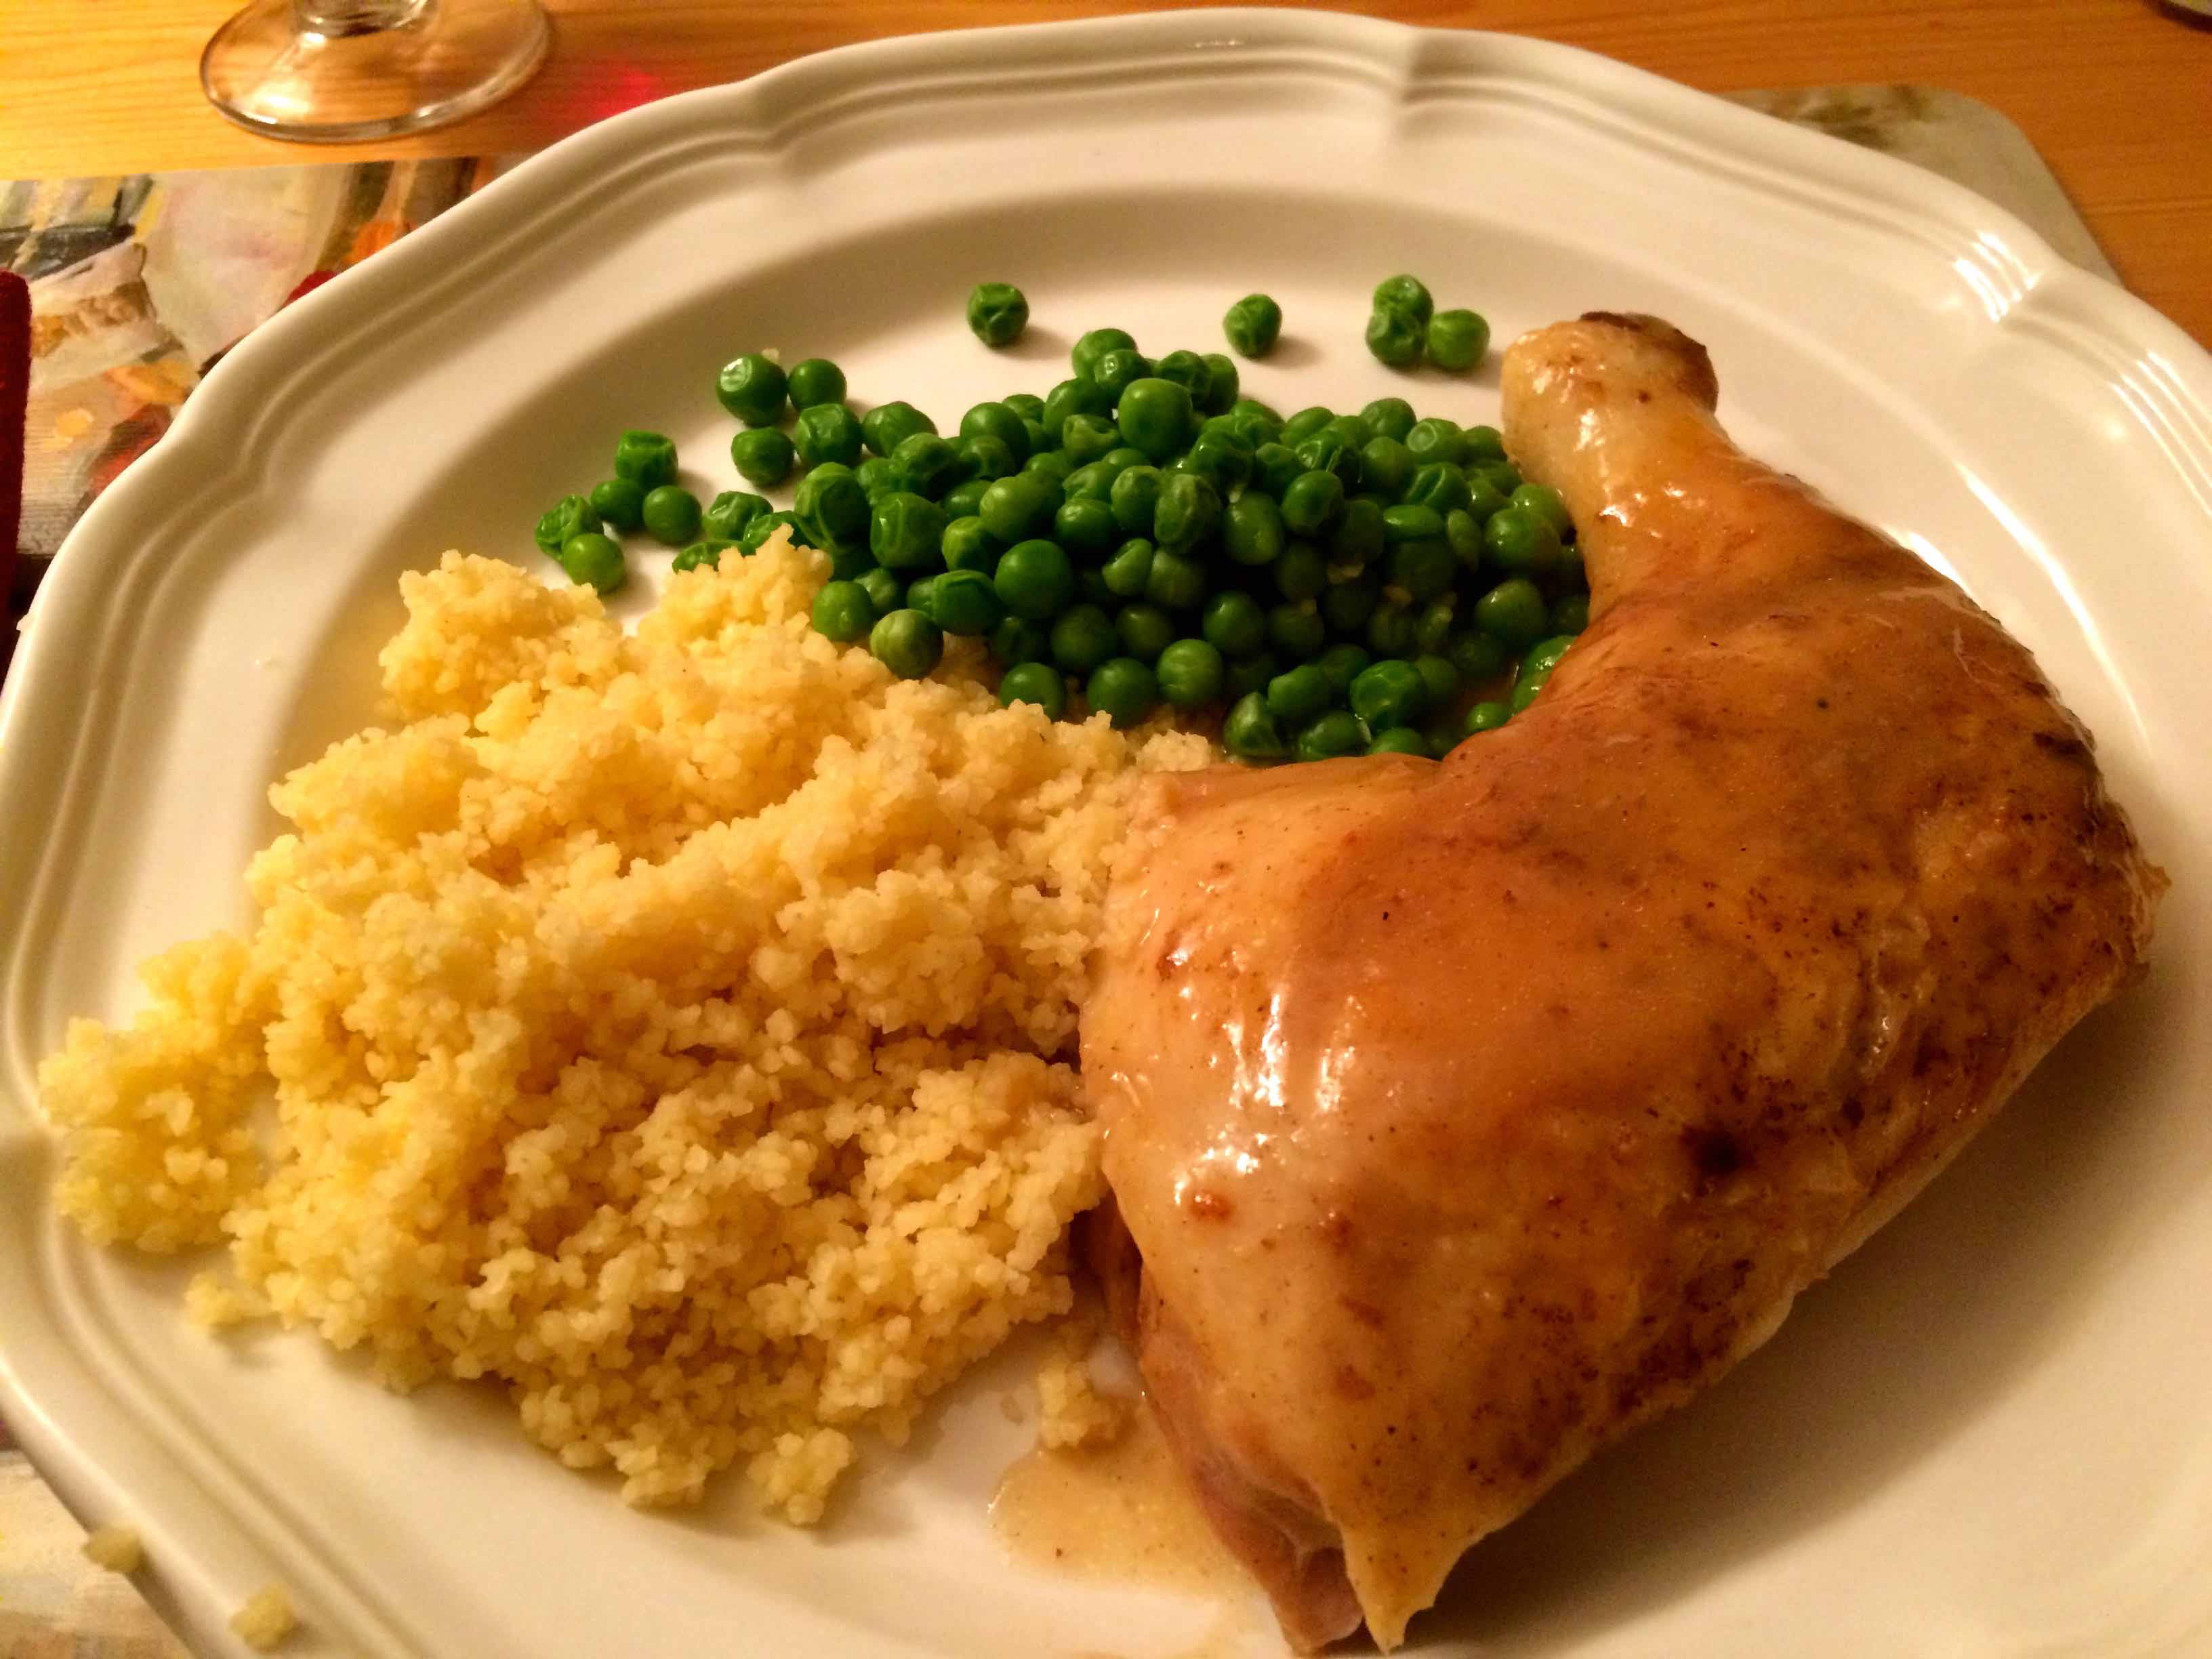
Once again, my poor timing had us dining quite late so I served the shanks, as suggested in the recipe, in their foil packets, with a side of couscous with raisins.

Baked Lamb Shanks Modified from Cook with Jaime
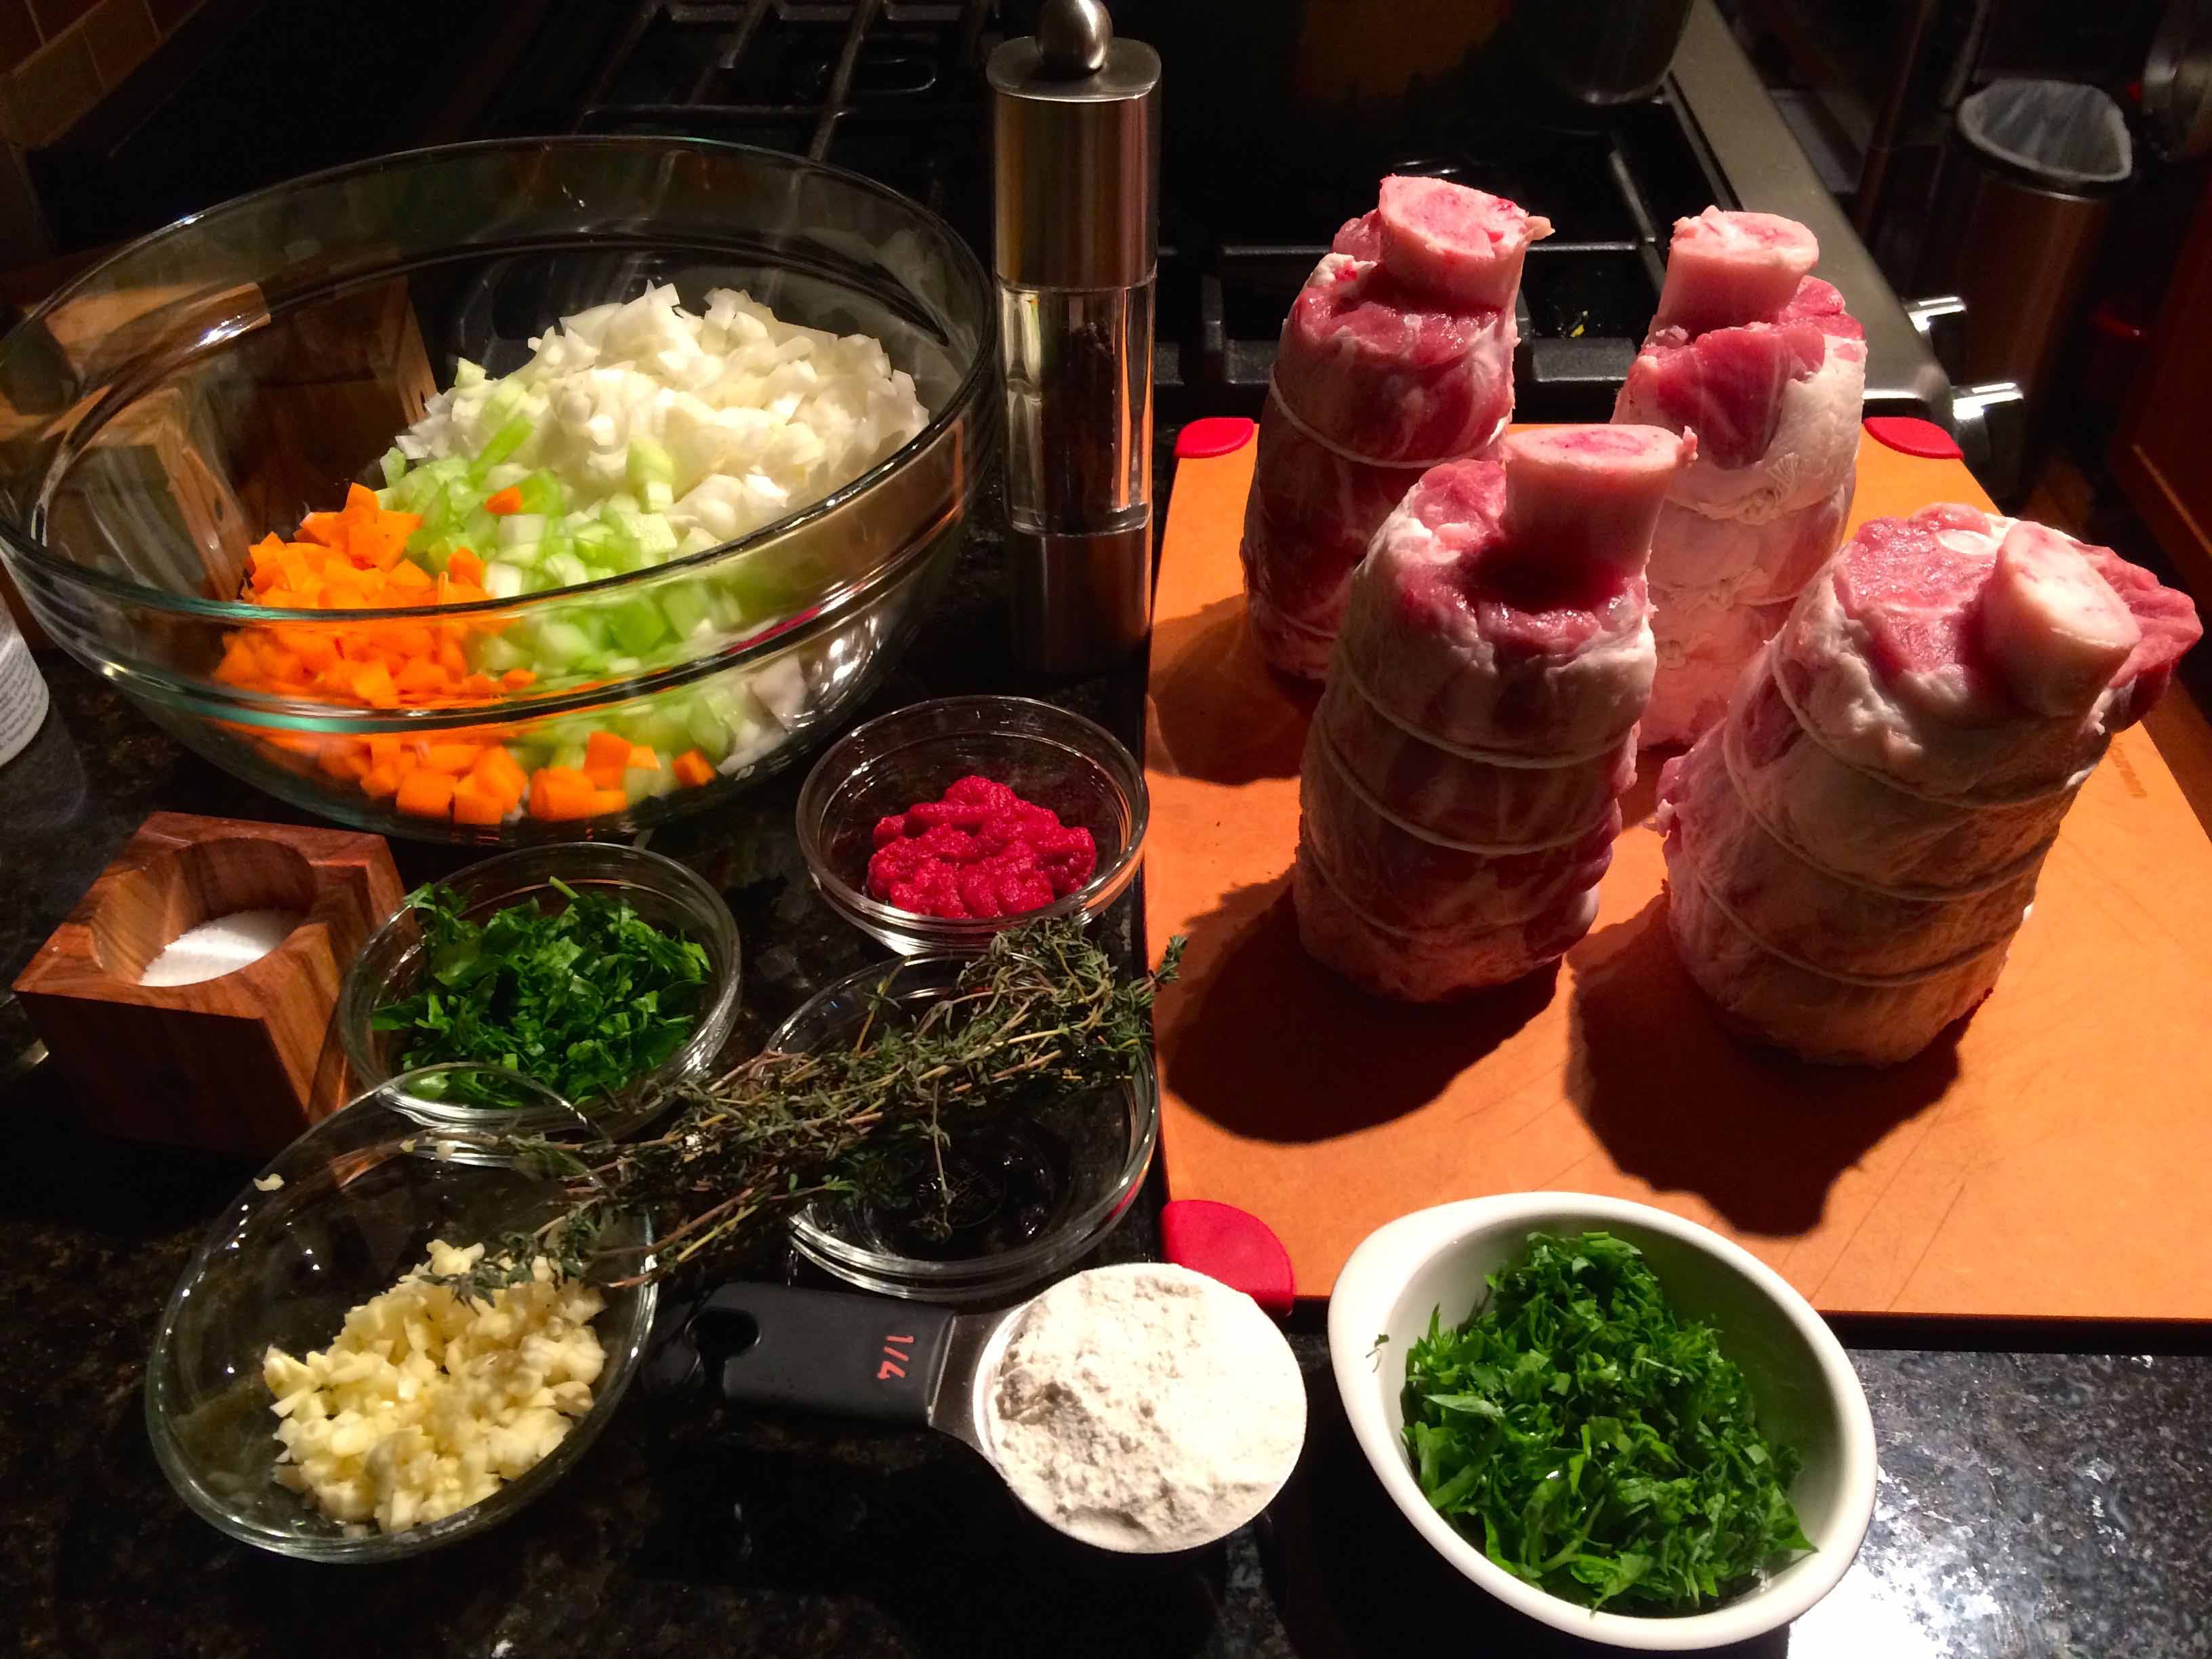
Ingredients

6 sprigs fresh rosemary

100 g cold butter

15 fresh sage leaves

2 sprigs fresh thyme, leaves picked

sea salt

freshly ground black pepper

4 quality lamb shanks, crown- or French-trimmed

12 cloves garlic, unpeeled

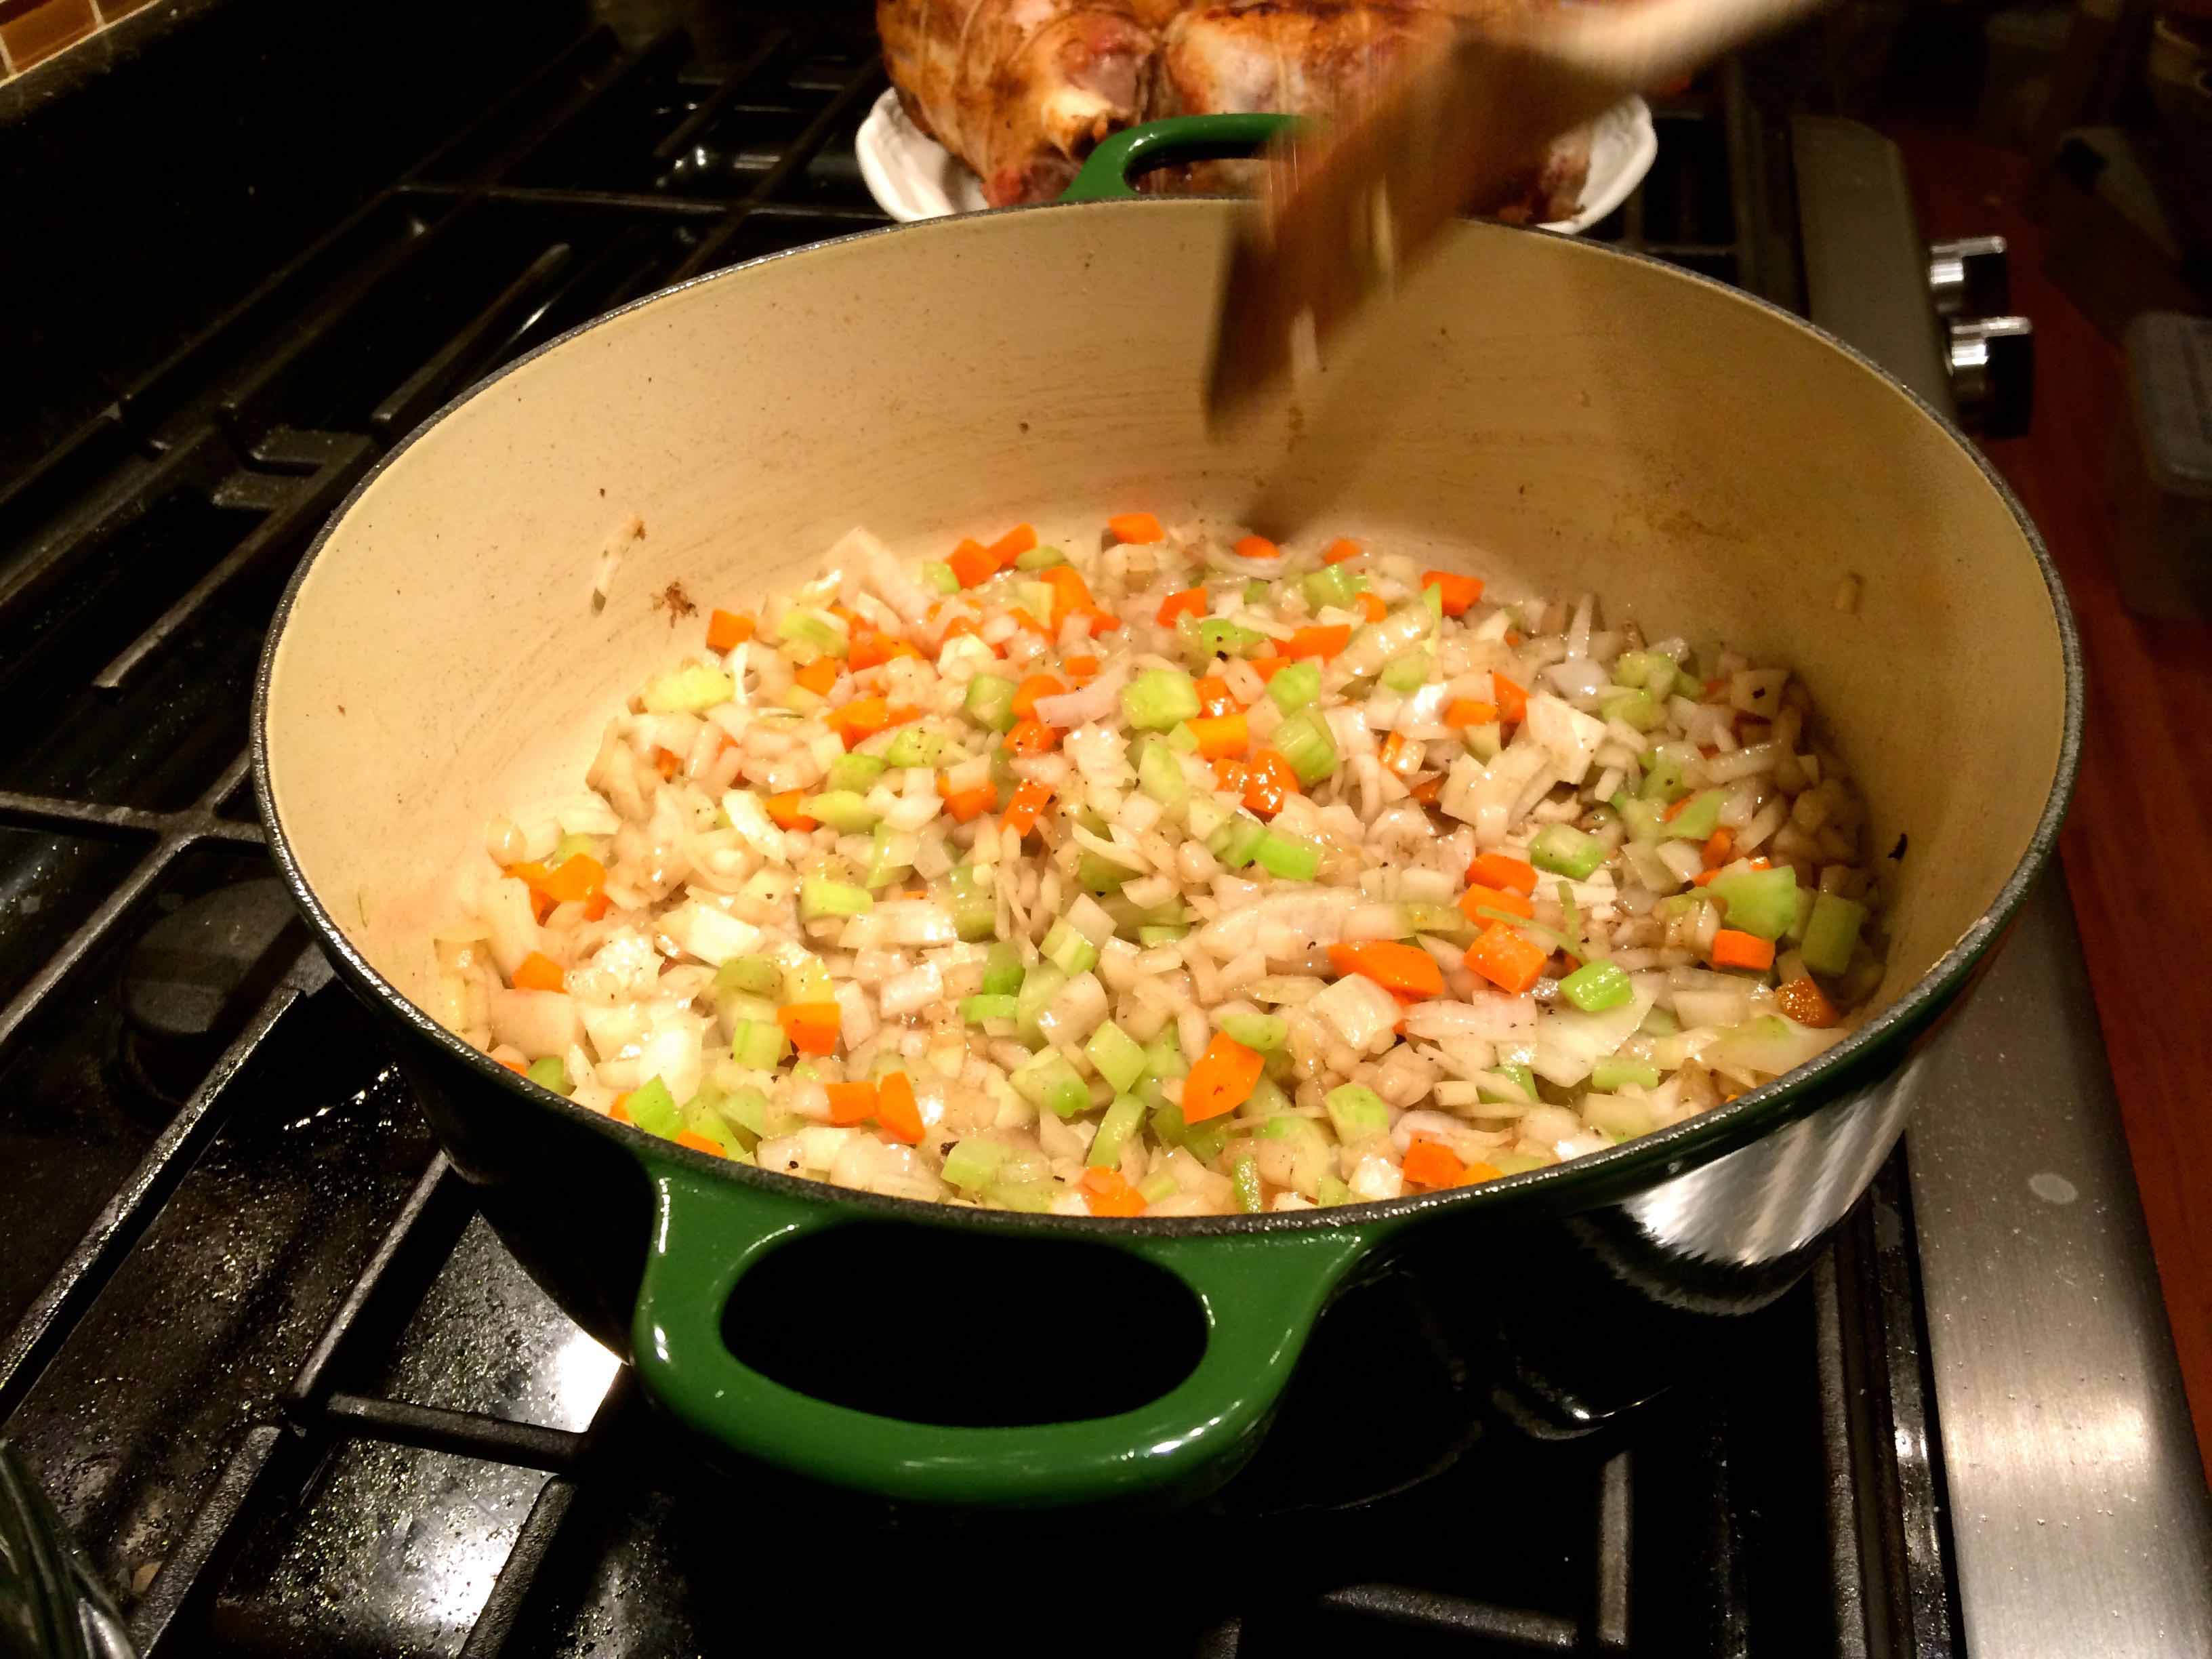
2 large carrots, peeled and finely sliced

1 onion, peeled and finely sliced

1 leek, washed, halved and finely sliced

extra virgin olive oil

8 ounces dry white wine

Note: I recommend using a mandolin to cut the leek, onion, and carrots into uniform 1/8 inch slices to ensure even and thorough cooking.

Method

Preheat your oven to 350ºF.

The ingredients
The ingredients

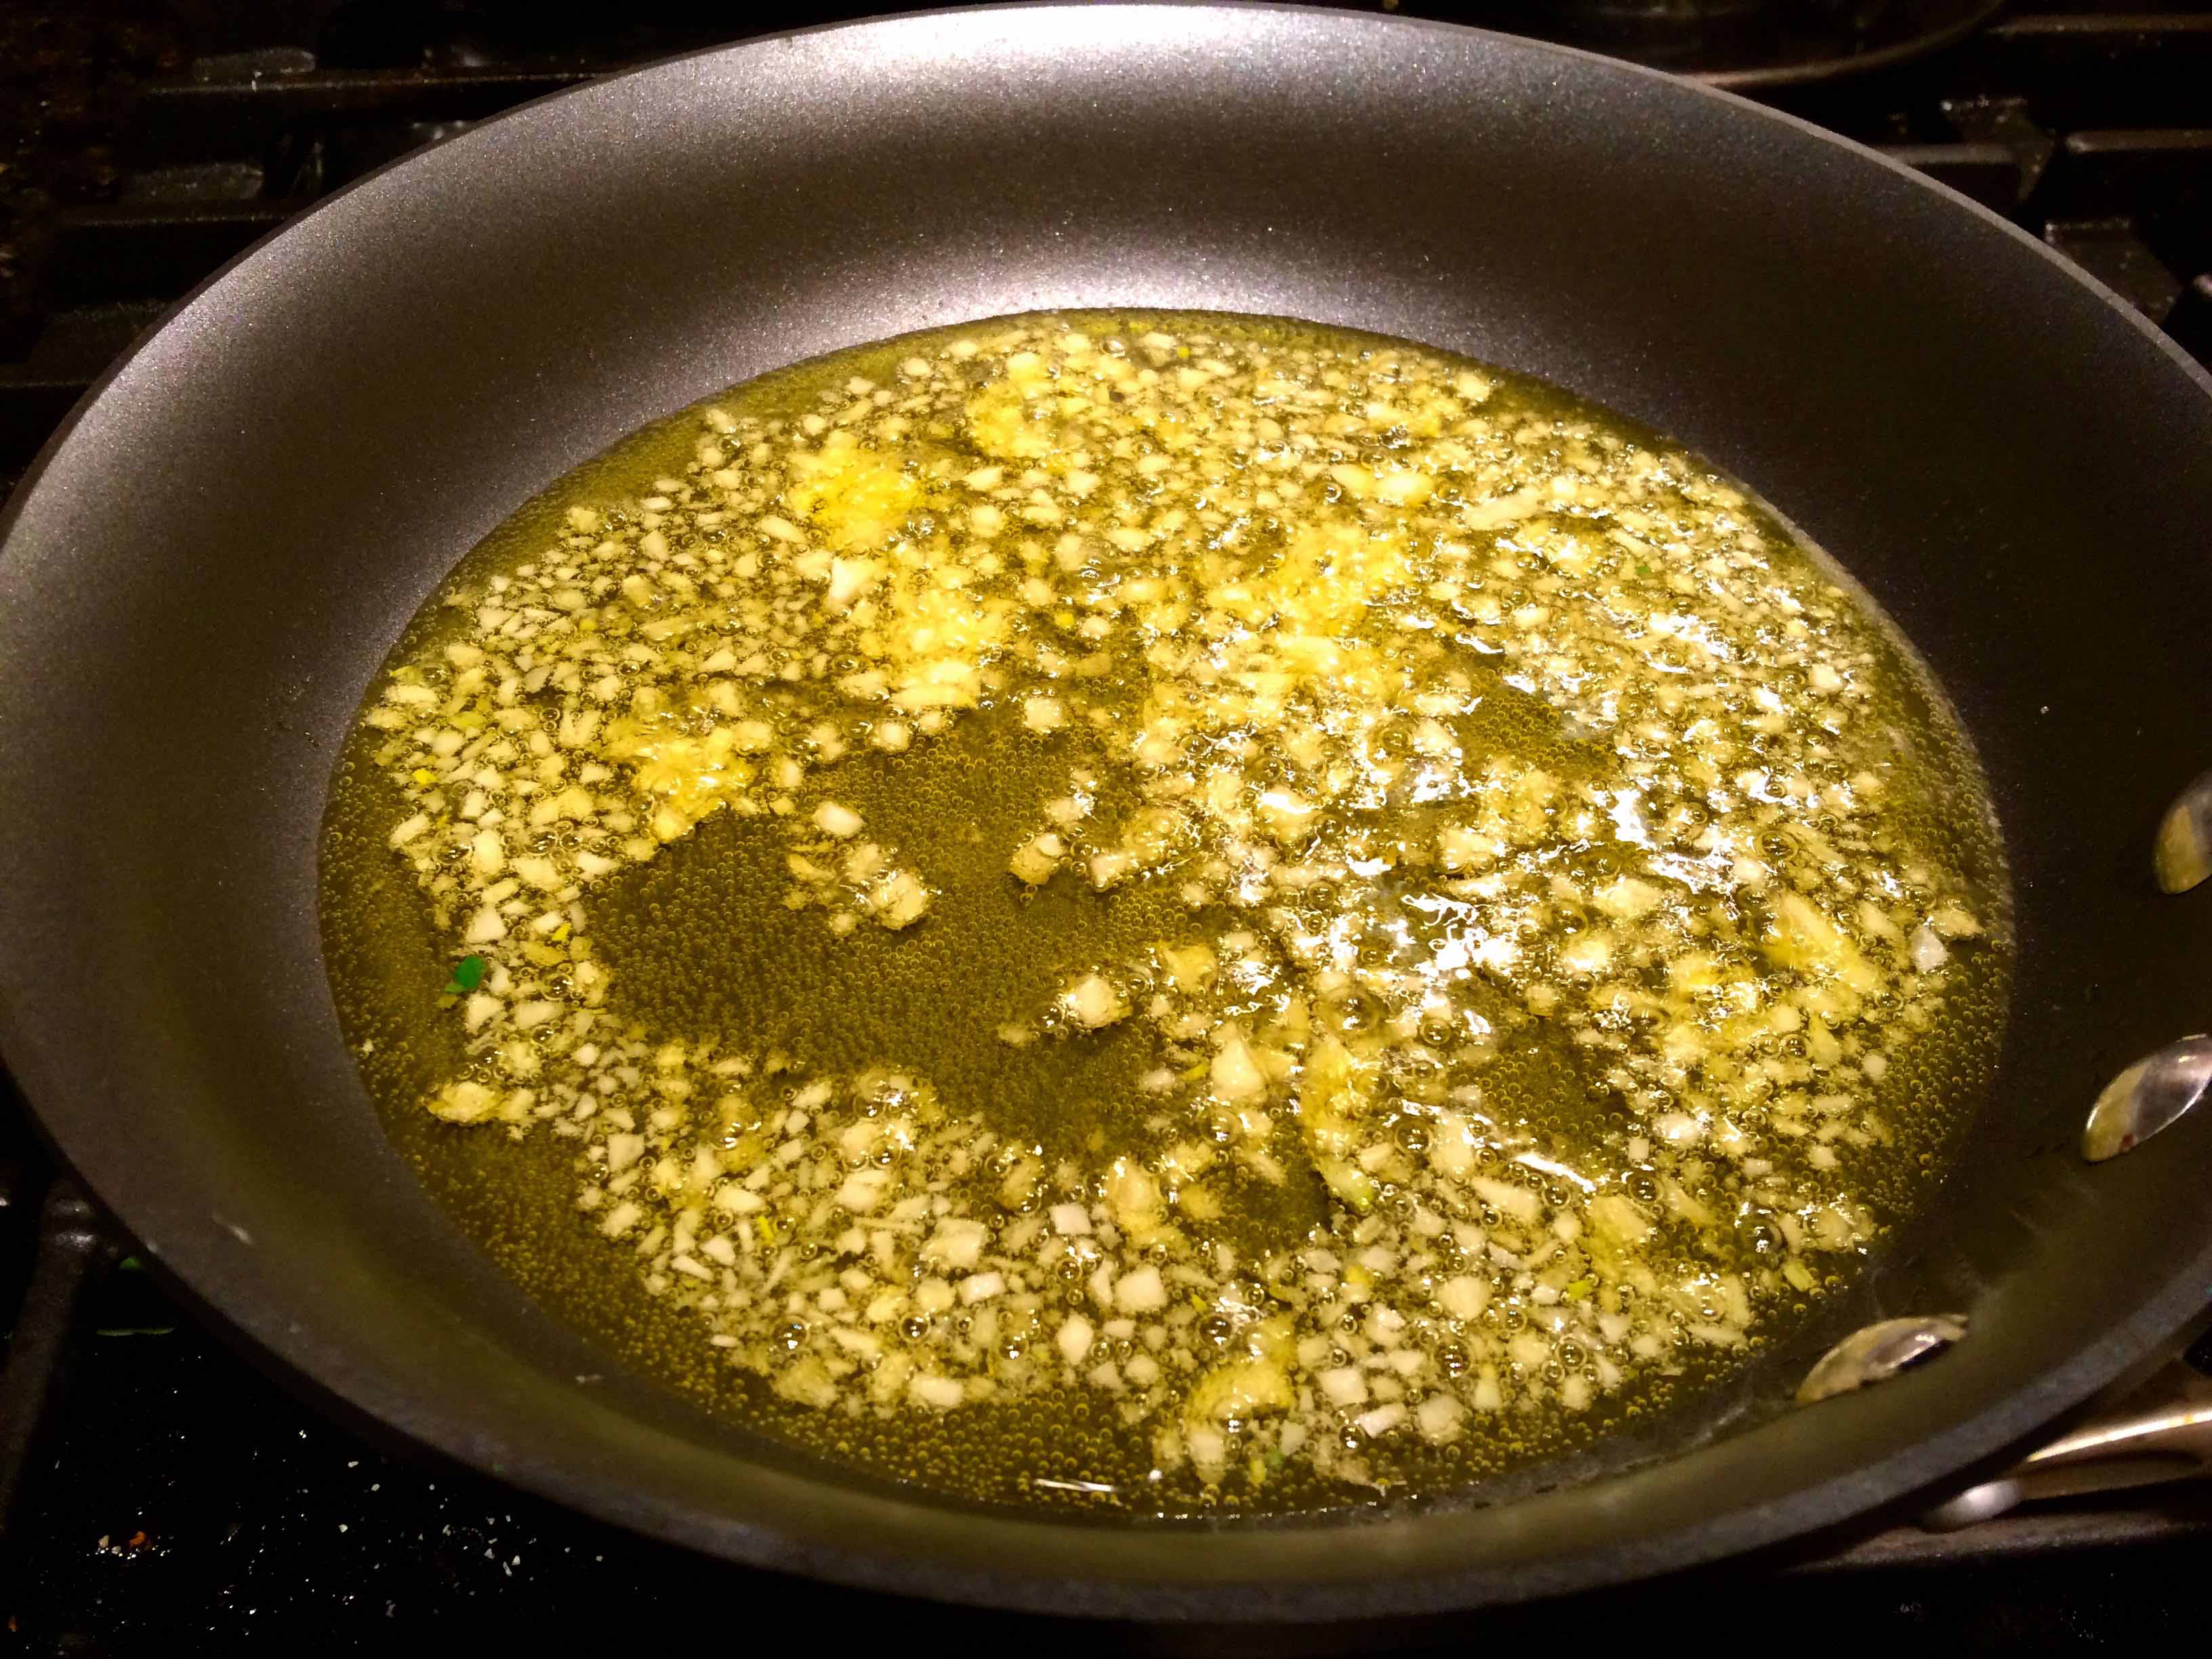
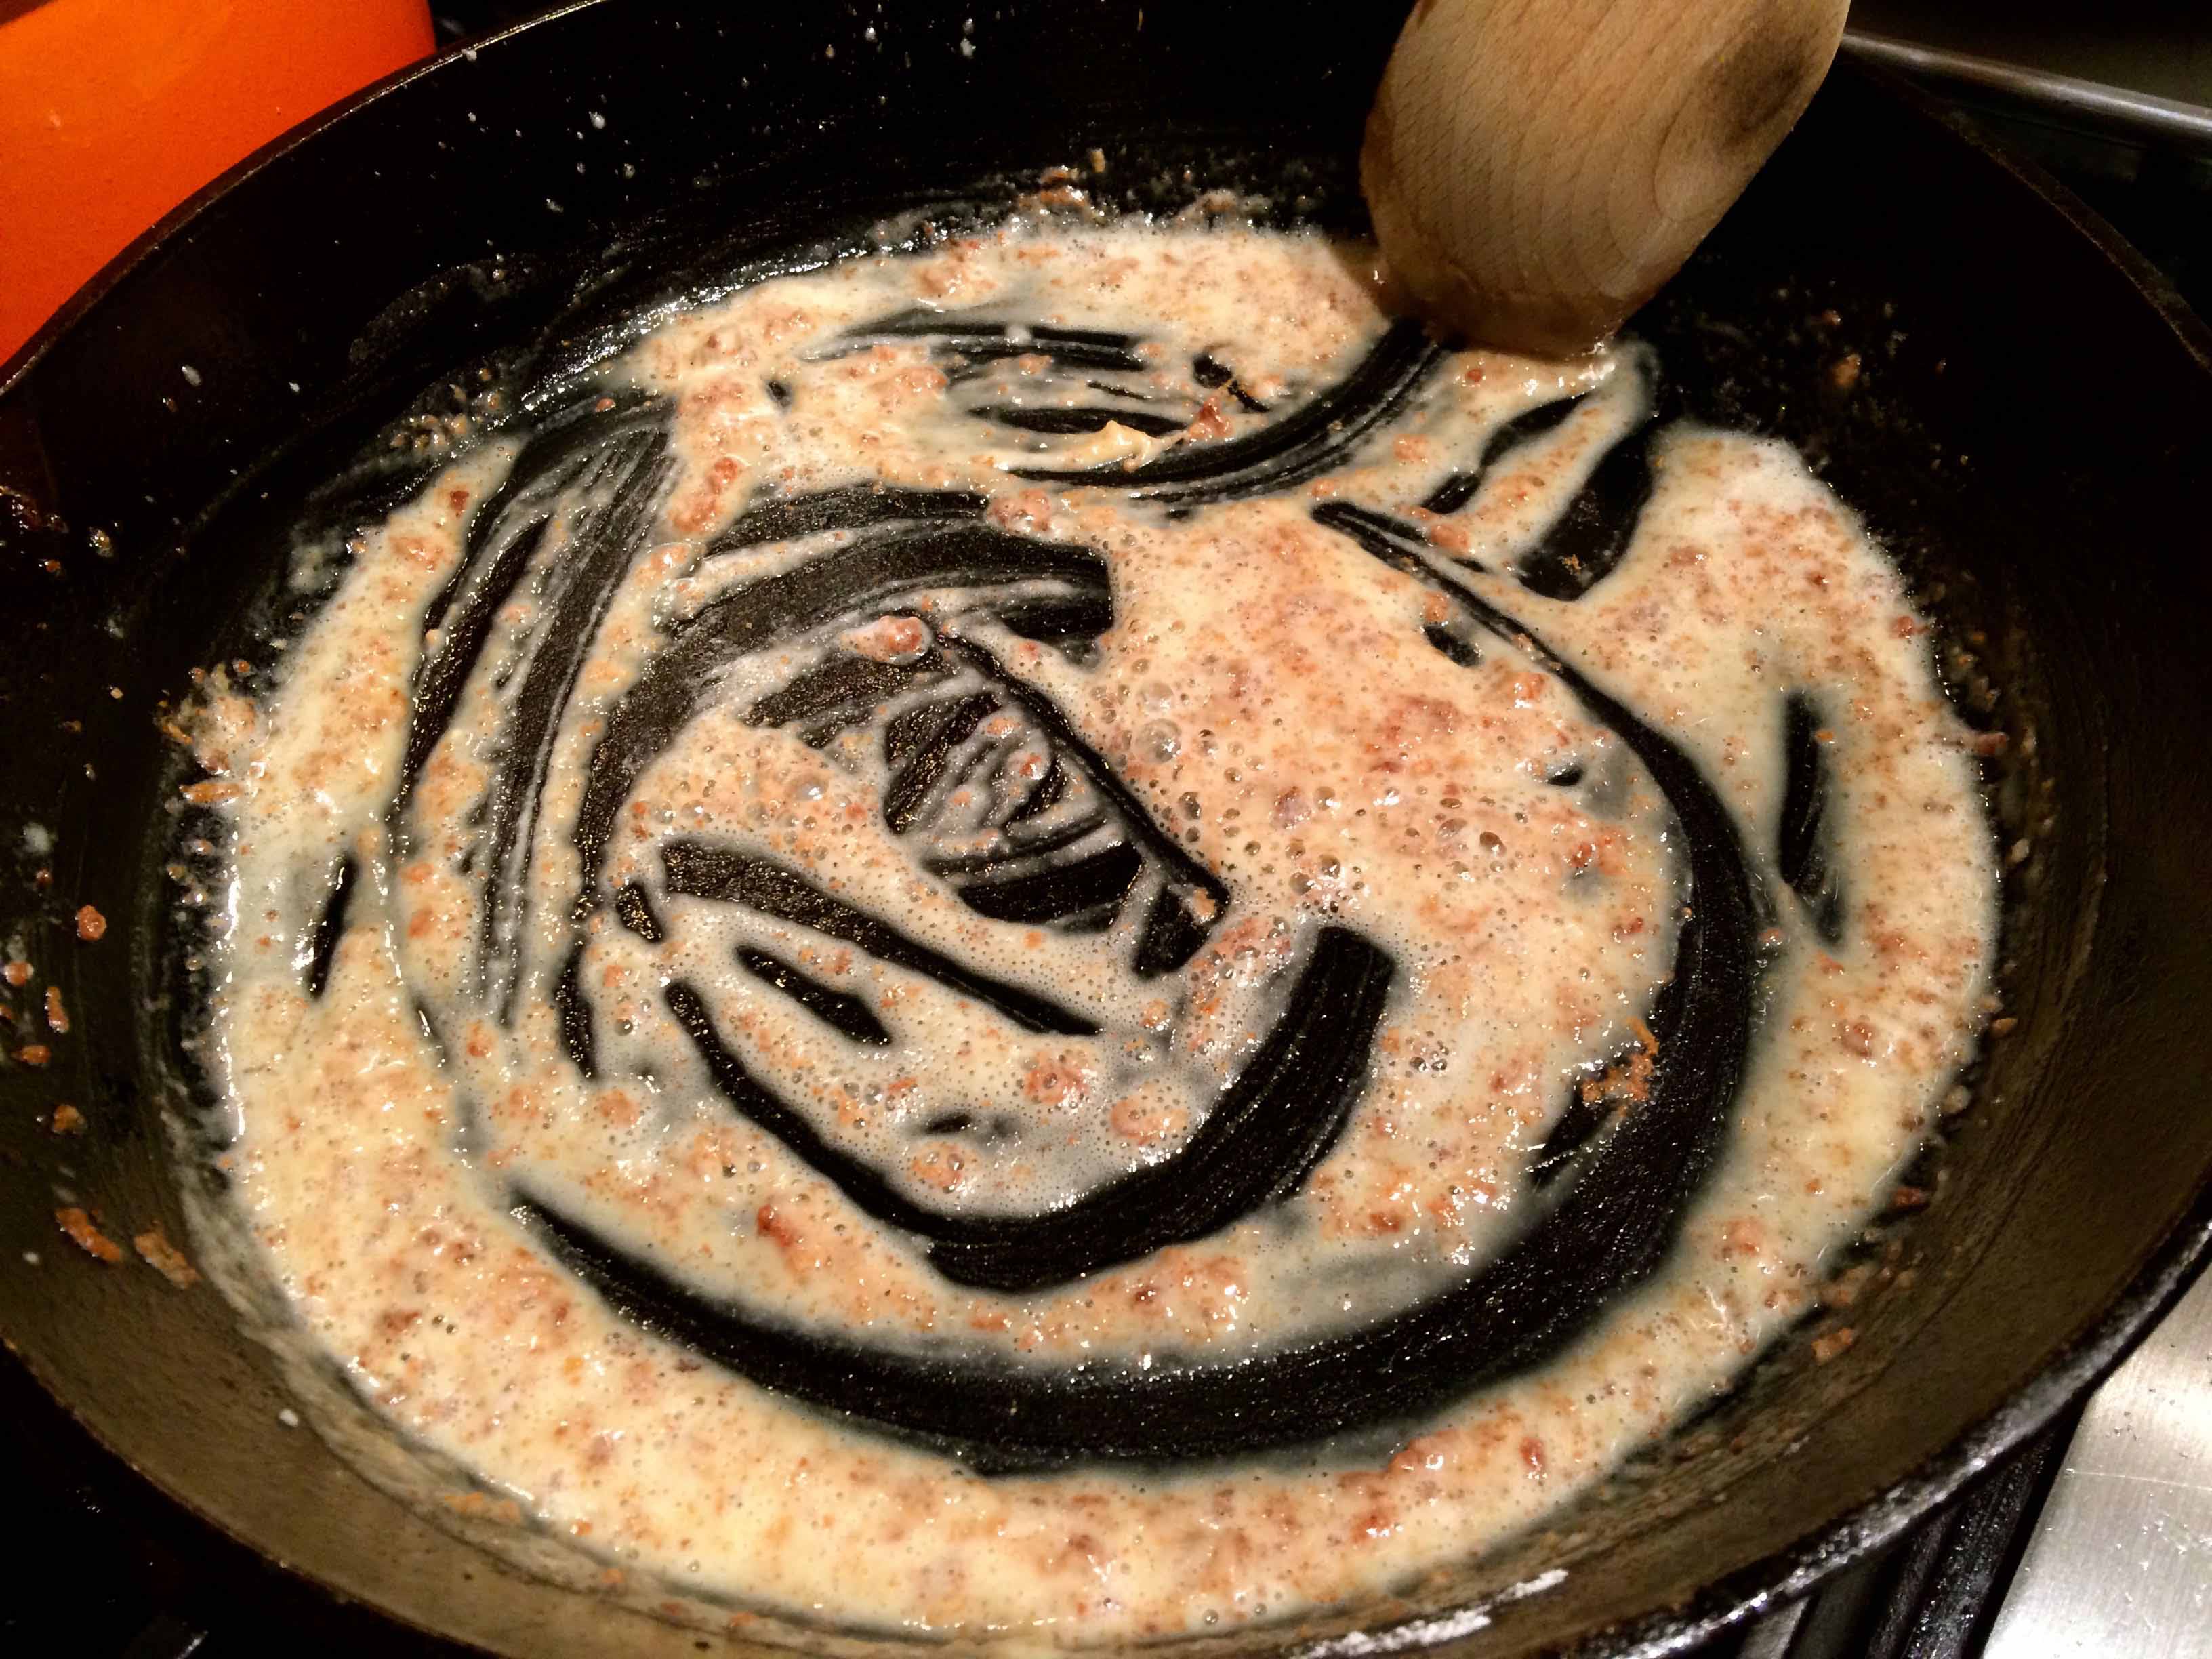
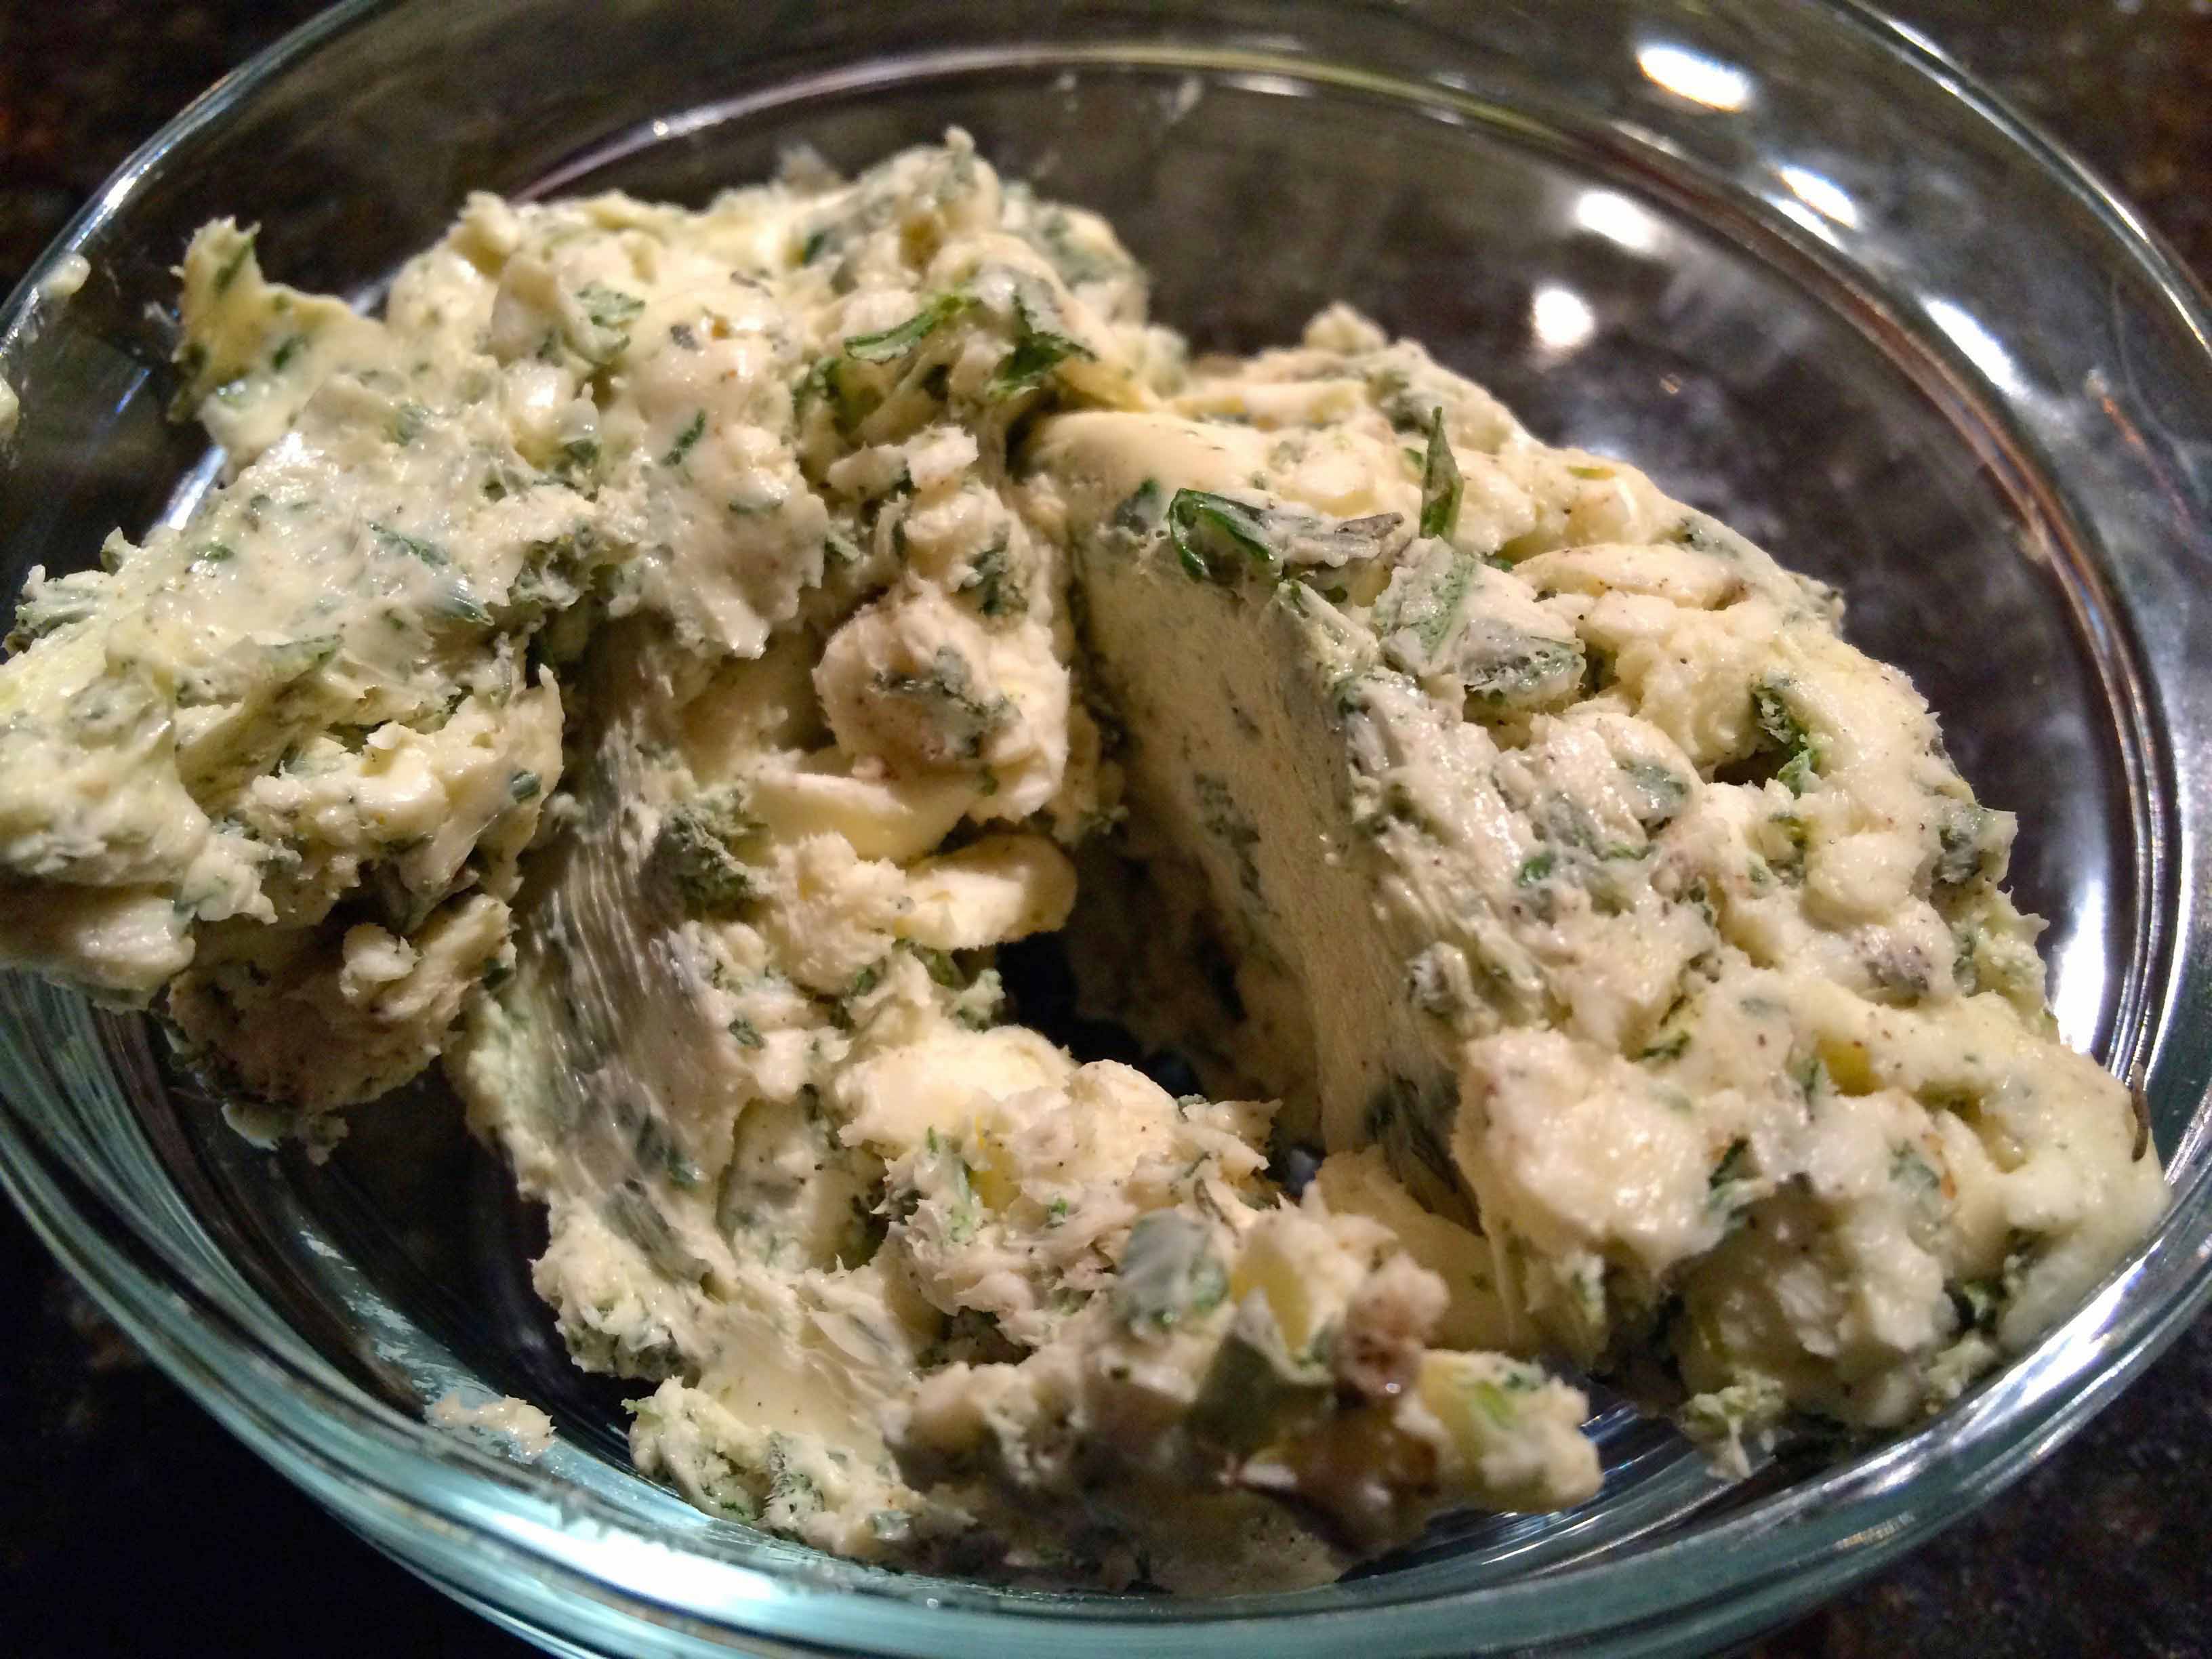
Pick the leaves off 2 sprigs of rosemary, pulse them with the butter, most of the sage and the thyme in a food processor and season with salt and pepper. You want to have a few sage leaves and thyme leaves to add with the remaining rosemary springs to the individual packets.

The herb butter--yes it's a lot
The herb butter–yes it’s a lot

Using a small knife (I used a boning knife), take one of the lamb shanks and cut between the meat and the bone from the base of the shank upwards. You want to create a hole big enough to put your finger in, making a sort of pocket. Do this to all the shanks and divide the flavored butter between them, pushing it into the pockets. This will give a wonderful flavor to the heart of the shanks.

The stuffed shanks
The stuffed shanks

Tear off four 12” x 16” pieces of heavy duty foil. Divide the garlic and veg between them, making a pile in the middle of each piece. Rub the lamb shanks with olive oil and season with salt and pepper, then put one on top of each pile of veg and a sprig of rosemary and a few sage leaves on top of that.

A filled packet
A filled packet

Carefully pull up the sides of the foil around the shank and pour a swig of wine into each. Gather the foil around the bone, pinching it together tightly. Any excess foil can be torn or cut off with scissors. Repeat for all 4 shanks, then place the foil parcels on a baking tray with the bones facing up.

The wrapped shanks
The wrapped shanks

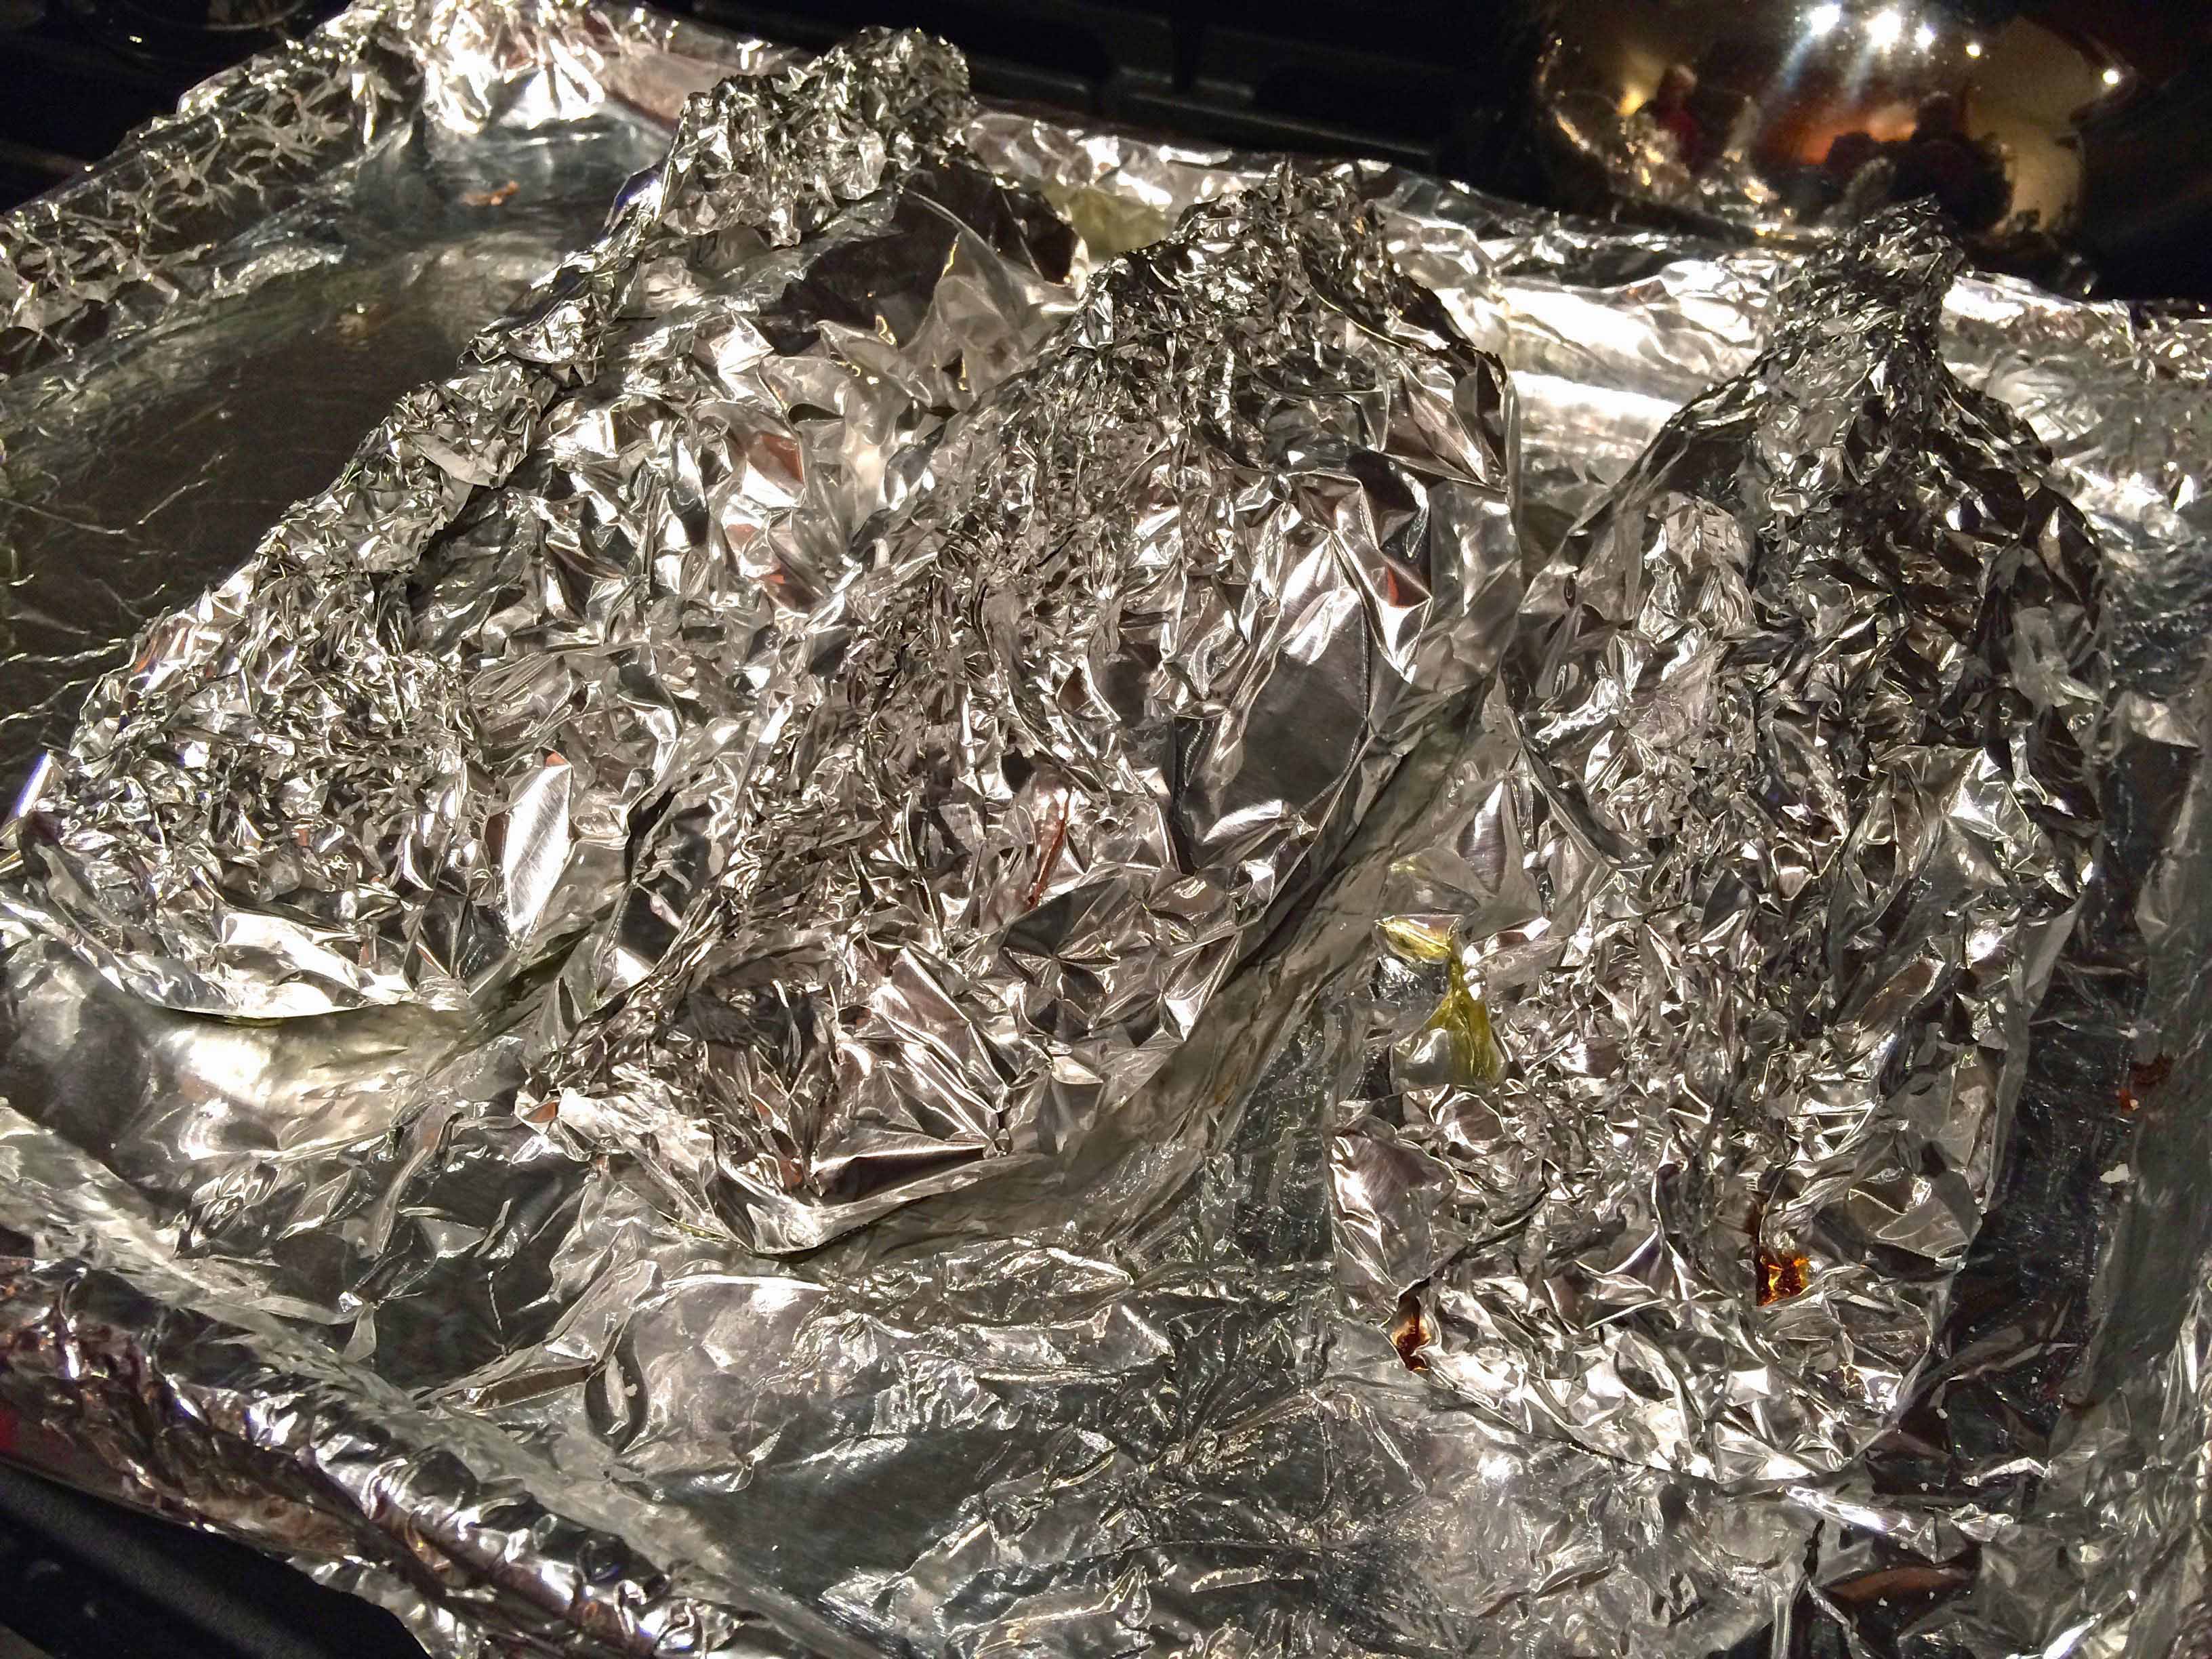
Put in the preheated oven for 2½ hours or until the meat is as tender as can be. Serve the parcels in the middle of the table so that your guests can open them up themselves.

Wine Pairing: A cru Beaujolais (e.g., Fleurie, Brouilly)

Beef Stew

stew3sm

It was a blustery Sunday afternoon when we went to our local market to shop for dinner. Seeing boneless chuck roast on sale for $2.00 off per pound made my choice easy. I wasn’t quite sure how I would prepare it, but thought I would buy the ingredients for a braise: onions, carrots, celery, cremini mushrooms, some fresh rosemary. The rest would depend on what I had at home in the pantry.

After returning home, I paged through my cookbooks looking for a beef-stew recipe. I found quite a few, but they almost all had one element in common: browning the beef. Typically I wouldn’t have let this step stop me from making a dish. But we had just finished a thorough cleaning of the kitchen, which albeit a small one, took more than 3 hours. I was not going to start cleaning again after dinner.

I went online and within minutes found a recipe for an easy 2-step beef stew from Martha Stewart, which to my surprise required no browning. I read the recipe several times just to make sure and indeed no browning of the meat was called for.

Because I wasn’t sure how this dish would turn out, we didn’t take photos during the prep or cooking. After tasting it however, I sincerely regretted not having done so. This stew was superb, one of the best I’ve ever made. Granted, I modified the original recipe but the meat was perfectly cooked, thoroughly browned, and the stew, comfortingly delicious.

stew2sm
Right from the oven

Beef Stew Adapted from Martha Stewart.com

Ingredients

5 pounds beef chuck, trimmed of visible fat and cut into 1 1/2 inch cubes

1/3 cup tomato paste; I recommend the concentrated Italian paste from a tube

4 tablespoons high-quality balsamic vinegar

3 tablespoons all-purpose flour

Coarse salt and freshly ground black pepper

1 pound medium onions (about 2), cut into 1-inch chunks

1 pound small white or red new potatoes (about 6), well scrubbed, halved if large

1 pound carrots, cut into 1 1/2-inch lengths

6 garlic cloves, smashed

3 bay leaves

1 bottle dry red wine; I used a Sangiovese blend

8 ounces cremini mushrooms

Chopped Italian parsley for garnish

Directions

Preheat oven to 350 degrees.

In a small bowl, combine tomato paste, vinegar, and flour to form a paste.

In a Dutch oven (5-quart) with a tight-fitting lid, rub the beef with the paste; season with salt and pepper.

Add onions, potatoes, carrots, garlic, bay leaves, and 1 bottle of dry red wine. Bring to a boil.

Remove from heat and place a sheet of parchment paper the size and shape of your Dutch oven over the stew.

Cover the pot with the lid, transfer to oven, and cook until meat is fork-tender, 2 to 2 1/2 hours.

After the first 2 hours add the mushrooms to the stew.

Remove bay leaves and, if desired, season with salt and pepper and garnish with chopped parsley before serving.

Wine Pairing: Sangiovese, Zinfandel

Cod in Green Sauce

codplatedsm

My New Year’s resolution is to cook more fish. And when my local supermarket had a $6 off sale on fresh cod, it made keeping that resolution a lot easier. I originally intended to bake the fish with a bread-crumb topping, but not finding any breadcrumbs in the pantry changed that plan and made me turn to a recipe from Mark Bittman’s Fish: The Complete Guide to Buying and Cooking: Cod in Green Sauce.

The recipe calls for cod steaks, but as my fillets were cut on the thick side, I thought it would work. And although I only had half the fish called for, I thought it best not to halve the other ingredients as the sauce is actually a poaching medium.

I highly recommend this simplest of recipes. It calls for just a few ingredients, but yields a delicate and tasty cod. I highly recommend using your best olive oil for this dish as it is the source for most of its flavor.

Cod in Green Sauce Adapted from Mark Bittman’s Fish

Ingredients
Ingredients

1/2 cup extra-virgin olive oil
2 tablespoons minced garlic
2 thick cod fillets, about 1/2 pound each
Kosher salt and freshly ground black pepper
1 cup roughly chopped Italian parsley

Directions:

Season the fish on both sides with salt and pepper.

Heating the oil and garlic

Over low heat, heat the olive oil and garlic in a 10- to 12-inch non-stick skillet. When the garlic floats to the top and begins to take on just a slight color, slide the fish into the oil using a spatula. Move the fish from time to time.

cod3sm
Fish poaching in oil and garlic

After about 5 minutes, turn the fish and add the parsley to the pan. Baste the fillets with the oil and parsley. Continue to cook the fish for 5 to 7 minutes more or until done to your liking.

Fish turned
Fish turned

Serve immediately with just a pinch of fleur du sel.

Serves 2

Wine Pairing: Sauvignon Blanc

Braised Pork Shanks with White Beans

pshanks10sm

When it comes to winter comfort food, nothing beats something braised. During cooking, the heat from the stove warms the house, while the aromas tantalize the appetite. At the table, the unctuousness of the meat and the sensuousness of the sauce caress the palate. And if you’re lucky enough, or had the foresight to double the recipe, you have the leftovers, which more often than not are even better than when you first enjoyed the dish.

Last weekend, I found some great looking locally sourced, farm-raised pork shanks, each about a pound, at my butcher in Chelsea Market, Dickson’s.

Tied pork shanks
Tied pork shanks

When I got back home, I looked through my files and found a recipe from Williams-Sonoma for a classic braise with broth, wine, and aromatics complemented by cooked white beans.

The success of this dish depends a lot on thoroughly browning the shanks to develop deep meaty flavors. Finely dicing the onions, carrots, and celery makes for a richly textured sauce. My only variation from the recipe was using whole, rather than chopped, fresh thyme and removing the springs before finishing the sauce. I also used a smaller quantity of beans than called for.

Braised Pork Shanks with White Beans Adapted from Williams-Sonoma

The prepped ingredients

4 fresh pork shanks, well-tied, each 1 1/2 to 2 lb.
Salt and freshly ground pepper, to taste
1/4 cup all-purpose flour
1/4 cup olive oil
2 yellow onions, cut into 1/4-inch dice
2 celery stalks, cut into 1/4-inch dice
2 carrots, peeled and cut into 1/4-inch dice
4 garlic cloves, minced
2 Tbs. tomato paste (I recommend the imported concentrated tomato paste from a tube.)
1/4 cup chopped fresh flat-leaf parsley, plus more for garnish
2 Tbs. chopped fresh thyme (I prefer to use the whole springs and remove then after cooking.)
3 cups low-sodium chicken broth
1 cup dry white wine
4 cups cooked cannellini beans (I recommend starting with 2 cups, and adding more to your taste.)

Directions:
Preheat an oven to 375°F.

Season the pork shanks with salt and pepper. Dredge the shanks in the flour, shaking off the excess. (I’m rather liberal with my salt and pepper.)

In a large braiser (enameled cast iron works best) over medium-high heat, warm the olive oil until just smoking. Add the shanks and brown on all sides, 10 to 12 minutes total. Transfer to a plate. (Take the time to brown the shanks well.)

The browned shanks
The browned shanks

Add the onions, celery and carrots to the pan and cook, stirring occasionally, until tender, 8 to 10 minutes.

The aromatics cooking

Add the tomato paste and allow to toast for about a minute. (The original recipe adds the tomato paste along with he garlic and thyme and does not call for toasting.)

Toasting the tomato paste

Add the garlic, the 1/4 cup parsley and the thyme and cook for 1 minute. Stir in the broth and wine and bring the mixture to a boil.

The garlic and thyme

Return the shanks to the pan, cover and transfer to the oven. Cook, turning the shanks once about half way through, until the meat is fork-tender and almost falls off the bone, 2 1/2 to 3 hours. Transfer the shanks to a platter and cover loosely with aluminum foil. (The original recipe says to turn the shanks occasionally; I think once is enough.)

The finished shanks
The finished shanks

Skim the fat off the braising liquid, set the pan over medium-high heat and bring to a boil. Simmer until the liquid is thickened, 15 to 20 minutes. Stir in the cooked beans, mashing some of them into the sauce.

Beans added to the sauce


Garnish the shanks with parsley and serve immediately with the beans and braising juices. Serves 4.

Wine Pairing: Cotes du Rhone, Syrah

Pasta dal Frigorifero

amatplatedsm

Cold snowy nights and long-delayed trains after a challenging work day may provide a sufficient excuse to forego food shopping and go directly home. As for dinner, however, this choice leaves one to rely solely on what’s on hand in the pantry and fridge.

Such was the case earlier this week when I prepared what I’ve chosen to call “pasta dal frigorifero.”   After looking through our fridge, I came up with a cup and half of Marcella Hazan’s tomato, onion, and butter sauce, a package of diced pancetta that was about to expire, and a close-to-empty tube of tomato paste. Our pantry serendipitously provided box of bucatini, along with staples like olive oil and crushed red-pepper flakes, for which I decided to prepare a sauce from what I had found in the fridge.

While purists may frown on my likening this dish to the classic Roman all’ Amatriciana, I have to say it at least made me think of it. 

Pasta dal Frigorifero

2 tablespoons extra-virgin olive oil

4 ounces diced pancetta

crushed red-pepper flakes to taste

freshly ground black pepper

1 tablespoon concentrated tomato paste

1.5 cups leftover tomato sauce (a plain sauce with good onion flavor like Hazan’s is perfect)

8 ounces bucatini or spaghetti

Pecorino Romano

In a large heavy-bottomed skillet, heat the oil. Add the pancetta, red-pepper flakes, and black pepper. Cook over medium-low heat until the pancetta has rendered most of its fat. About 10 minutes.

Rendering the pancetta

Add the tomato paste and cook stirring for about 2 minutes, stirring to lightly toast the paste.

"Toasting" the tomato paste
“Toasting” the tomato paste

Add the leftover tomato sauce, reduce the heat to low, and cook for 5 to 10 minutes, until the sauce comes to steady simmer.

Simmering the tomato sauce

Meanwhile cook the pasta in well salted water.  About a minute before the pasta reaches the al dente stage, transfer it with tongs to the skillet with the sauce. Still over low heat, toss the pasta in the sauce until it is nicely coated for about a minute more, letting the pasta reach al dente. If the sauce is too thick you can use a tablespoon or two of the pasta water to thin it.

Tossing the pasta with the sauce

Off the heat, sprinkle with grated Pecorino Romano.

Wine Pairing: Montepulciano d’Abruzzo

Smothered Chicken

smochickplatedsm

Back from a week of enjoying authentic Venetian dishes and returning to my tutoring position in Harlem made me long for some homemade American comfort food. Among the first emails I read when we got home was one from the New York Times Cooking Newsletter that had a link to a recipe for Craig Claiborne’s Smothered Chicken. The original recipe appeared in a feature he wrote for the Times in 1983: “Make Dinner: A Home Cooking Manifesto.”

The recipe appealed to me not only for its comforting qualities but also for its ease. It requires minimal shopping: a small chicken; the rest of the ingredients are kitchen staples: chicken stock, flour, butter, salt and pepper. It’s also a one-pot dish: a cast-iron skillet and takes about an hour and a half to complete.

Even with getting back from work around 6:30 and having to go food shopping, I was able to get this dish on our table by 8:30.

Accompanied by some quick-cooking couscous, buttered peas, and an American Chardonnay, the dish delivered all the comfort we were looking for. After we finished, we looked at each other with contented smiles and I thought: “Gee, it’s great to be back home.”

Here’s a link to the New York Times Recipe.

Craig Claiborne’s Smothered Chicken

Spatchcock a small chicken, by removing the backbone with a pair of kitchen shears, and season to taste with Kosher salt and freshly ground pepper.

Melt butter in a heavy skillet, preferably cast-iron, and add the chicken skin-side down.

Spatchcocked chicken in the pot

Cover with a dinner plate and weigh it down with a heavy weight. As you can see, I used an enameled cast iron casserole.

The weighed down chicken

Cook over low heat until it is browned well (about 25 minutes) and then turn skin side up.Replace the place and the weight and continue to cook for about 15 minutes more.

Browned side up
Browned side up

Remove the chicken from the pan. Pour off most of the fat, add some flour and cook for a few minutes stirring with a wooden spoon.

smochick4sm
Cooking the flour and the fat

Slowly add some stock and whisk until thickened. Adjust the seasoning.

Whisking the gravy
Whisking the gravy

Return the chicken to the skillet skin side up, Cover again with the plate and weight and continue to cook over low heat for about 25 minutes. Spoon with the sauce before serving.

smochick6sm
Chicken spooned with the sauce

Wine Pairing: Full-bodied Chardonnay