Italian Sausage with Grapes, Onion, and Balsamic Vinegar

IMG_6678sm

Early on Sunday evening, we usually sit down with a cocktail and some appetizers to watch the string of cooking shows on PBS. They’re a welcome calm alternative to the increasingly competition-driven line-up on the Food Network.

One of our favorite shows is America’s Test Kitchen, which is both entertaining and instructive. A recent episode of the series included a relatively simple weeknight recipe for sweet Italian sausages with seedless red grapes and balsamic vinegar that we both thought had to be on our table before the end of the week. We found the combination of ingredients intriguing and came away with a better all-purpose method for browning and cooking sausage. I’m including a link to the show’s website, which, if you’re not a registered user, requires you to sign up. Registration is free. It’s worth the time and this page has an informative article on cooking sausages.

https://www.americastestkitchen.com/print/recipes/8420-italian-sausage-with-grapes-and-balsamic-vinegar

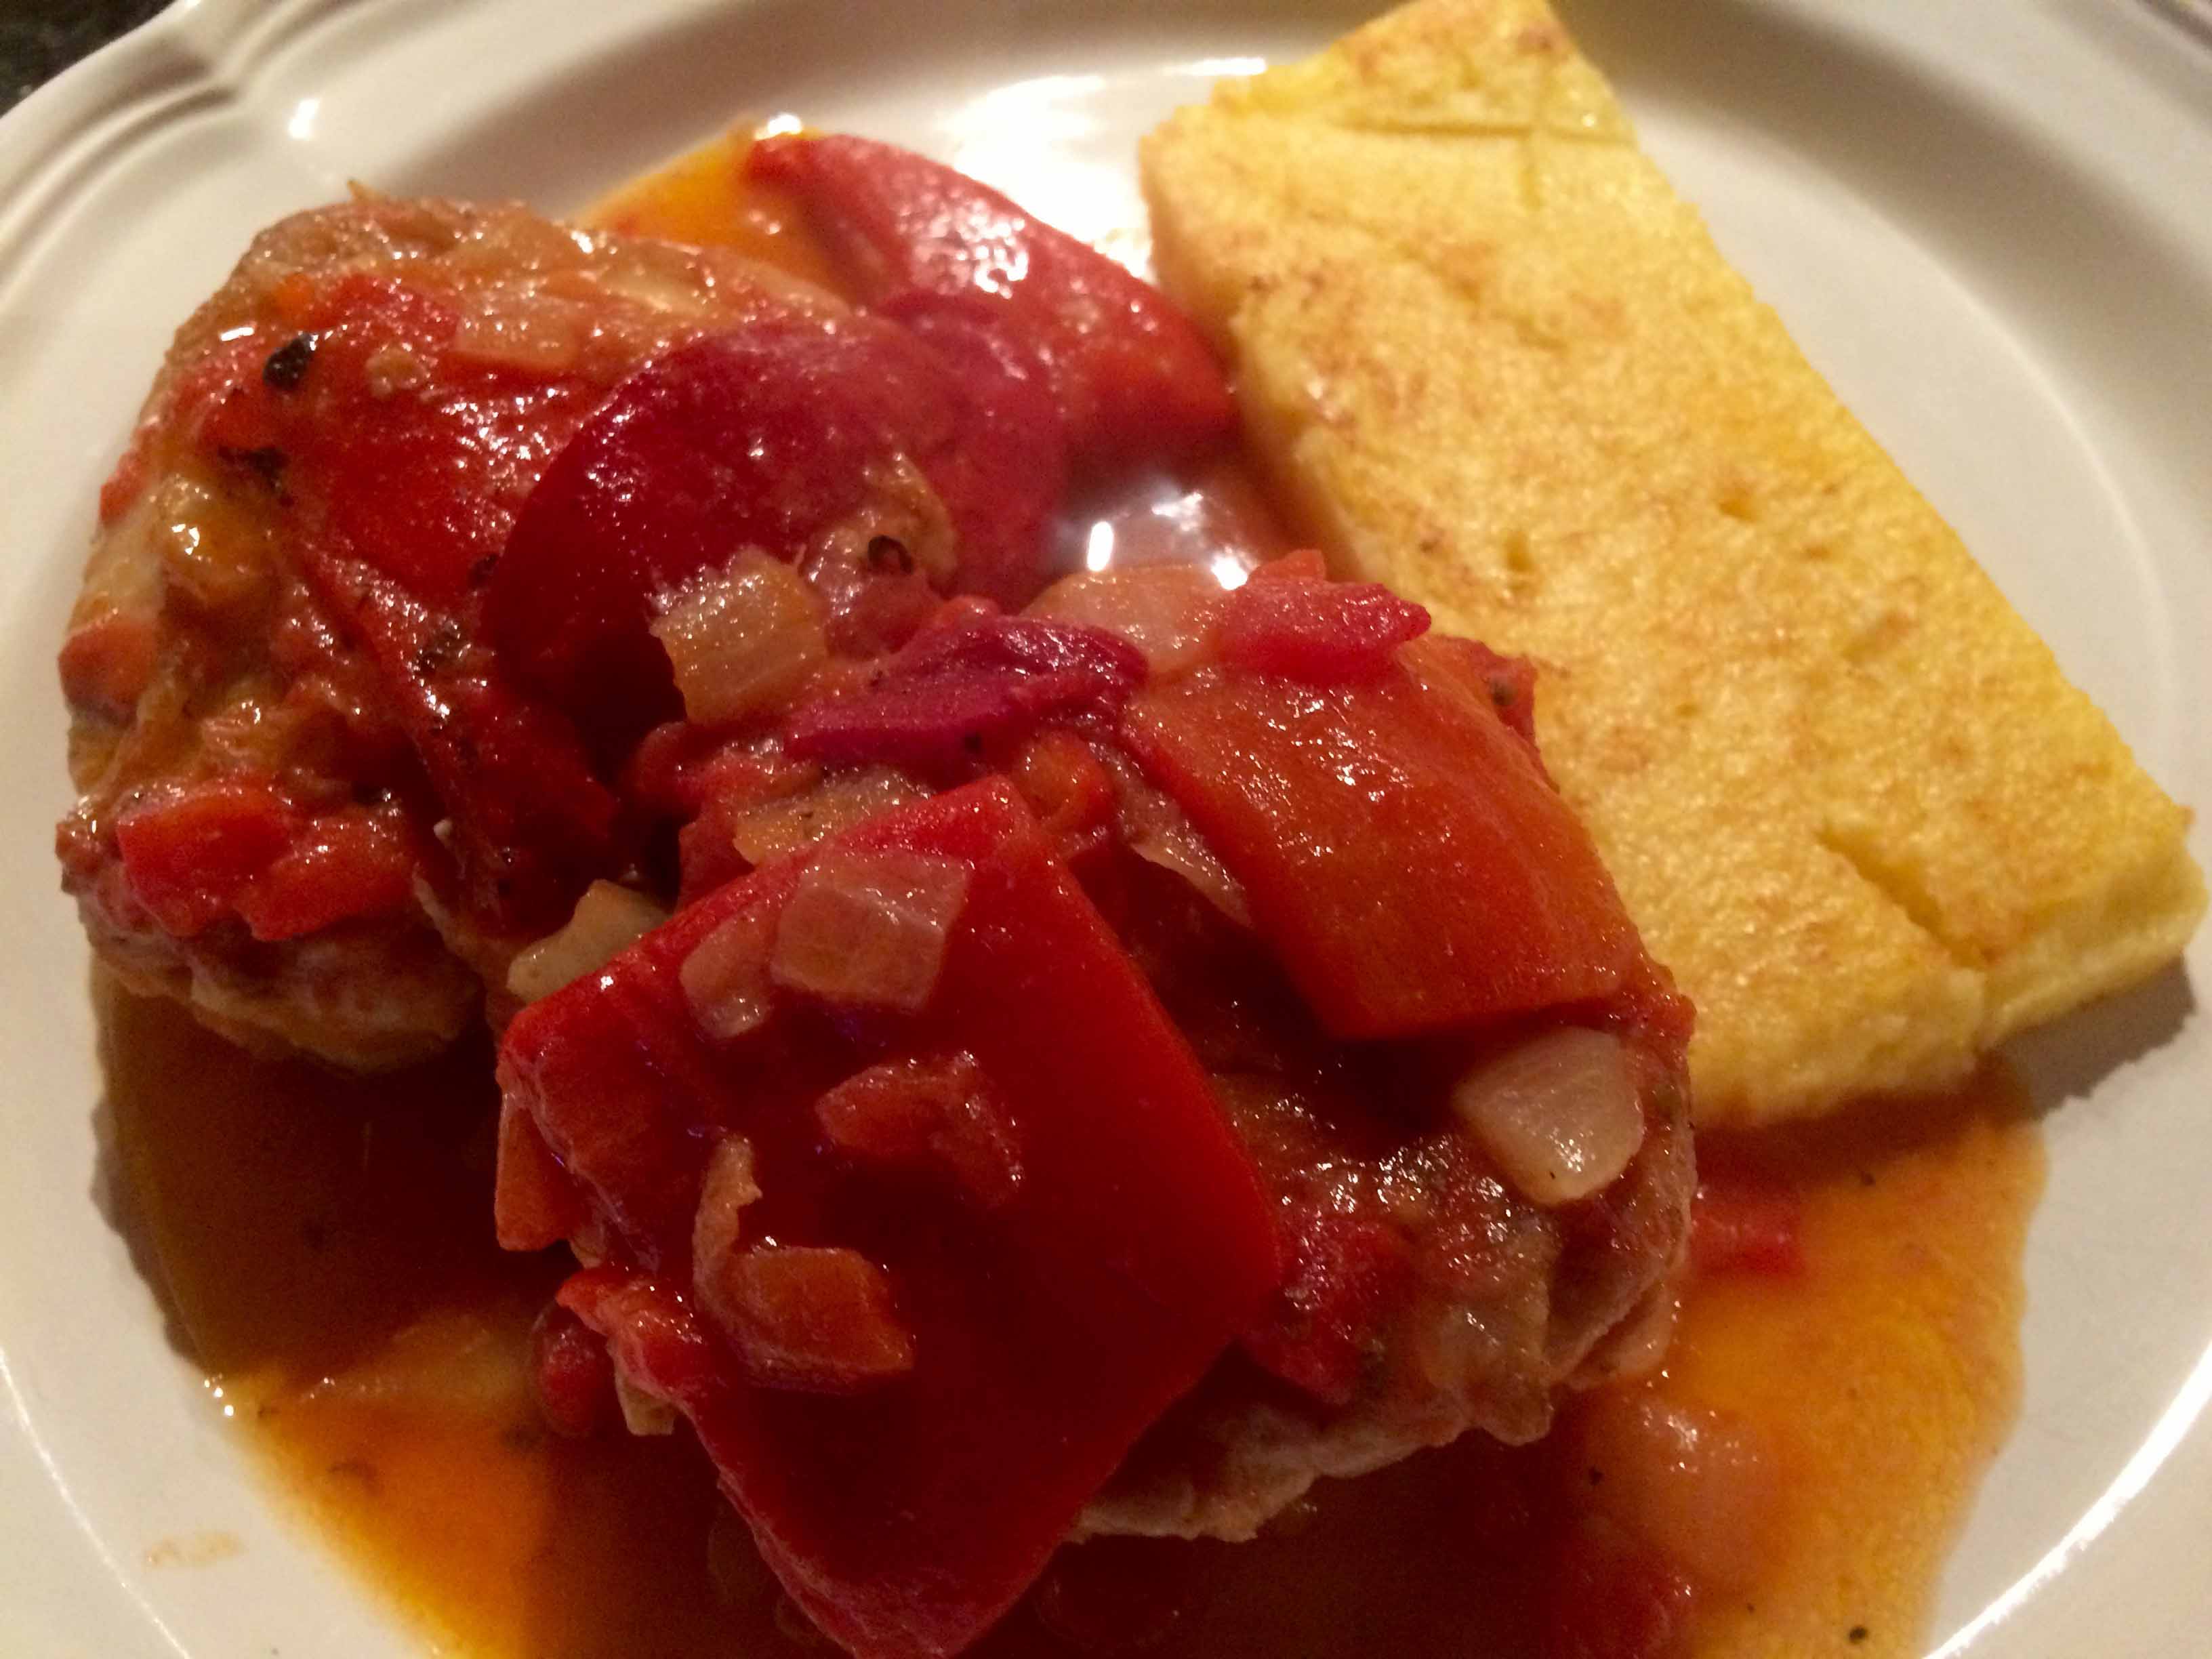
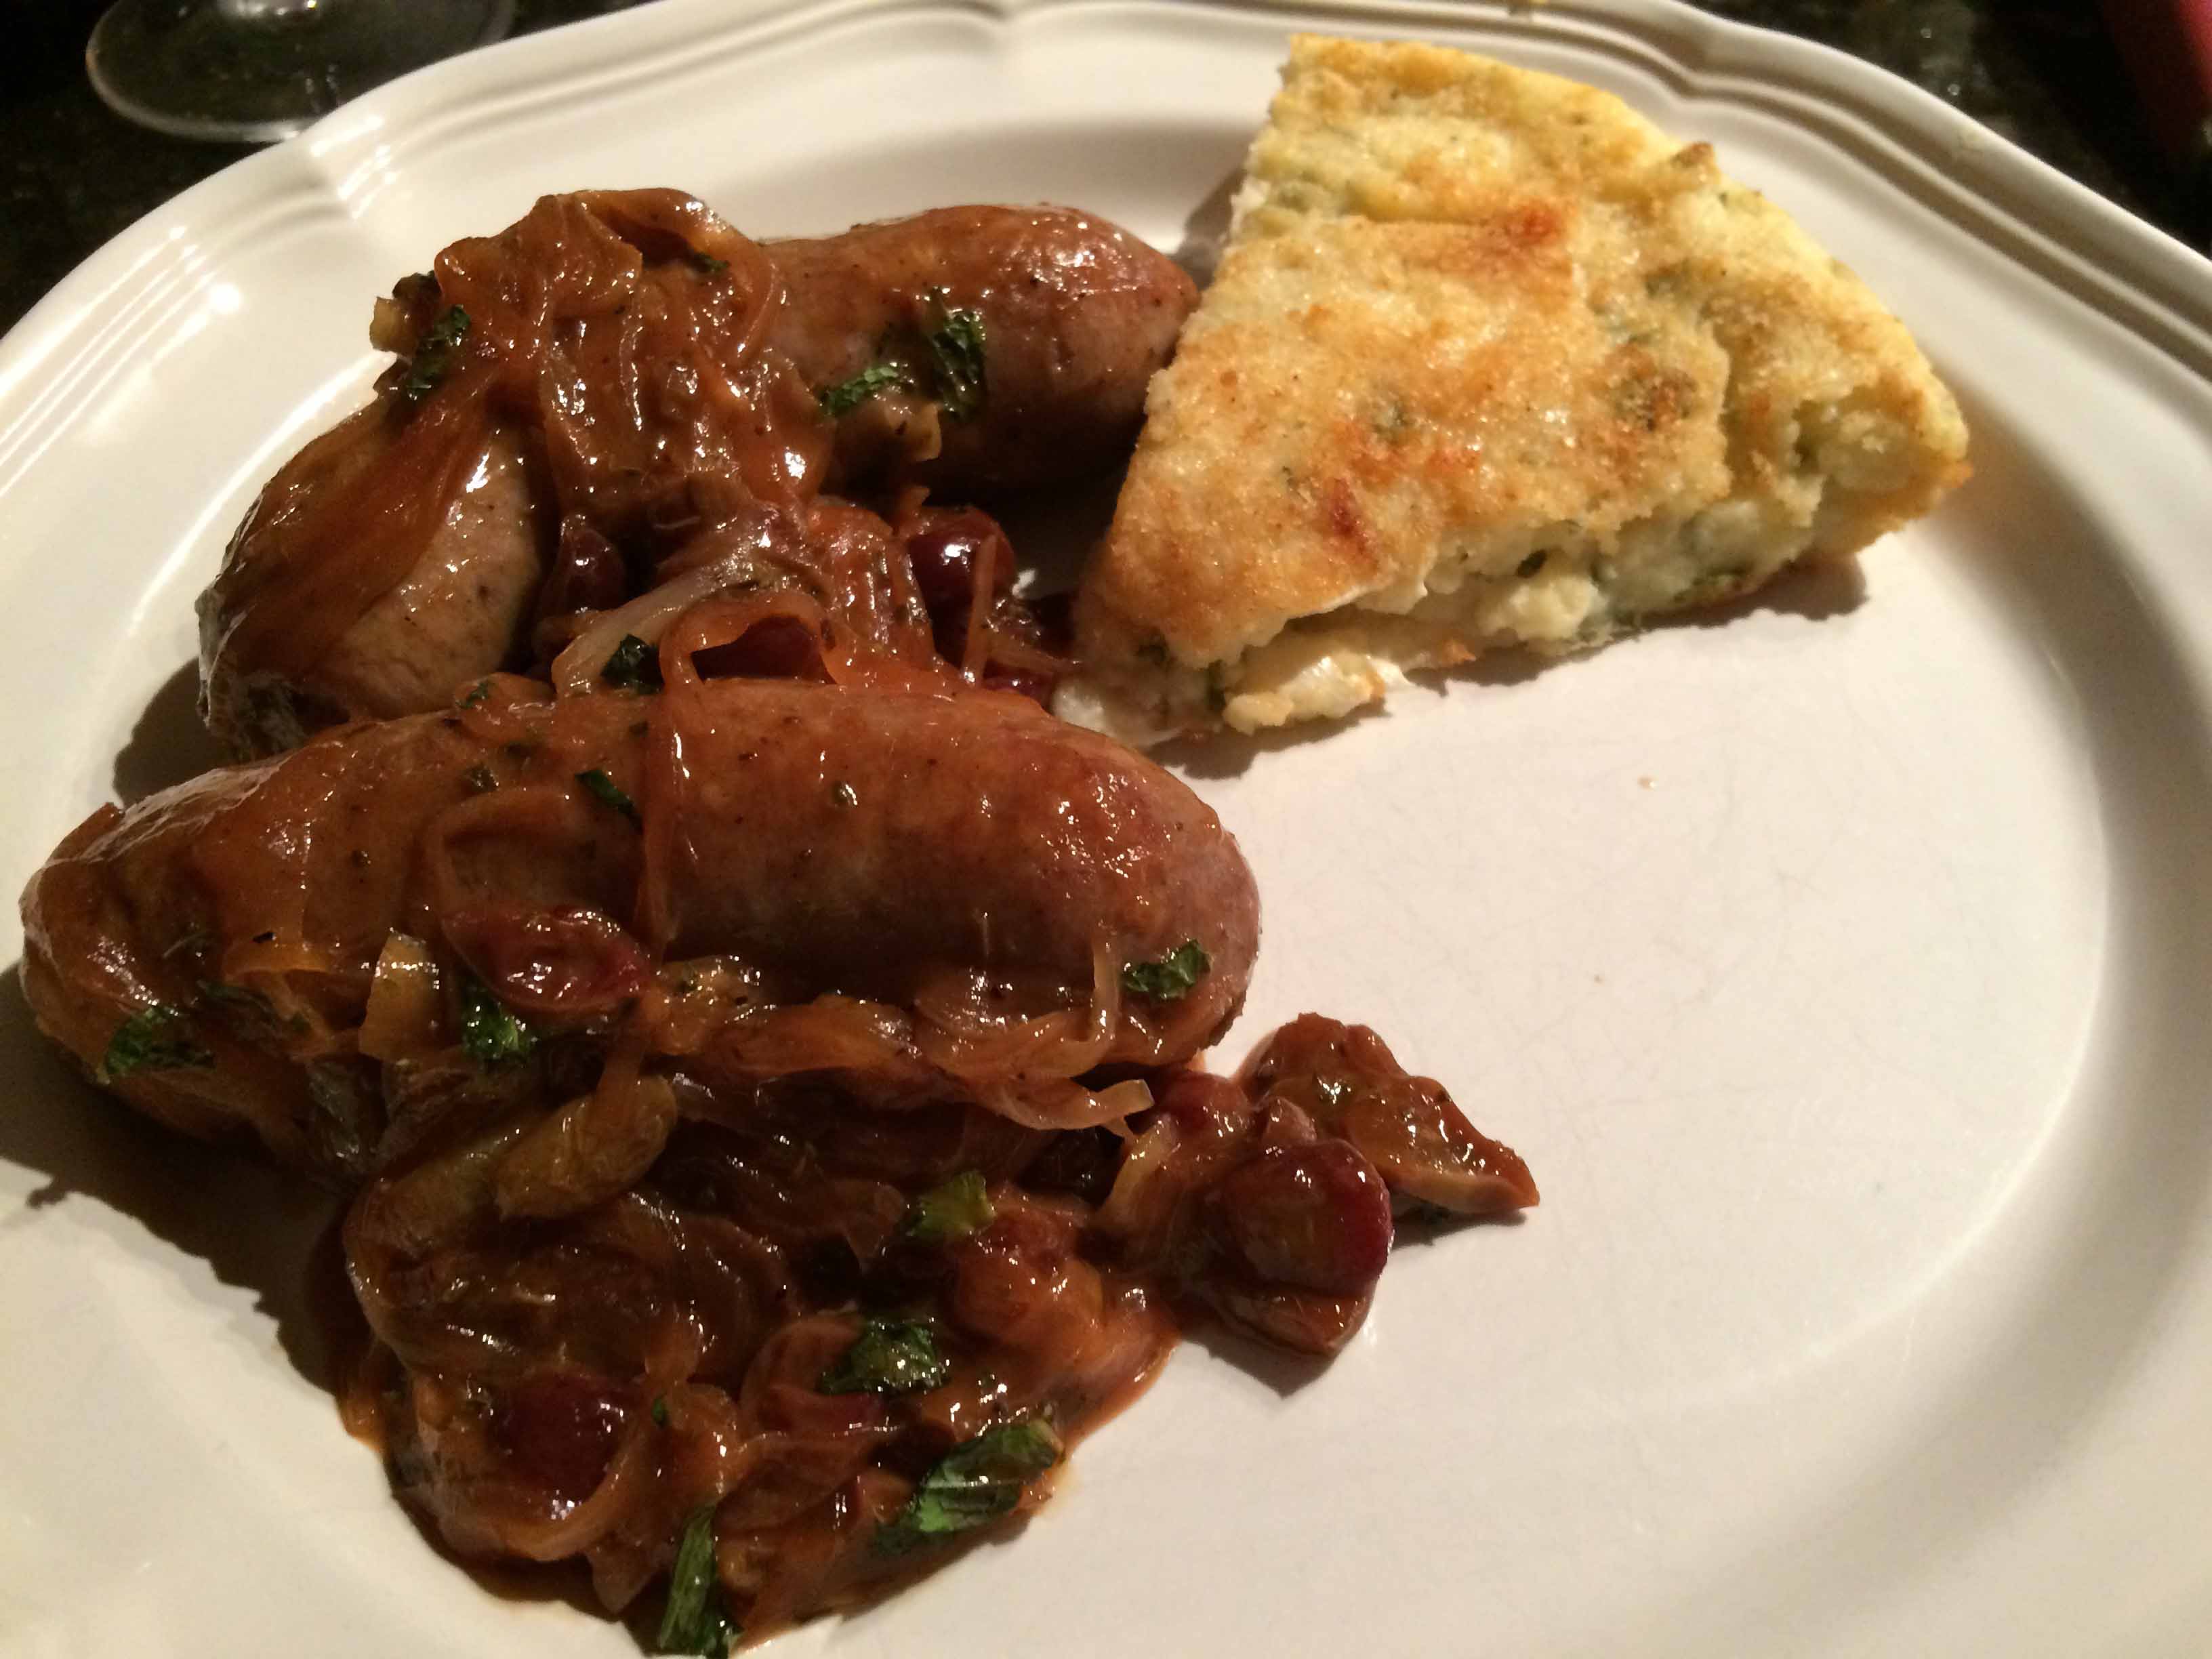
I served the sausages with my aunt’s Italian potato pie, but they would also go well with polenta.

Italian Sausage with Grapes and Balsamic Vinegar (Adapted from America’s Test Kitchen)
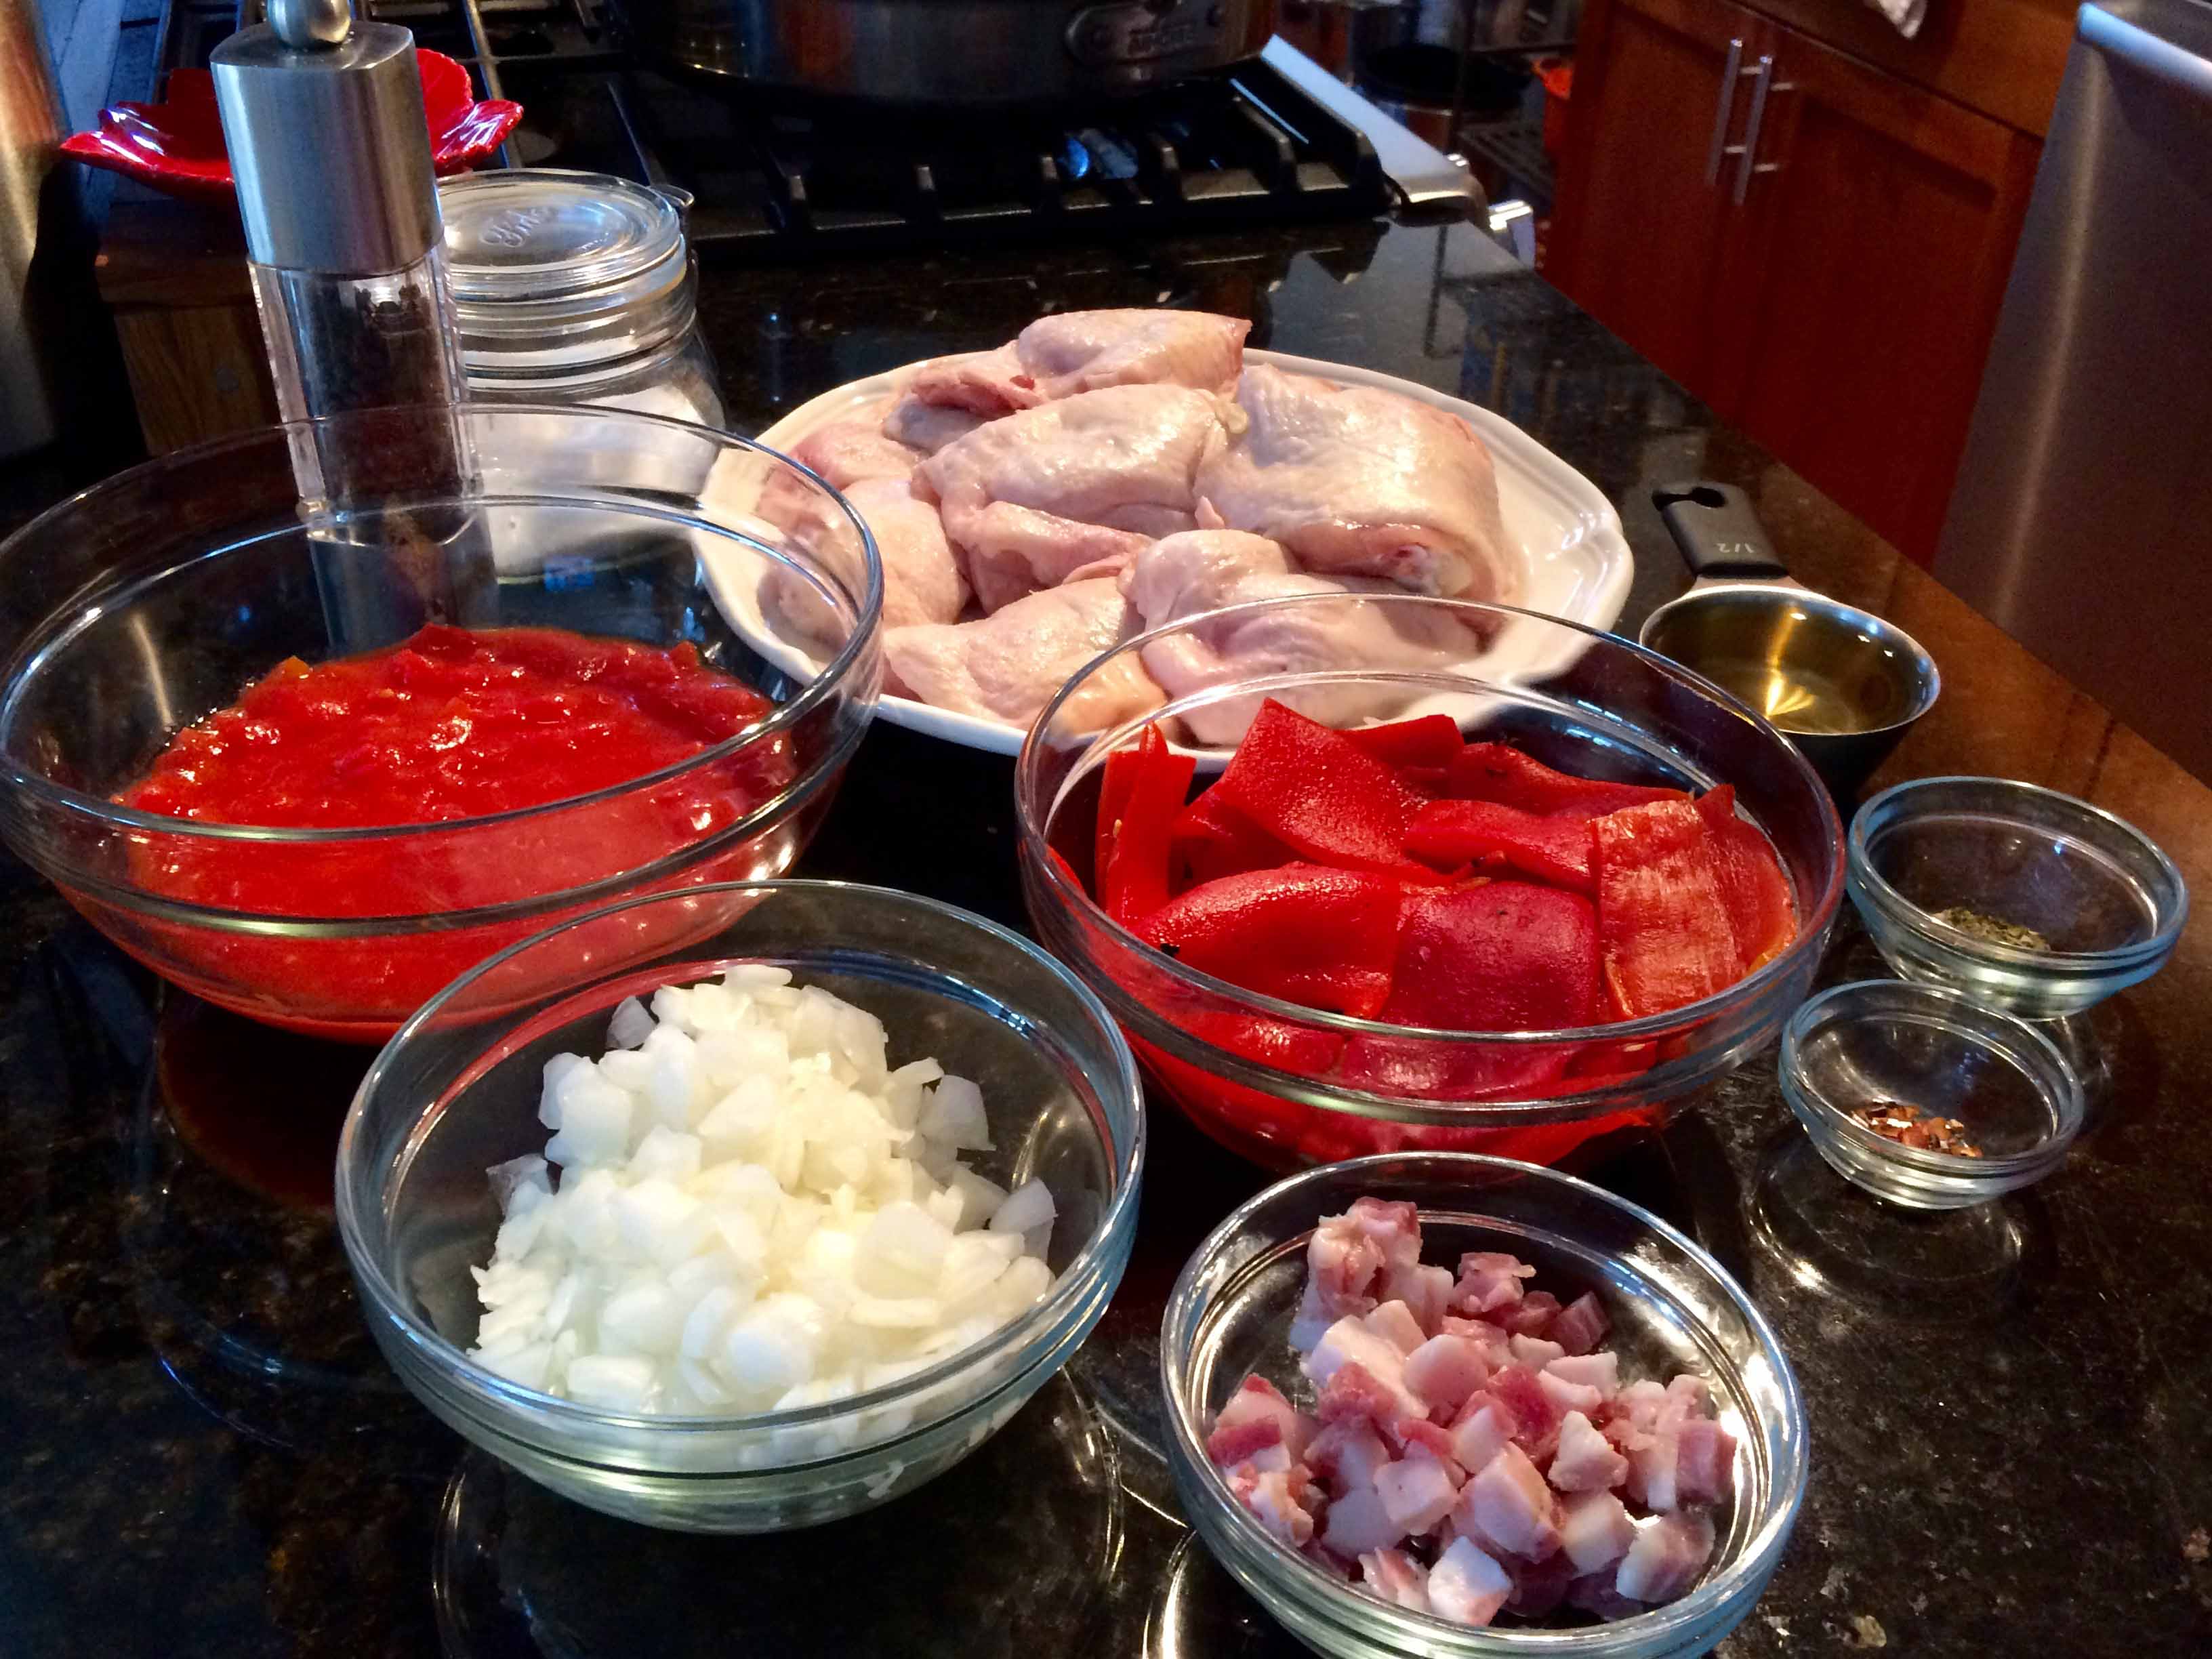
IMG_6621sm

INGREDIENTS
1 tablespoon extra-virgin olive oil
1 1/2 pounds sweet Italian sausage
1 pound seedless red grapes, halved lengthwise (3 cups)
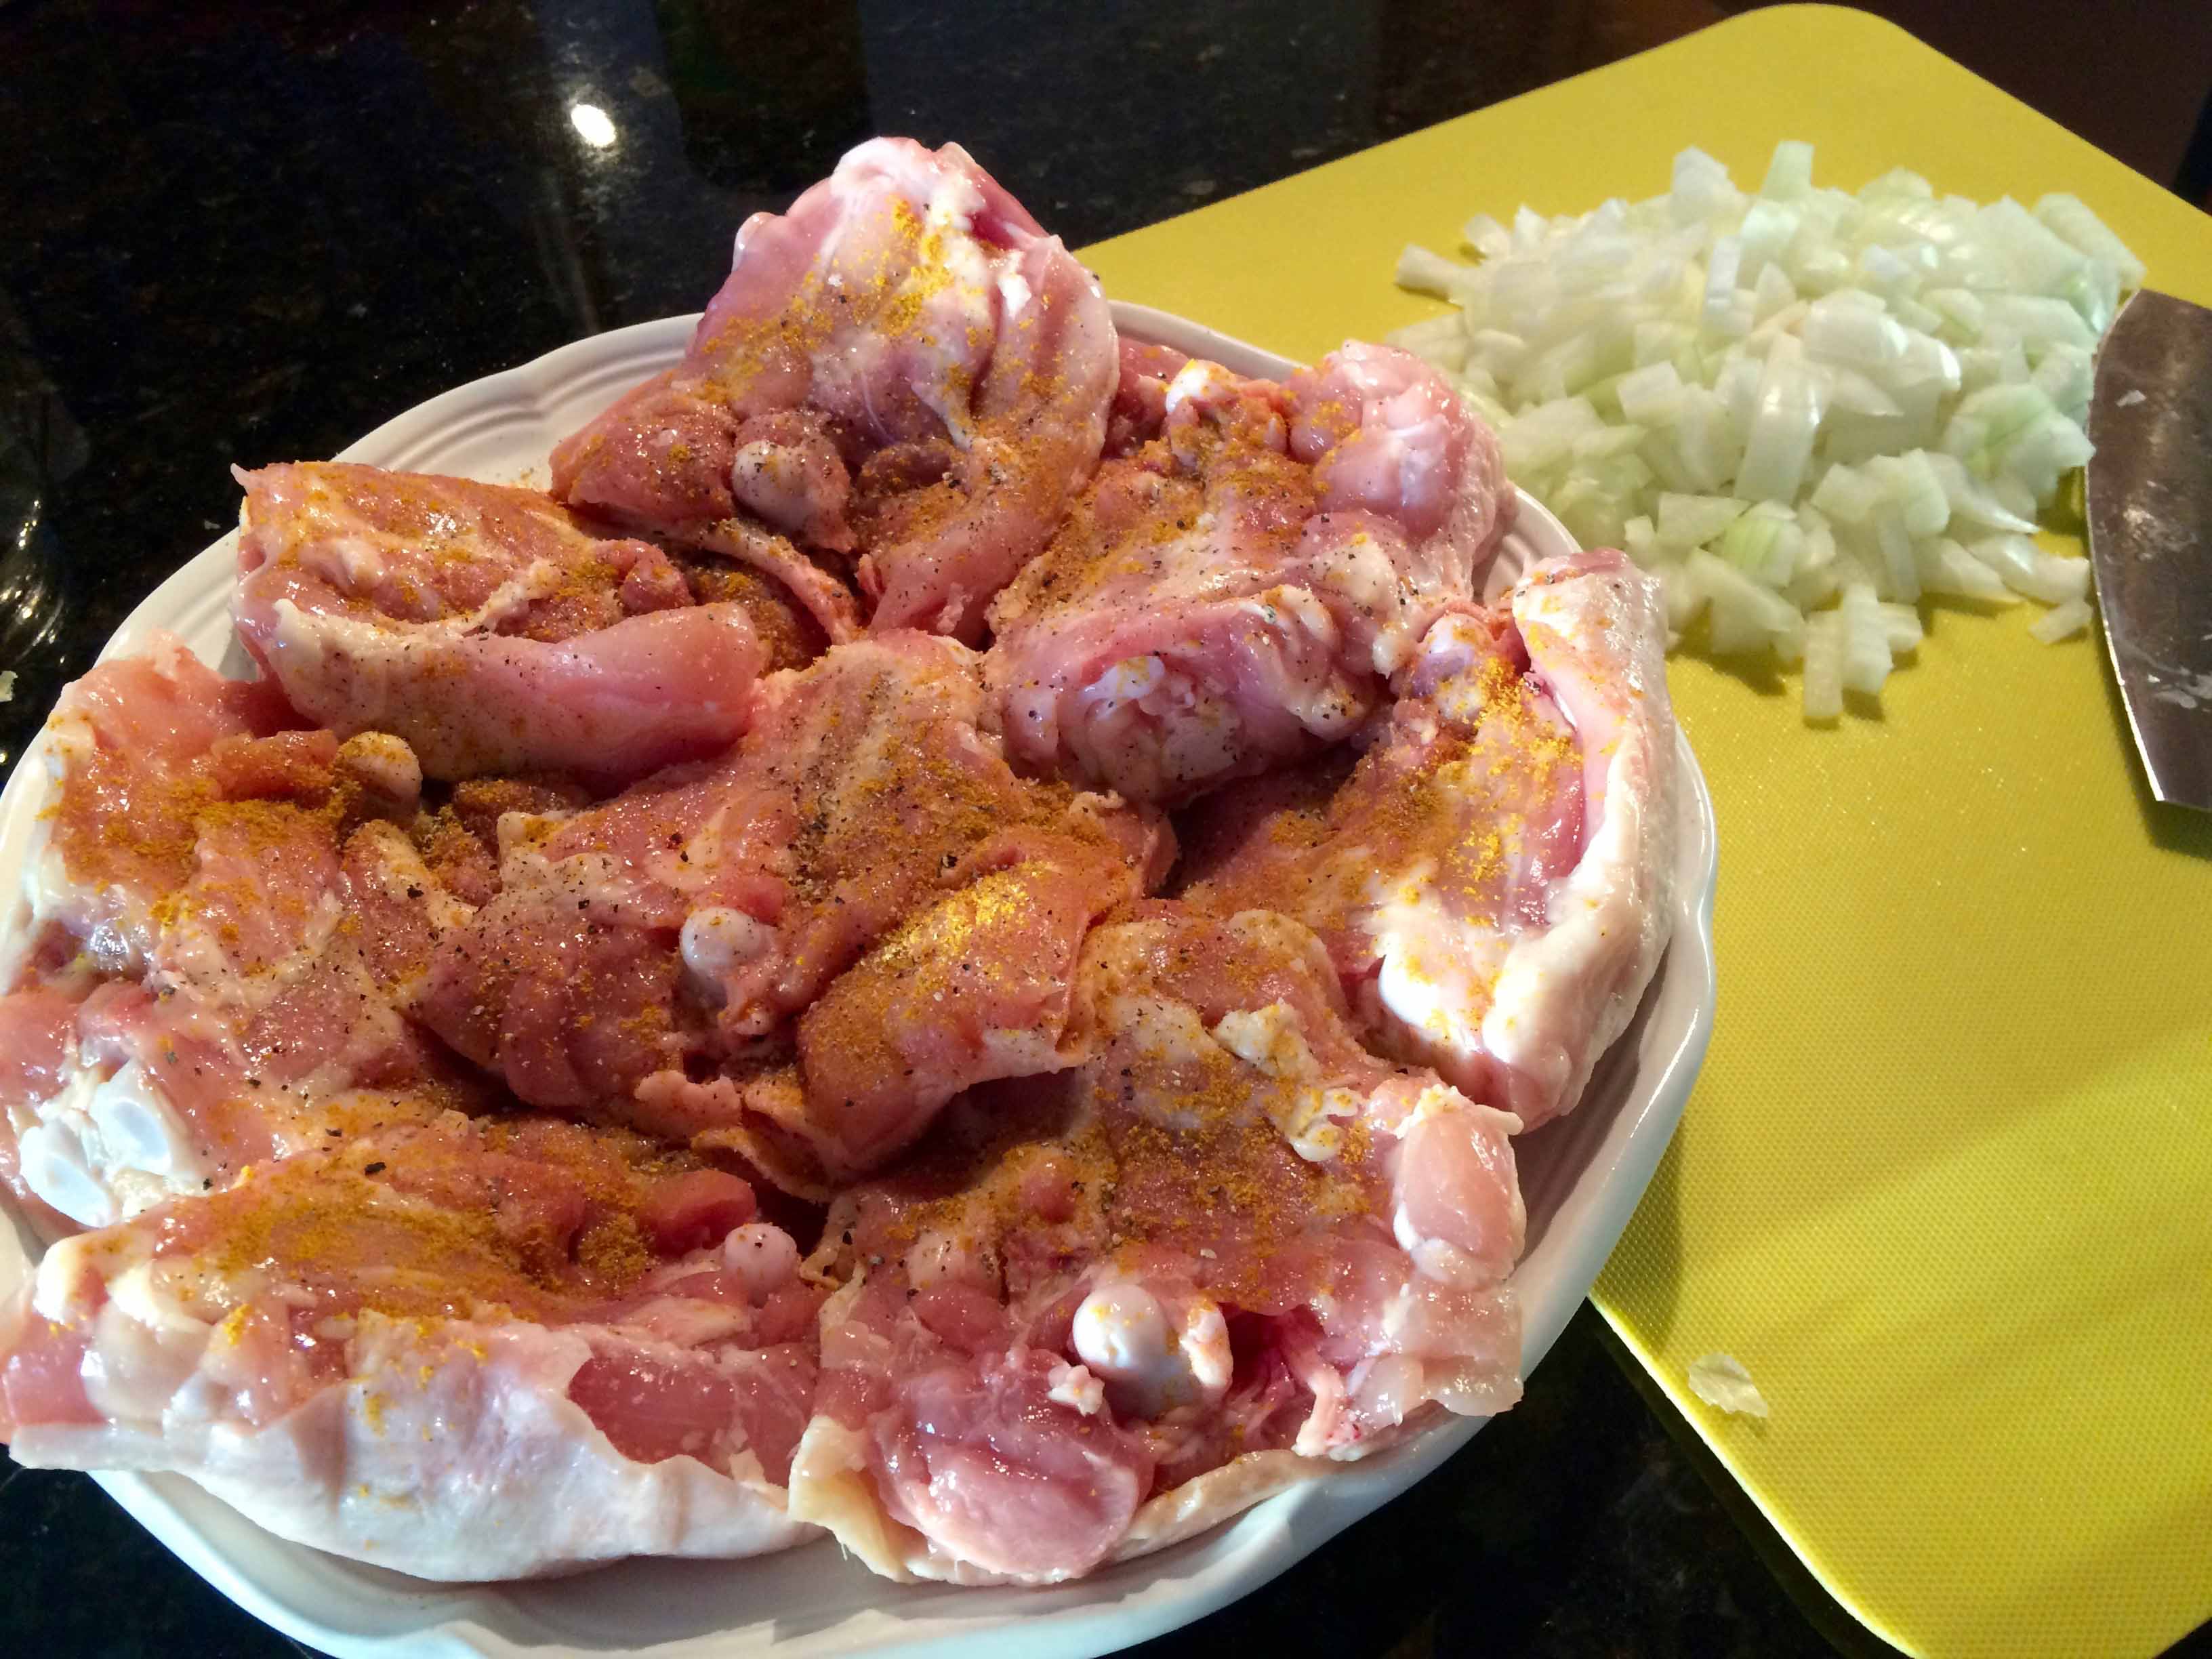
1 large onion, halved and sliced 1/8” thin
1/4 cup water
1/4 teaspoon pepper
1/8 teaspoon salt
1/4 cup dry white wine
1/2 tablespoon dried oregano
2-3 teaspoons balsamic vinegar
2 tablespoons chopped fresh mint

INSTRUCTIONS
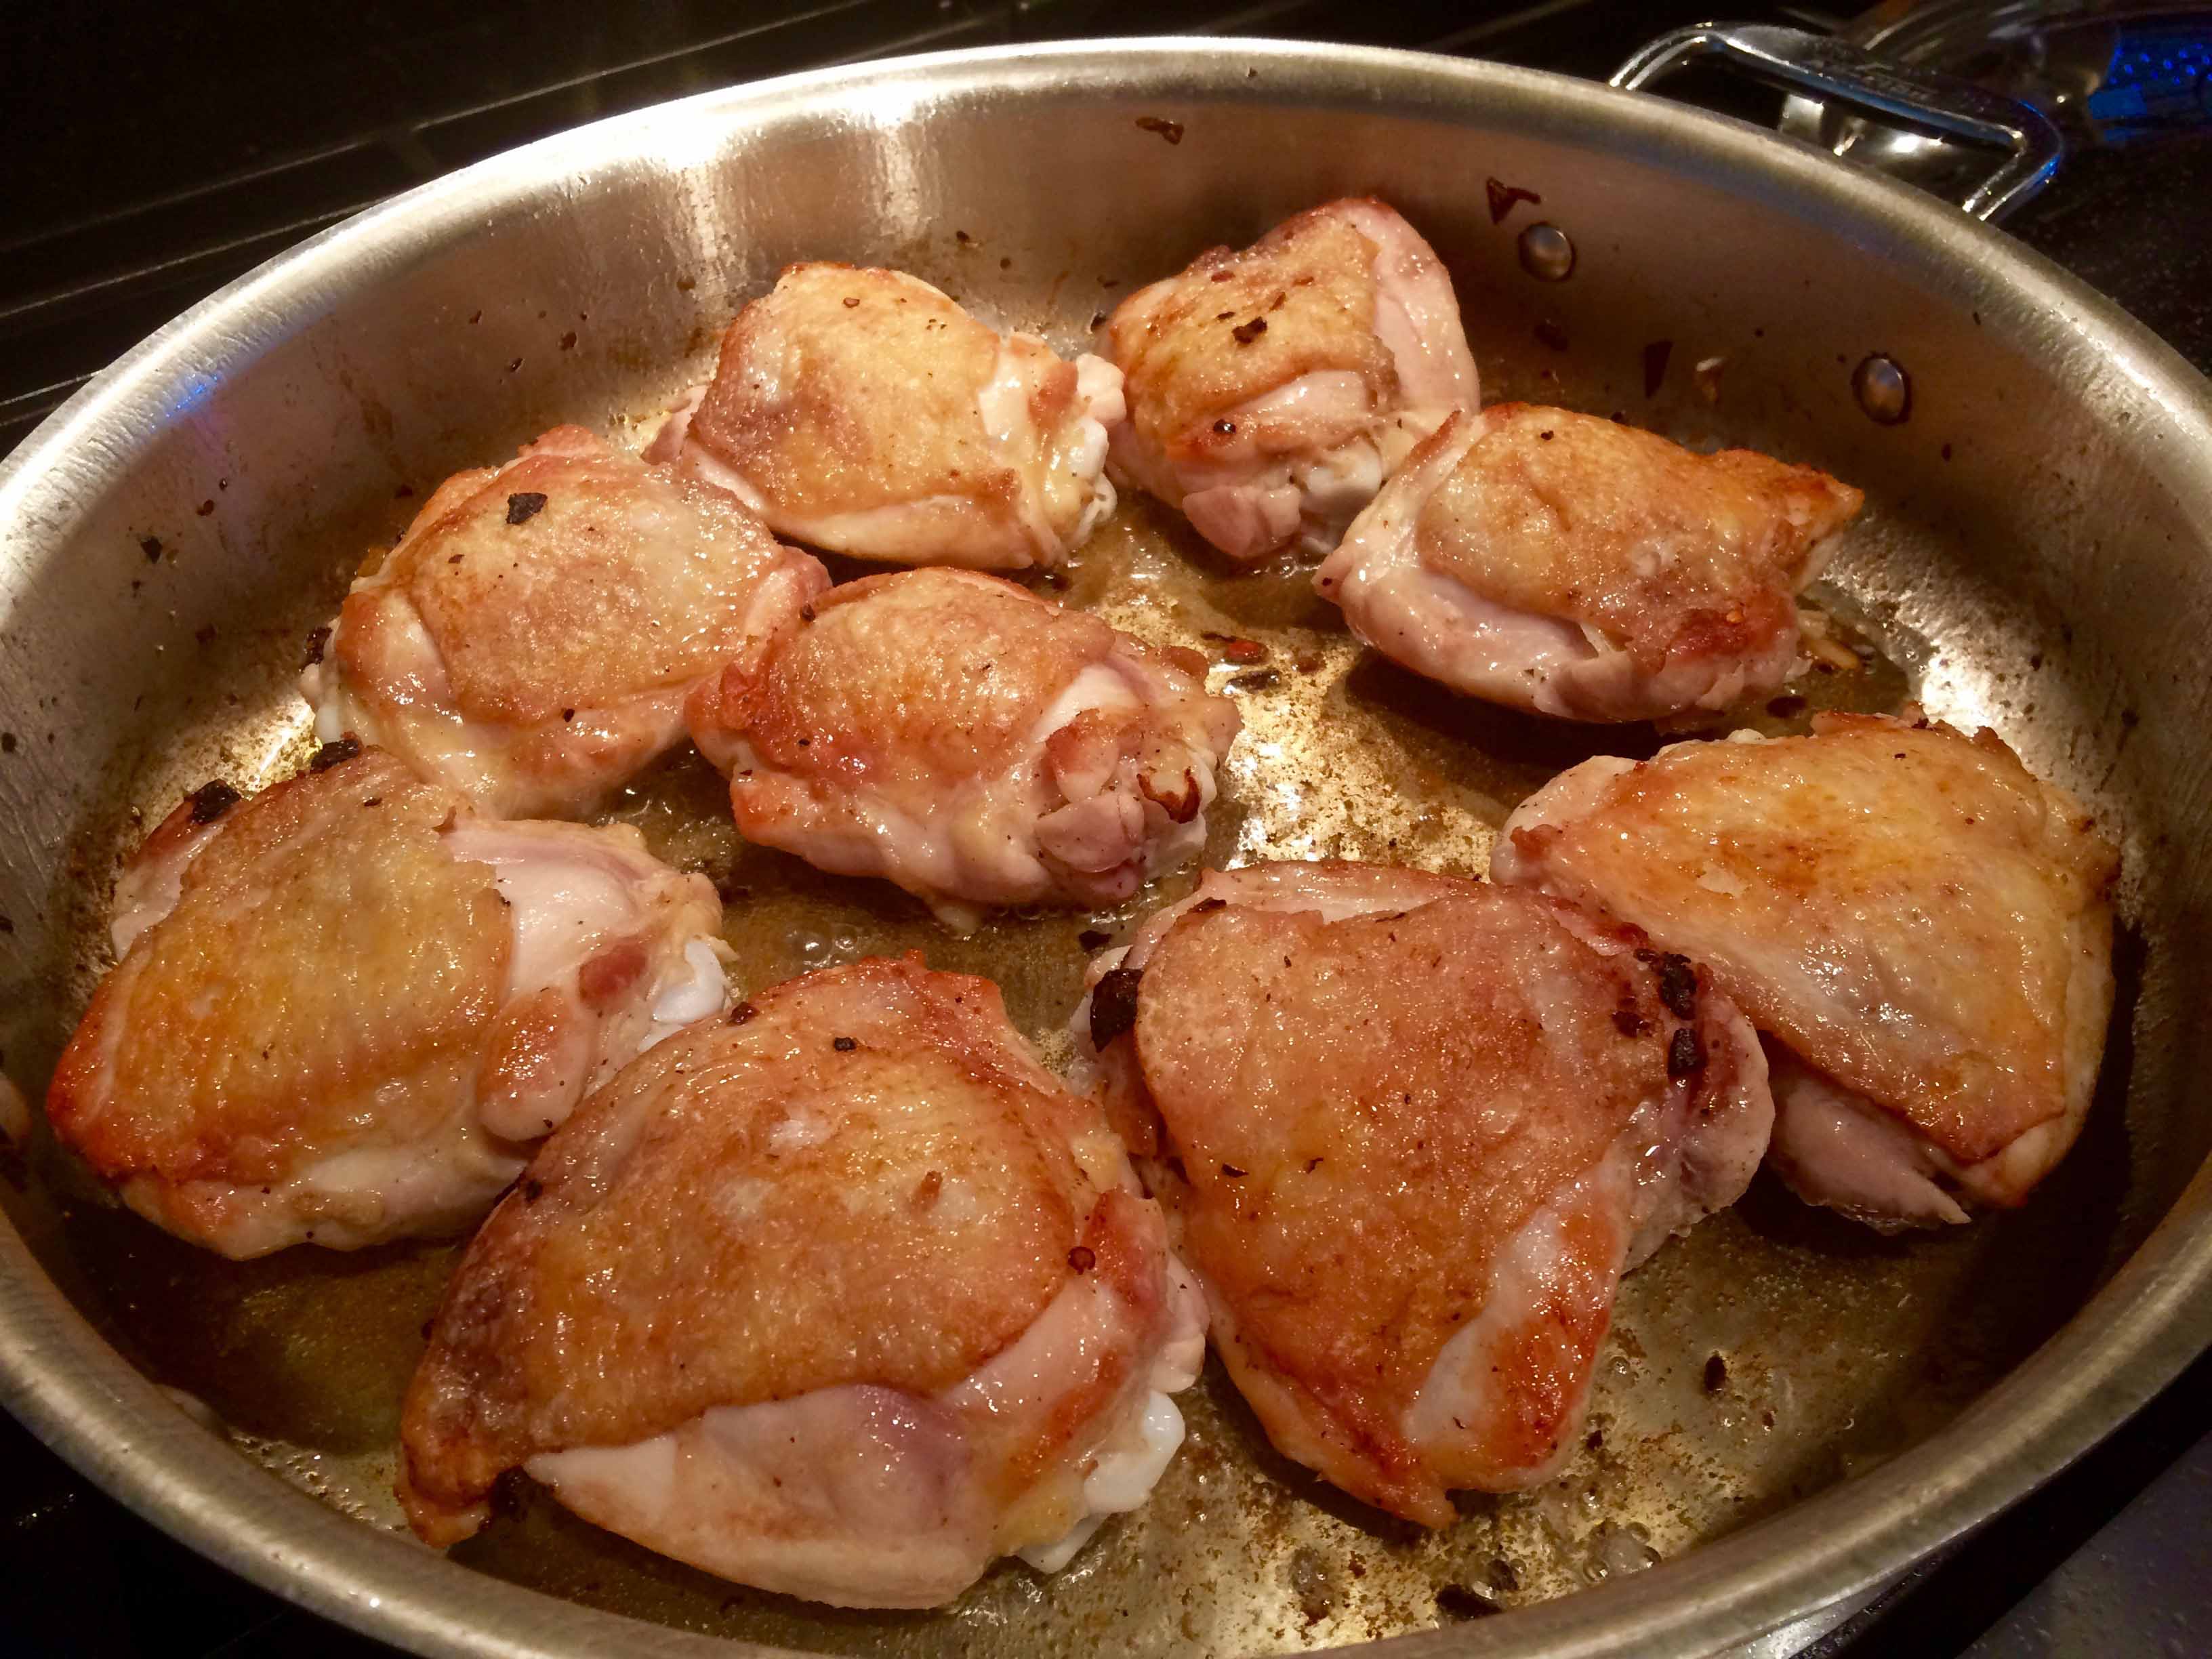
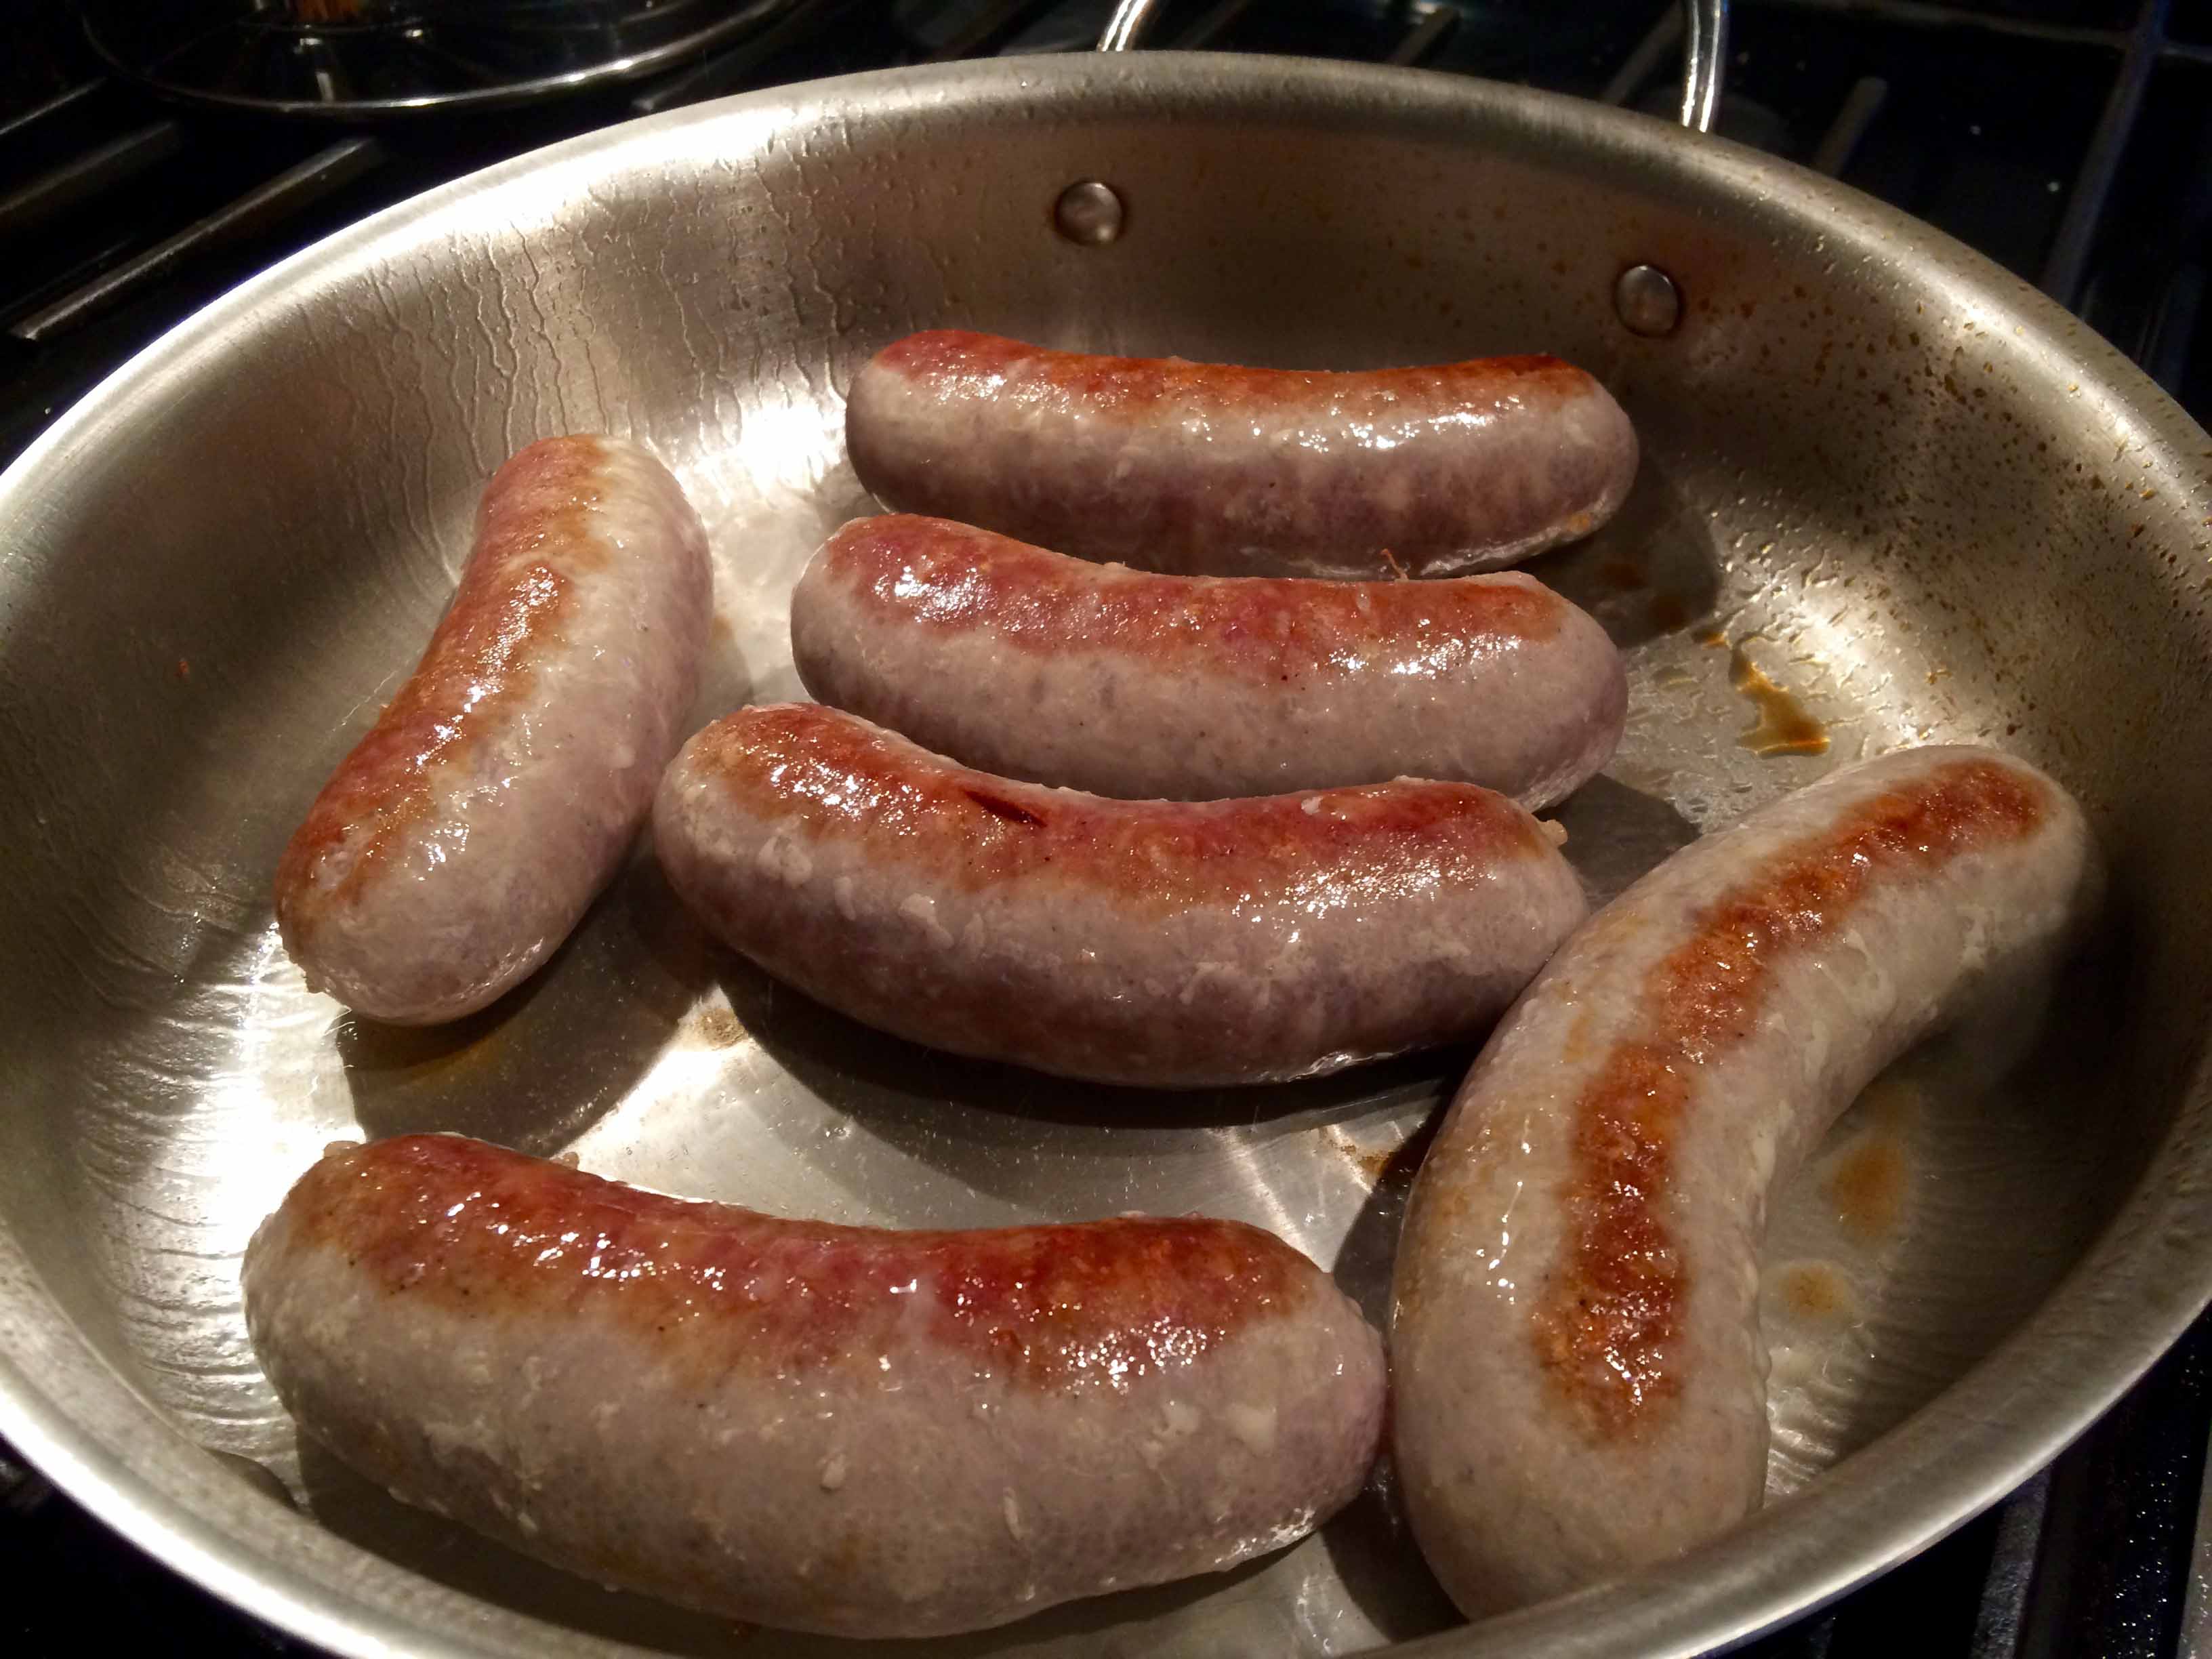
1. Heat oil in 12-inch skillet or sauté pan over medium heat until shimmering. Arrange sausages in pan and cook, turning once, until browned on 2 sides, about 5 minutes.

Browned sausages
Browned sausages

2. Take off the heat, tilt skillet and carefully remove excess fat with paper towel.

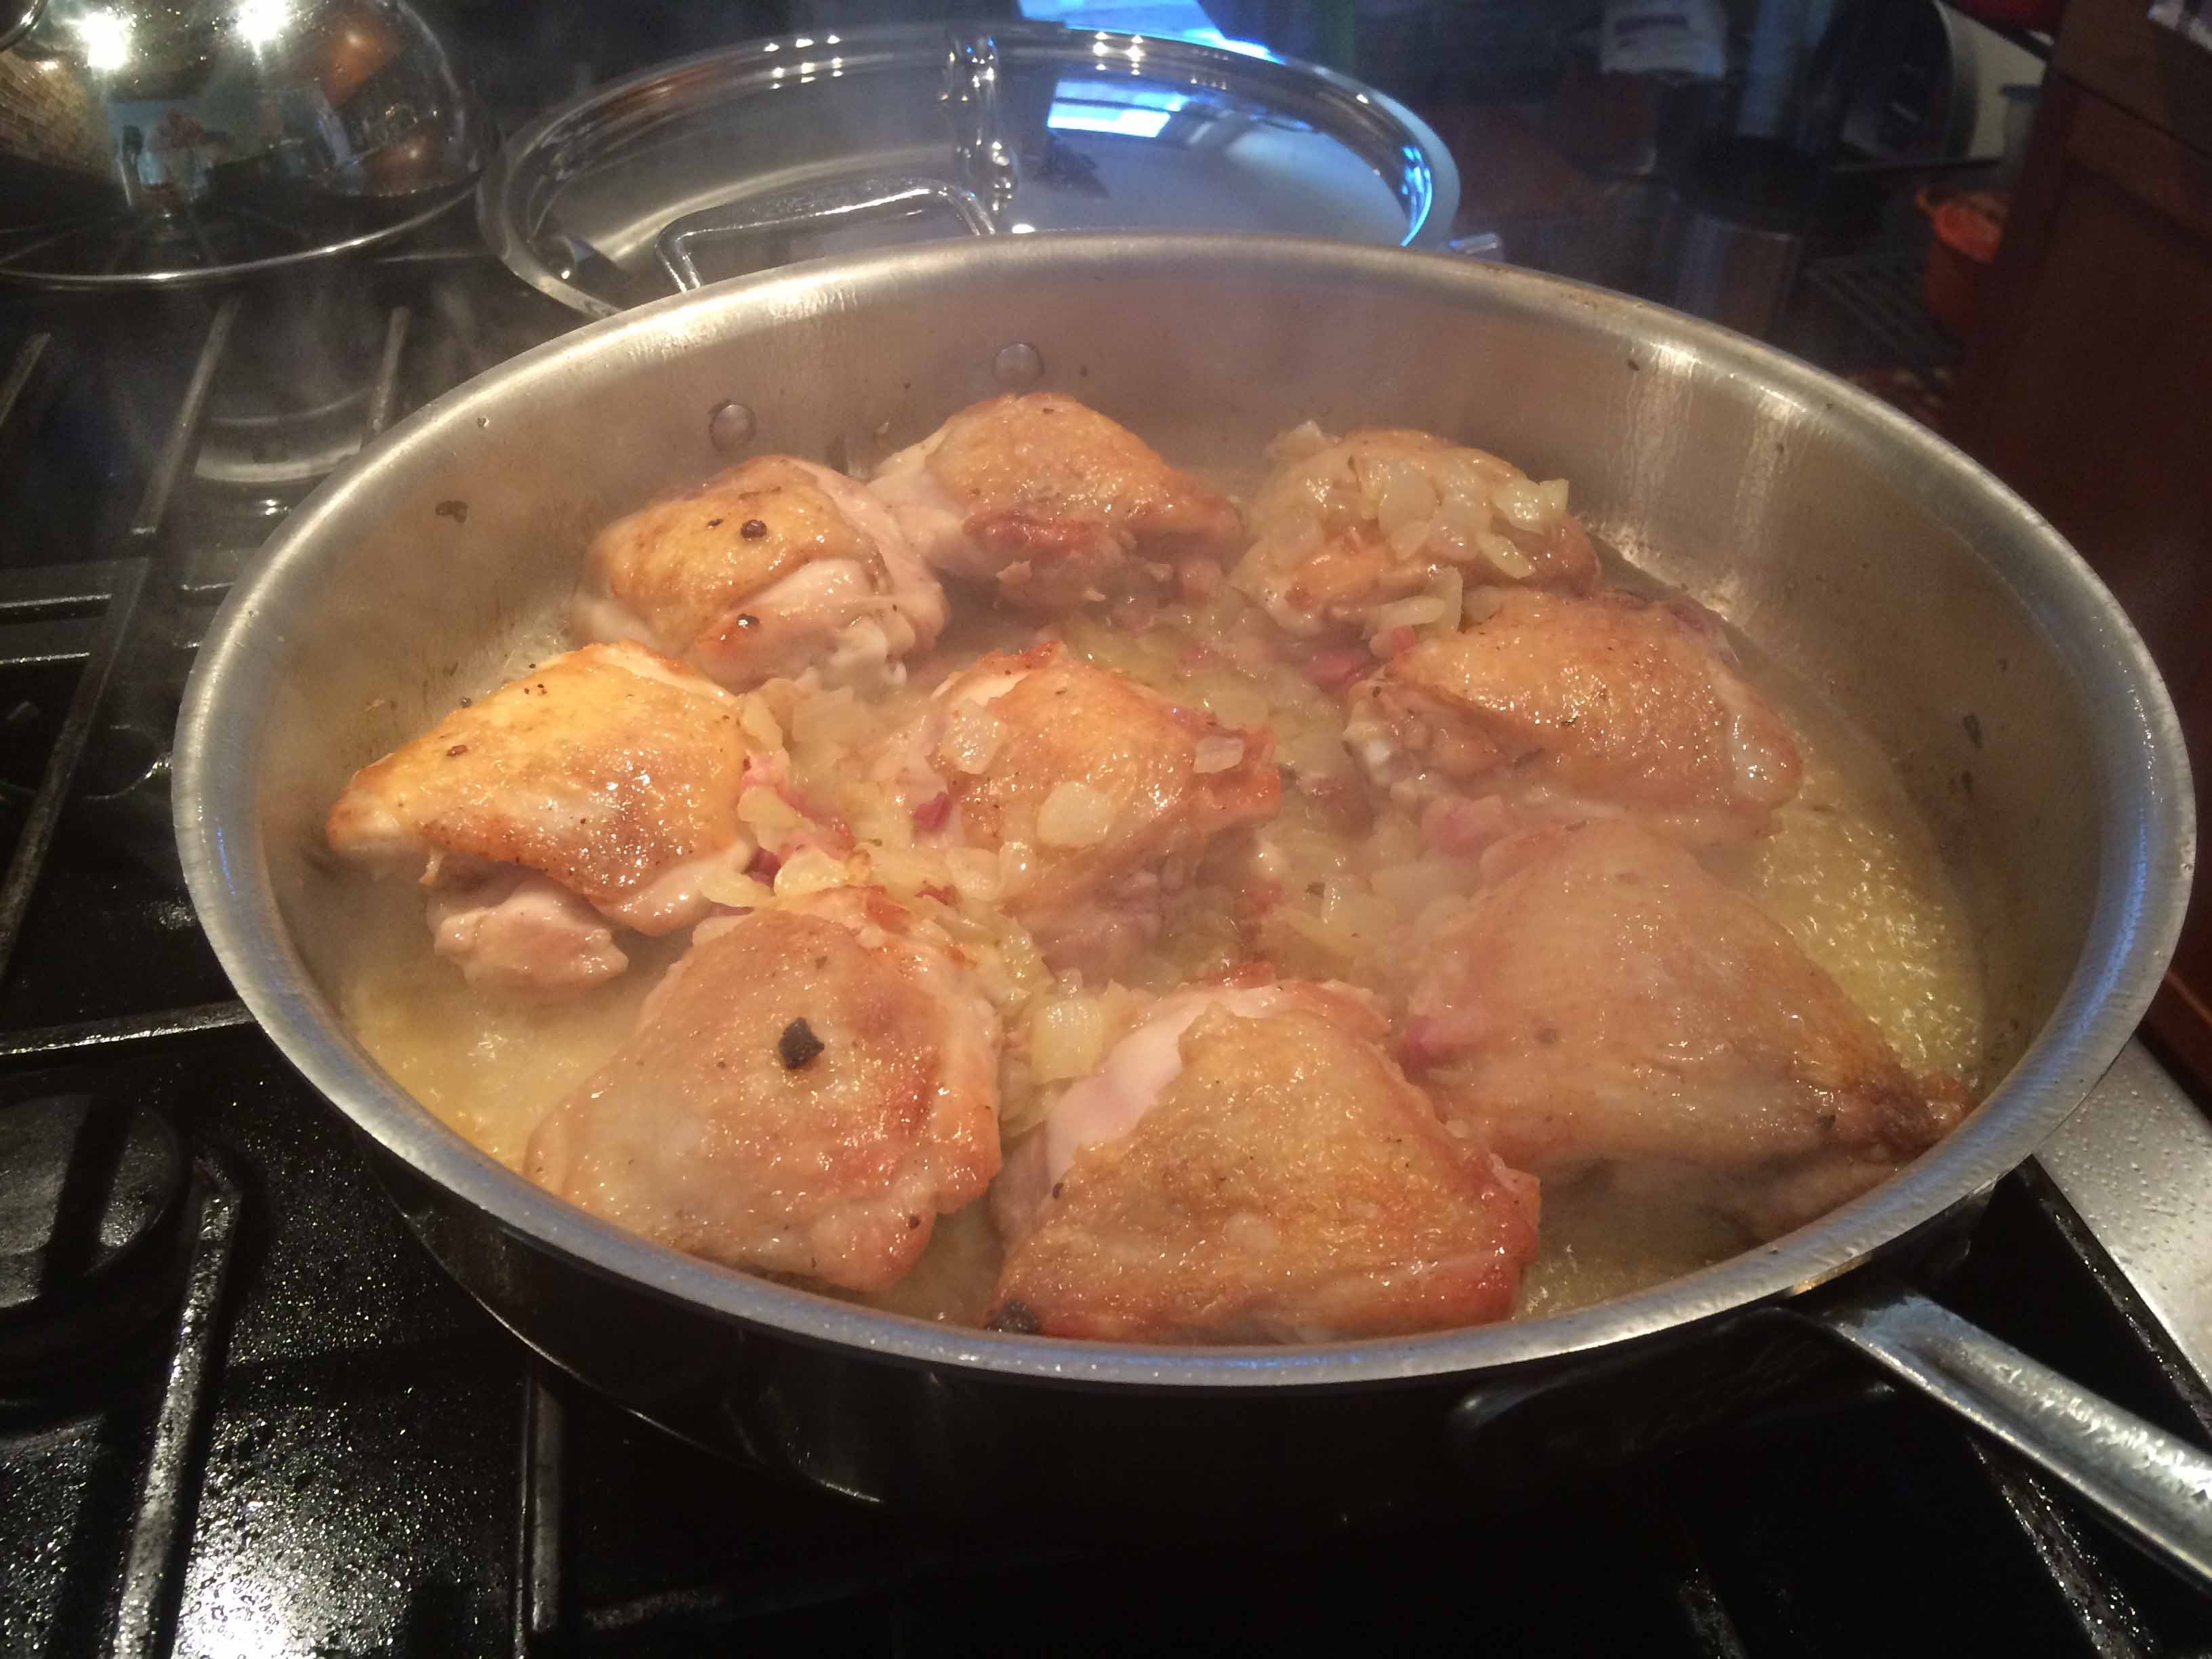
3. Return the pan to the stove and distribute grapes and onion over and around sausages.

Adding grapes and onions

4. Add water and immediately cover. Cook over medium heat, turning sausages once, until they register between 160 and 165 degrees and onions and the grapes have softened, about 10 minutes.

Softened grapes and onions

5. Transfer sausages to paper towel–lined plate and tent with aluminum foil.

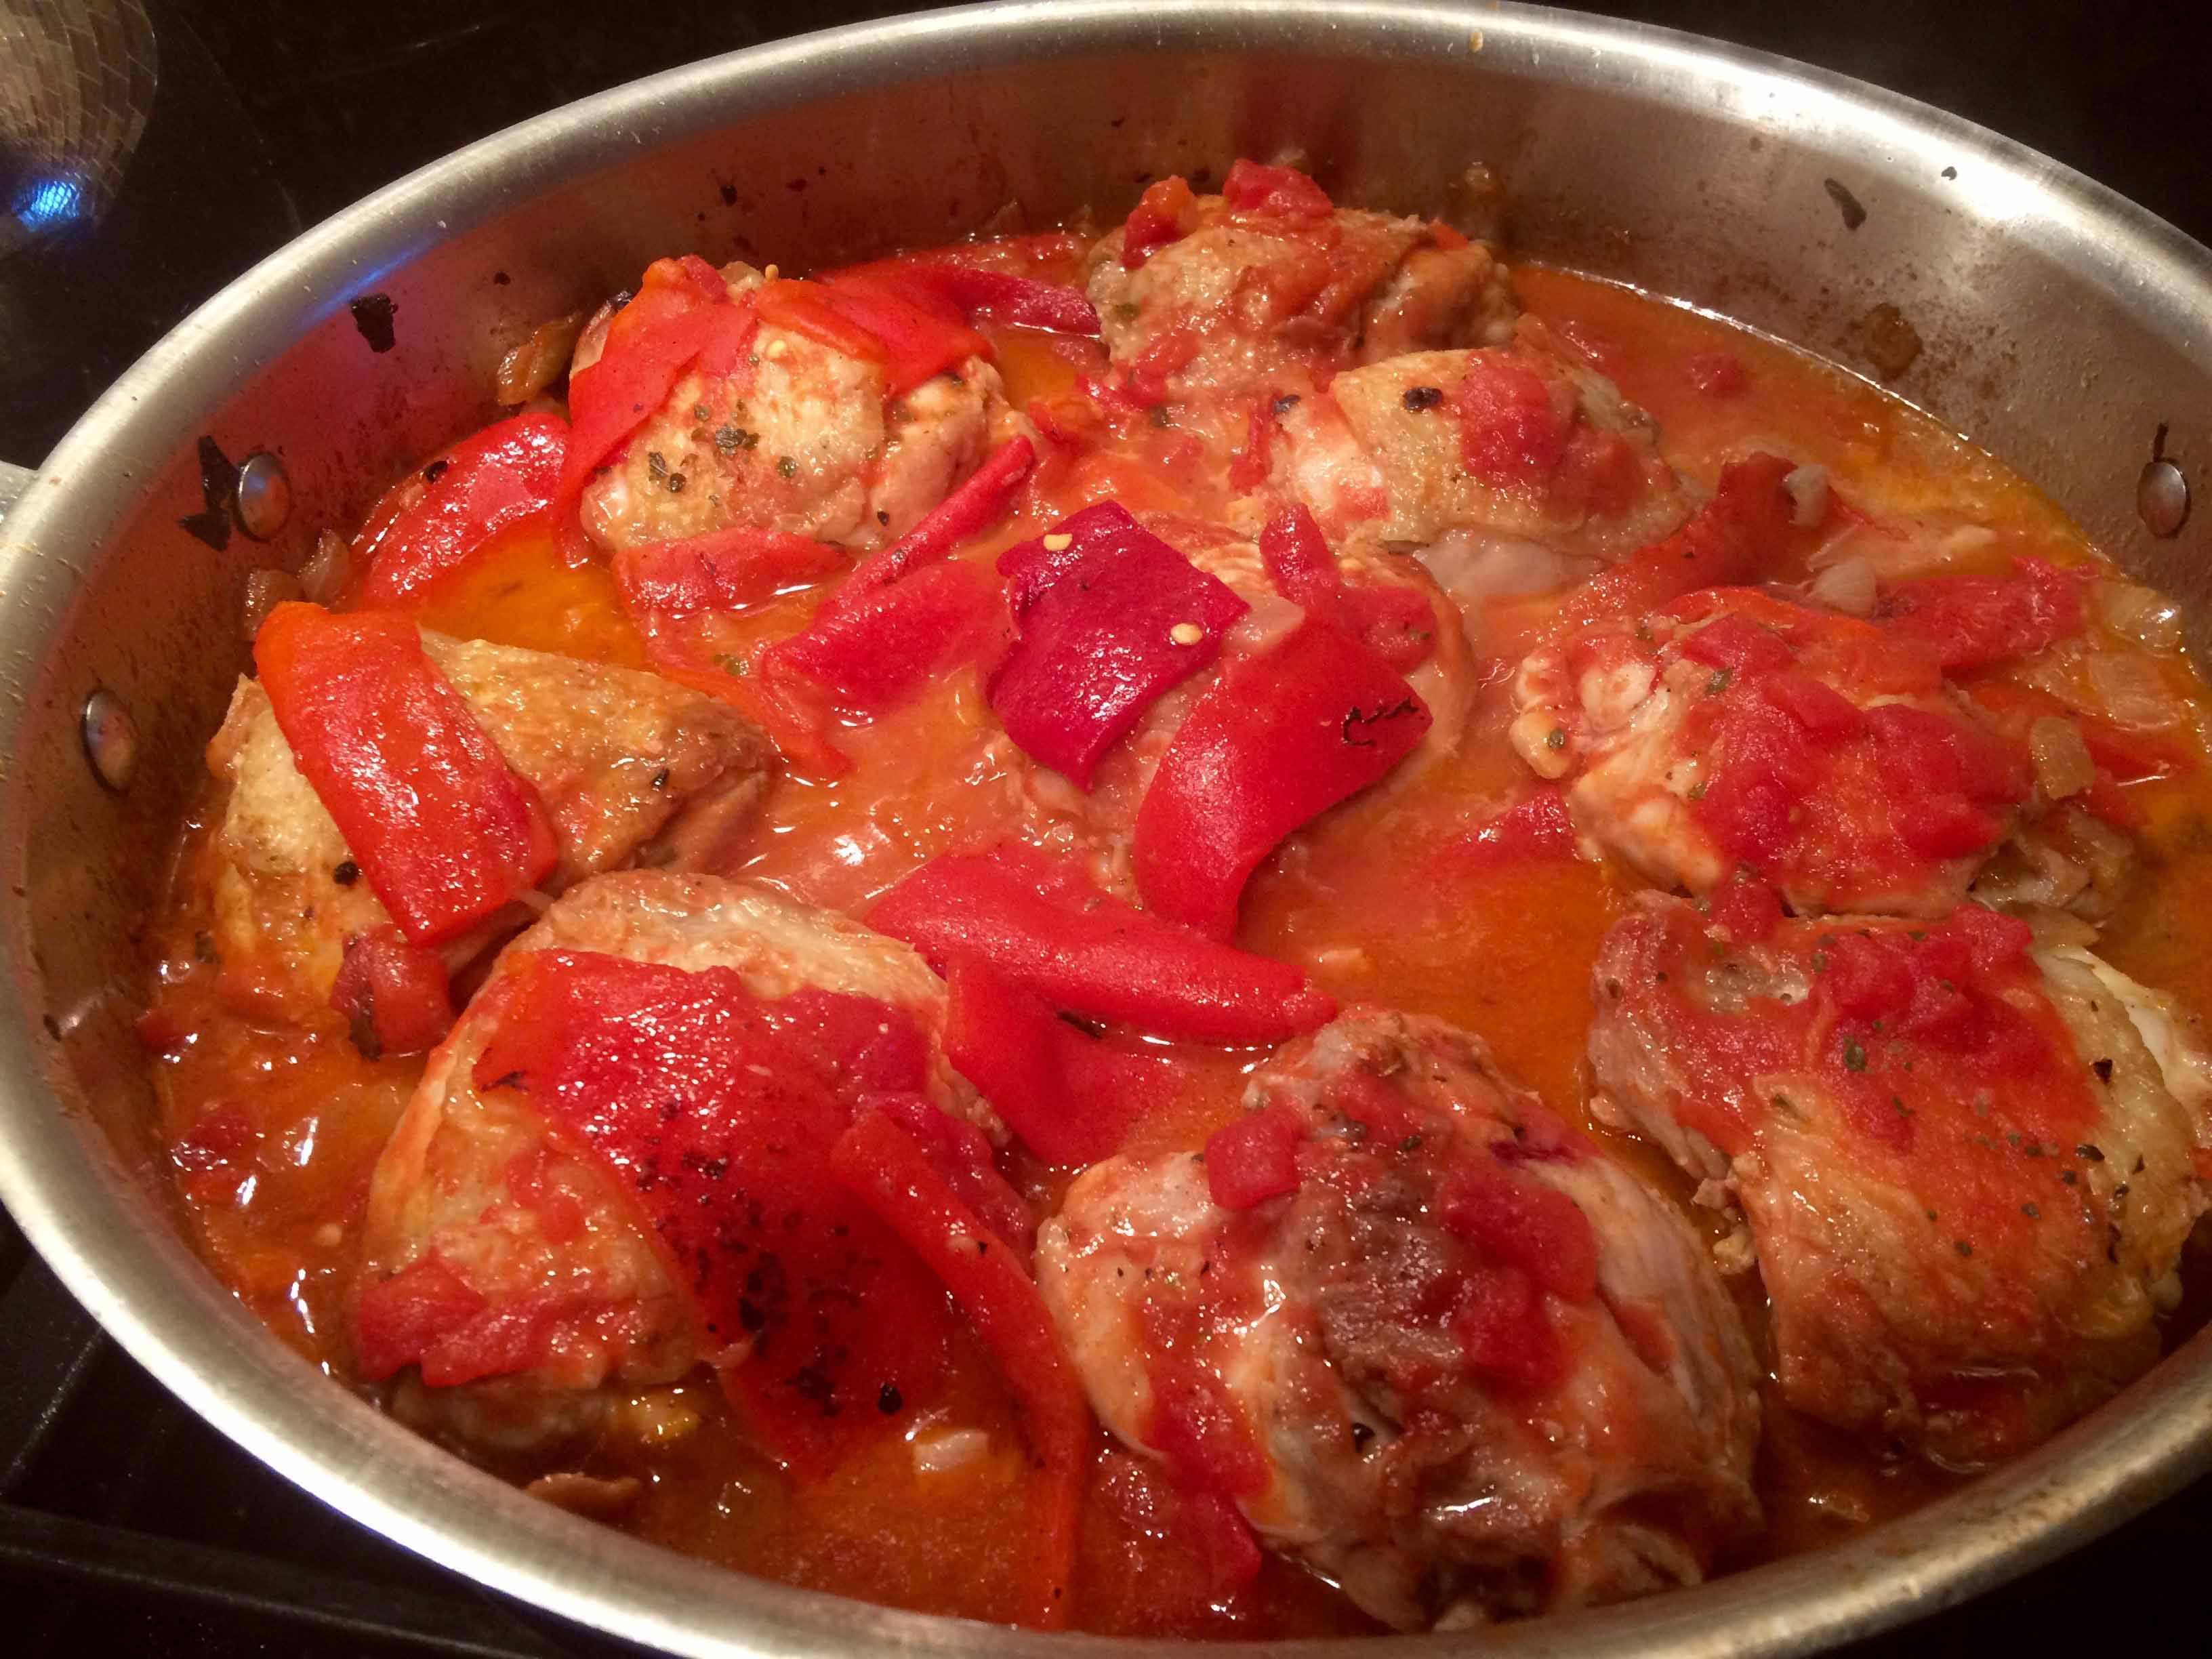
6. Return skillet to medium-high heat and stir pepper and salt into grape-onion mixture. Spread grape-onion mixture in even layer in skillet and cook without stirring until browned, 3 to 5 minutes.

Cooking grapes and onions

7. When browned, stir and continue to cook, stirring frequently, until mixture is well browned and grapes are soft but still retain their shape, 3 to 5 minutes longer.

Browning onions
Browning onions

8. Reduce heat to medium, stir in wine and oregano, and cook, scraping up any browned bits, until wine is reduced by half, 30 to 60 seconds.

Browned onions
Browned onions
IMG_6654sm
After deglazing pan with wine.

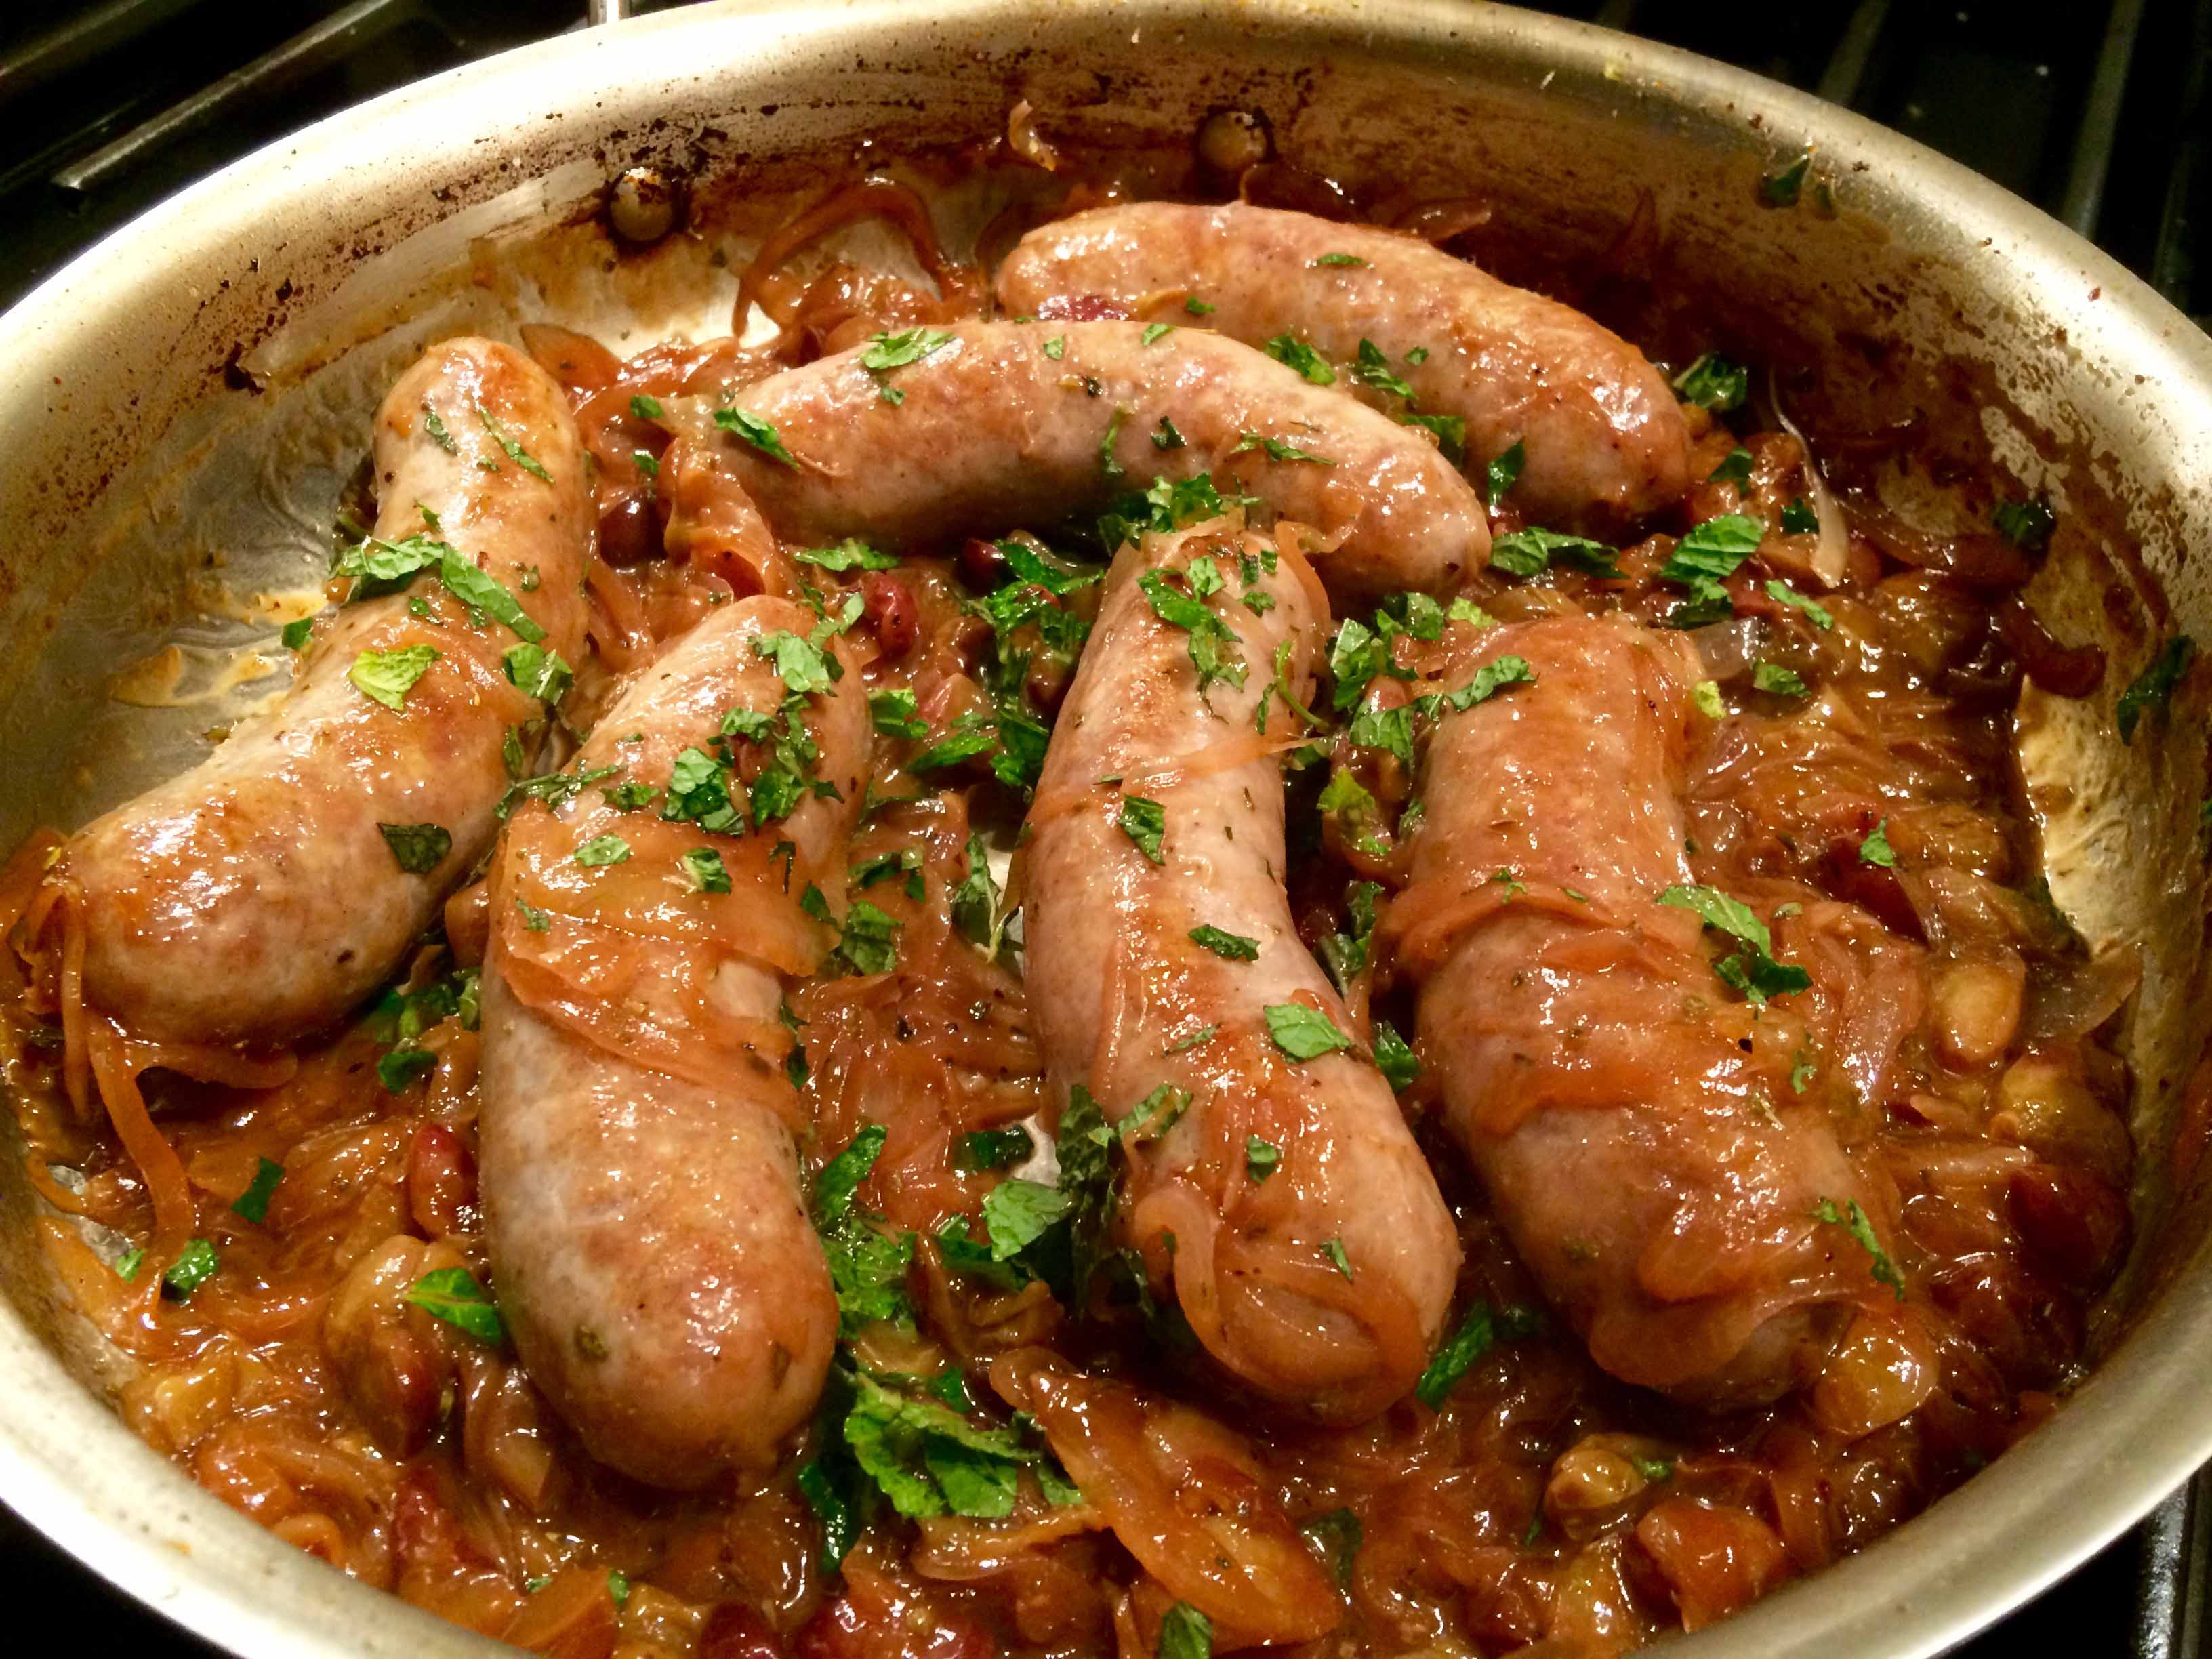
9. Return sausages to the pan to heat briefly.

Sausages returned to the pan
Sausages returned to the pan

10. Remove pan from heat and stir in vinegar. Sprinkle with mint and serve.

Finished dish
Finished dish

Wine Pairing: Dry Riesling, Morellino di Scansano

Chicken Roman Style

IMG_6605sm

Yesterday, I was inspired by a post on Diane Darrow’s insightful blog Another Year in Recipes to cook one of my favorite Roman dishes, pollo alla Romana. Darrow’s post focused on a contemporary recipe for the dish that she compared with her own, which she had published years ago in The Seasons of the Italian Kitchen. The newer recipe seemed far more involved than Darrow’s, which in my opinion more closely resembled the ones I’ve enjoyed in Roman trattorie.

I wrote to Darrow about the recipe I’ve always used for this dish from David Downie’s Cooking the Roman Way, which uses pancetta and roasted peppers. She responded, and I agree, that this recipe may reflect a trend in Italian cooking where people have more interest in experimenting and elaborating on simple traditional dishes.

Below is my adaptation of Downie’s recipe, which I must say yields an extraordinary chicken dish with many layers of flavor. I served the chicken with some grilled polenta, but crusty Italian bread would work just as well.

Pollo coi Peperoni alla Romana (Adapted from Cooking the Roman Way by David Downie.)

Ingredients
Ingredients

Ingredients
3 to 4 pounds skin-on bone-in chicken thighs, about 9 thighs
Kosher salt
Freshly ground black pepper
1 large white onion, roughly chopped
2 ounces pancetta, finely diced
2 tablespoons extra-virgin olive oil
1/4 teaspoon crushed red pepper flakes
1/2 cup dry white wine
1 (14.5-ounce) can Italian crushed tomatoes
4 to 5 large red peppers, roasted, skinned, and seeded and then sliced into strips 1/2 to 1 inch wide and 1-1/2 to 2 inches long.
1 teaspoon dried oregano

1. Trim the chicken thighs of any excess fat or skin and pat dry. Season the chicken with salt and pepper to taste.

2. Heat the oil in a large, high-sided frying pan over medium heat. Add the onion and pancetta. Sauté, stirring with a wooden spoon or spatula, until the onion becomes translucent and the pancetta barely starts to crisp, about 3 to 4 minutes.

Sautéing onions and pancetta

3. With a slotted spoon, remove the onions and pancetta from the pan to a bowl and cover with a lid.

Cooked onions and pancetta

4. Add the pepper flakes to the pan and stir briefly. Increase the heat to high, add the chicken parts skin side down and brown them thoroughly, turning once, about 8 to 10 minutes. If the chicken is very fatty pour off some of the fat.

Browned chicken
Browned chicken

5. Return the sautéed onions and pancetta to the pan and stir thoroughly.

6. Pour in the wine and boil to evaporate it, 1 to 2 minutes, scraping any browned bits from the bottom of the pan with a wooden spoon or spatula.

Reducing the wine
Reducing the wine

7. Add the crushed tomatoes, the roasted peppers, and the oregano. Bring to a simmer over medium heat stirring. Then reduce the heat to low and simmer slowly, partially covered, for 20 to 25 minutes or until the chicken is tender.

The finished dish
The finished dish

8. Serve immediately on warmed plates accompanied by polenta or crusty Italian bread.

Wine Pairing: Sangiovese di Romagna, Montepulciano d’Abruzzo, Merlot

Pressure-Cooker Chicken Curry

IMG_6533sm

Long, long ago when I was in graduate school and living in my first apartment, I started to have dinner parties. My guests were fellow students all of whom shared a love of food that was only constrained by our limited budgets. Each of us had a specialty: mine, of course, was Italian food, inspired by my family’s menus. Others ventured into French or vegetarian or Indian.

Granted, the authenticity of some of our dishes might not have met the more stringent standards of today’s foodies, but nevertheless they were quite tasty. Among the most delicious of these was my friend Leslie’s chicken curry that was always served with rice and Major Grey’s chutney along with a bottle of the then ubiquitous and affordable Schwarze Katz wine, a semi-dry Riesling blend.

The dish I’m writing about today brought back these memories of meals shared with fellow scholars on a budget. Given the ingredients and method of cooking, however, I fear that my kitchen credibility may be called into question by some of my readers.  But this chicken curry has become one of my quick-meal, easy clean-up, comfort-food staples perfect for a mid-week late night dinner. My recipe is roughly based on Lorna Sass’s “Curry in a Hurry” in her book Pressure Perfect.

Pressure-Cooker Chicken Curry

Ingredients
Ingredients


3 pounds skin-on bone-in chicken thighs, well trimmed of excess skin and fat
Madras curry powder, to taste
Salt, to taste
1 medium yellow onion, chopped
1 12.5-ounce jar Maya Kaimal Madras Curry Indian Simmer Sauce

1. Sprinkle the underside of the trimmed chicken thighs with the curry powder and salt to taste.

Seasoned chicken
Seasoned chicken

2. Place the chopped onion in a pressure cooker followed by the chicken thighs. I make two layers of chicken, starting with skin-side down for the bottom layer and then going to skin-side up for the top layer. 

3. Pour in a jar of the simmer sauce making sure to evenly distribute it over the chicken.

4. Lock the lid and and bring the cooker to high pressure, following the instructions of your cooker’s manufacturer. More often than not I use my electric pressure cooker, which facilitates bringing the pot to pressure. For stove-top cookers, Sass’s recipe recommends bringing the cooker to high pressure over high heat and then reducing the heat just enough to maintain high pressure.

5. Cook at high pressure for 10 minutes and then let the pressure release naturally for 4 minutes followed by quick release if necessary. Be careful of the steam, when removing the lid of your pressure cooker. If the chicken is not tender, simmer covered until done. If there is too much fat, you may wish to skim it from the top before serving.

Serve with steamed rice and chutney on the side.

Wine Pairing: Riesling, Sauvignon Blanc

Pasta alla Gricia

IMG_6464

My brother recently sent me a link to a Mark Bittman recipe for pasta alla gricia on The New York Times website. In his email, he wrote that he had some success with it, but wasn’t sure he had executed the recipe 100%.

Since this classic Roman pasta is one of my go-to dishes when I’m in Rome, I thought I’d try it out. But as I read through the recipe, I was surprised not to find two ingredients, which, although used sparingly, are essential to the dish: olive oil and peperoncino (Italian hot chili pepper). Their absence led me to consult David Downie’s Cooking the Roman Way, which 14 years ago provided me with my first recipe for this dish. The olive oil adds an additional layer of unctuousness to the sauce and the peperoncino, that playful heat so typical of many Roman dishes.

Ultimately, I decided to use Downie’s recipe. Bittman’s recipe, however, contained a link to a story he had written for The Times last year on Roman pasta: “For Perfect Pasta Add Water and a Vigorous Stir.” In it, he describes how a renowned Roman chef, Flavio de Maio, demonstrated for him the “magic of water,”  which creates a cremina, or a sauce, which Bittman describes as “thick and round and rich” for dishes like pasta alla gricia or carbonara.  Intrigued, I applied this “magical” technique of adding some pasta water to the sauce and vigorously whisking it with a fork into the cooked pasta. 

This relatively simple step yielded the best version of this dish I have ever prepared, and I believe it could stand up to many that I have enjoyed abroad. One word of caution. Should you choose to follow my version, which combines Downie’s and Bittman’s, or the original Bittman recipe on the Times website, please be sure to read the above mentioned Times story, which clearly explains how to use the pasta water. Bittman rightly warns that it can be tricky and, if not done correctly, can result in a “pile of pasta with a watery sauce on top.”

Pasta Alla Gricia (Adapted from David Downie’s Cooking the Roman Way and Mark Bittman’s NY Times recipe.)

The ingredients
The ingredients

Ingredients
1/4 cup extra-virgin olive oil
1 pepperoncino (hot chile pepper), shredded or -1/4 teaspoon crushed red pepper flakes
8 ounces (about 8 1/4-inch-thick slices) guanciale, pancetta or bacon, roughly chopped
1 pound bucatini, rigatoni, or spaghetti
About 1-1/2 cups freshly grated imported Pecorino Romano

  1. Bring at least 5 quarts of salted water to boil in a large pot.

2. Heat the oil in a very large, high-sided frying pan over medium heat. Add the peperoncino and the guanciale and sauté, stirring until the guanciale is deeply golden, about 5 minutes.

IMG_6415sm
Sautéing the guanciale

3. Adjust the heat as necessary to render the fat without burning the meat. The meaty parts should be browned and the fatty parts should be cooked but still slightly transparent. Remove the frying pan from the heat. (For this step, I’ve included elements from both recipes. Downie says to crisp the guanciale and calls for 1 minute of cooking; but I did not find this to be enough time to render the fat from the guanciale. I also did not want the meat too crisp. Bittman calls for 15 to 20 minutes to bring the meat to a deep golden color; but this seemed a bit too much time. Finally, if your meat is very fatty, you may want to remove some of the rendered fat from the pan.)

The browned guanciale

4. Drop the pasta into boiling water and stir. Cover the pot. When the water returns to boil, cook uncovered until the pasta is barely al dente, about 1 minute less than the suggested cooking time on the package.

5. About 5 minutes before the pasta is cooked, return the frying pan to medium heat and add 1/2 to 3/4 cup of the pasta cooking water to the pan, turn the heat to high, and reduce by about half. (This and the following step are adapted from the Bittman recipe.)

The reduced sauce
The reduced sauce

6. When the pasta is ready, use tongs to transfer it to the pan with the sauce. Stir the pasta in the sauce to let it finish cooking, adding more pasta cooking water if necessary until the pasta is done and the sauce thick and creamy. Add half the cheese and a pinch of black pepper, and stir vigorously to incorporate.

The vigorous stirring

7. Serve the pasta on heated plates or in bowls, passing the remaining Pecorino Romano. Makes 4 to 6 servings.

The finished dish
The finished dish

Wine Pairing: Sangiovese di Romagna, Frascati

Shrimp with Pesto

IMG_6360sm

The other night when plans to dine out fell through at the last minute, I had to whip up something fast for dinner at home. Earlier in the day, I caught Giada De Laurentiis on the Food Network preparing a quick and easy shrimp sauté with pesto and thought why not make that tonight. Here’s a link to the recipe with a video.

I didn’t plan to write this recipe up until I tasted the final product, so I only have the one photo of the finished dish. My one reservation was using Parmigiano with seafood, but it worked. Having a plethora of basil on hand and not being able to find fresh mint, I omitted it and just used basil. I  also substituted on-sale large shrimp rather than the jumbo. Finally, rather than adding my pesto to the pan, I chose to add the cooked shrimp to my pesto and tossed them with it in the bowl.

Served with steamed rice and a chilled Sauvignon Blanc, this was a perfect dish for a warm spring evening on the terrace.

Giada de Laurentiis’s Jumbo Shrimp with Basil and Mint Pesto

Ingredients
3/4 cups lightly packed fresh mint leaves
1/2 cup lightly packed fresh basil leaves
1/4 cup pine nuts, toasted
1 garlic clove
1/4 cup olive oil
2 tablespoons freshly grated Parmesan
Salt and freshly ground black pepper
2 pounds uncooked jumbo shrimp, peeled and de-veined
2 tablespoons extra-virgin olive oil

Directions
Blend the mint, basil, pine nuts, and garlic in a food processor until finely chopped. With the machine running, gradually add 1/4 cup of olive oil, processing until well blended. Transfer the pesto to a medium bowl. Stir in the Parmesan. Season, to taste, with salt and pepper.

Toss the shrimp with the extra-virgin olive oil in a large bowl to coat. Sprinkle with salt and pepper, and toss again.

Heat a heavy large skillet over high heat. Working in 2 batches, add the shrimp and sauté until just cooked through, about 3 minutes.

Toss the shrimp with enough pesto to coat.

Transfer the shrimp to a platter and serve.

Wine Pairing: Sauvignon Blanc, Vermentino