Baked Farro and Butternut Squash

IMG_6034sm

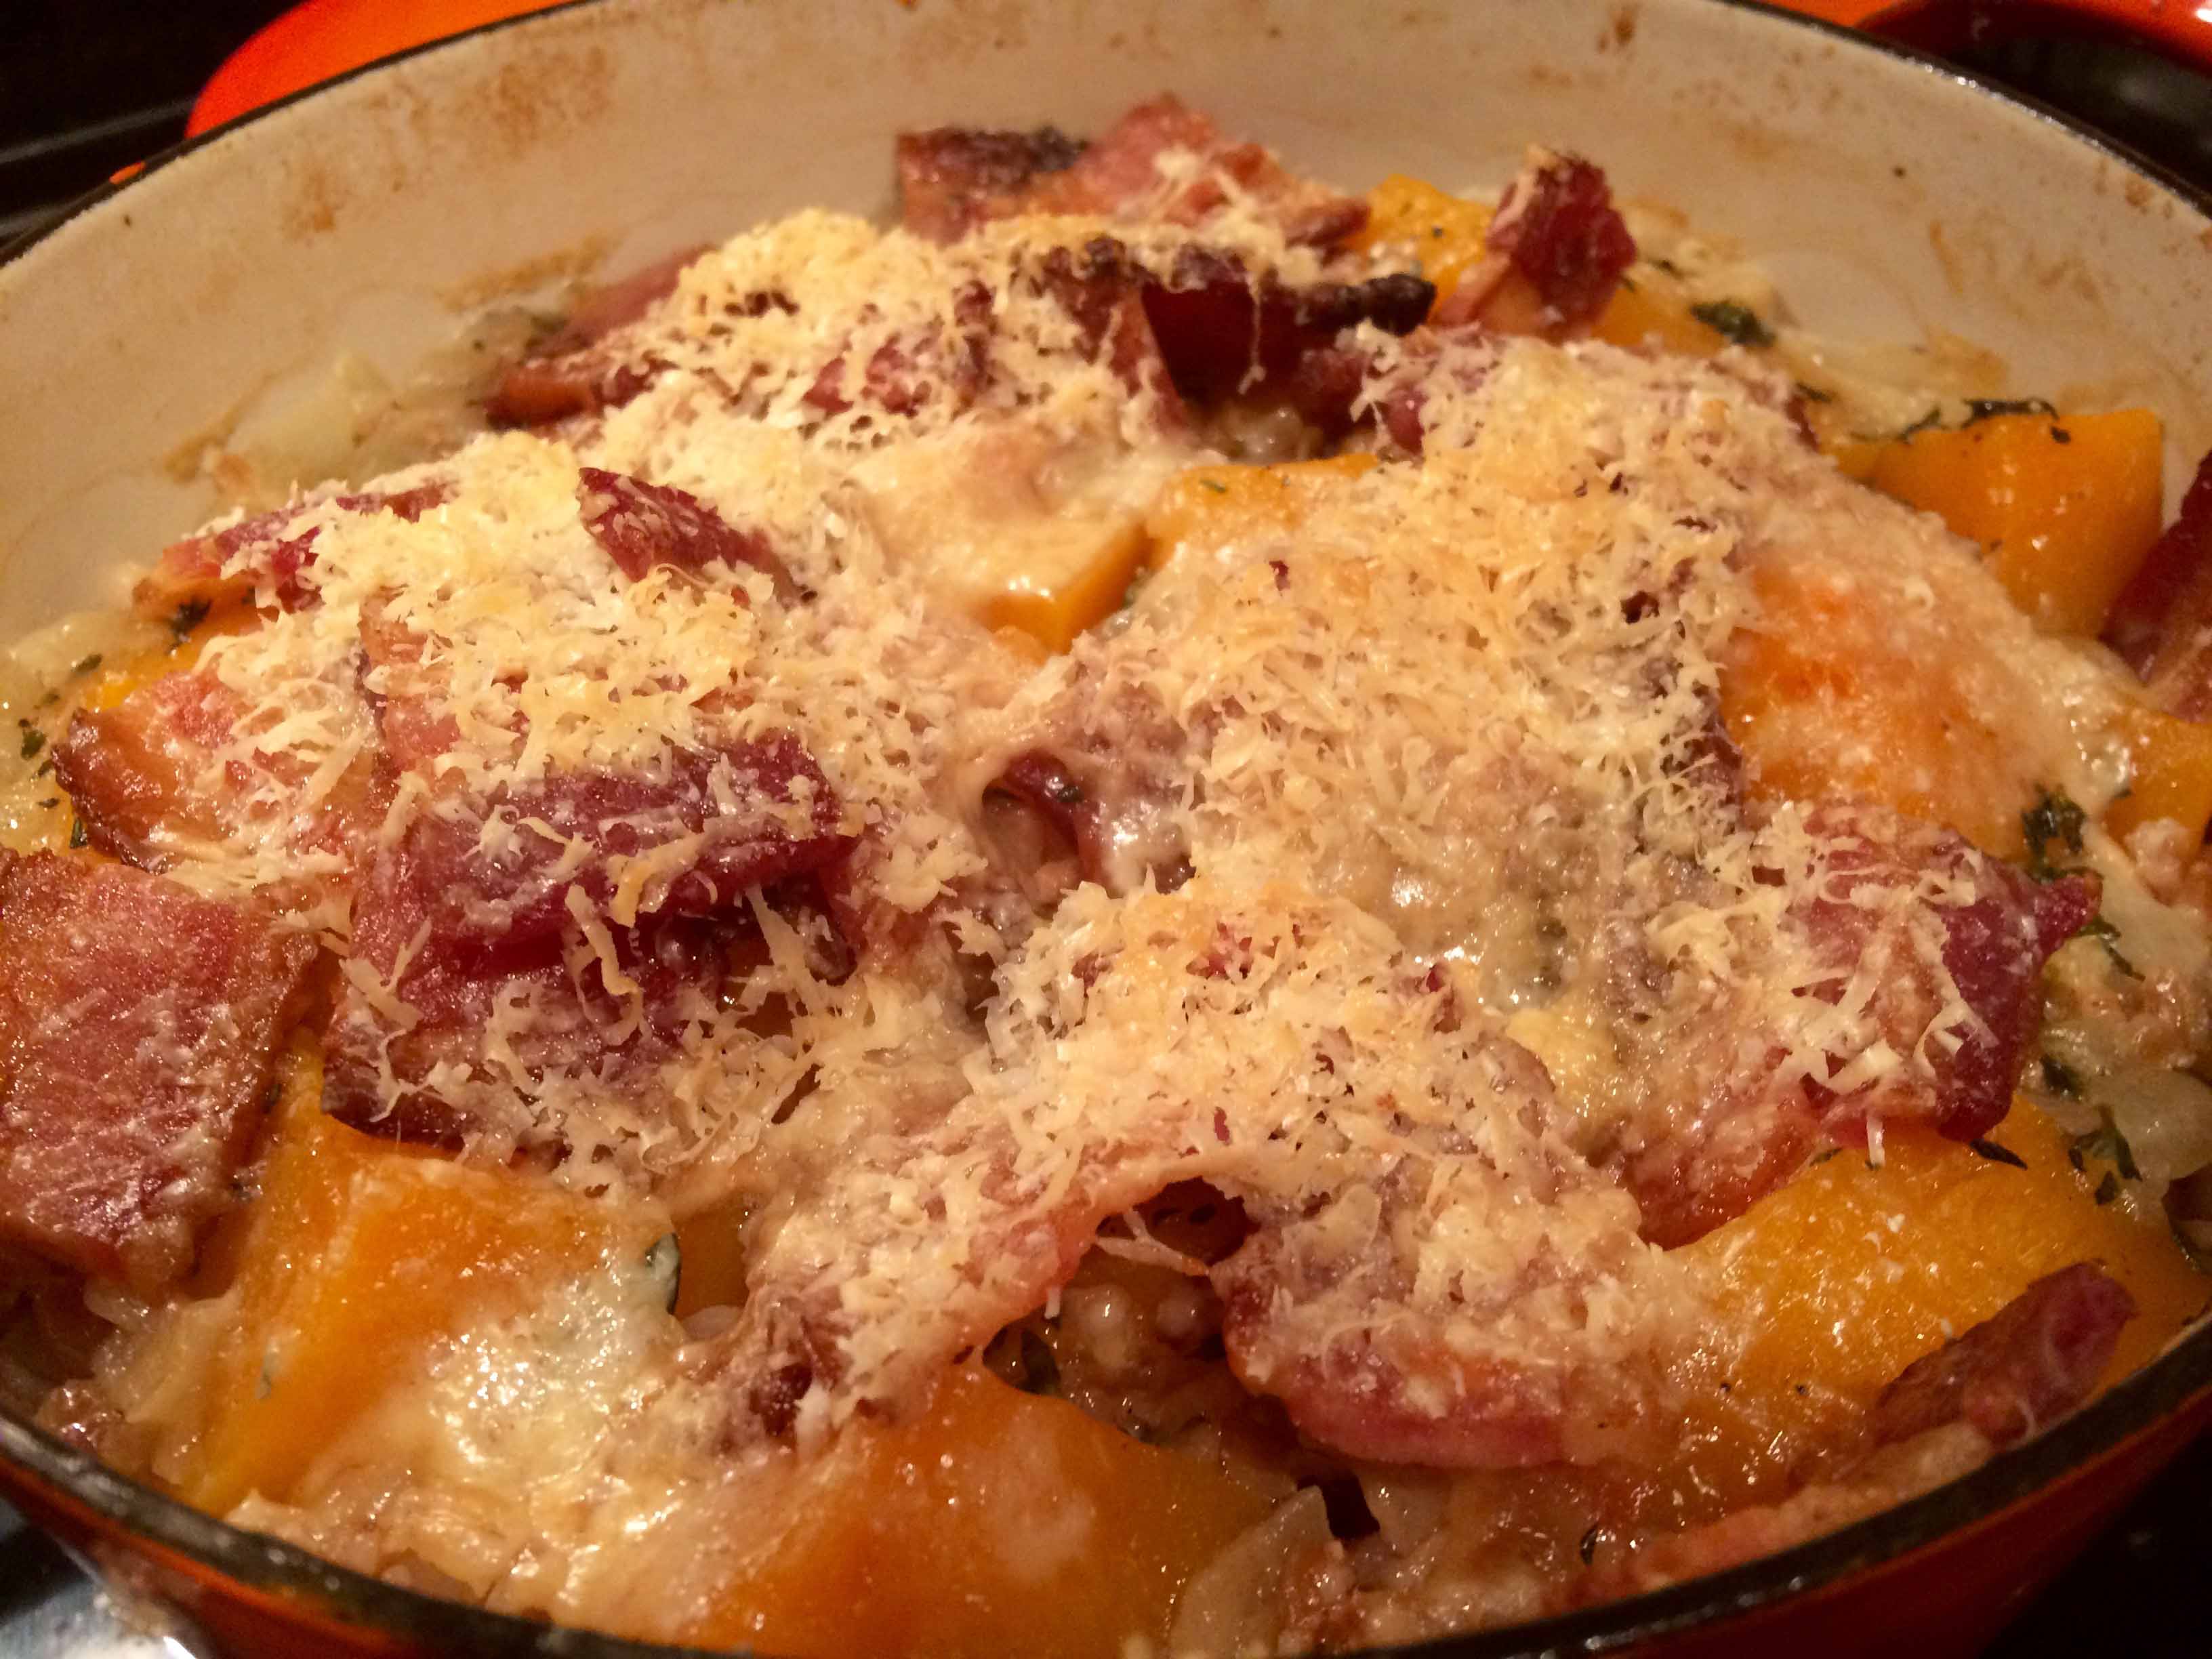
Late fall, an unusually cold day, and farro in the cupboard. This was the setting that set me off looking for a recipe for a comforting weekday-night dish. My search uncovered several appealing recipes for farro “risottos,” but, wanting to do a little less work, I eventually settled on a recipe from Ina Garten’s Make It Aheadcookbook that bakes farro with onion, butternut squash, thyme, bacon, and Parmigiano Reggiano. The previously browned bacon and grated cheese top the casserole for the last 20 minutes of baking, and the aroma makes waiting for this dish torture.

The nutty flavors of the farro combined with the sweetness from the squash and the savoriness of the bacon and cheese made for a perfect fall or winter main course or even a side.

Although we thoroughly enjoyed this dish the first night, it was too much for two to finish. A few night later, I decided to reheat what was left over by putting it in a sealed freezer bag, which I then simmered in hot water for about 20 minutes. While the texture may have suffered some from reheating, the flavors were still exquisite.

Baked Farro and Butternut Squash from Make It Ahead by Ina Garten
Serves 6 to 8

The ingredients
The ingredients

6 thick-cut slices applewood-smoked bacon
2 tablespoons good olive oil
1 tablespoon unsalted butter
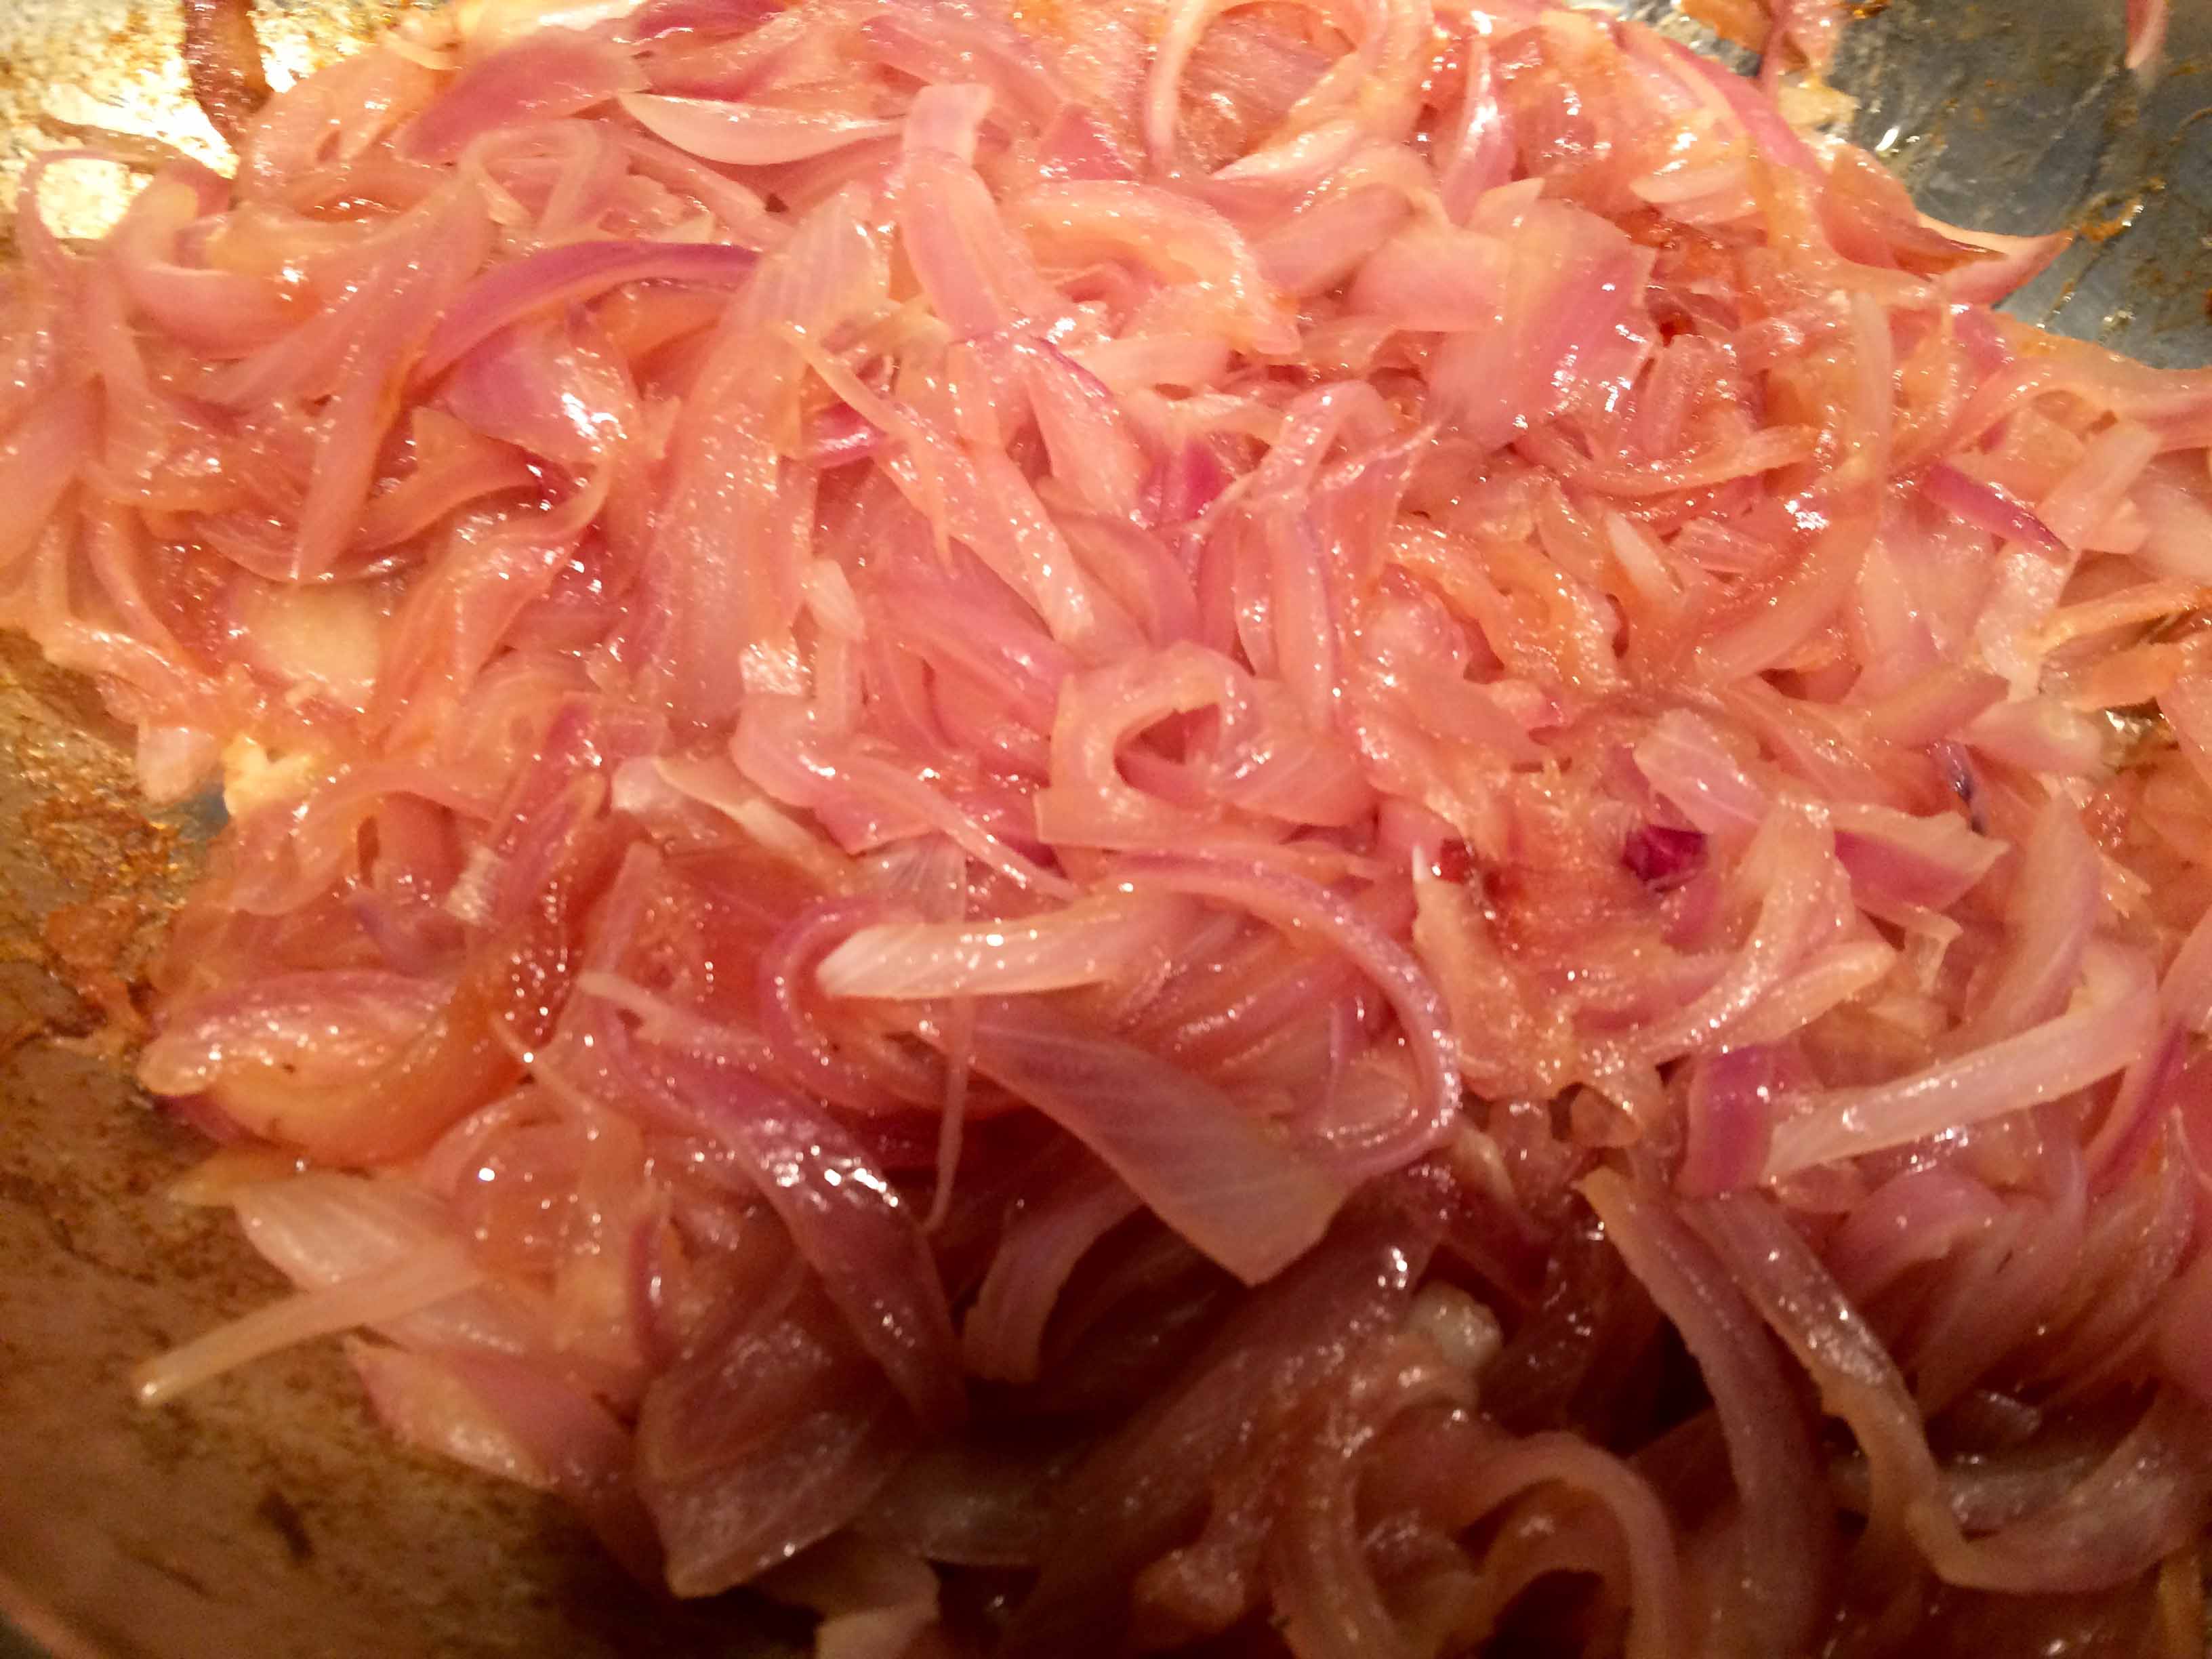
1 ½ cups chopped yellow onion (1 large)
2 teaspoons chopped fresh thyme leaves
Kosher salt and freshly ground black pepper
1 ½ cups pearled farro
3 cups good chicken stock, preferably homemade
3 cups (¾ -to 1-inch-diced) butternut squash
½ cup freshly grated Parmesan cheese

Preheat the oven to 375 degrees.

Place the bacon on a baking rack set on a sheet pan and bake it for 20 to 30 minutes, until browned (it won’t be crisp). Cut the bacon in very large dice.

The cooked bacon
The cooked bacon

Meanwhile, in a small (9-inch) Dutch oven, such as Le Creuset, heat the olive oil and butter over medium heat. Add the onion and cook for 6 to 8 minutes, until tender and starting to brown. Add the thyme, 2 teaspoons salt, and 1 teaspoon pepper and cook for one minute.

The onions and the thyme

Add the farro and chicken stock and bring to a simmer. Place the squash on top of the farro mixture, cover, and bake in the same oven with the bacon for 30 minutes, until the squash and farro are tender. Check once during cooking and add a little chicken stock if it’s dry.

IMG_6003sm
The stock, farro, and squash

Sprinkle the bacon and Parmesan on the squash and faro and bake uncovered for 15 to 20 minutes, until most of the liquid evaporates, the farro and butternut squash are tender, and the cheese has melted. Serve hot directly from the pot.

The finished dish
The finished dish

Note: Peel butternut squash and cut it in half so it doesn’t wobble while you dice it.

MAKE IT AHEAD: Assemble the dish, including the bacon and Parmesan, and refrigerate for up to 2 days. Bake before serving..

Reprinted from Make it Ahead. Copyright © 2014 by Ina Garten.

Wine Pairing: Pinot Noir, Chardonnay

Meatless Pecorino Meatballs

IMG_5960sm

Sometimes a recipe is enough to make me purchase a cookbook. So when I saw a recipe for polpettine di pecorino, pecorino meatballs, in Bastianich’s Lidia Cooks from the Heart of Italy, I had to have this book.

I’m not sure why I was so intrigued by this dish. On one hand, I was skeptical that cheese, bread crumbs, eggs, garlic, and basil would come together and then be fried to make a satisfying alternative to the classic meatball. But on the other hand, I have a weakness for pecorino; having a Neapolitan heritage, I was brought up on it. It was the cheese of choice for sprinkling on pasta, flavoring stuffings, adding to a frittata, or topping carne pizzaiola.

A few nights ago, I tried the recipe for the first time and we thoroughly enjoyed a most satisfying meatless dish. Richly flavored, they had a pleasant saltiness and meaty texture. A simple marinara provided the perfect complement to their savoriness.

My aforementioned skepticism is to blame for not having photos of preparing this dish. But I think the two I’ve provided of the finished meatballs should entice you to make them. I’ll try to add more photos the next time I make these.

As we were only two at the table, I halved the original recipe, which makes 60 small meatballs.

Meatless Pecorino Meatballs Adapted from Lidia Cooks from the Heart of Italy
8 large eggs
3 cups fine dry bread crumbs
3 cups freshly grated pecorino
2 teaspoons kosher salt
4 tablespoons finely chopped fresh basil
2 plump garlic cloves, peeled and finely chopped
1 cup vegetable oil, or more as needed (I used extra virgin olive oil.)
6 to 7 cups tomato sauce (I used Marcella Hazan’s classic tomato, onion, and butter sauce.)

Beat the eggs well in a large mixing bowl. Heap the bread crumbs, cheese, salt, basil, and garlic on top of the eggs and mix everything together well, first with a big spoon or spatula and then with your hands. (Be careful not to overwork the mixture.) The “dough” should come together in a soft mass, leaving the sides of bowl. If it is very sticky, work in more bread crumbs a bit at a time.

Break off tablespoonful pieces of dough, and one by one roll them in your palms into smooth balls. Place them on a board or tray covered with wax paper or parchment–you should get about 60 balls total.

Pour 1/8 inch oil into the skillet, and set over medium flame. When the oil is hot enough that a test ball starts sizzling on contact, lay in as many balls as will fit into the pan without crowding–about 20 or 30. Adjust the heat as you fry so the heat stays hot and the balls are sizzling and browning nicely, but not burning. Turn them frequently, so they fry on all sides.

When the balls are evenly browned and crispy, lift them from the pan with a slotted spoon or spider, letting excess oil drip back into the pan for a moment, and then lay them on paper towels to drain

Fry the balls in batches this way, adding more oil if needed. You can serve these as is as an hors d’oeuvre while hot and crispy.

To serve with sauce, heat the sauce to a simmer in a large saucepan. Drop in all the balls and return the sauce to a simmer, gently turning the balls so all are submerged and coated. Cook for about 5 minutes, or just until the balls are heated all the way through.

Finished meatballs in the sauce

Serve with sauce on the top, sprinkled with grated cheese, and garnished with basil.

Wine Pairing: Montepulciano d’Abruzzo


Calamari in Cassuola

IMG_5942sm

For some reason, I really don’t know why, I’ve always been afraid to cook calamari. As I was growing up, it was always one of my favorite meals on a Friday, when meatless meals were still mandatory for Catholics. More often than not, my aunt would prepare them stewed in a simple marinara sauce. They were either whole, stuffed with softened white bread that she combined with the chopped tentacles, eggs, and parsley, or cut up into rings. The stuffed version were usually served with pasta; the rings, with friselle, which might best be described as thick, rectangular, twice-baked bread biscuits, which were used to sop up the sauce. Once in a while, my aunt would also serve them cut into rings, lightly battered, and deep-fried, accompanied only by lemon wedges—but never with tomato sauce.

Wanting to recreate these dishes at home, I eventually confronted my fear of cooking these delectable creatures and started to deep fry calamari with, I might add, considerable success. Cooking them in sauce, however, continued to remain a challenge—until last Friday. That morning, I had intended to buy some Manila clams, which I intended to cook with Sardinian fregola. But when I got to the fish market, I spotted some beautiful calamari, glistening a lustrous white interlaced with light purple from the tentacles. I decided that it was time to take the plunge and stew them in tomato sauce.

Although I was confident about the sauce, I wasn’t quite sure how long I needed to cook the calamari. Almost every source I consulted warned against overcooking them, which would make them rubbery. Indeed, I knew this from my experience with frying. In fact, the majority of recipes I read suggested preparing the sauce separately and then adding the squid and cooking them for two minutes. Somehow, I wasn’t comfortable with this method, as I really wanted my sauce to be deeply flavored with the calamari and vice versa. I was certain that my aunt simmered her calamari slowly, but I wasn’t sure for how long.

Finally, I turned to one of my go-to books on Neapolitan cooking, Naples at Tableby Arthur Schwartz. It was here that I found a recipe that resembled closely my aunt’s preparation. It called for preparing a classic marinara and adding the calamari to the sauce after the first five minutes of cooking. The fish and the sauce are then gently simmered uncovered for about 30 minutes or until the sauce has thickened and the calamari are tender.

This was the recipe I used, and with some only minor variations (adding some salt and increasing the amount of tomatoes), I came very close to replicating my aunt’s stewed calamari. I served them over pasta. Next time, however, I’ll stuff them.

Calamari In Cassuola (Squid Stewed with Tomatoes) adapted from Naples at Table by Arthur Schwartz

The ingredients
The ingredients

3 tablespoons extra-virgin olive oil
2 large cloves garlic, lightly smashed
¼ teaspoon or more hot red pepper flakes
1 28-ounce can imported whole peeled tomatoes, preferably San Marzano, with their juices
¼ teaspoon dried oregano
Salt to taste
1½ fresh, cleaned calamari cut into ¼-inch rings, tentacles cut in half
¼ cup finely cut flat-leaf parsley

The cut calamari
The cut calamari

1. In a 2½ – to 3-quart saucepan or stovetop casserole, over low heat, combine the olive oil, the garlic, and the hot pepper. Cook until the garlic is soft and beginning to color on all sides, pressing the garlic into the oil a few times to release its flavor. Remove the garlic.

The cooked garlic
The cooked garlic

2. Add the tomatoes, the oregano, and the salt to taste and, with a wooden spoon, break up and coarsely crush the tomatoes. Increase the heat to medium high and simmer briskly, uncovered, for 5 minutes.

The sauce after 5 minutes

3. Reduce the heat to low, stir the calamari into the sauce and continue to simmer steadily, uncovered for about 30 minutes, or until the sauce has thickened and the calamari are tender. Some calamari may take longer to cook, in which case you may need to add a tablespoon or as many as a few tablespoons of water so the sauce doesn’t become too reduced.

The cooked calamari
The cooked calamari

4. Add the parsley and cook for another 15 seconds.

Cooked calamari with the parsley

Note: I added the parsley after transferring the calamari to a skillet for tossing with the pasta.

5. Serve very hot, as is, with bread, or over freselle, or, as I did, tossed with pasta.

Wine Pairing: Lacryma Christi del Vesuvio Rosso

Lamb Shanks with Sweet and Sour Onions

IMG_5854sm

You’ve probably been counseled by other food bloggers or cooking enthusiasts to let what looks good on any given day at your market determine what you’ll cook that night. I more or less agree with this advice, but I must admit that it definitely helps to have high-quality markets nearby. Fortunately, I live in downtown New York, where I’m surrounded by some of the city’s finest fish mongers, green grocers, and butchers, which makes being inspired by their offerings relatively easy.

Such was the case the other day when I went to my butcher, Dickson’s Farmstand Meats located in Chelsea Market, looking for inspiration. They’re know for locally sourced, humanely raised meats, and I wasn’t there long before I espied and bought some meaty lamb shanks.

As I walked home, I started to consider how to prepare them. For me, braising was the obvious choice, but I wasn’t quite sure what to braise them with. So when I got home, I looked through some of my go-to books for braising and found an appealing recipe in Michele Scicolone’s The Mediterranean Slow Cooker: “Lamb Shanks with Sweet and Sour Onions.”

The recipe calls for just a few ingredients with which to cook the lamb: red onions, garlic, rosemary, red wine, and balsamic vinegar.

The Ingredients
The Ingredients

The minimal prep also made the recipe attractive: browning the onions and then combing them with the garlic (minced), the rosemary (chopped), the red wine (dry), and the balsamic vinegar. Since the vinegar plays a leading role in flavoring this dish, I recommend using a good quality balsamic.

IMG_5838sm
Browning the onions
Onions with the wine, balsamic, and rosemary

Cooked on low for 8 hours, the shanks become tender and succulent and their distinctive meaty flavors are perfectly complemented by the sweet-and-sour onions and braising liquid.

I served the shanks with polenta, made creamy with butter, cream, and Parmigiano Reggiano.

Wine Pairing: Montepulciano d’Abruzzo

Roast Chicken with Cumin, Honey and Orange

IMG_5820sm

My Neapolitan aunt, an outstanding home cook, was never one for fancy food; her dishes were simple and straightforward, her presentations were always family style, and her only garnish, if any, was some chopped parsley.

While America was rediscovering French cuisine in the 60s, she and I would watch the original Julia Child shows. However, if Julia would demonstrate something elaborate like roasting a pig or cooking swordfish “in monk’s clothing,” my aunt would look askance at the television, mumble something like “che stravagante,” and leave the room.

Well, last night I think my aunt might have had a similar reaction if she were to have been watching me prepare Mark Bittman’s recipe for Roast Chicken with Cumin, Honey and Orange from The New York Times. It’s not a complicated recipe, but requires repeated braising and rotating the pan every ten minutes to achieve a mahogany-colored bird.

The result was good, with crisp skin and moist meat, but I know if my aunt were still around and watched the preparation, she would have remarked as I did: “non vale la pena” (not worth the effort).

Roast Chicken with Cumin, Honey and Orange from The New York Times
INGREDIENTS
½ cup freshly squeezed orange juice
½ cup honey
1 tablespoon ground cumin
Salt and freshly ground black pepper
1 3-pound chicken, giblets and excess fat removed

PREPARATION
Preheat oven to 400 degrees. Use a nonstick roasting pan, or line a roasting pan with a double layer of aluminum foil.

Combine orange juice, honey, cumin, salt and pepper in bowl, and whisk until smooth. Place chicken in pan, and spoon all but 1/4 cup of liquid over all of it.

Place chicken in oven, legs first, and roast for 10 minutes. Spoon accumulated juices back over chicken, reverse pan back to front, and return to oven. Repeat four times, basting every 10 minutes and switching pan position each time. If chicken browns too quickly, lower heat a bit. If juices dry up, use reserved liquid and 1 or 2 tablespoons of water or orange juice.

After 50 minutes of roasting, insert an instant-read thermometer into a thigh; when it reads 155 to 165 degrees, remove chicken from oven, and baste one final time. Let rest 5 minutes before serving.

Wine Pairing: Chardonnay