Pasta with Sausage & Radicchio

Penne with Sausage & Radicchio

Perhaps my favorite season in New York City was fall. It always seemed that the city somehow sprung back to life from a lazy hot and humid summer slumber. The atmosphere grew more vibrant as leaves changed color and cooler temps set in. The fall harvest seemed to energize the Union Square Farmers Market.

Alas, we don’t have as dramatic a seasonal change here in San Diego, “where the climate must be perfect all the year.” So to compensate for this, I cook the fall dishes I used to make back in the city.

One of these is Mario Batali’s “Mezzi Rigatoni with Sausage and Radicchio.” Made with sausage, radicchio, fennel, red onion, red wine and tomato sauce, its colors intimate fall foliage. On the palate, it delivers a kaleidoscope of flavors: sweet from the fennel, bitter from the radicchio, savory from the sausage, all balanced with a simple tomato sauce. (I use Marcella Hazan’s sauce made with five tablespoons of butter, an onion split in half, and Italian plum tomatoes with their juices.)

Batali’s recipe calls for mezzi rigatoni, and should you choose to make this dish, I strongly suggest using this pasta shape; it has the perfect size and weight for this rich sauce. Unfortunately, I had run out of them and substituted penne rigate, which were OK, but definitely not as good as the recommended rigatoni. Lack of availability also forced me to substitute Parmigiano-Reggiano for the recipe’s Asiago.

Batali’s recipe comes from his 2011 Simple Family Meals. Since I was cooking only for two, I pretty much halved the recipe’s amounts. However, you can find the original recipe, which serves 6 as a main course, here.

One final note: take your time with Step 10 of the recipe and so that the pasta is well coated with the sauce.
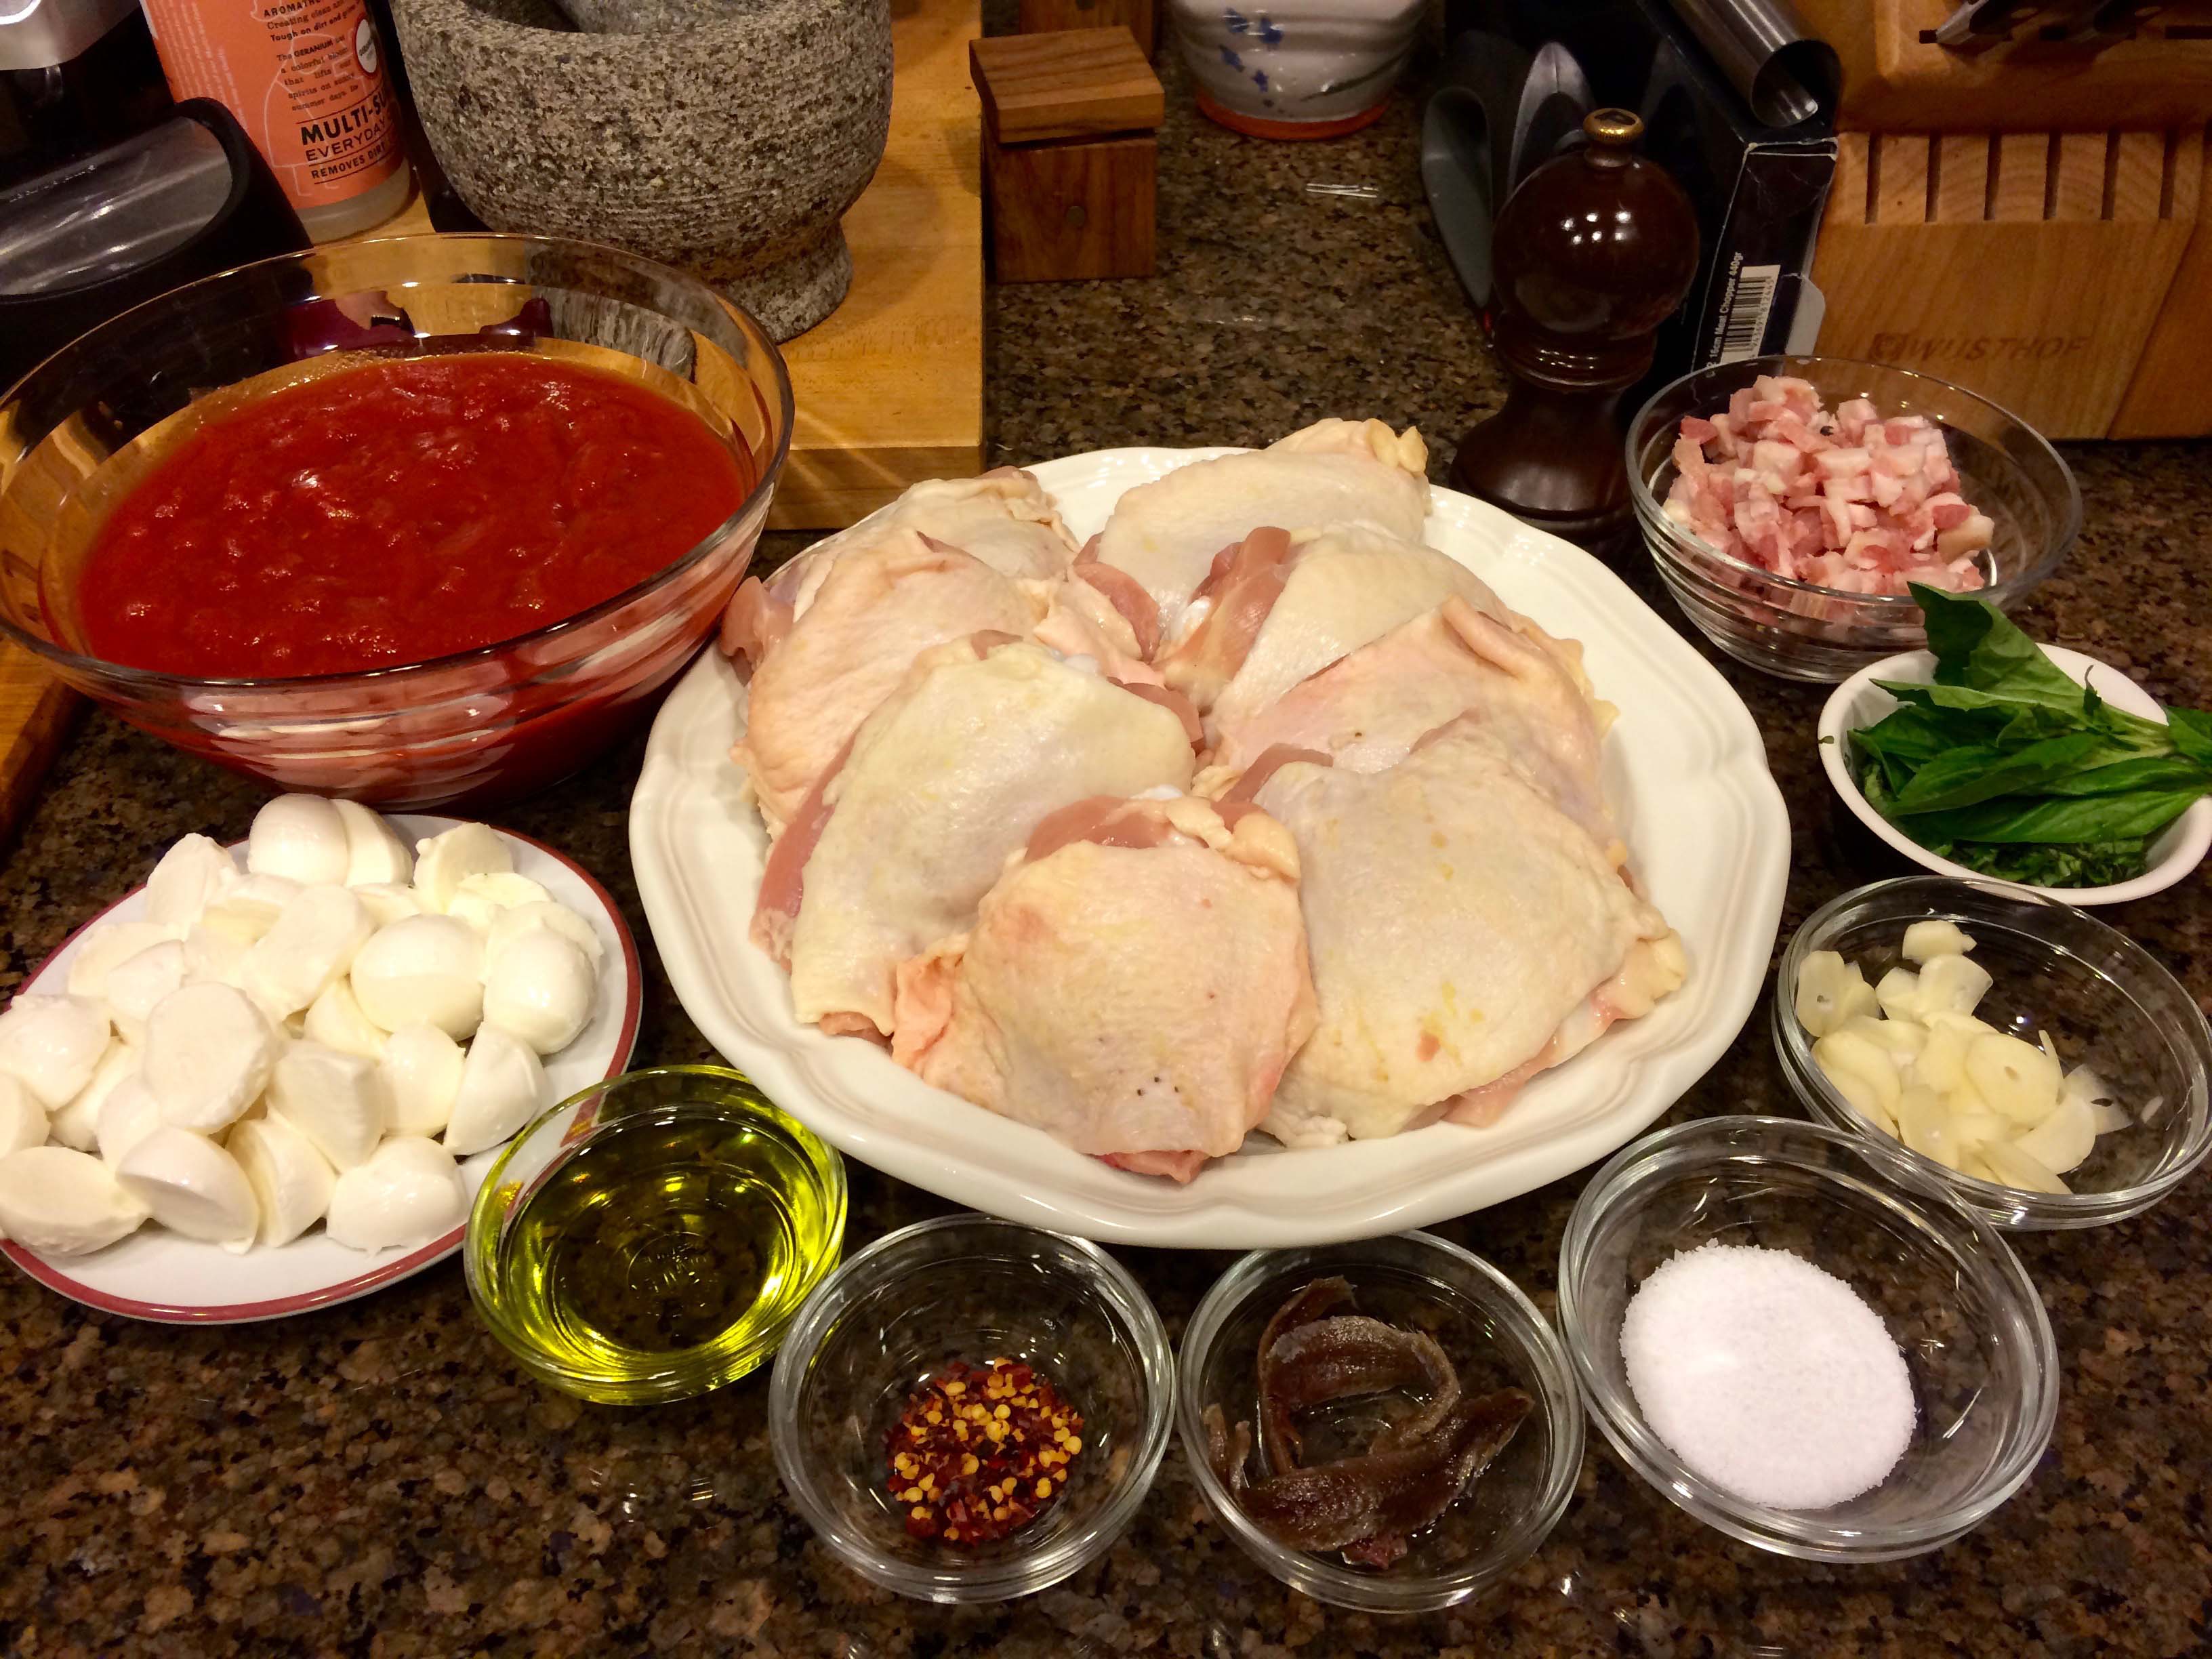
Ingredients

Ingredients

1 pound sweet Italian sausage, casings removed, crumbled
½ tablespoon fennel seeds
½ tablespoon hot red pepper flakes
½ red onion, chopping into ¼-inch dice
½ fennel bulb, ribs and fronds discarded, bulb finely chopping
2 garlic cloves, thinly sliced
1 head radicchio, cored and finely chopped
½ cup dry red wine, such as Morellino di Scansano
1 cups basic tomato sauce
Salt and freshly ground black pepper
½ pound mezzi rigatoni pasta
Freshly grated Parmigiano cheese, for serving

Chopped, sliced, crumbled

Directions:

1. In a heavy-bottomed 12-inch sauté pan, cook the sausage over high heat, stirring occasionally, until it begins to brown, about 10 minutes.

Browned Sausage

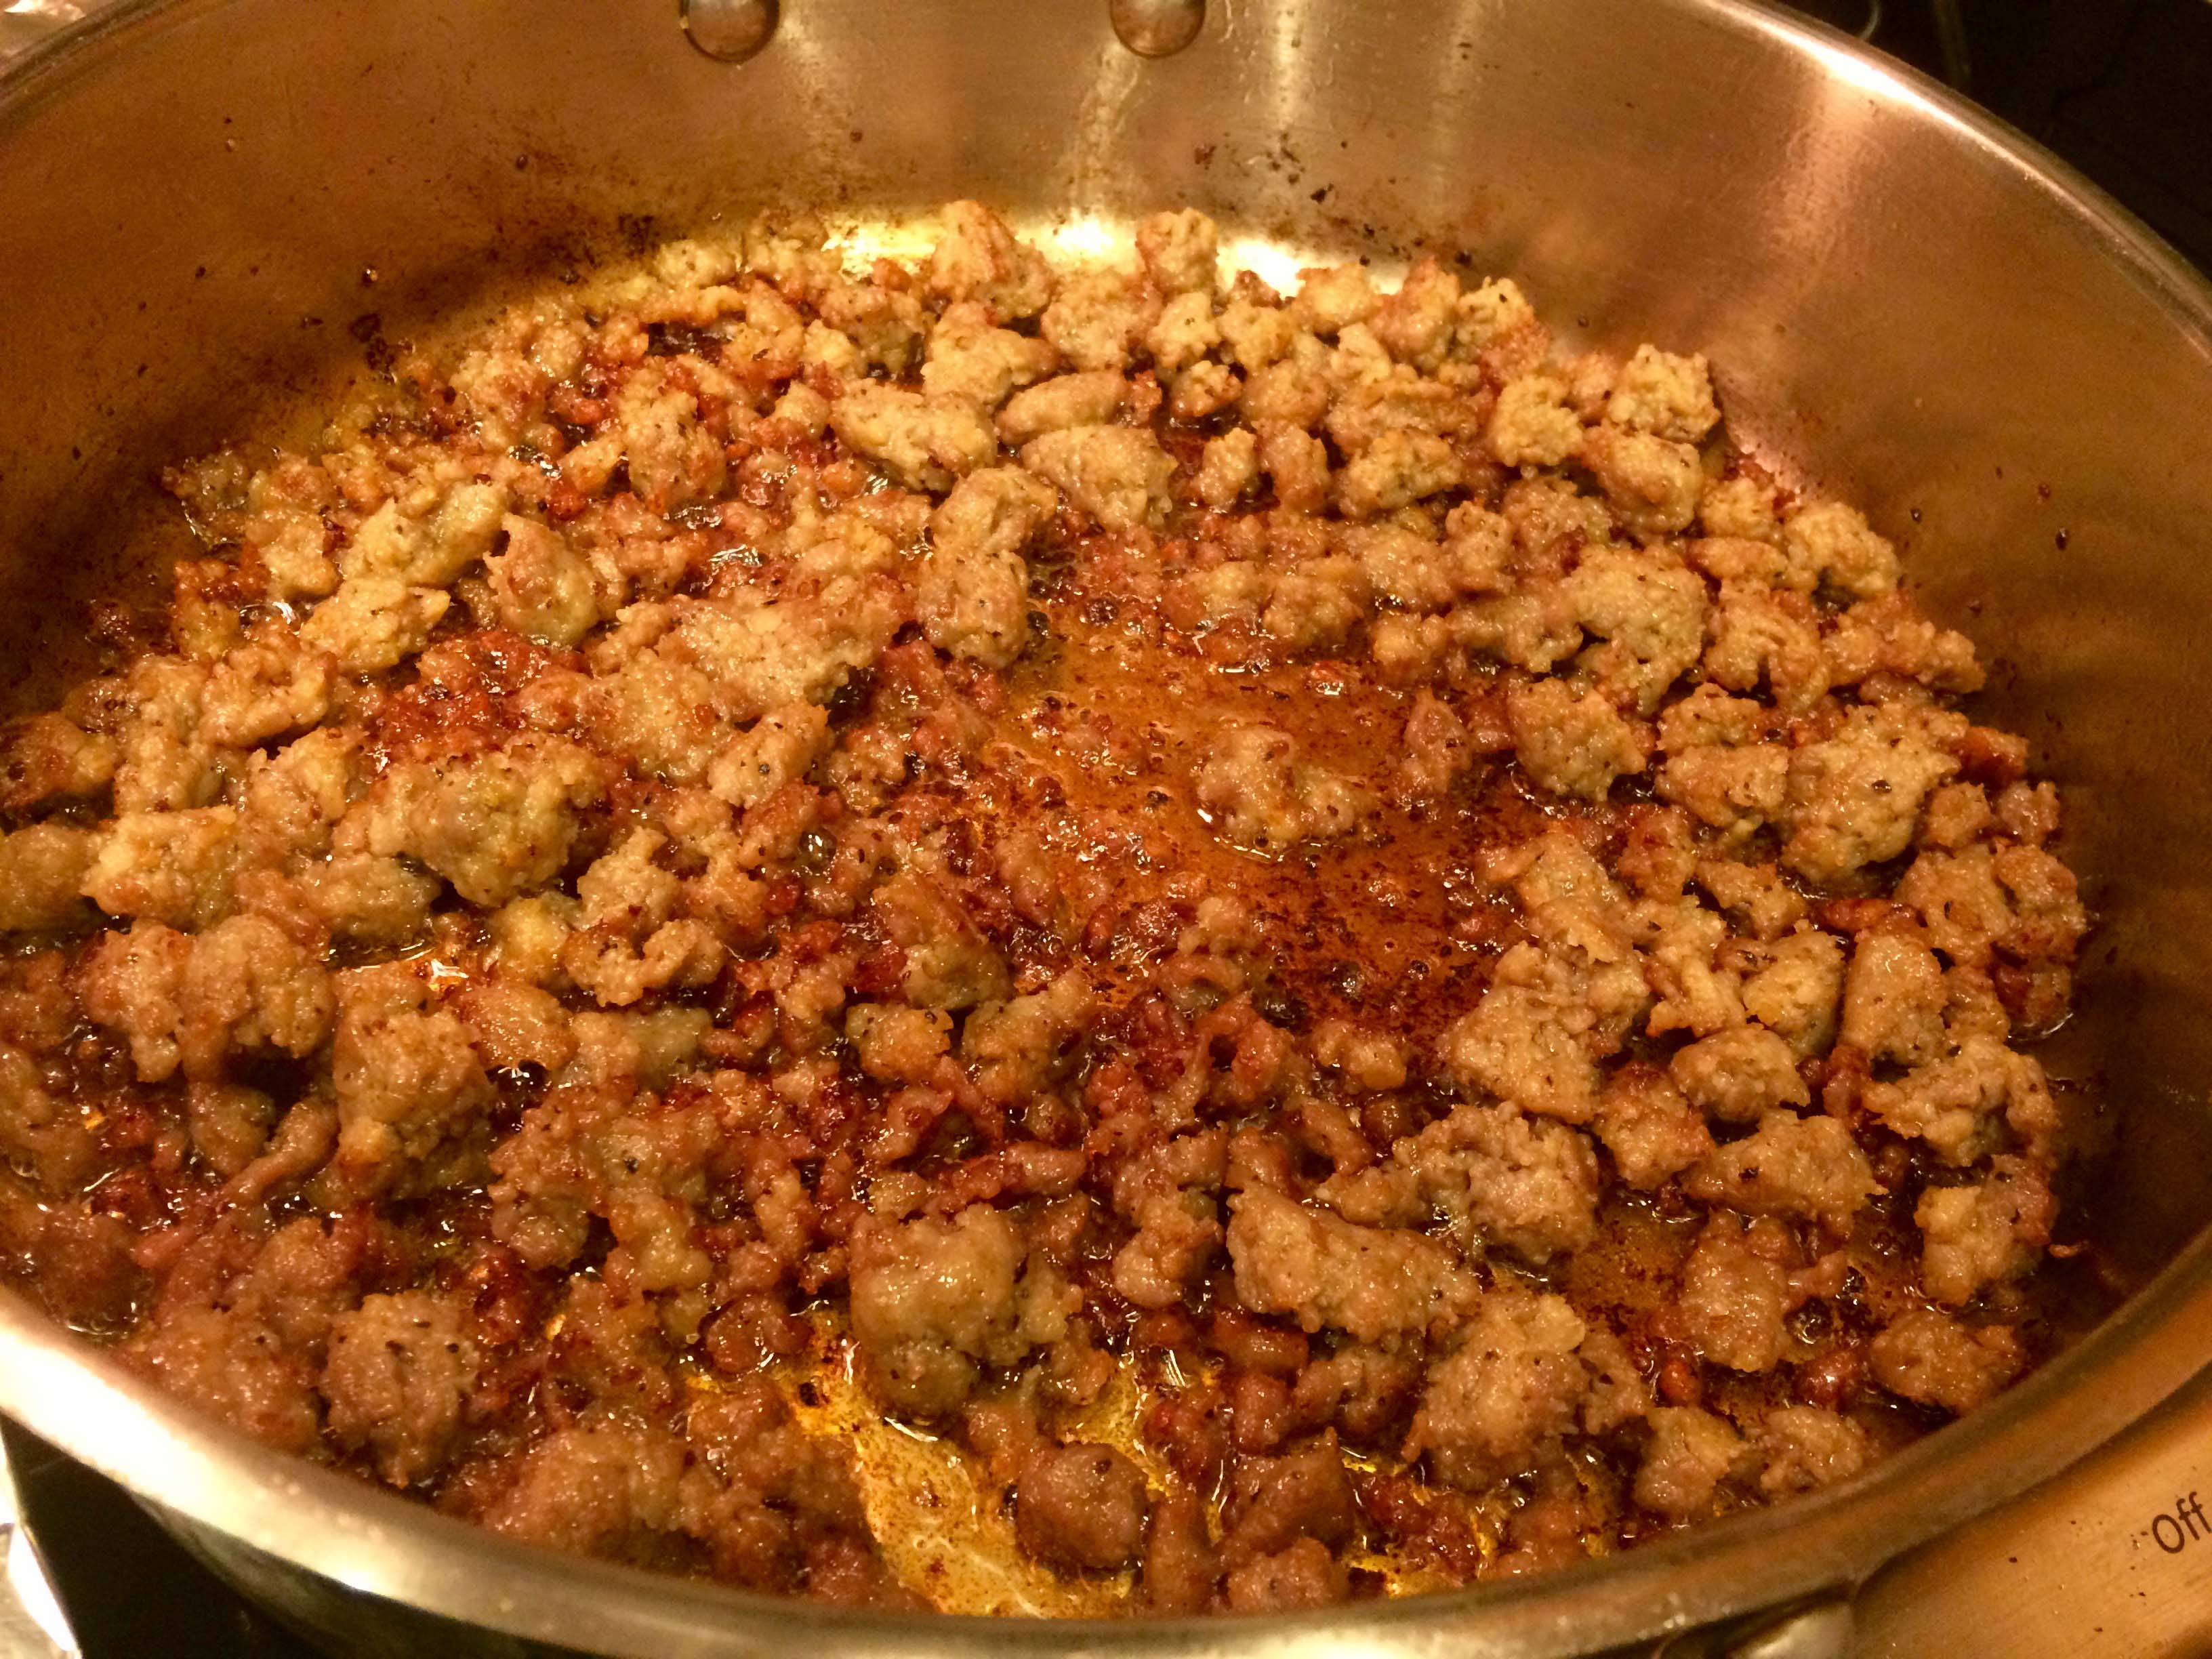
2. Using a slotted spoon, transfer the sausage to a plate.

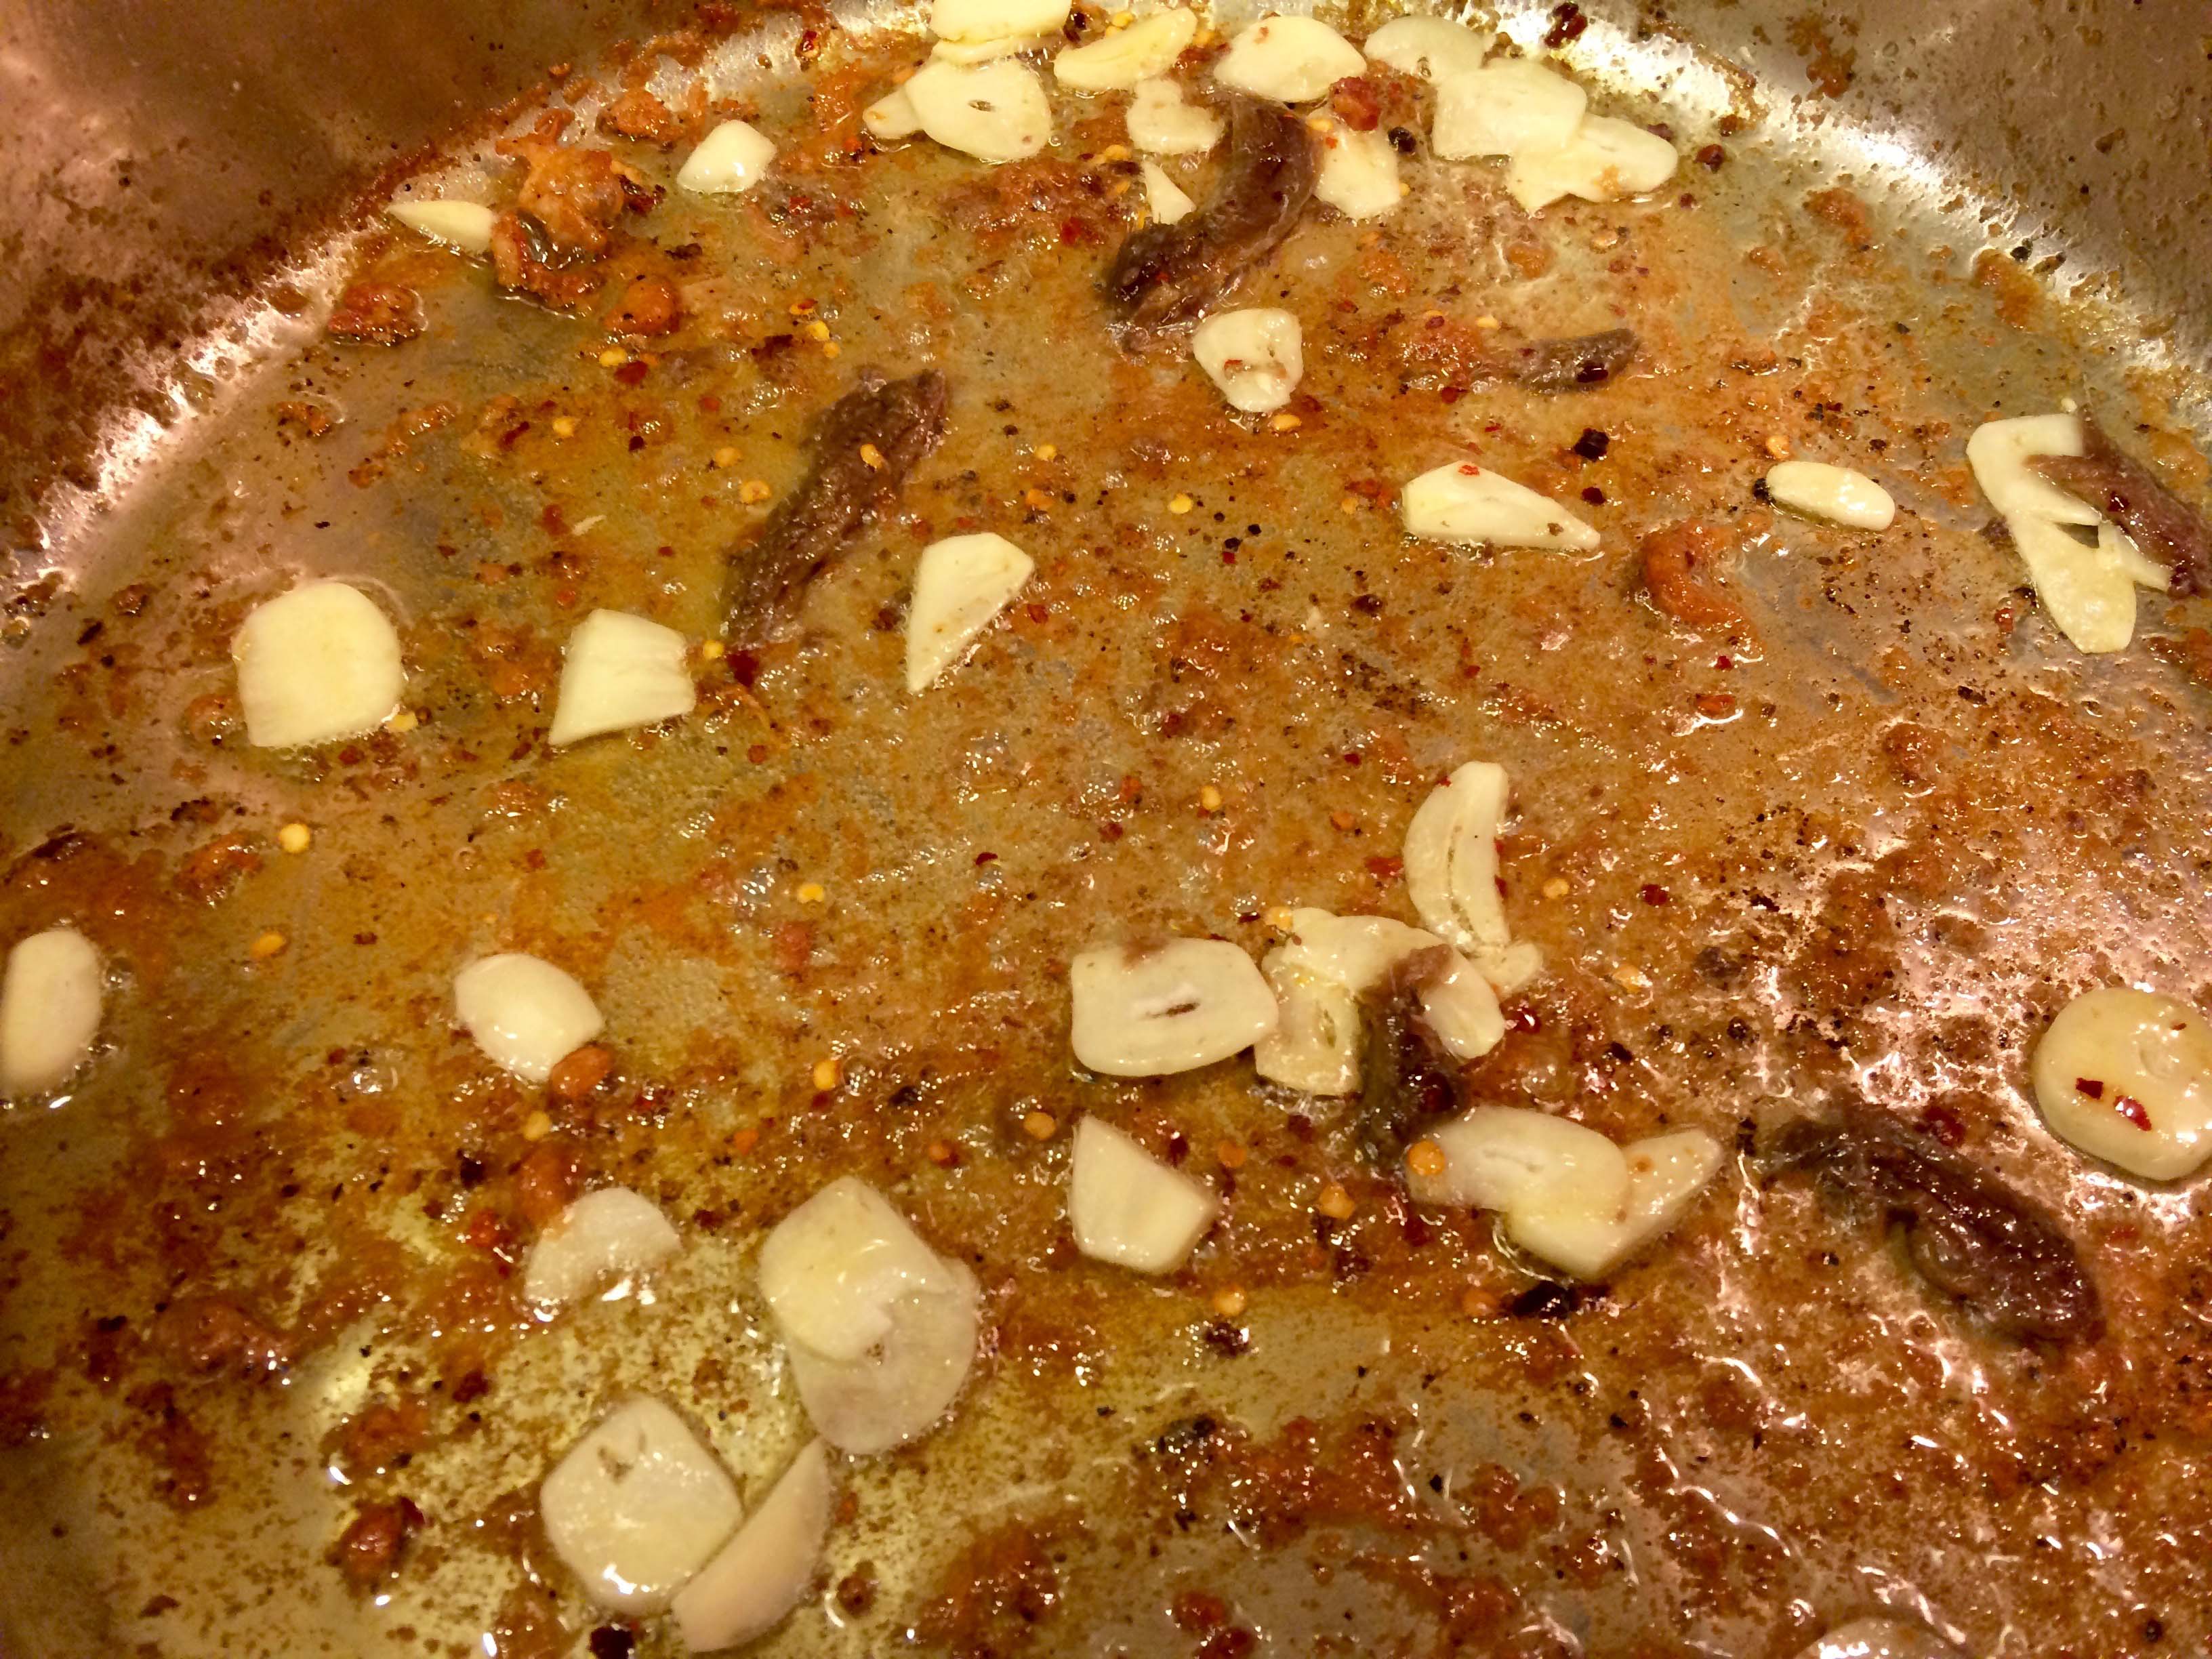
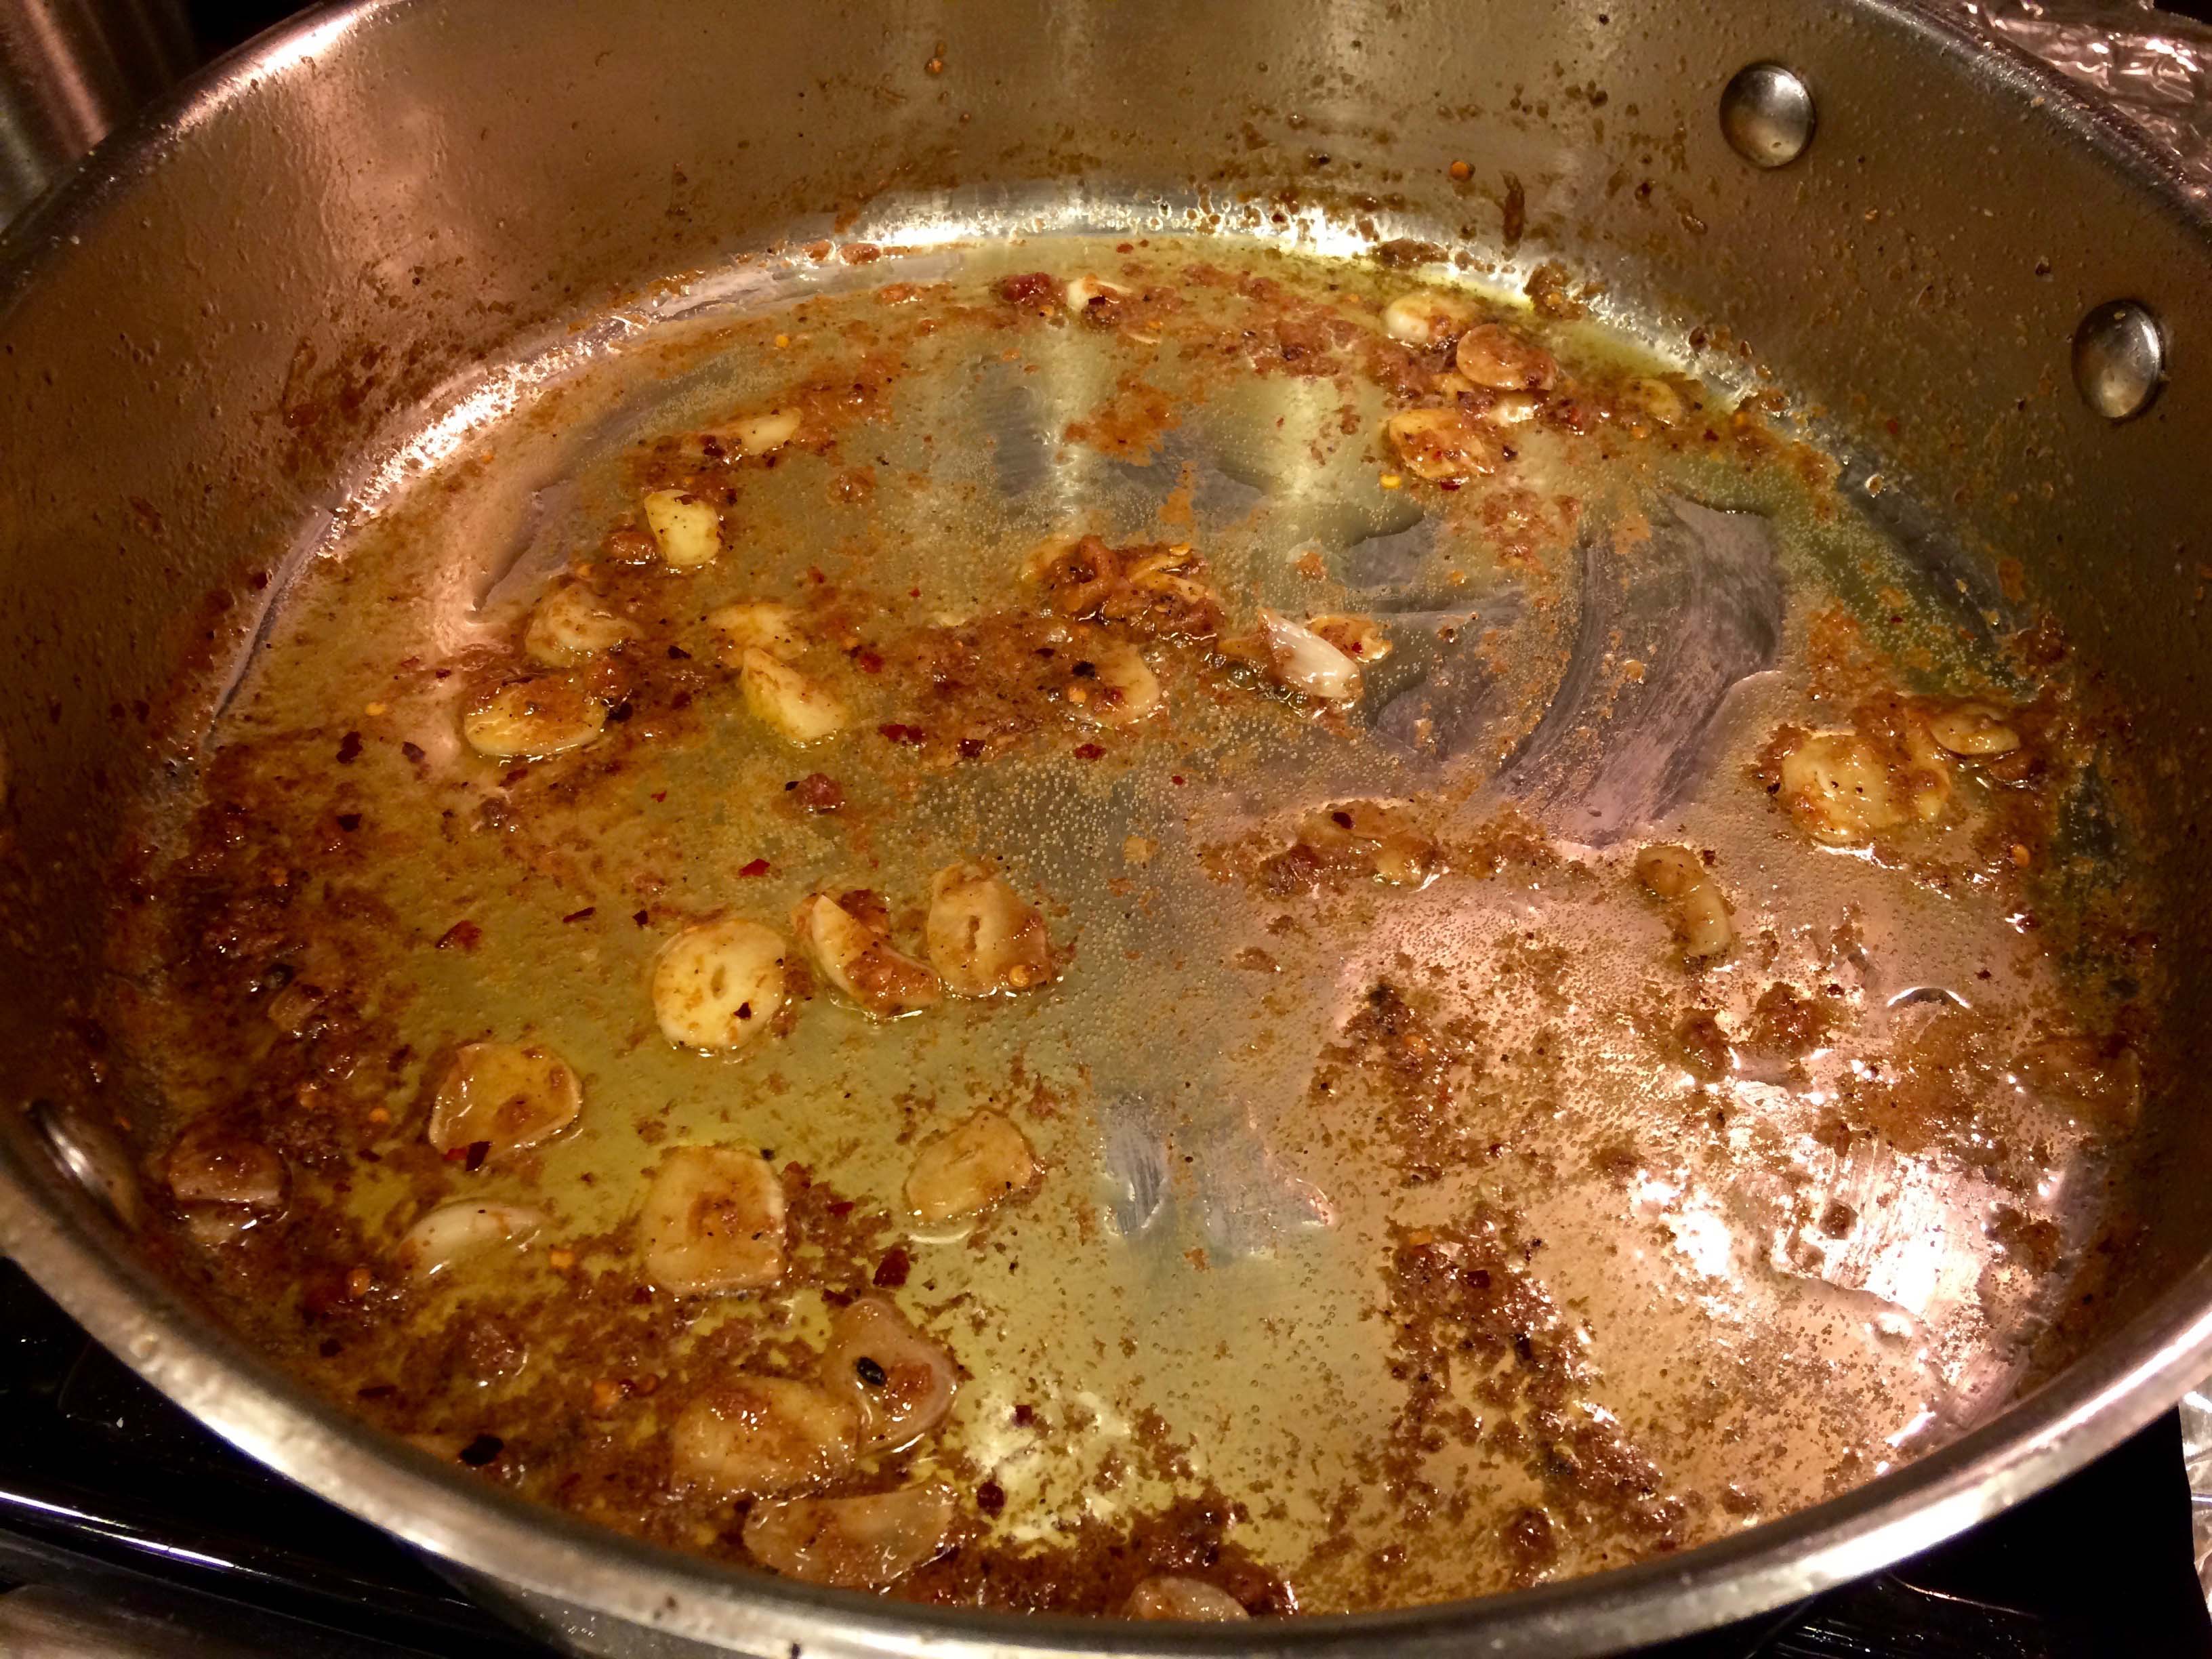
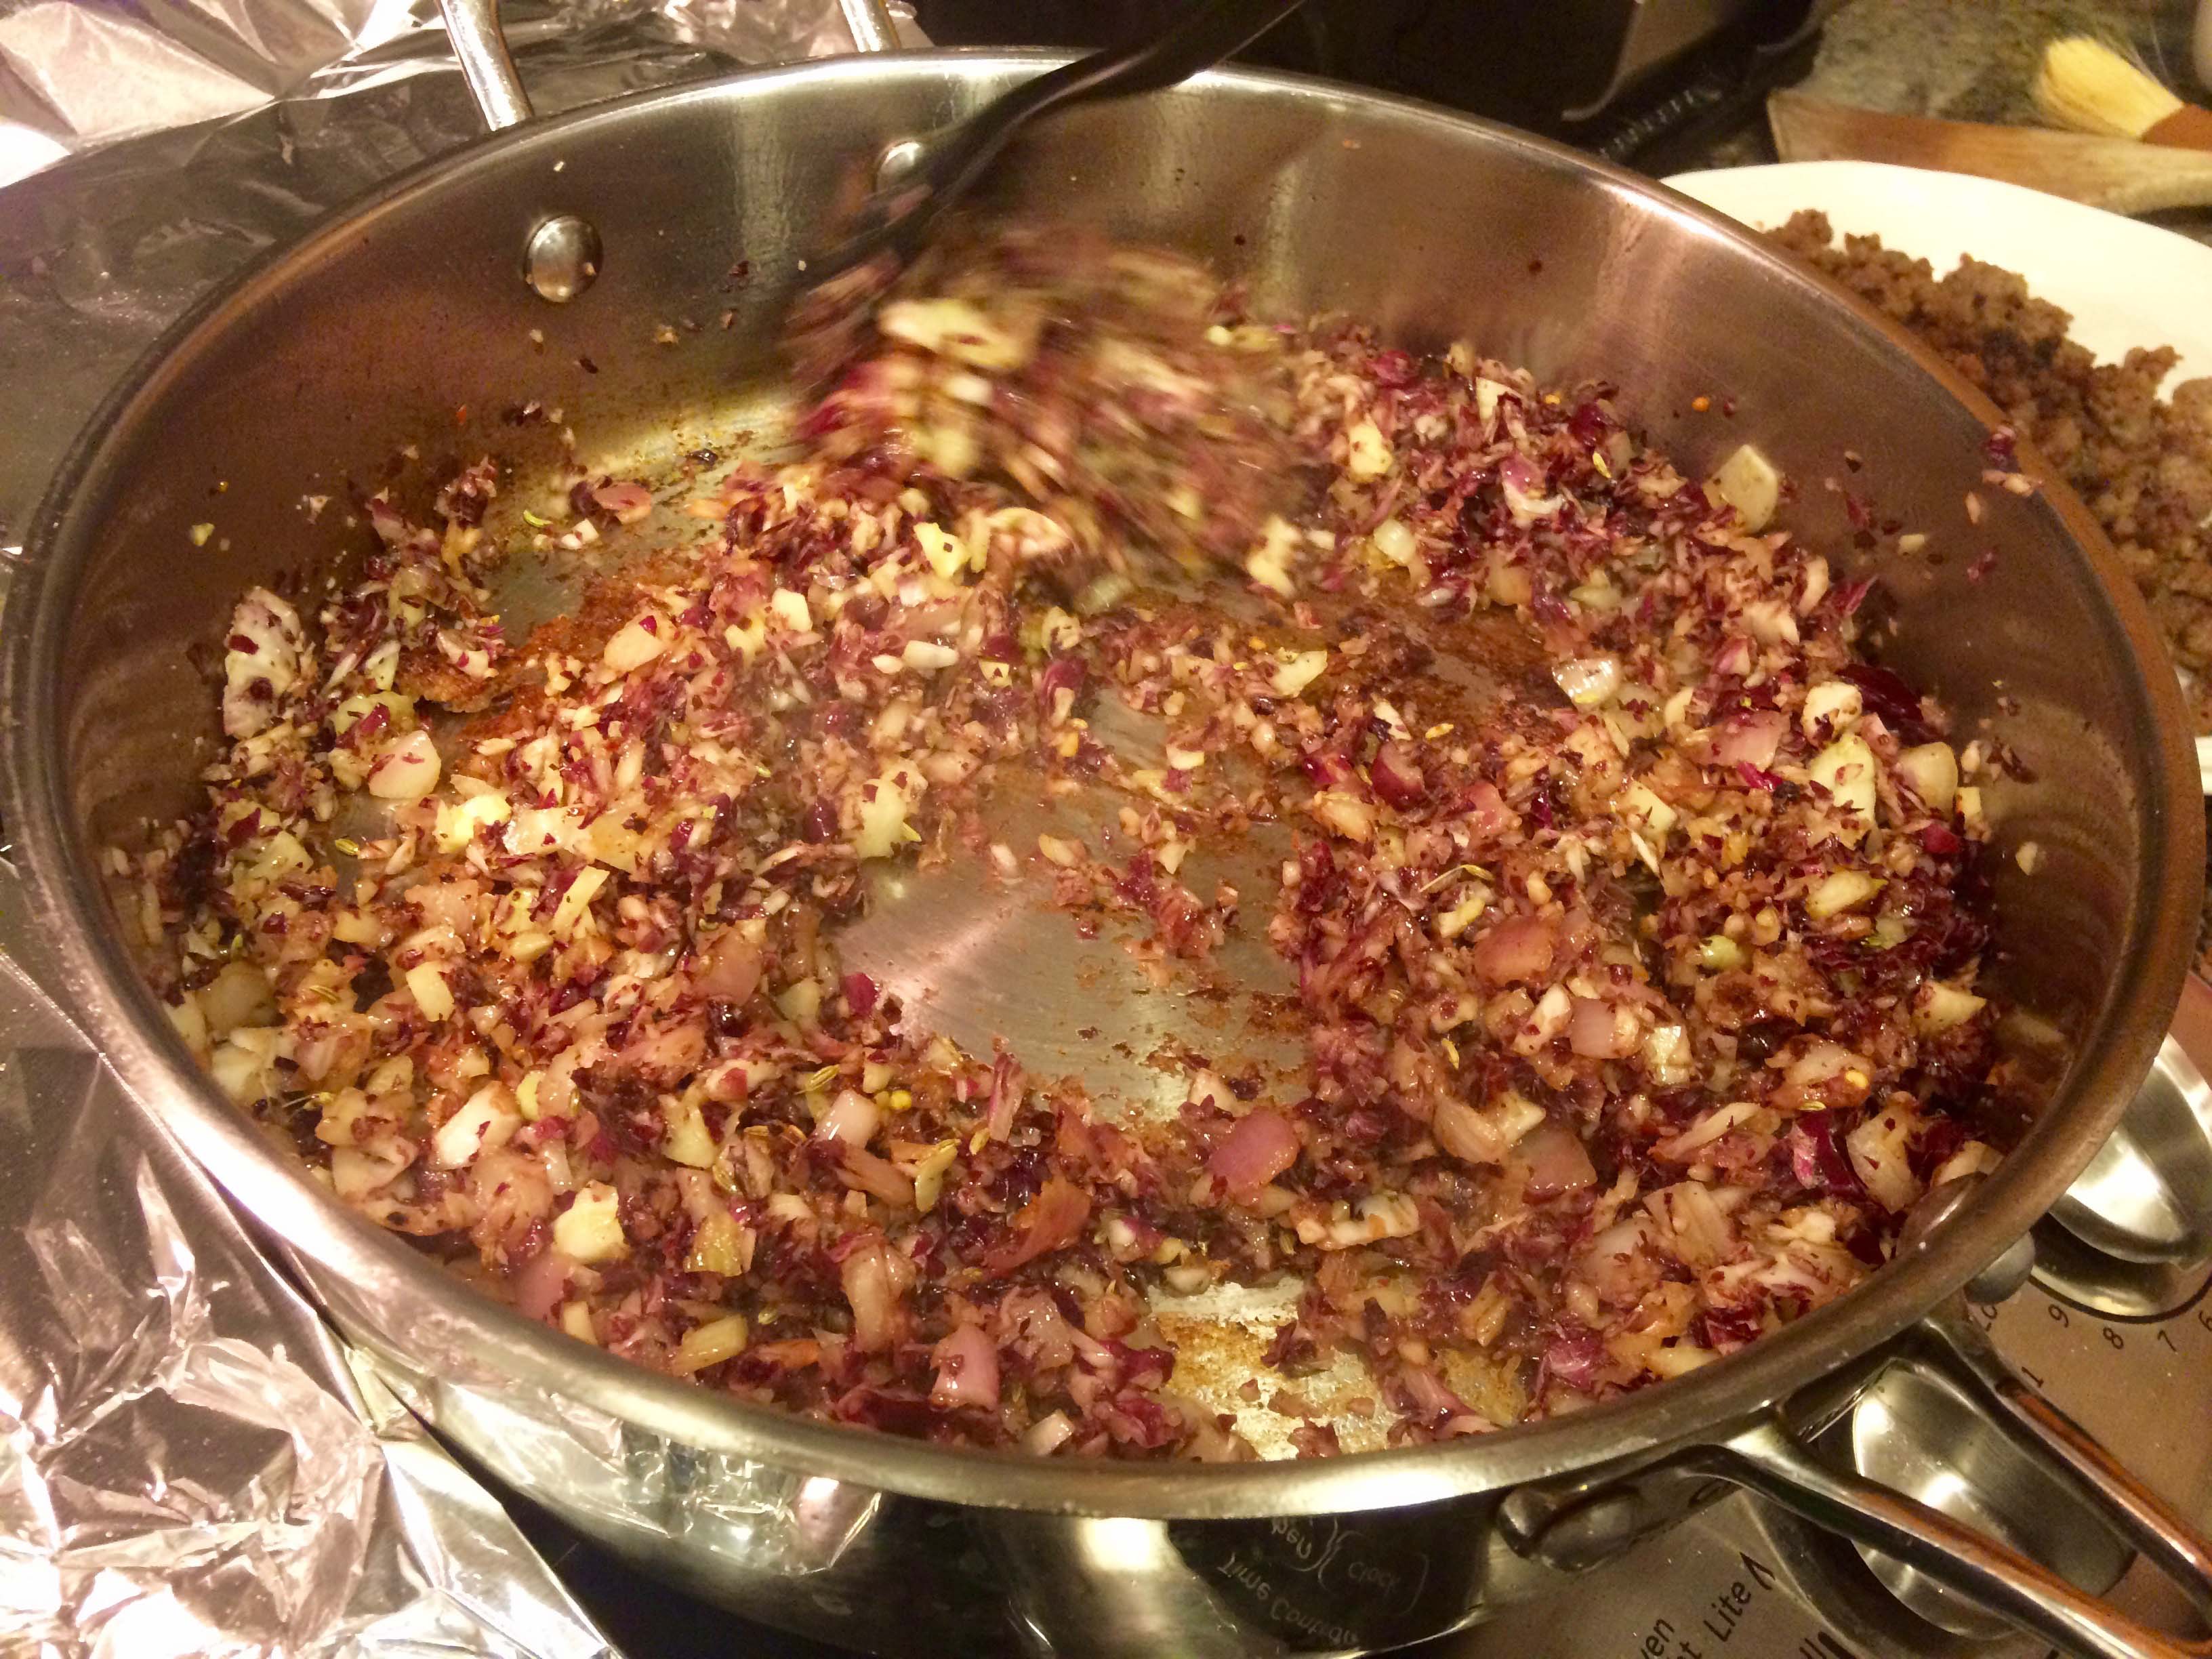
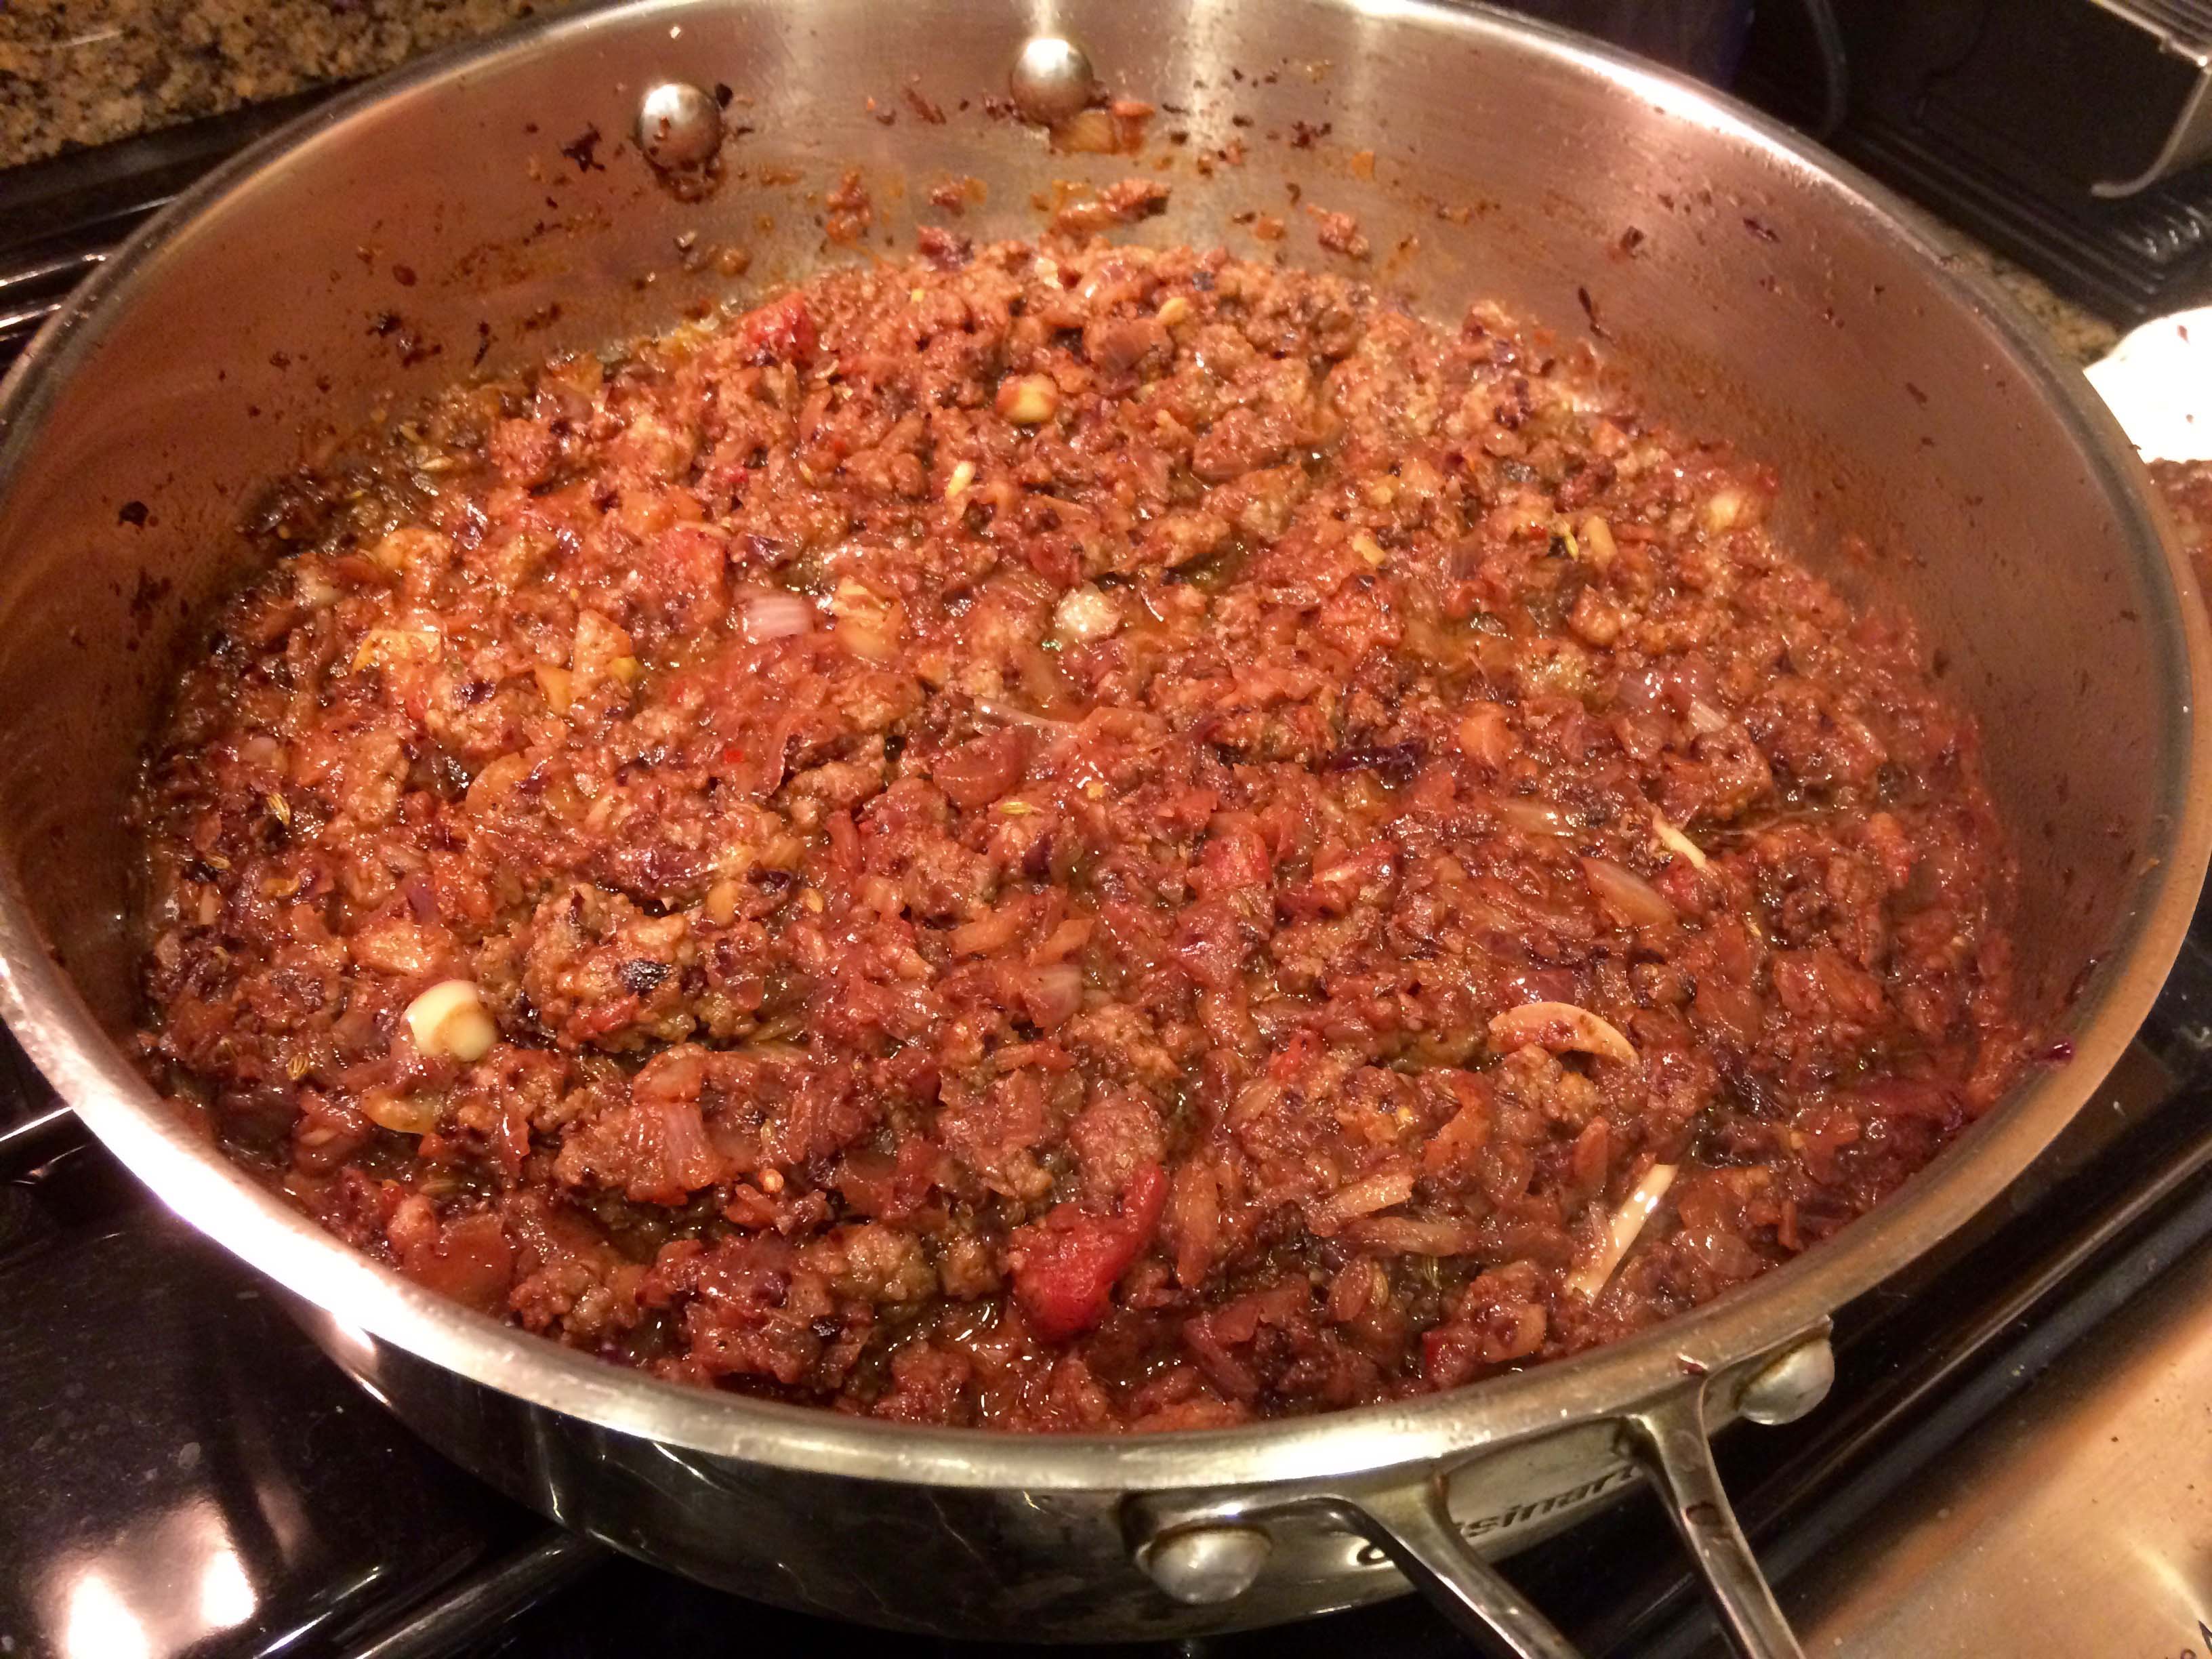
3. Add the fennel seeds, hot pepper flakes, onions, fennel, garlic, and radicchio to the pan and cook over medium-high heat until the vegetables are well browned, about 10 minutes.

Cooking vegetables

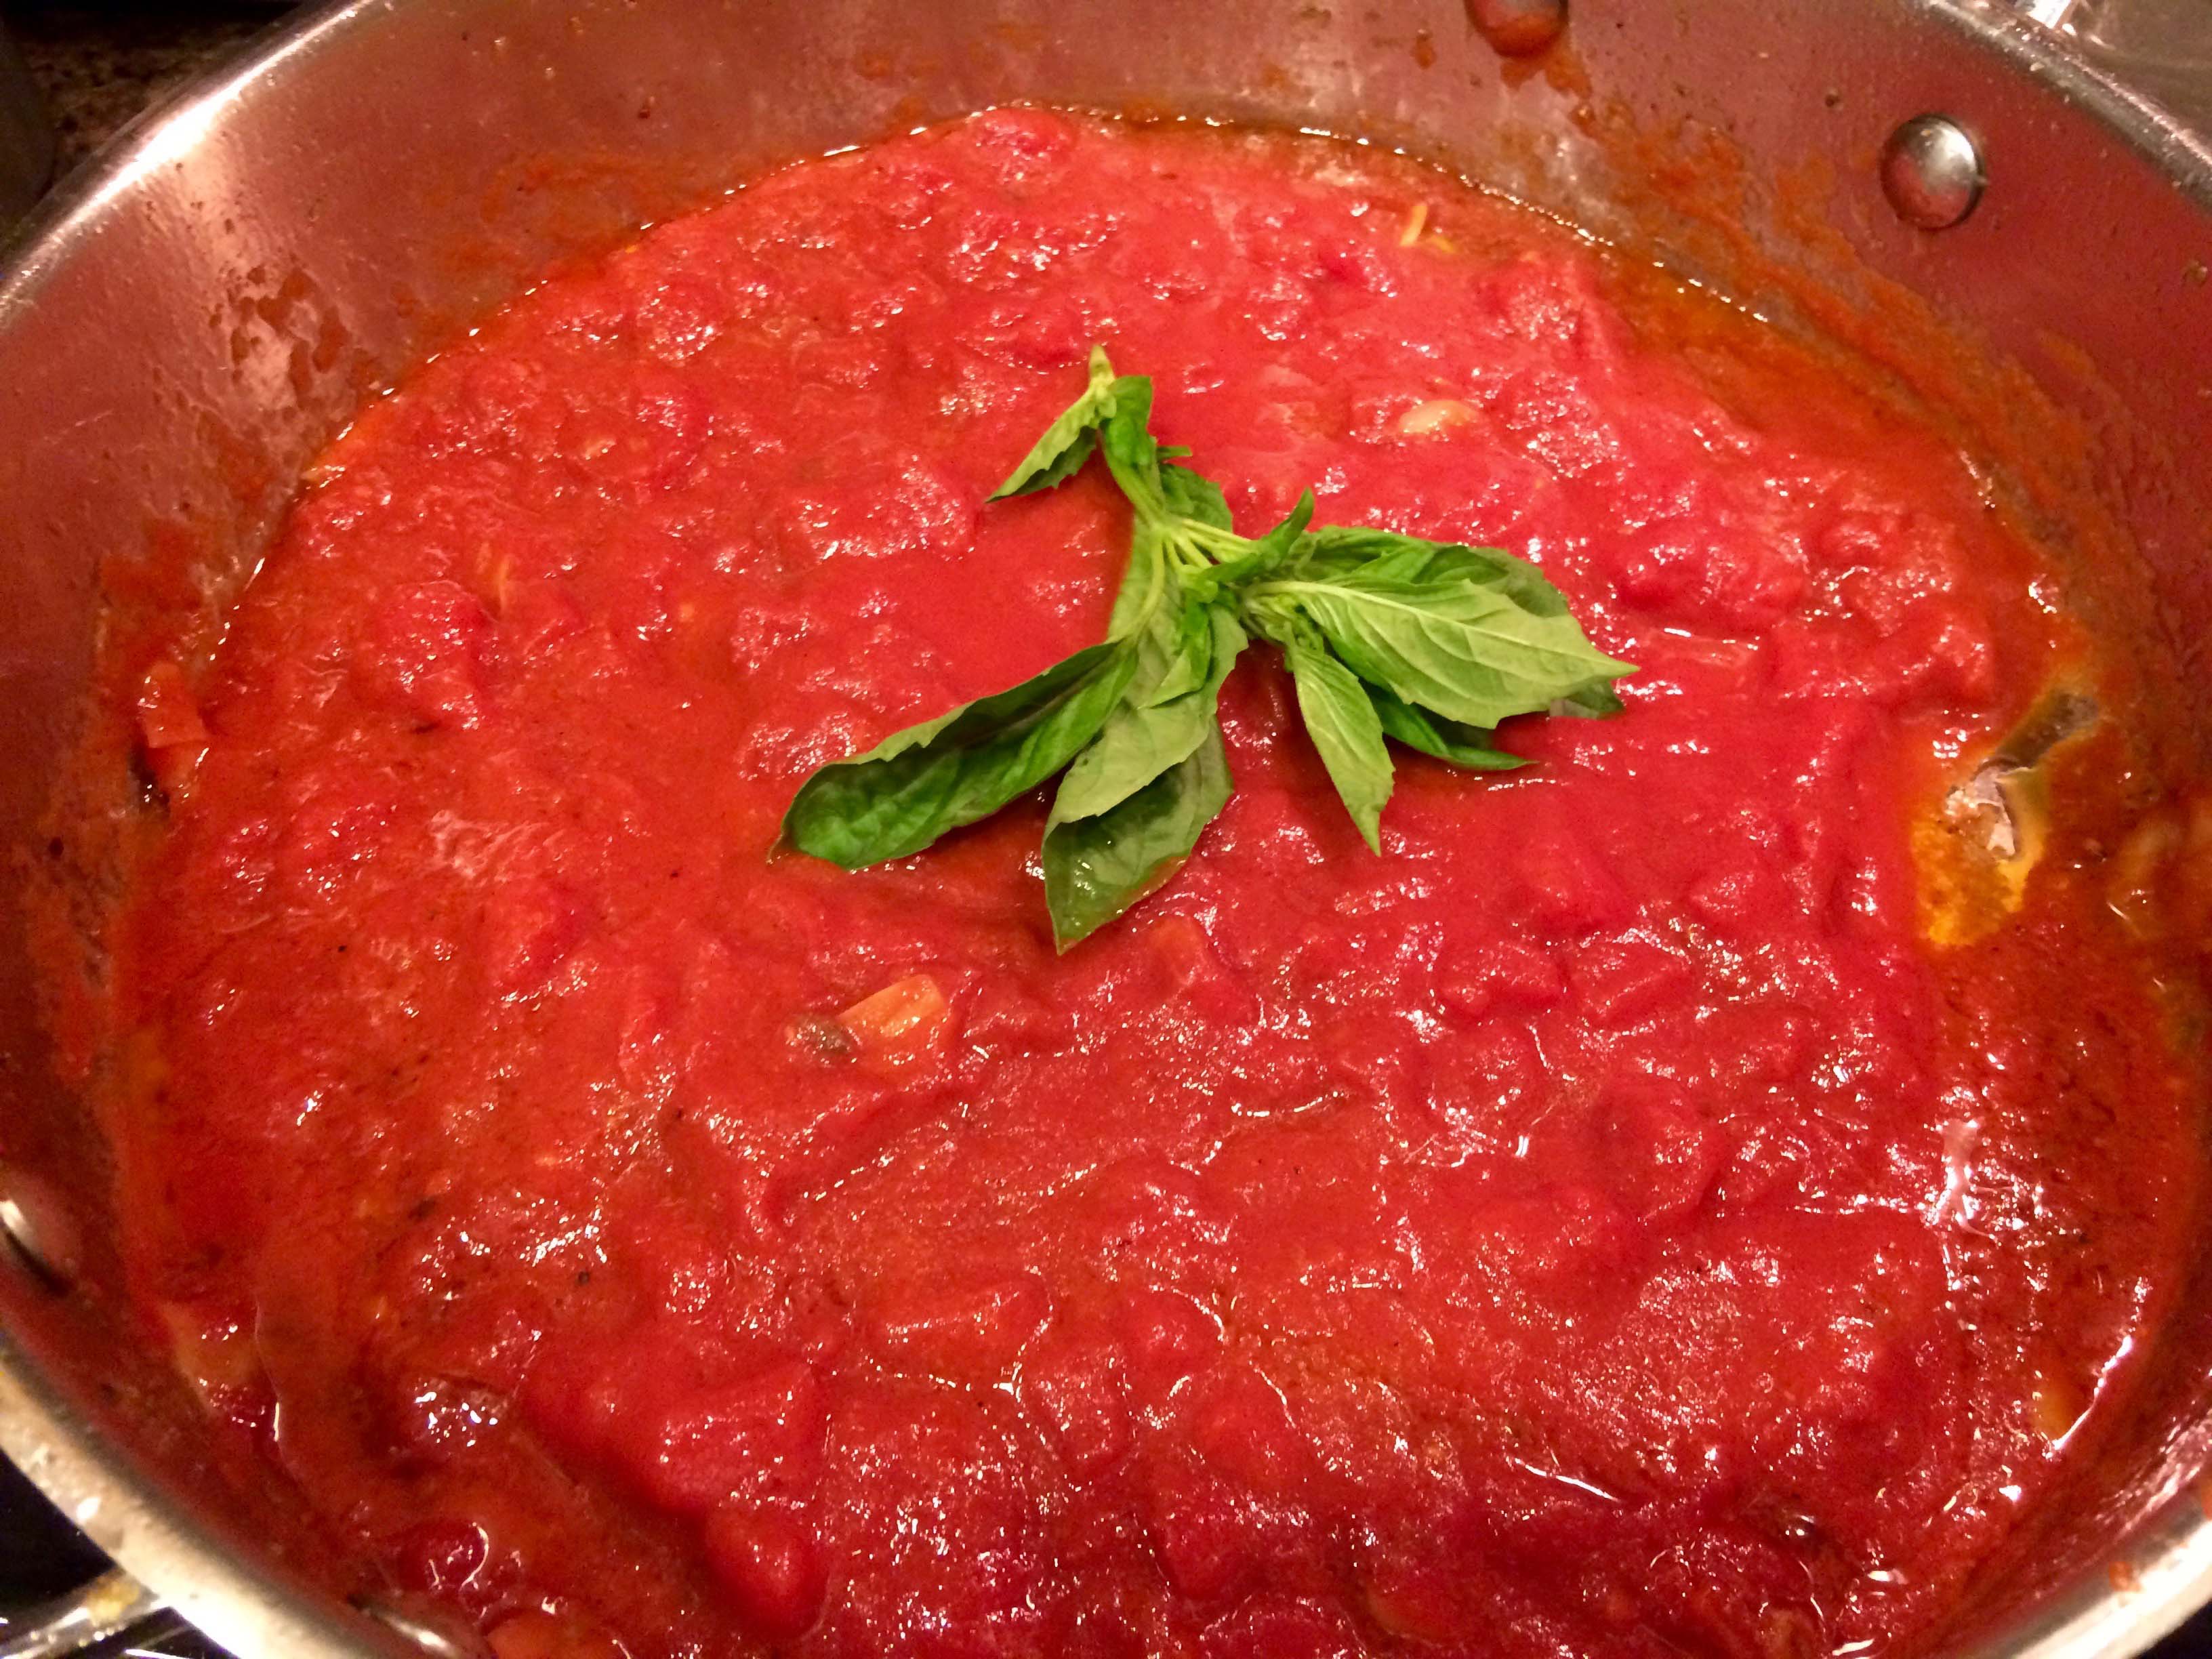
4. Return the sausage to the pan, add the wine and the tomato sauce, and bring to a boil.

Adding wine
Adding tomatoes

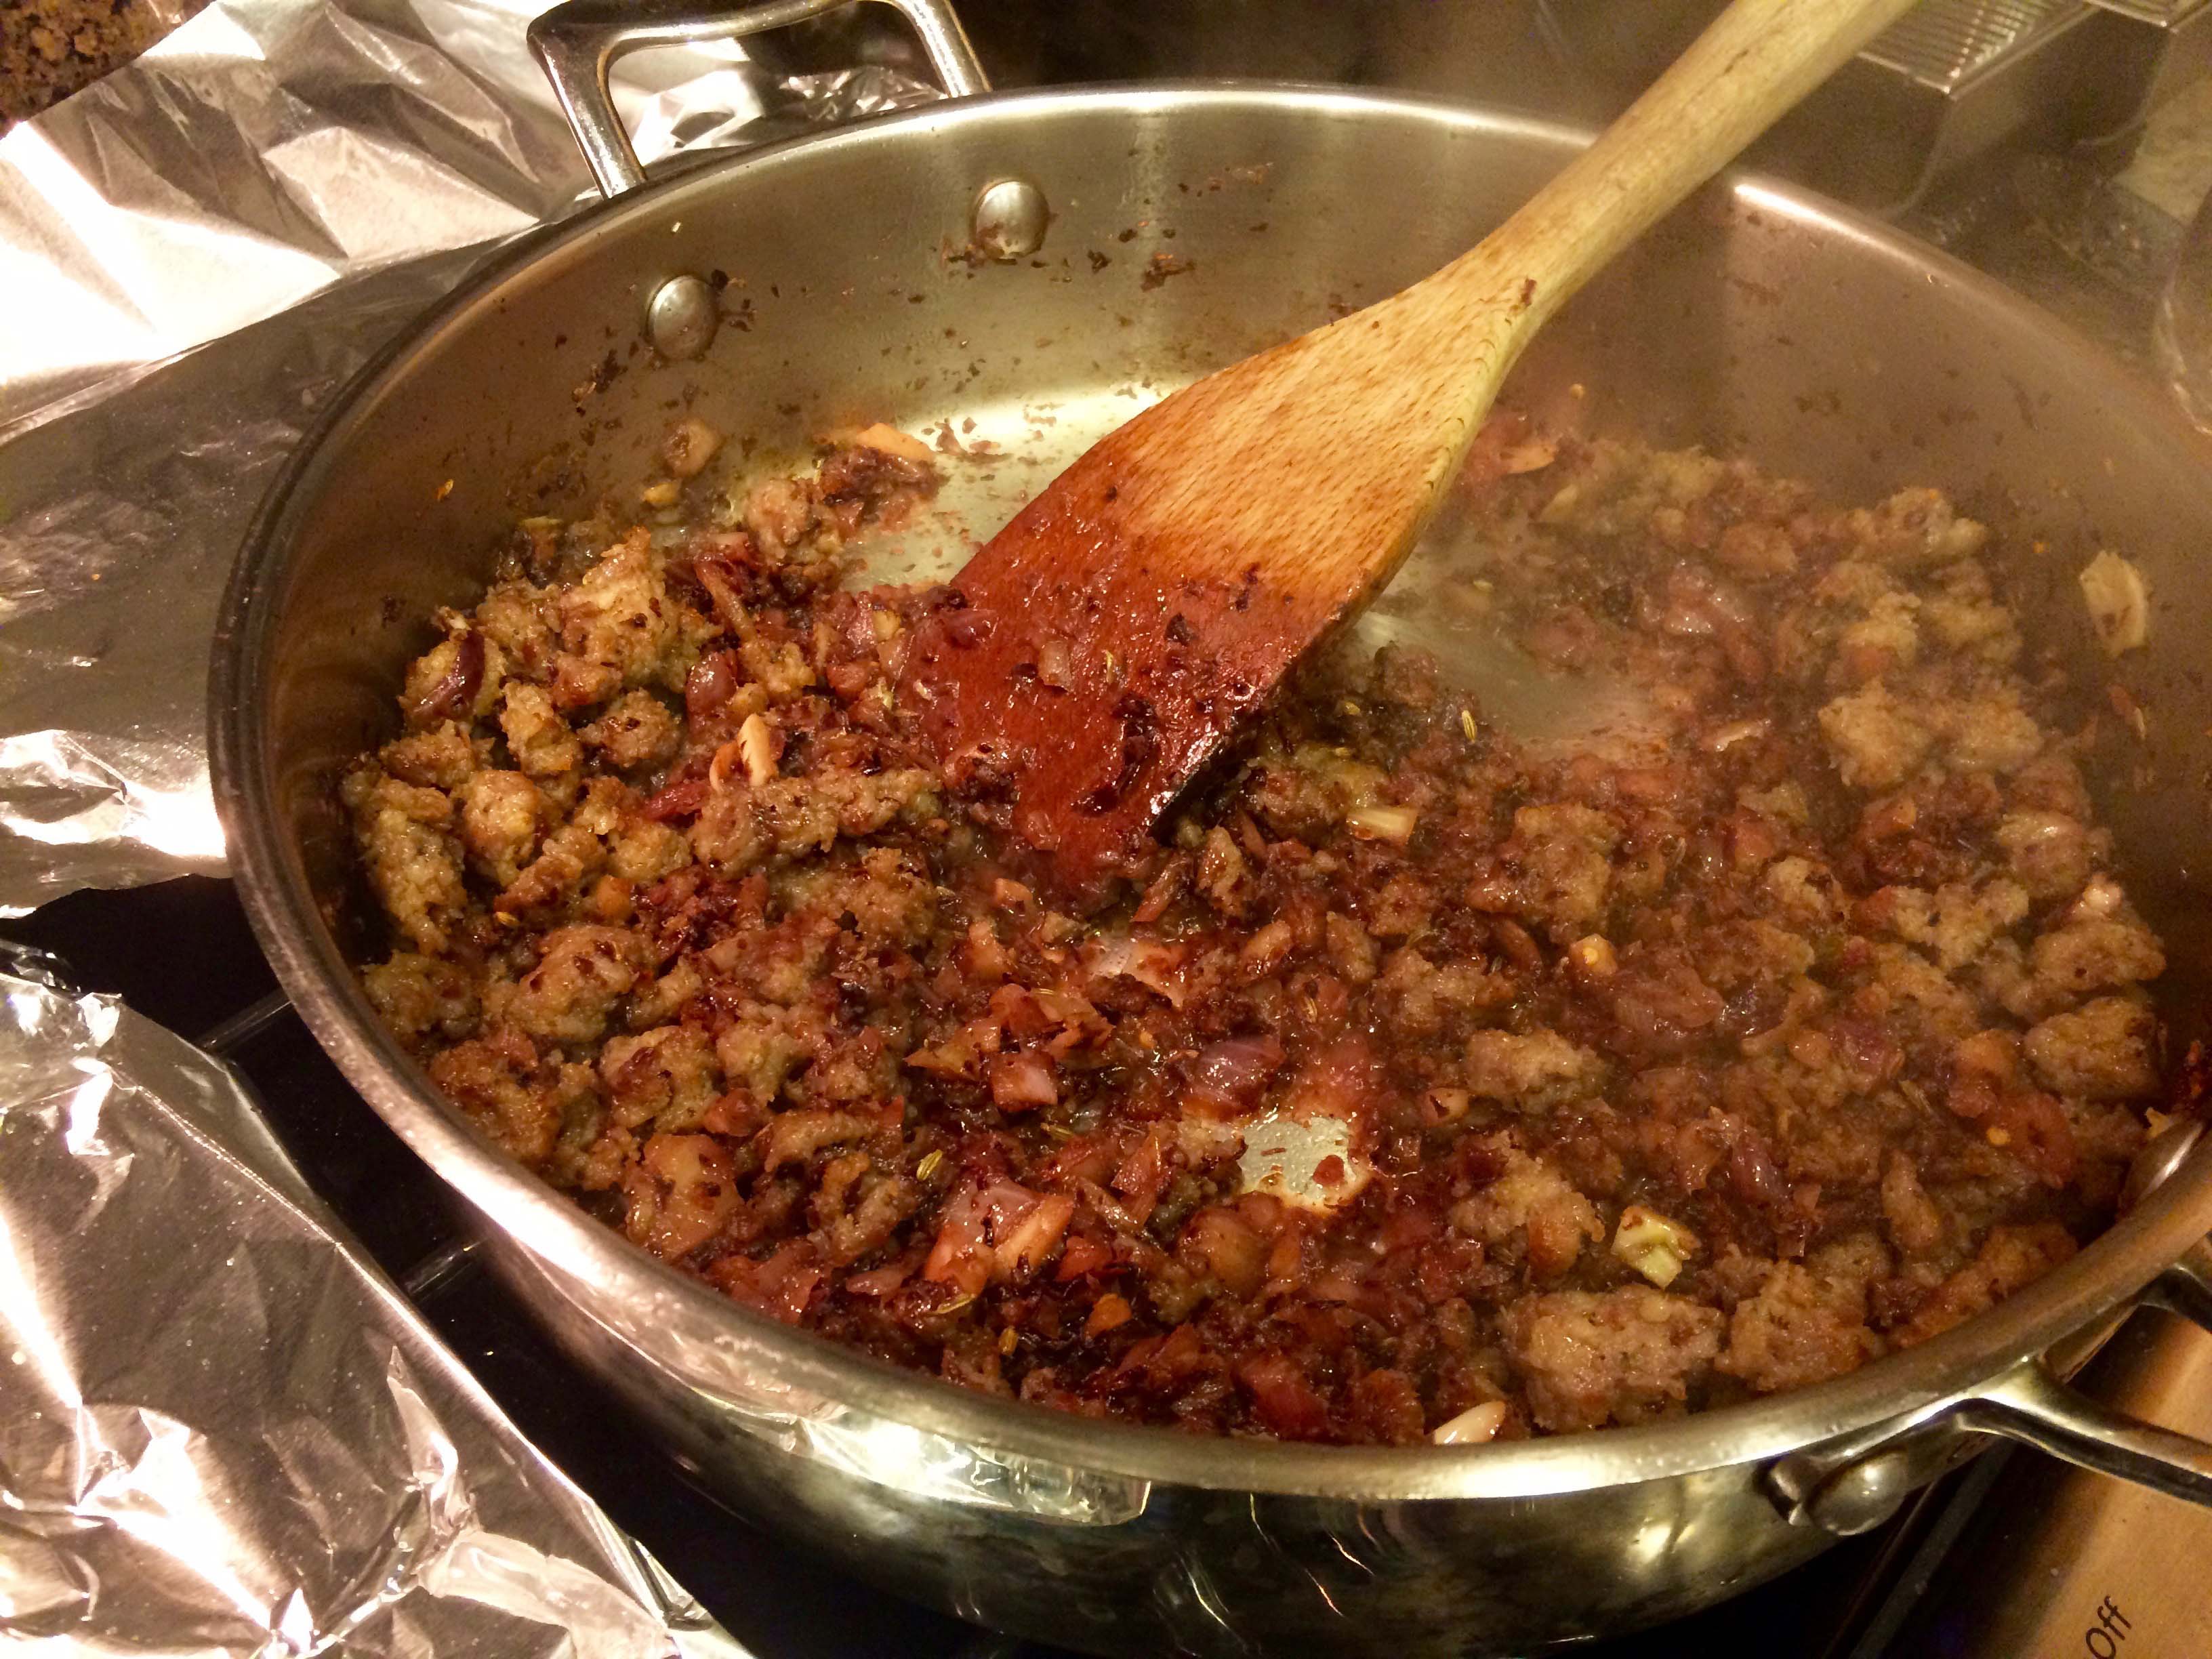
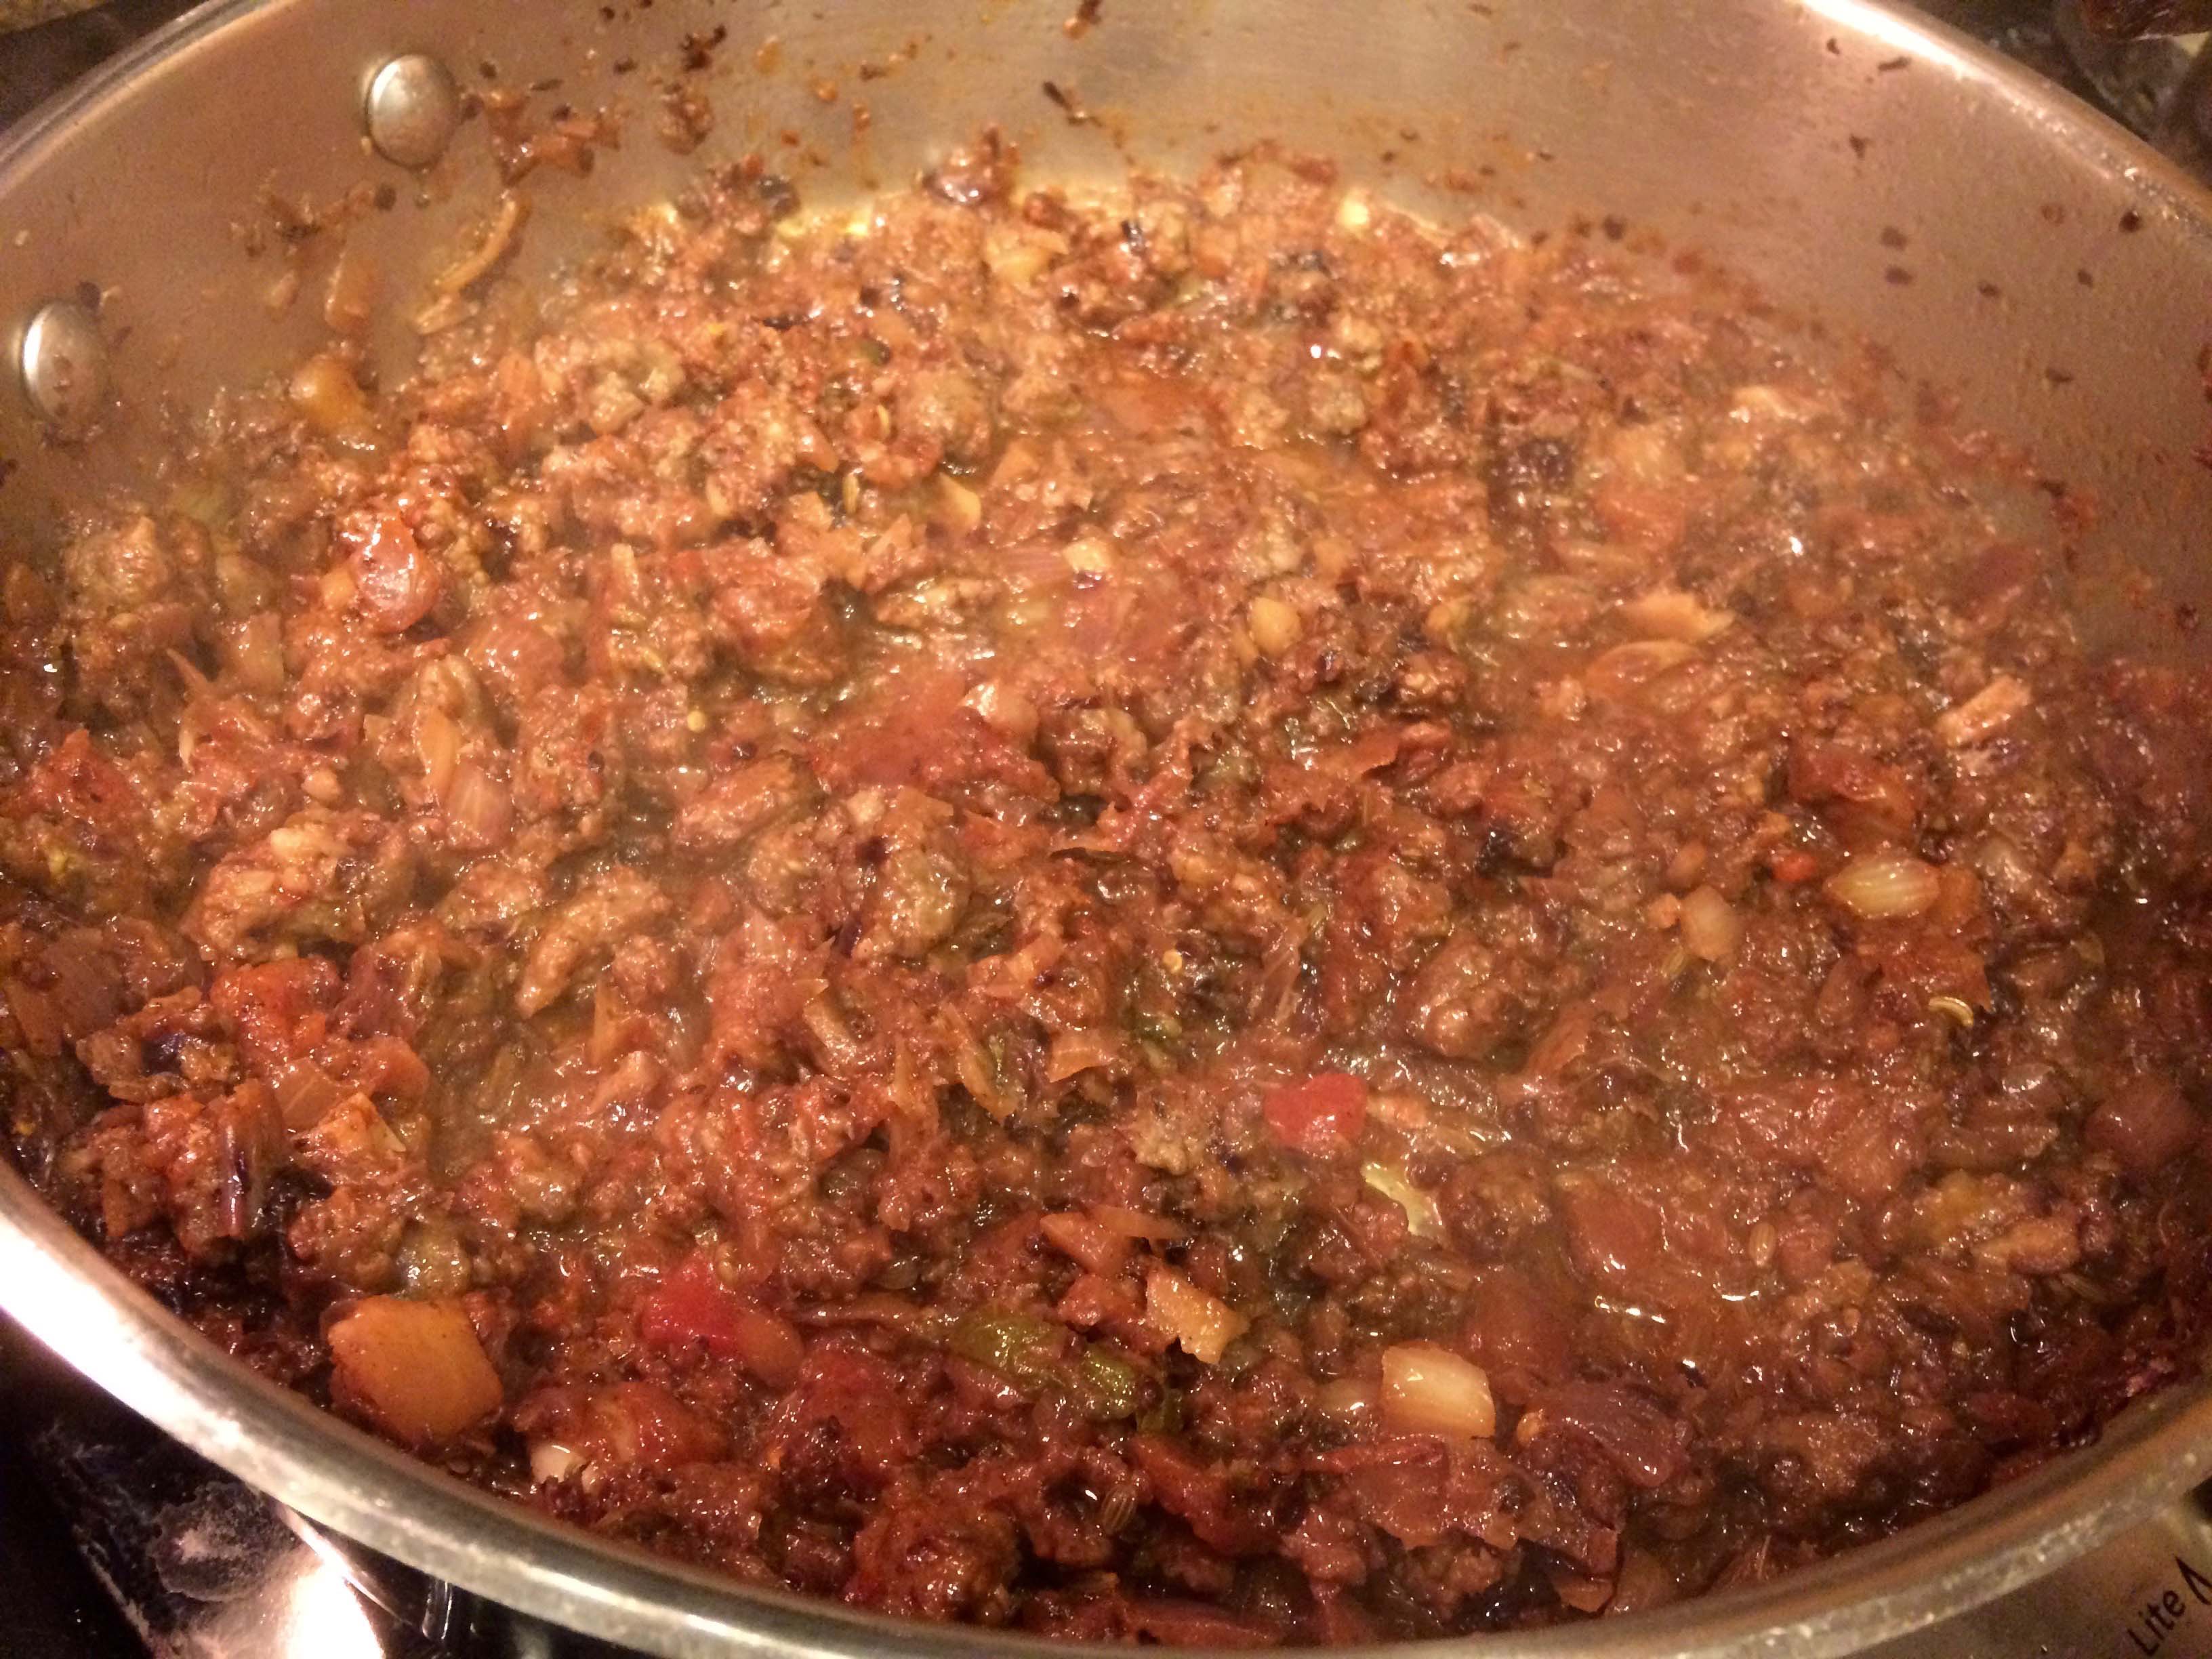
5. Lower the heat and simmer until the radicchio is very tender and the sauce as thickened, about 10 minutes.

Thickened Sauce

6. Season well with salt and pepper, and remove from the heat.

7. Bring 8 quarts of water to a boil in a large pasta pot, and add 2 tablespoons salt.

8. Drop the mezzi rigatoni into the water and cook for 1 minute less than the package instructions indicate. Just before the pasta is done, carefully ladle ½ of the cooking water into the sausage mixture.

Adding pasta water

9. Drain the pasta in a colander and add it to the sausage mixture.

10. Toss over medium heat for about 30 seconds, until the pasta is nicely coated.

Tossed Pasta

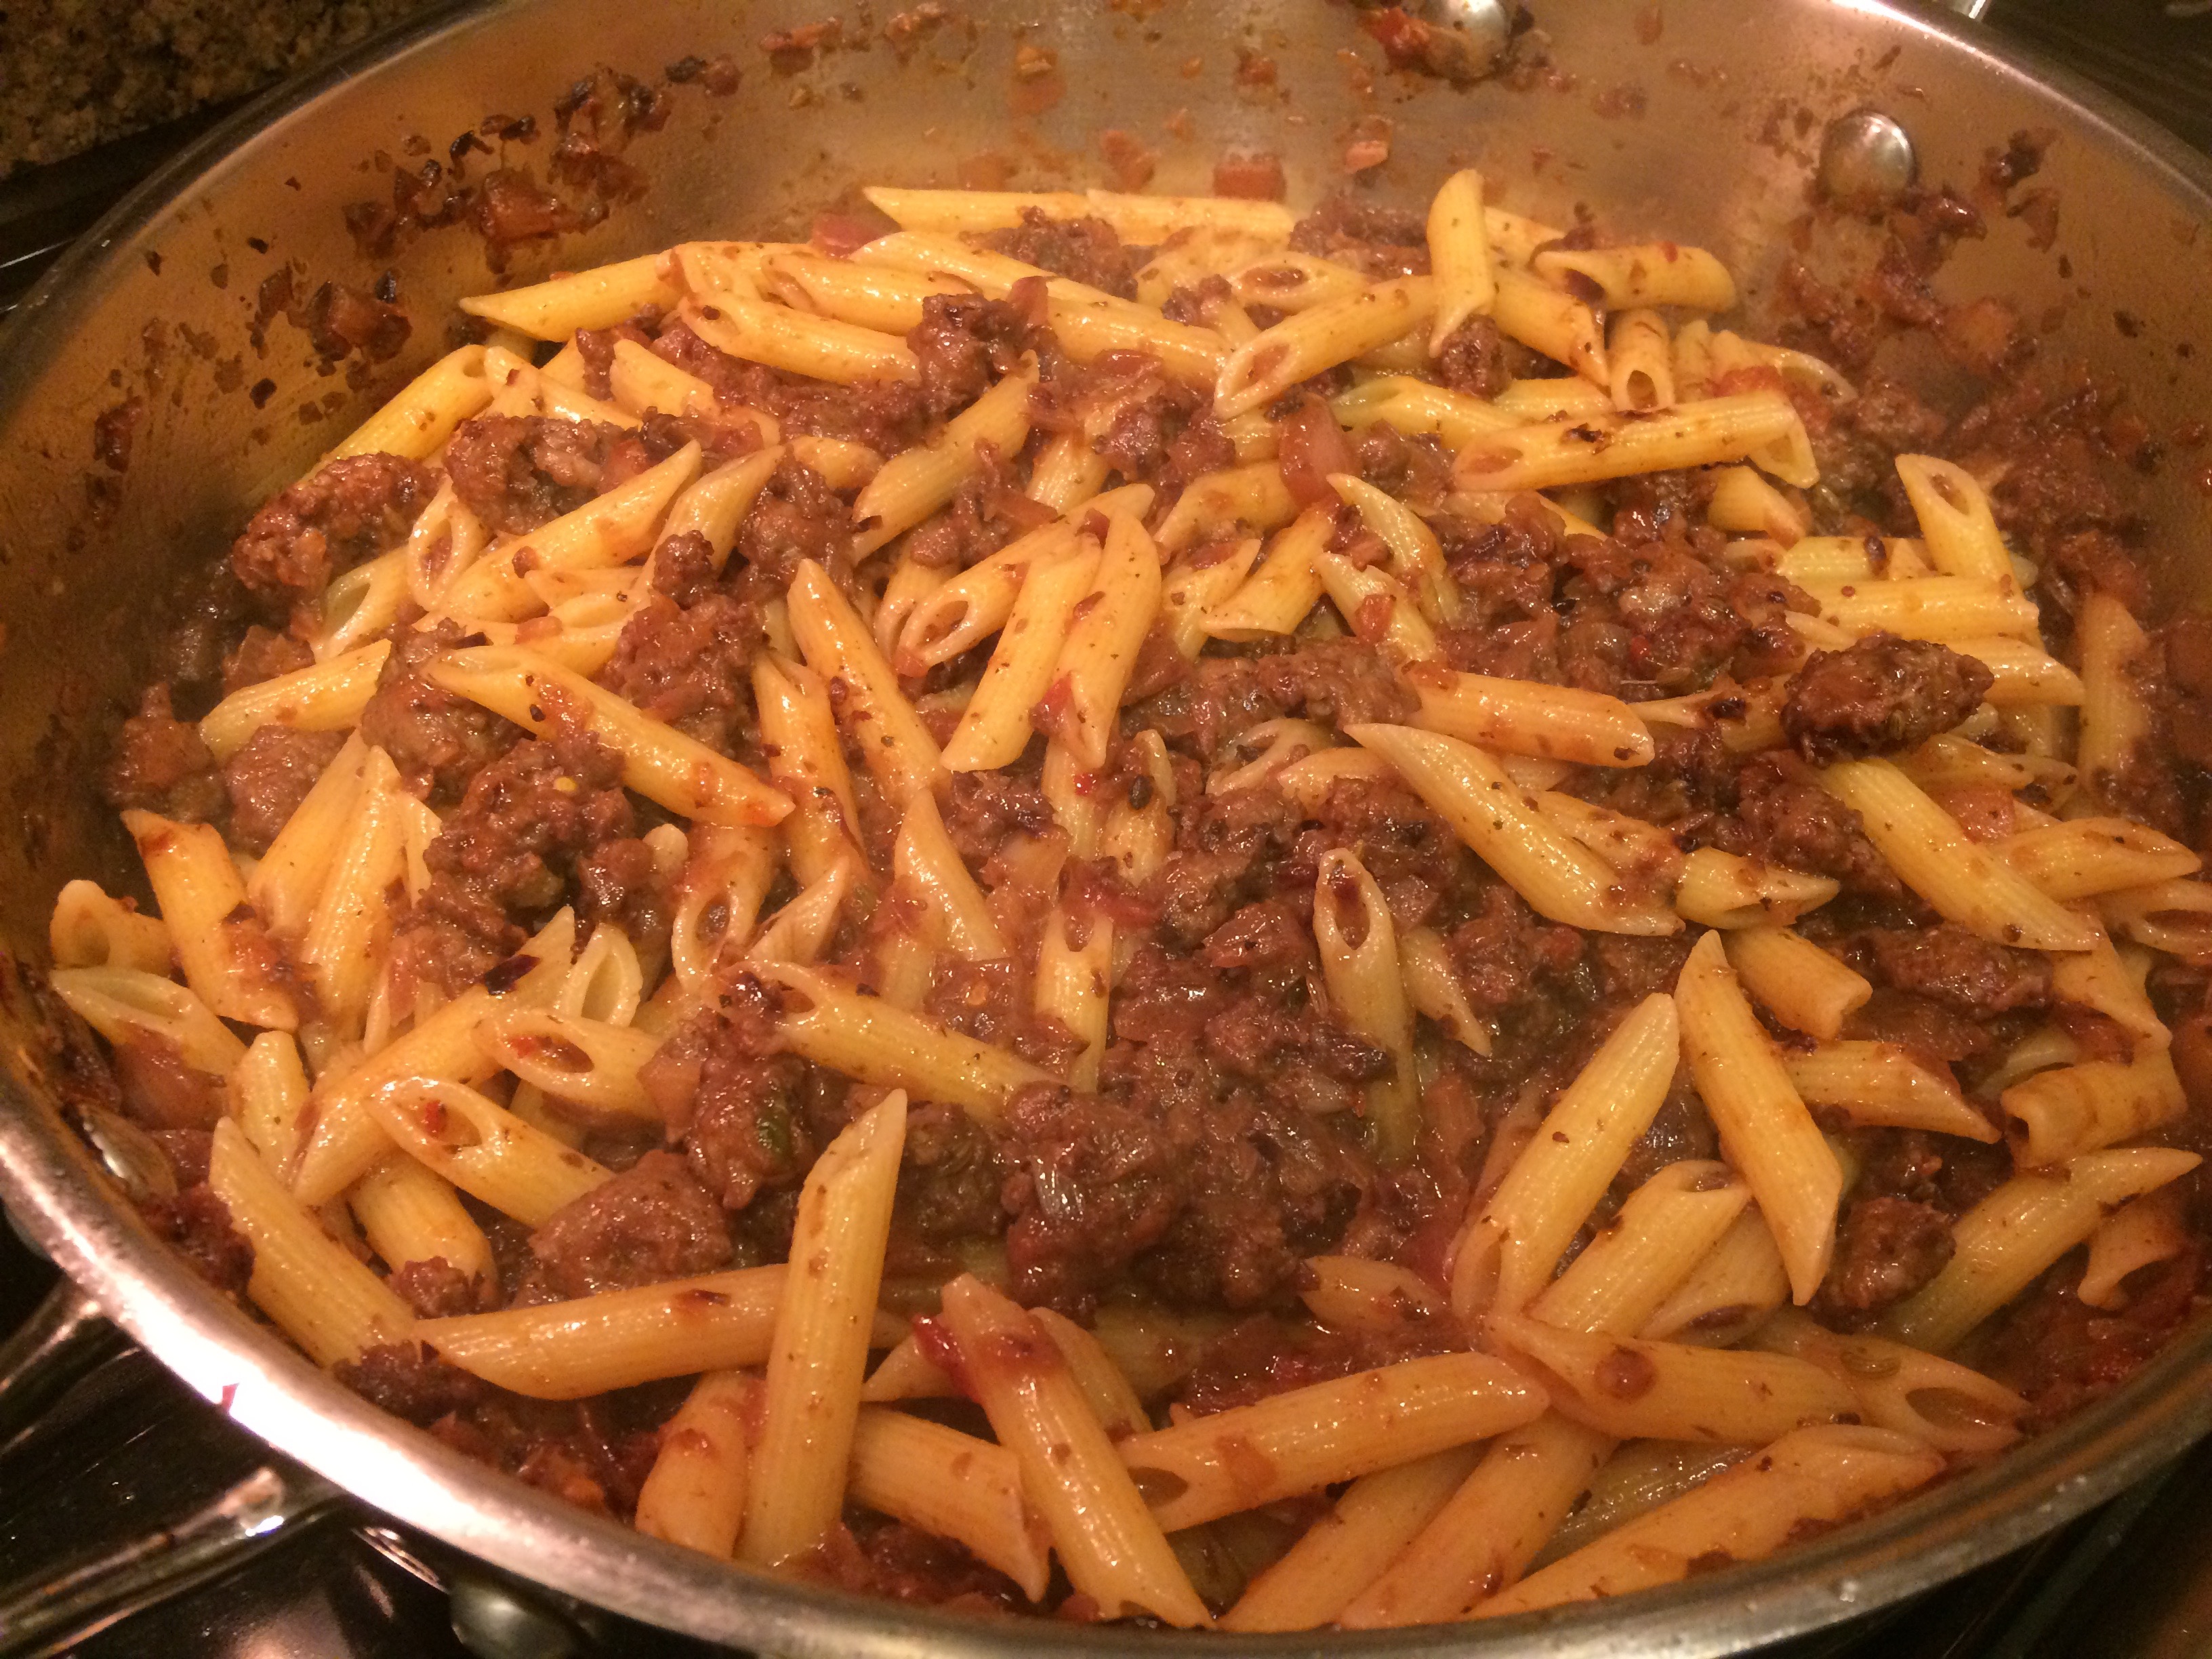
11. Pour into a warmed serving bowl and serve immediately, with a bowl of grated Asiago on the side.

Wine Pairing: Morellino di Scansano, Sangiovese

Musing: An Anniversary. . .with Salsa Verde

Tonight we celebrated our one-year anniversary of moving to San Diego from New York City. We had originally planned to dine out for the occasion, but given all the social and political turmoil, we lost our appetites. We’re saddened by what’s going on, but nevertheless we wanted to mark the occasion and, at least for the moment, leave political furor behind.

Eventually, we opted for a quiet celebration at home and chose to make a recent recipe from the New York Times for a hanger steak with a salsa verde that touted the wonderful flavor that could be obtained from a value cut of beef with a salsa verde made from kale, scallions, a modicum of grated garlic, salt and olive oil.

Alas, I could not find the recommended hanger steak or any other of its value-priced alternatives at my local market. But mirabile dictu, choice rib-eye steaks were on sale at a price even cheaper than any of the recommend value cuts.

As has happened before, I did not think the this evening’s meal was going to be subject of a post so we took no photos of the prep or even of the finished dish. But as we completed dinner and reflected on how this leafy-greens salsa enhanced the steaks, my husband snapped a photo of me smiling over the remains of the meal.

Celebration!

The sauce requires a minimum of preparation: Cut 4 scallions into 2-inch pieces; set aside. Finely chop 2 or 3 additional scallions and add to a medium bowl with 2 1/2 cups of finely chopped kale, finely grated garlic clove and 1/3 cup of good olive oil; season with salt and pepper.

When the steaks are almost done, spread the sauce on plates. (The kale will have softened some.) When the steaks are done, place them over the salsa and let them rest, during which time the juices from the steak will marry with the salsa. While the steaks rest, lightly char and season the set aside scallion slices the meat’s remaining fat. Top the steaks with the charred scallions and a squeeze of lemon juice.

Here’s a link to the recipe online that includes directions for cooking the meat.

Skillet Chicken aka. Chicken Pizza

Skillet Chicken

My family was pretty traditional when it came to Italian cooking. Both my mother and my aunt prepared recipes passed down to them by their mothers and took pride in preserving their traditions.

Perhaps because of this adherence to the past, I never had had the ever popular Italian-American Chicken Parm until I was in high school. I remember my first time with it. My friends raved about the dish so much that I simply had to try it. I thought it would be similar to the only other “parm” I knew, namely my aunt’s eggplant parmigiana, with perfectly fried slices of eggplant baked in layers with a light tomato sauce, fresh mozzarella, and Parmigiano Reggiano.

However, when my order of chicken parm appeared, my disappointment with the dish hit me before I even tasted it. The sight and smell of an overly fried and similarly over breaded skinless chicken cutlet drowning in a thick, sweetened tomato sauce and topped with a rubbery piece of “mozz” were, to put it mildly, less than appealing. The taste was not much better. Nevertheless, to fit in with the crowd, I ate most of it and said “Wow, the best chicken parm I ever had.” It was also my last.

Back to the present. Intrigued by a tempting picture of what was called “Chicken Pizza” in a NY Times “What to Cook Now” newsletter, I clicked my way to the recipe by Melissa Clark. My intrigue lessened, however, when I read in her introduction that the dish was “reminiscent of Chicken Parmesan.” Yuck! But that picture was so still tempting.

Well last night, I finally made the dish and am happy to report it was a huge success, or as my better half proclaimed “a keeper!” The sauce had layers of flavor from the anchovies and pancetta; the bocconcini, perfectly melted, complemented the sauce; and the chicken thighs were moist and juicy. A far cry from that first chicken parm.

I followed the recipe pretty closely, only adding one extra anchovy, upping the amount of olive oil to 2 tablespoons, and using chopped rather than whole imported Italian tomatoes. I also chose to deglaze the pan with a little white wine after browning the chicken and frying the garlic, anchovies, and red pepper flakes.

Skillet Chicken With Tomatoes, Pancetta and Mozzarella
Ingredients

Ingredients

3 ½ pounds bone-in chicken pieces (or use a 31/2 pound chicken cut into 8 pieces)
2 teaspoons kosher salt
1 teaspoon black pepper
1 tablespoon extra-virgin olive oil (I used 2 tablespoons.)
5 ounces pancetta, diced
3 garlic cloves, thinly sliced
2 anchovy fillets (I used 3 anchovies.)
¼ teaspoon red pepper flakes
1½ ounces dry white wine for deglazing (My addition to the recipe.)
1 (28-ounce) can whole plum tomatoes (I used chopped imported Italian tomatoes.)
1 large basil sprig, plus more chopped basil for serving
8 ounces bocconcini, halved (or use mozzarella cut into 3/4-inch pieces)

Preparation

Heat oven to 400 degrees. Pat chicken dry and season with salt and pepper.
In a large oven-proof skillet, warm oil over medium-high heat. Add pancetta and cook, stirring frequently, until browned.

Browning the pancetta

Use a slotted spoon to transfer pancetta to a paper-towel-lined plate.

The browned pancetta

Add chicken to skillet. Sear, turning only occasionally, until well browned on all sides, about 10 minutes. (My chicken took almost 20 minutes to brown.) Transfer to a large plate. Pour off all but 1 tablespoon oil.

The browned chicken

Add garlic, anchovy and red pepper flakes to skillet; fry 1 minute.

Frying garlic, anchovies, and red pepper


I chose here to deglaze the pan with wine.

Deglazing

Stir in tomatoes and basil. Cook, breaking up tomatoes with a spatula, until sauce thickens somewhat, about 10 minutes.

Cooking the sauce

Return chicken to skillet. (Turn the pieces in the sauce to coat the chicken. My addition,)

Adding the chicken

Transfer skillet to oven and cook, uncovered, until chicken is no longer pink, about 30 minutes.

The chicken, baked

Scatter bocconcini or mozzarella pieces over skillet.

Adding the mozzarella

Adjust oven temperature to broil. Return skillet to oven and broil until cheese is melted and bubbling, 2 to 3 minutes (watch carefully to see that it does not burn). Garnish with pancetta and chopped basil before serving.

The finished dish

Wine Pairing: Dry Lambrusco

Musing: Oven Braising

IMG_8982sm
Oven-Braised Pot Roast

Yesterday, inspired by the photograph on the September cover of Cooking Light magazine, I prepared an Oven-Braised Pot Roast. The recipe was part of the magazine’s “Guide to Fall,” a season we really don’t have here in San Diego, but the photo made the dish so enticing, I simply had to make it.

The recipe was relatively straightforward: brown the meat well, briefly saute some pearl onions, garlic, and tomato paste, deglaze the pot with red wine, add stock followed by carrots, potatoes, and rosemary, cover, and cook at 325ºF for about 3 hours and 30 minutes. Over that low-and-slow cook-time, however, the braise filled our apartment with a mellow savory aroma that I haven’t experienced in quite some time.

It then struck me that I haven’t done an oven braise for at least a year or so; I’ve come to rely, perhaps too heavily, on my slow cooker or pressure cooker for post roasts and stews and neither one, especially the latter, makes for such an aromatic experience.

In addition to the aroma, the oven braising also produced a roast with far better texture and deeper flavor than either of the above appliances.

Now all I have to do is wait for cooler temperatures here in SD, or more likely adjust the AC, to start enjoying more of these fall/winter oven-braised dishes.

Spare Ribs with Caramelized Onions

Pork Ribs with Caramelized Onions

Mention “spare ribs” and probably the last type of cuisine with which you’d associate them would be Italian. However if, like me, you’re of Italian-American heritage, one of the first associations may be with a long cooked Sunday pasta sauce together with meatballs and/or sausage. In fact, I’ve posted a recipe for my Neapolitan aunt’s version of them on this blog.

When I recently picked up some baby back ribs on sale at the market, my thoughts went to a recipe for them from way back by Marcella Hazan. Having lost many of my cookbooks to Super Storm Sandy, I did an internet search and was able to find the specific recipe I had been thinking of. It came from one of her later books in 2004 Marcella Says… and was adapted for The Times by Amanda Hesser. (Note: The recipe in this link is part of a review of Marcella’s book and includes an interesting profile of the author.)

Like many of Marcella’s recipes, it uses a modicum of ingredients, yet yields deep intense flavors that celebrate what Italians call “la prima materia,” the fundamental ingredients. After browning, the ribs are simmered with an abundance of thinly sliced onions and a generous dose of crushed red-pepper flakes for around three hours. During this time, onions caramelize and the ribs reach the perfect fall-off-the-bone texture. The spice of the red pepper serves as the perfect foil for the sweetness of the onions.

I served the ribs garnished with fresh sage along with a side of smooth polenta and a Chianti Classico.

Two points about this recipe I should mention: (1) Don’t skimp on the chili pepper. Although a 3/4 tablespoon may sound like a lot, it’s really necessary to balance the sweetness of the onions. (2) Keep in mind that this recipe requires about 3 1/2 hours. I somehow overlooked this requirement, and we wound up having a very late-night supper.

Spare Ribs With Caramelized Onions

Ingredients

Ingredients
3 tablespoons extra-virgin olive oil
4 pounds baby-back ribs, split into pairs
½ cup dry white wine
2 very large onions, sliced very thin, about 6 cups
Fine sea salt
½ to 1 chopped chili pepper or 3/4 tablespoon dried red chili pepper

Preparation
1. Split the ribs into pairs.

Split Ribs

2. Pour the olive oil into a 12-inch sauté pan, turn the heat to high, and when the oil is hot, slip in the meat. Turn the ribs two or three times to brown them well. If the pan is crowded, do a batch at at time, then return them all to the pan.

Browning Ribs

3. Pour in the wine and turn the ribs once or twice while the wine bubbles completely away.

Reducing the Wine

4. Add the sliced onions, salt and chili pepper, cover the pan and turn the heat down to low.

Adding Onions & Chili

5. Cook for 2 to 3 hours, turning the ribs occasionally, until the meaty part of the ribs feels very tender and the onions have cooked down to a creamy consistency.

After about an hour


The Finished Ribs

Wine Pairing: Chianti Classico, Alsatian Pinot Gris

Musing: On Supermarkets

Inspired by a recent post on Diane Darrow’s blog, Another Year in Recipes, I prepared a classic Coq au Vin from a recipe in Julia Child’s tome From Julia Child’s Kitchen. Published in 1975, the book is now 43 years old, something I never considered until I was reading the recipe and noticed that for a dish with 2 1/2 pounds of chicken along with bacon and mushrooms simmered in 2 cups of red wine and the same amount of stock, it called for a minuscule amount of thyme, 1/4 teaspoon.

Julia Childs’ Coq au Vin

At first I thought this might have been a misprint, but as I thought about it more, I realized that when the book was published fresh thyme was not readily available in most supermarkets. Consequently, her measurement was most likely for dried thyme.

No big deal; however, this realization made me think how fortunate we are today to have such an abundant and diverse supply of food items available to us not only in gourmet and fancy-food shops but also in our local supermarkets.

I used to live in New York City’s Upper West Side and Chelsea neighborhoods, where finding specialty items was a piece of cake at stores like Zabars, Citarella, Buon Italia, Murray’s Cheese, Manhattan Fruit, and Dickson’s Farmstand Meats, not to mention the famed Union Square Farmers Market.

Recently, however, we moved to San Diego. And although we’re lucky to have here a vibrant Little Italy with a couple of well stocked Italian food stores and a wonderful bi-weekly farmers market, for most of my food supplies, I have to rely on my local supermarket. As I walk its aisles, I can find an abundance of high quality fresh produce, a wide variety of fresh herbs, and good selection of imported specialty items. In fact, the store even has its own Murray’s Cheese Shop.

I’m not saying that I don’t miss having the plethora of food stores that NYC afforded me, but I do feel pretty lucky that local supermarkets have come such a long way since Julia published the aforementioned book 43 years ago.

Oven-Roasted Tri-Tip

Oven-Roasted Tri-Tip

It wasn’t that long ago when I was eating steak four or five nights a week. Excessive? Yes. But I was single then, often on the road, and a simple strip or sliced steak was my comfort food as well as the perfect foil for the Italian wines I was representing at the time. Alas, my quasi Paleo diet caught up with me when my cholesterol level neared 300 and my doctor, along with my spouse, said basta.

Now on a more healthful diet, which has brought my cholesterol way down to normal levels, I enjoy red meat at most once a week. More often than not, when indulging, I still opt for steak, but once in a while I go for grilled, roasted, or braised dishes like short ribs or lamb shanks or, as I did the other night, a roast beef.

This roast, however, was not the typical rib, sirloin, chuck, or round roast. It was a tri-tip roast. I had never heard of this cut before, but a quick search on my phone informed me that it’s a popular west-coast cut and so tender that it’s sometimes referred to as the “poor man’s prime rib or filet mignon.” I was still hesitant to try it, but when my better half pointed out that it was on sale at 60% off, I thought I’d give it a go.

When we returned home, I went back online to search for a recipe and found many. I finally settled on what was perhaps the easiest and fastest, which I found on the New York Times “Cooking” website, Grilled or Oven-Roasted Santa Maria Tri-tip. It had two ingredients: a tri-tip roast and a beef-rub of your choice. As I’m not much into grilling or rubs, I opted for the oven-roasted version and followed the recipe’s link to an All-Purpose California Rub.

This roast proved to be perfect for a weeknight meal, taking around 40 minutes to cook, or a little more if you prefer your beef more cooked. The rub takes only minutes to prepare. After it’s massaged into the meat, the roast should be covered and refrigerated for at least an hour or even better overnight.

I think our tri-tip lived up to its reputation for being tender and I would say had more flavor than a filet mignon. I served the roast with steamed herbed potatoes and peas. A few days later, we enjoyed it sliced thin at room temperature accompanied by a salad.

Below is the recipe for the oven-roasted version of this dish. If you prefer grilling, click on the New York Times link above for the full recipe.

Ingredients

Ingredients

1 whole tri-tip, about 2 pounds

3 tablespoons beef rub of your choice

Rub

2 tablespoons finely ground coffee

1 ½ tablespoons kosher salt

1 ½ tablespoons granulated garlic

1 heaping teaspoon black pepper

1 tablespoon brown sugar

¼ teaspoon cayenne pepper

¼ teaspoon ground cloves

¼ teaspoon cinnamon

Combine all ingredients and store in an airtight container

The Rub

Preparation

1. Trim silver skin. The meat may have a thick layer of fat, some of which can be sliced off, but keep a good amount to help baste meat.

2. Sprinkle meat with rub and massage lightly all over.

The Rubbed Roast

3. Cover and refrigerate at least an hour or as long as overnight. Remove from refrigerator an hour before cooking.

Roast Before Cooking

4. Heat oven to 350 degrees. Add 2 tablespoons of olive oil or other cooking oil to a large, heavy ovenproof pan. On stove top, heat on high until pan is very hot, then add tri-tip, fat side down. Turn heat to medium-high and sear roast for about 4 minutes.

Browning the Roast

5. Turn the roast and put it in the oven. Cook it for about 10 minutes a pound, checking with an instant-read thermometer until it reaches 130 degrees for medium-rare.

Roast After Resting

6. Rest roast on a cutting board 10 to 20 minutes. Slice against the grain. The roast is shaped like a boomerang, so either cut it in half at the center of the angle, or slice against the grain on one side, turn the roast and slice against the grain on the other side.

Cutting the Roast in Half
The Sliced Roast

Two days later, the roast made its way back to our table.

Left Over Roast

Wine Pairing: Rosso di Montalcino, Sangiovese, Cabernet Sauvignon