Pesto

IMG_5202sm

Pesto.  I vividly remember my introduction to this unctuous blend of basil, garlic, pine-nuts and cheese. It was in the fall of 1959 and my aunt had returned home from a two-month vacation in Italy. Among the many things she brought back with her were two small green-and-gold cans of something called “pesto.” They looked so plain compared to the cases of wine, boxes of candy, and a plethora of colorful souvenirs.

When I asked her about the cans, she told me that they contained “pesto,” a sauce for pasta. Now mind you, in our home, any sauce for pasta was made from scratch. And my aunt, a talented cook, had quite a repertoire of them. “Sauce from a can?” I said. “Yes,” she replied, “you’ll be surprised how good it is.”

Back in the late ’50s and even through the ‘60s, pesto did not enjoy the popularity it has today. As a result, I had no idea what to expect when a few days later she decided to prepare the dish for our family. When she opened the can and I saw the dark green gunk, all I could say was “Yuck!” She emptied it into a bowl, tasted it, and said it needed some help. She pureed some fresh garlic, grated some pecorino cheese, and stirred them into the sauce with a little olive oil. She re-tasted the sauce and judged it acceptable. “Aren’t you going to cook it?” “No, she said, pesto is never cooked.”

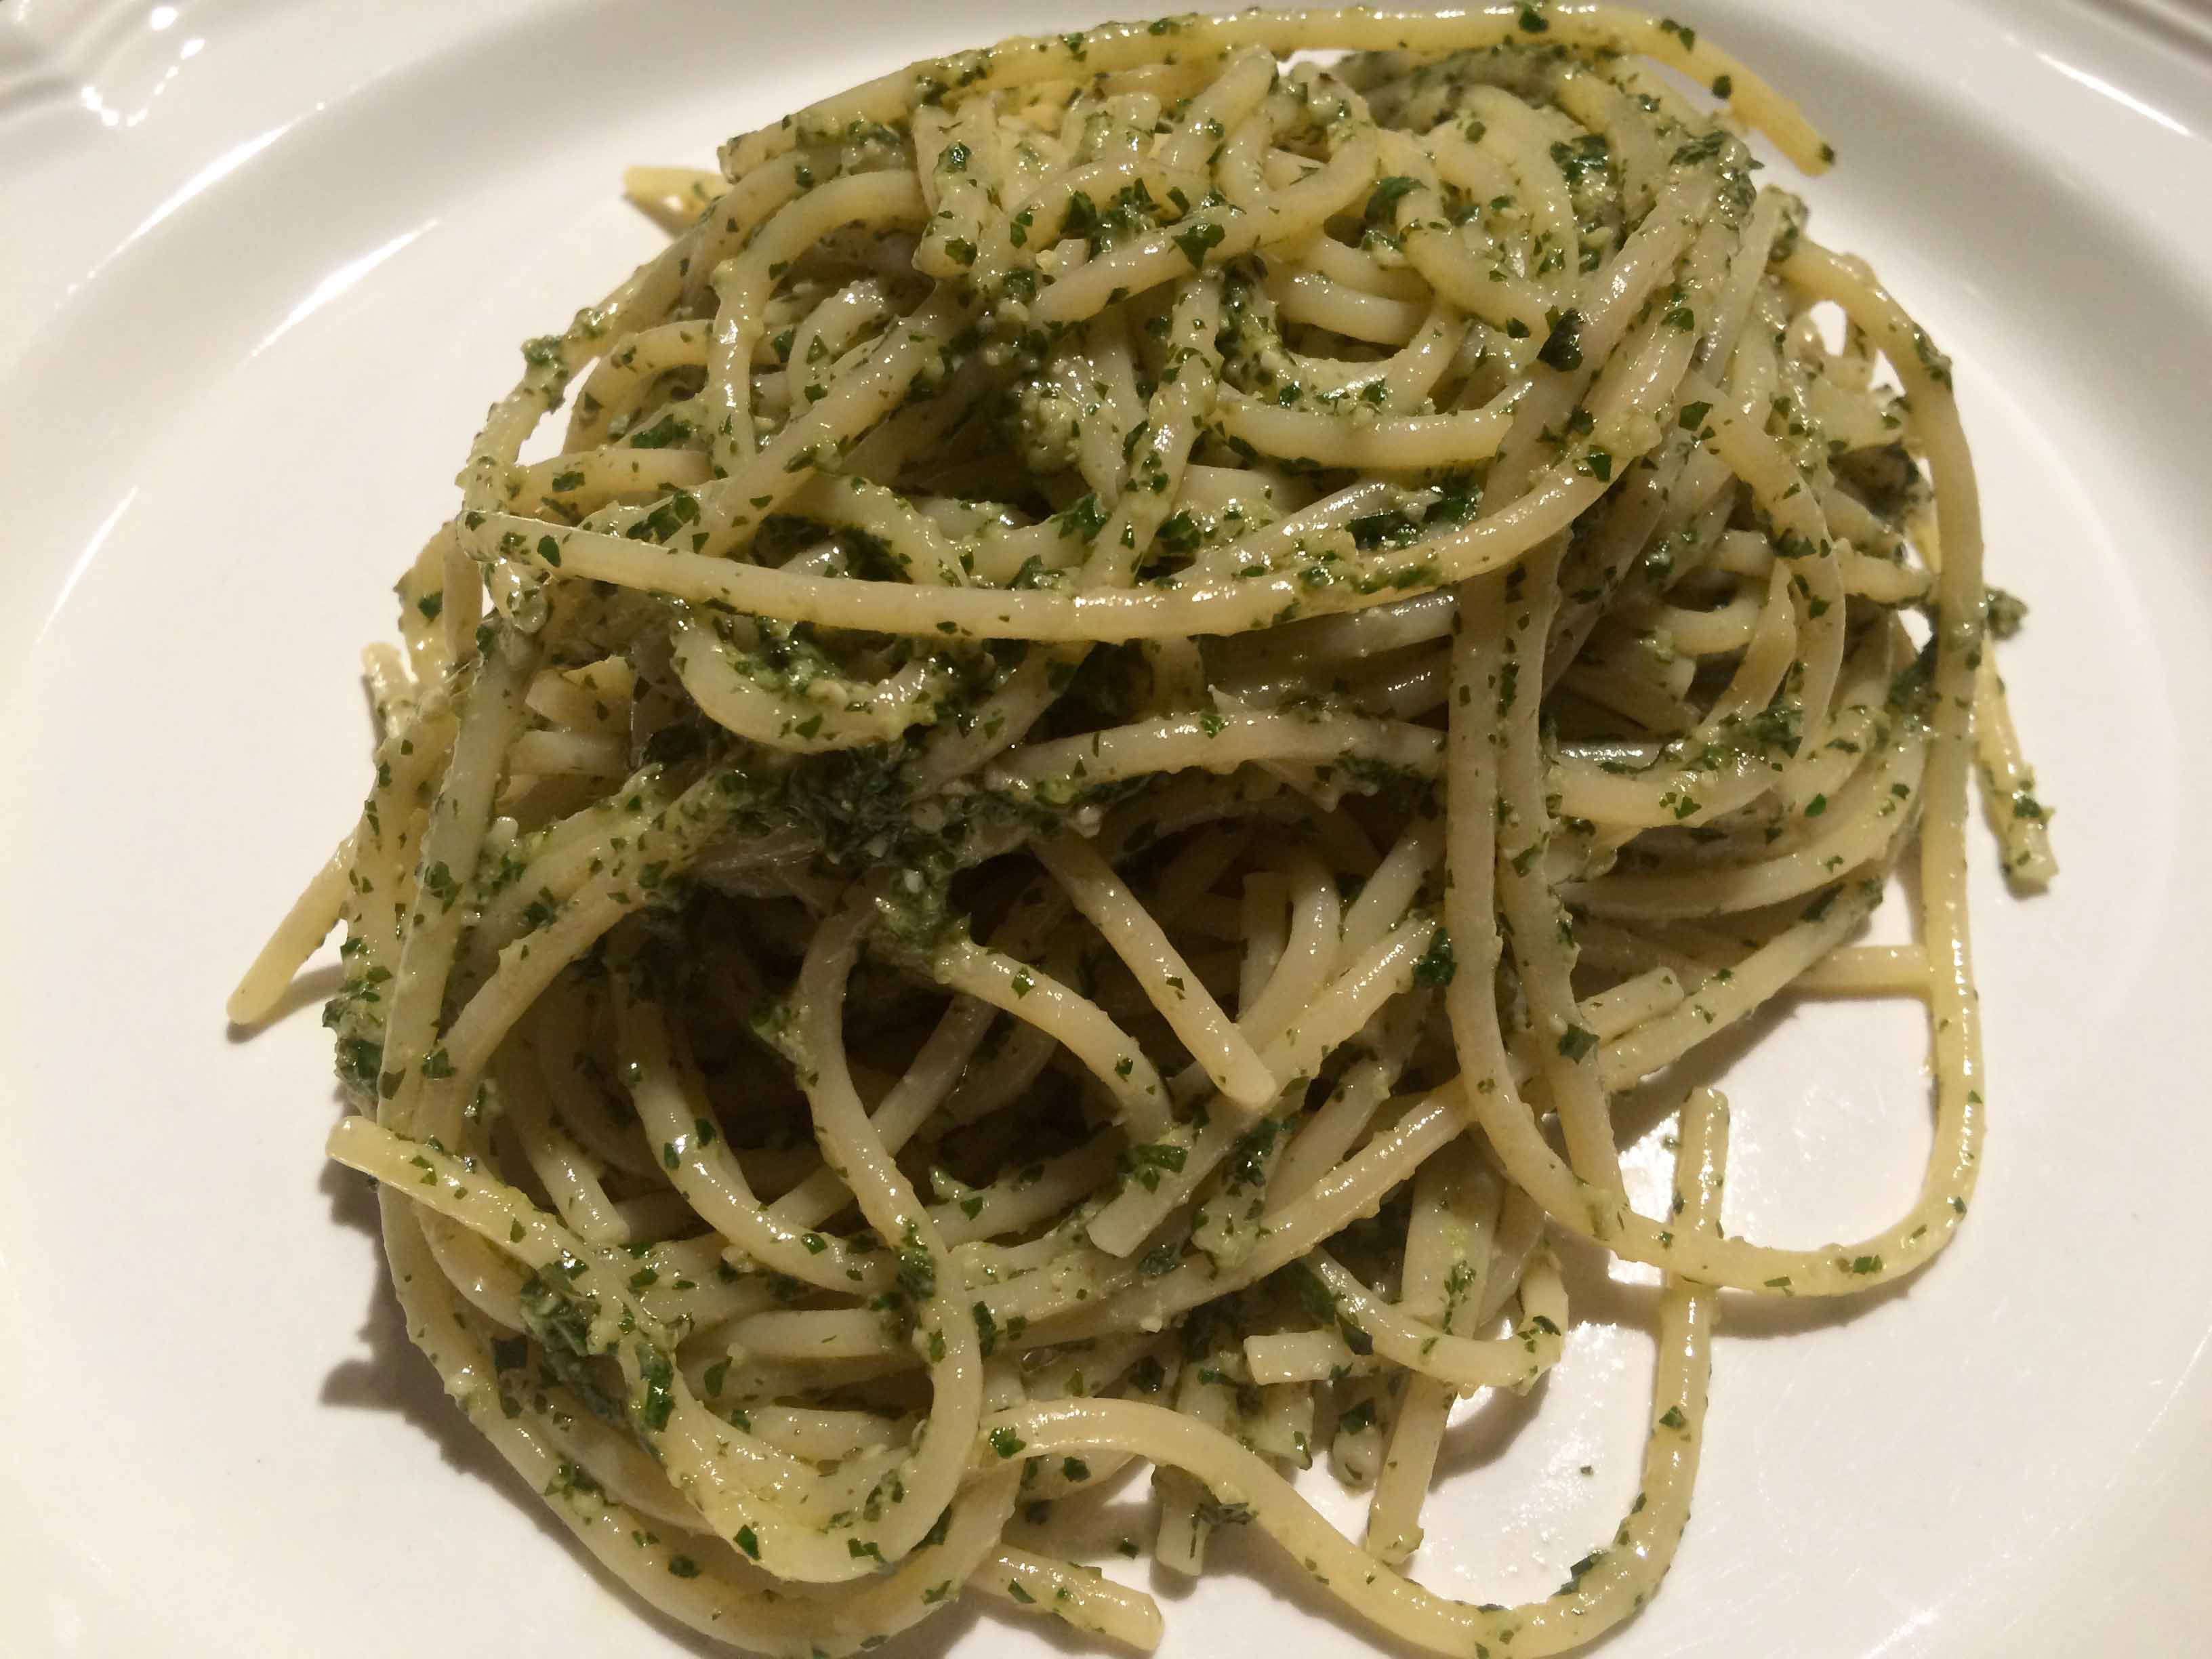
I went back to my homework and when called to the dinner table, I saw this platter of spaghetti laced with a vibrant green sauce.The other members of my family shared my skepticism about this pasta. My aunt, refusing to acknowledge any of us, proceeded to portion out the pasta and distribute the plates.

I watched my family slowly twirling the green strands of pasta onto their forks. No one wanted to be the first to taste it. “Mmmm, delizioso,” said my aunt. I had to admit the aroma of basil, garlic, and cheese made it easier for me to take my first mouthful. “Delizioso!” I said and my aunt just smiled. Most of my family agreed, except for my father, who insisted it would be better with some tomato. Thereafter, whenever we had pesto, my father’s was dressed with a few thin slices of a peeled San Marzano tomato.

After her two cans of pesto were gone, my aunt decided to turn to her copy of Ada Boni’s Talismano della Felicita for the traditional recipe. Back then, before the pesto craze in the ‘70s, it was the only way we could enjoy it.

Over the weekend, I had purchased some basil and forgot about until the other night. It was too hot to cook, so I thought it would be perfect night for pesto. For years, I’ve been following my own recipe based on my aunt’s, but wanting to try something new, I turned to Mario Batali’s Italian Grill. His recipe uses a food processor as opposed to the traditional mortar and pestle, and I have to admit that I prefer the texture I was able to achieve with it. But when using a food processor, you must be careful not to over process. Stirring in the cheeses after processing the basil also makes for an optimal texture.

Pesto Adapted from Mario Batali’s Italian Grill (makes about 1 cup)

3 garlic cloves
2 cups lightly packed fresh basil leaves, washed and dried
3 tablespoons pine nuts
Generous pinch of Kosher salt
1/2 cup extra-virgin olive oil
1/4 cup freshly grated Parmigiano-Reggiano
4 tablespoons freshly grated Percorino Romano

With the motor running, drop garlic into a food processor to chop it.  Pulse until the garlic is finely chopped. Add the basil, pine nuts, and salt and pulse until the the basil and nuts are coarsely chopped and then process until finely chopped. Be careful not to over process.

With motor running, drizzle in the oil. If the mixture is too thick, you may need to add a little more olive oil.

Transfer to a small bowl and stir in both Parmigiano and pecorino.

The finished pesto
The finished pesto

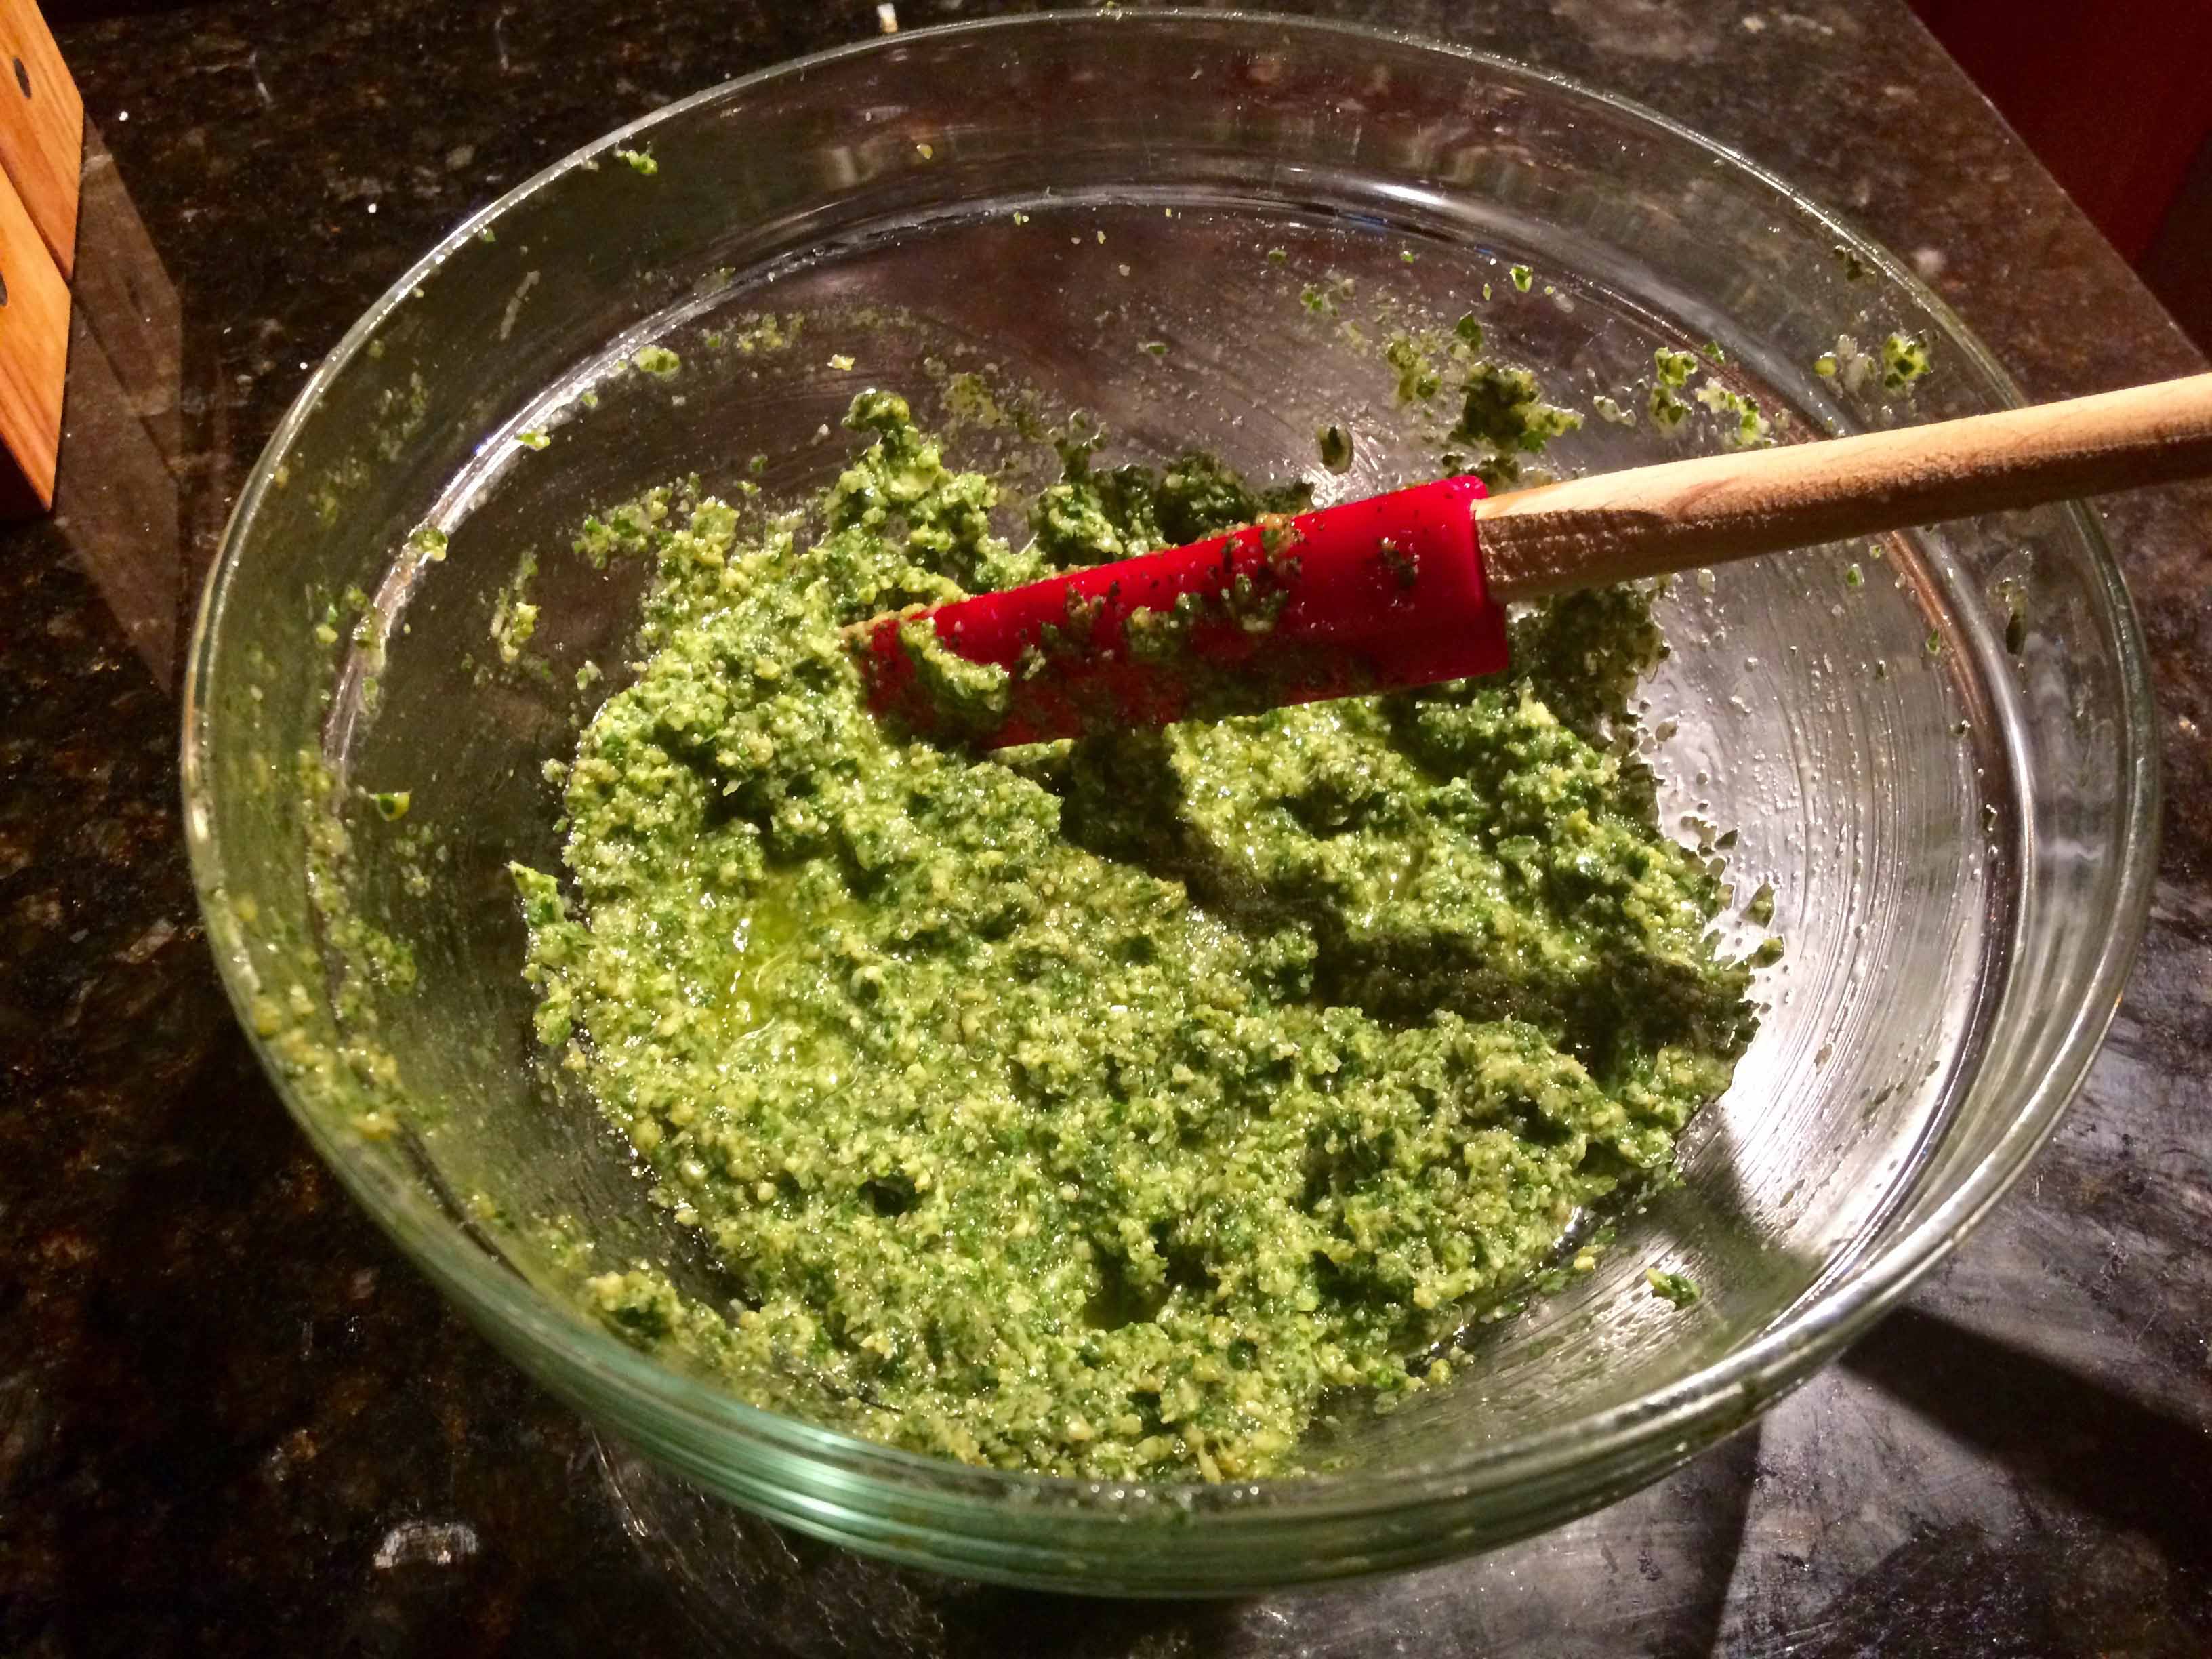
(The pesto can be stored in a tightly sealed jar, topped with a thin layer of extra-virgin olive oil, for several weeks in the refrigerator.)

This recipe makes enough sauce for a pound of pasta.

Wine Pairing: Vermentino

Mussels with Cream and Pernod

IMG_5159sm

Growing up, the only mussels I ate were served southern-Italian style, sauced with a hot marinara and accompanied by a thick bread biscotto to sop up the condiment. Today, it’s a dish I make quite often at home.

In the summer of my junior year in high school, however, I spent 14 weeks in France with a group of classmates, studying the language and serendipitously broadening my culinary horizons.

During that time, we were forbidden to speak English or to consume anything that wasn’t French. In fact, near the beginning of our stay, on a day trip through the Loire valley, our teacher and guide, a true Francophile Jesuit, went apoplectic at lunch when the restaurant, seeing us as tourists, brought out bottles of ketchup with our steak frites. “Enlever le ketchup!” (Remove the ketchup!) he demanded. The ketchup disappeared—alas.

We were studying at the University of Grenoble and took most of our meals in the school’s cafeteria. But when we were on our own, a few friends and I would venture into local bistros. It was on one of these days that I discovered a dish that would become one of my French favorites: moules au Pernod, mussels napped in a light sauce of cream, onions, and Pernod. The smooth anise-scented sauce provided the perfect counterpart to briny mussels.

It’s the perfect summer’s night entree, especially paired with a crisp Sauvignon Blanc, preferably a Sancerre, and a crusty baguette to get the last bit of sauce.

MUSSELS WITH PERNOD AND CREAM Adapted from Epicurious.com

Ingredients
Ingredients

1 1/4 cups leeks sliced 1/4-inch thick using only the white and pale green portion
1 1/2 cups Sauvignon Blanc or other dry white wine
1/4 cup finely diced red bell pepper
2 pounds mussels, scrubbed, debearded
1/2 cup heavy cream
Kosher salt
Fresh ground black pepper
4 tablespoons Pernod or other anise liqueur
3 tablespoons finely chopped fresh parsley

Combine the sliced leeks, wine, and bell pepper in large heavy-bottomed non-reactive pot. Bring to boil over high heat.

Leeks, peppers, wine

Add the mussels. Cover the pot and cook until mussels open, about 5 minutes, shaking the past once or twice.

With a slotted spoon, transfer the mussels to a bowl (discard any mussels that do not open).

The opened mussels
The opened mussels

To the pot, add the cream, salt and pepper to taste, and Pernod. Boil until liquid is slightly reduced, about 4 minutes. Mix in chopped parsley.

Making the sauce
Making the sauce

Return the mussels and any accumulated juices to pot. Simmer until mussels are warmed through, about 1 minute; adjust the seasoning. Serve mussels with the sauce.

The finished dish
The finished dish

Wine Pairing: Sauvignon Blanc, Sancerre

Italian Grilled Chicken

IMG_1141sm

Growing up Italian in the 1950s wasn’t too difficult in Brooklyn. After all about 50% of my neighborhood shared my ethnic heritage. But when my parents purchased a summer home in a private lake community in northern New Jersey, I began to understand the struggles that my family had when they first arrived in the United States.

The community where we spent most of our summers was predominantly WASP. My uncle Al had bought home there and was approved to join the community club largely because he was a physician. A few years later my father’s application was accepted for a similar reason, he was an attorney. Over time, more Italian families gained entrance, but somehow we were always regarded with some skepticism.

I recall sitting on our patio one afternoon as our neighbor, a long time member with staunch German heritage once commented to my mother and aunt how we were different from other Italians she knew. “You’re not what we expected,” she said. “No babushkas, not loud, not…”

When she left, I asked my mother how she could tolerate such talk. “That’s what prejudice is all about,” she said. “You’ll never change her. But don’t give her a chance to find fault with you.”

A few days later, my feisty aunt, however, decided to address our neighbor’s comments not so much with words, but with food. On our outdoor grill, she cooked a chicken that was marinated in olive oil, lemon, and plenty of garlic. As the chicken cooked, she basted it with the marinade using a parsley brush. Twenty minutes into the cooking, our neighbor came by asking what that lovely aroma was. My aunt escorted her to the grill and said “grilled chicken; it’s the aroma of garlic that you’re probably picking up. A recipe we brought over with us from the old country.”

After our neighbor left, my aunt said, with a subtle smile, “I think she got the message.”

The other evening I decided to recreate this recipe on our small outdoor electric grill.

Italian Grilled Chicken

2 lemons, zested and juiced

1 bunch parsley, coarsely chopped

2 garlic cloves, finely chopped or rasped

1/2 teaspoon crushed red pepper flakes

1 teaspoon Kosher salt

1 teaspoon freshly ground black pepper

1/2 cup extra virgin olive oil

3 to 4 pound chicken, spatchcocked and pressed flat, wing tips removed (Here’s a link to instructions for spatchcocking a chicken.)

  1. In a large bowl combine all the ingredients except the chicken and whisk until well combined. Set aside 1/4 of the marinade to used as a dipping sauce.
  2. Place the spatchcocked chicken in a gallon-size zip-lock bag and add the remaining marinade. Seal the bag and make sure the marinade is well distributed over the chicken. Allow to marinate in the refrigerator for 3 hours or so.
  3. Place the chicken in a two-sided hinged grilling basket to keep the chicken flat. Place on the grill skin side down, baste well with the marinade, and allow to cook for about 25 minutes. Turn the chicken, baste with remaining marinade, and cook for another 20 to 25 minutes.*
  4. Remove from the grill and let the chicken rest covered for 5 to 10 minutes. Cut into quarters and serve with the reserved marinade.

IMG_1159sm

*My cooking times are based on my small electric grill with the lid closed as much as possible. I’m not a grill master and you may need to adjust the cooking times based on your own experience with your grill.

Wine Pairing: Sauvignon Blanc

Slow-Cooked Beef with Juniper Berries

IMG_4998sm

As a child, I often accompanied my mother or my aunt when they went food shopping, which they did on an almost daily basis. Much to my chagrin, however, these excursions took considerable time since they opted to shop at small mom-and-pop stores rather than at the supermarket. Typically, we’d start at the salumeria for cold cuts and cheese, move on to the greengrocer for vegetables, and then end up at either the butcher or fishmonger. At each stop, they seemed to have a warm relationship with the proprietors, asking after their children, listening to their stories, offering them advice, or lending a sympathetic ear.

On one of these trips, it seemed to me that my mother was having a rather long talk with the butcher. She kept smiling and laughing, just a little too much I thought. After we left, I told her that I was going to tell dad that she was flirting with Tony. She grinned at me and said winking, “Maybe I do, just a little, but that’s how I get the best cuts.”

It’s then that I realized one of the reasons why my mother and aunt were always so pleasant with all the shop owners: they were sure to get the best ingredients for our family.

In Italian cooking, it’s essential that the basic ingredients, the prima materia, be of the highest quality because the cuisine is so minimalist. This was a continuing theme of Marcella Hazan’s cookbooks and it seems to have influenced her son, Giuliano. An example is his recipe from Every Night Italianfor beef slowly simmered with onions and juniper berries, which I prepared recently for a weekday supper and served with garlic-roasted potatoes and peas.

Slow-Cooked Beef with Juniper Berries adapted from Every Night Italian by Giuliano Hazan

2 tablespoons extra-virgin olive oil
1 1/2 cups onions, thinly sliced crosswise
2 pounds beef chuck, cut in 2 or 3 pieces so as to comfortably fit in the pot
1 teaspoon juniper berries, lightly crushed
2 tablespoons red wine vinegar
Salt
Freshly ground black pepper

Ingredients
Ingredients
  1. Choose a heavy-bottomed braising pot with a tight-fitting lid, preferably enameled cast iron, just large enough to accommodate the meat.
  2. Put the olive oil and the onions in the pot and place the meat on top. Add the crushed juniper berries, the vinegar, and season with salt and pepper.
  3. When you hear the contents of the pot bubbling, remove the lid and adjust the heat so that meat cooks at a very gentle simmer. Replace the lid and simmer until the meat is extremely tender when prodded with a fork, about 2 hours. You can begin checking it after 1 hour. If all the liquid evaporates before the meat is tender, add a little water.

    The seasoned beef
    The seasoned beef
  4. When the meat is done the sauce should be thick enough to cling to a spoon. If it is too thin, remove the meat and raise the heat until it has reduced.

    Beef after cooking
    Beef after cooking
  5. Slice the meat, return it to the pot to coat with the sauce, and serve.

Note: This dish may be prepared up to 3 days ahead of time and reheated over gentle heat with a 2 tablespoons of water.

Wine Pairing: Nebbiolo, Cabernet Sauvignon

Pressure Cooker Lamb & White Bean Stew

IMG_5082sm

Even in summer, I occasionally enjoy a hearty dish like stew—especially on a dark and stormy night or when life’s been unfair and only comfort food can make it better. On one of those days, an easy and relatively quick lamb and white-bean stew from Jacques Pépin’s Fast Food My Wayseemed to fit the bill.

What especially appealed to me about the dish is that it’s made in a pressure cooker and did not require browning the meat. Using the pressure cooker not only kept the kitchen cool but also made it possible to use dried beans without any overnight soaking.

Pressure Cooker Lamb and White-Bean Stew from Jacques Pépin Fast Food My Way
4 shoulder lamb chops (about 2 pounds total), trimmed of fat
1 1/2 cups (about 1/2 pound) dried white beans, such as navy or great northern, picked over and washed under cold running water (I opted for great northern.)
2 cups canned diced tomatoes
1 cup diced (1-inch) onion
1 cup diced (1-inch) trimmed and washed leek
2 tablespoons coarsely chopped garlic
1 sprig fresh thyme and 1 sprig fresh sage, or 1 teaspoon herbes de Provence (I used the thyme and sage.)
1 1/2 teaspoons salt
1 teaspoon freshly ground black pepper
2 teaspoon Worcestershire sauce
3 cups cold water

The lamb chops
The lamb chops

Put all the ingredients in a pressure cooker, cover tightly with the pressure-cooker lid, and cook over high heat until the gauge indicates that the stew is cooking on high pressure. Reduce the heat to low and cook the stew for 40 minutes. (I used an electric pressure cooker set on high and set the timer for 40 minutes.)

Beans, herbs, aromatics, and seasoning

Decompress the pressure cooker according to manufacturer’s instructions. I do mine in the sink so the steam is contained somewhat as it is emitted. Open the pressure cooker and let the stew rest for a few minutes until the fat rises to the surface. Spoon off and discard as much fat as possible and taste the stew for seasonings, adding more salt and pepper as needed. Serve hot. (After the 40 minutes cooking time, I let stew rest a few minutes and then used my pressure cooker’s quick release valve.)

In his introduction to the recipe, Pepin advises to use the full 3 cups of water so that the beans will cook properly. Consequently, this makes for a rather thin sauce that is perfect for sopping up with crusty bread or, as I did, with couscous.

Wine Pairing: Pinot Noir