Balsamic-Glazed Short Ribs

balribs6platedsm

With the change of seasons, out comes the slow cooker for meals that you can start in the morning and come home to your home infused with mouth-watering aromas that elevate your spirits on the gloomiest of grey days.

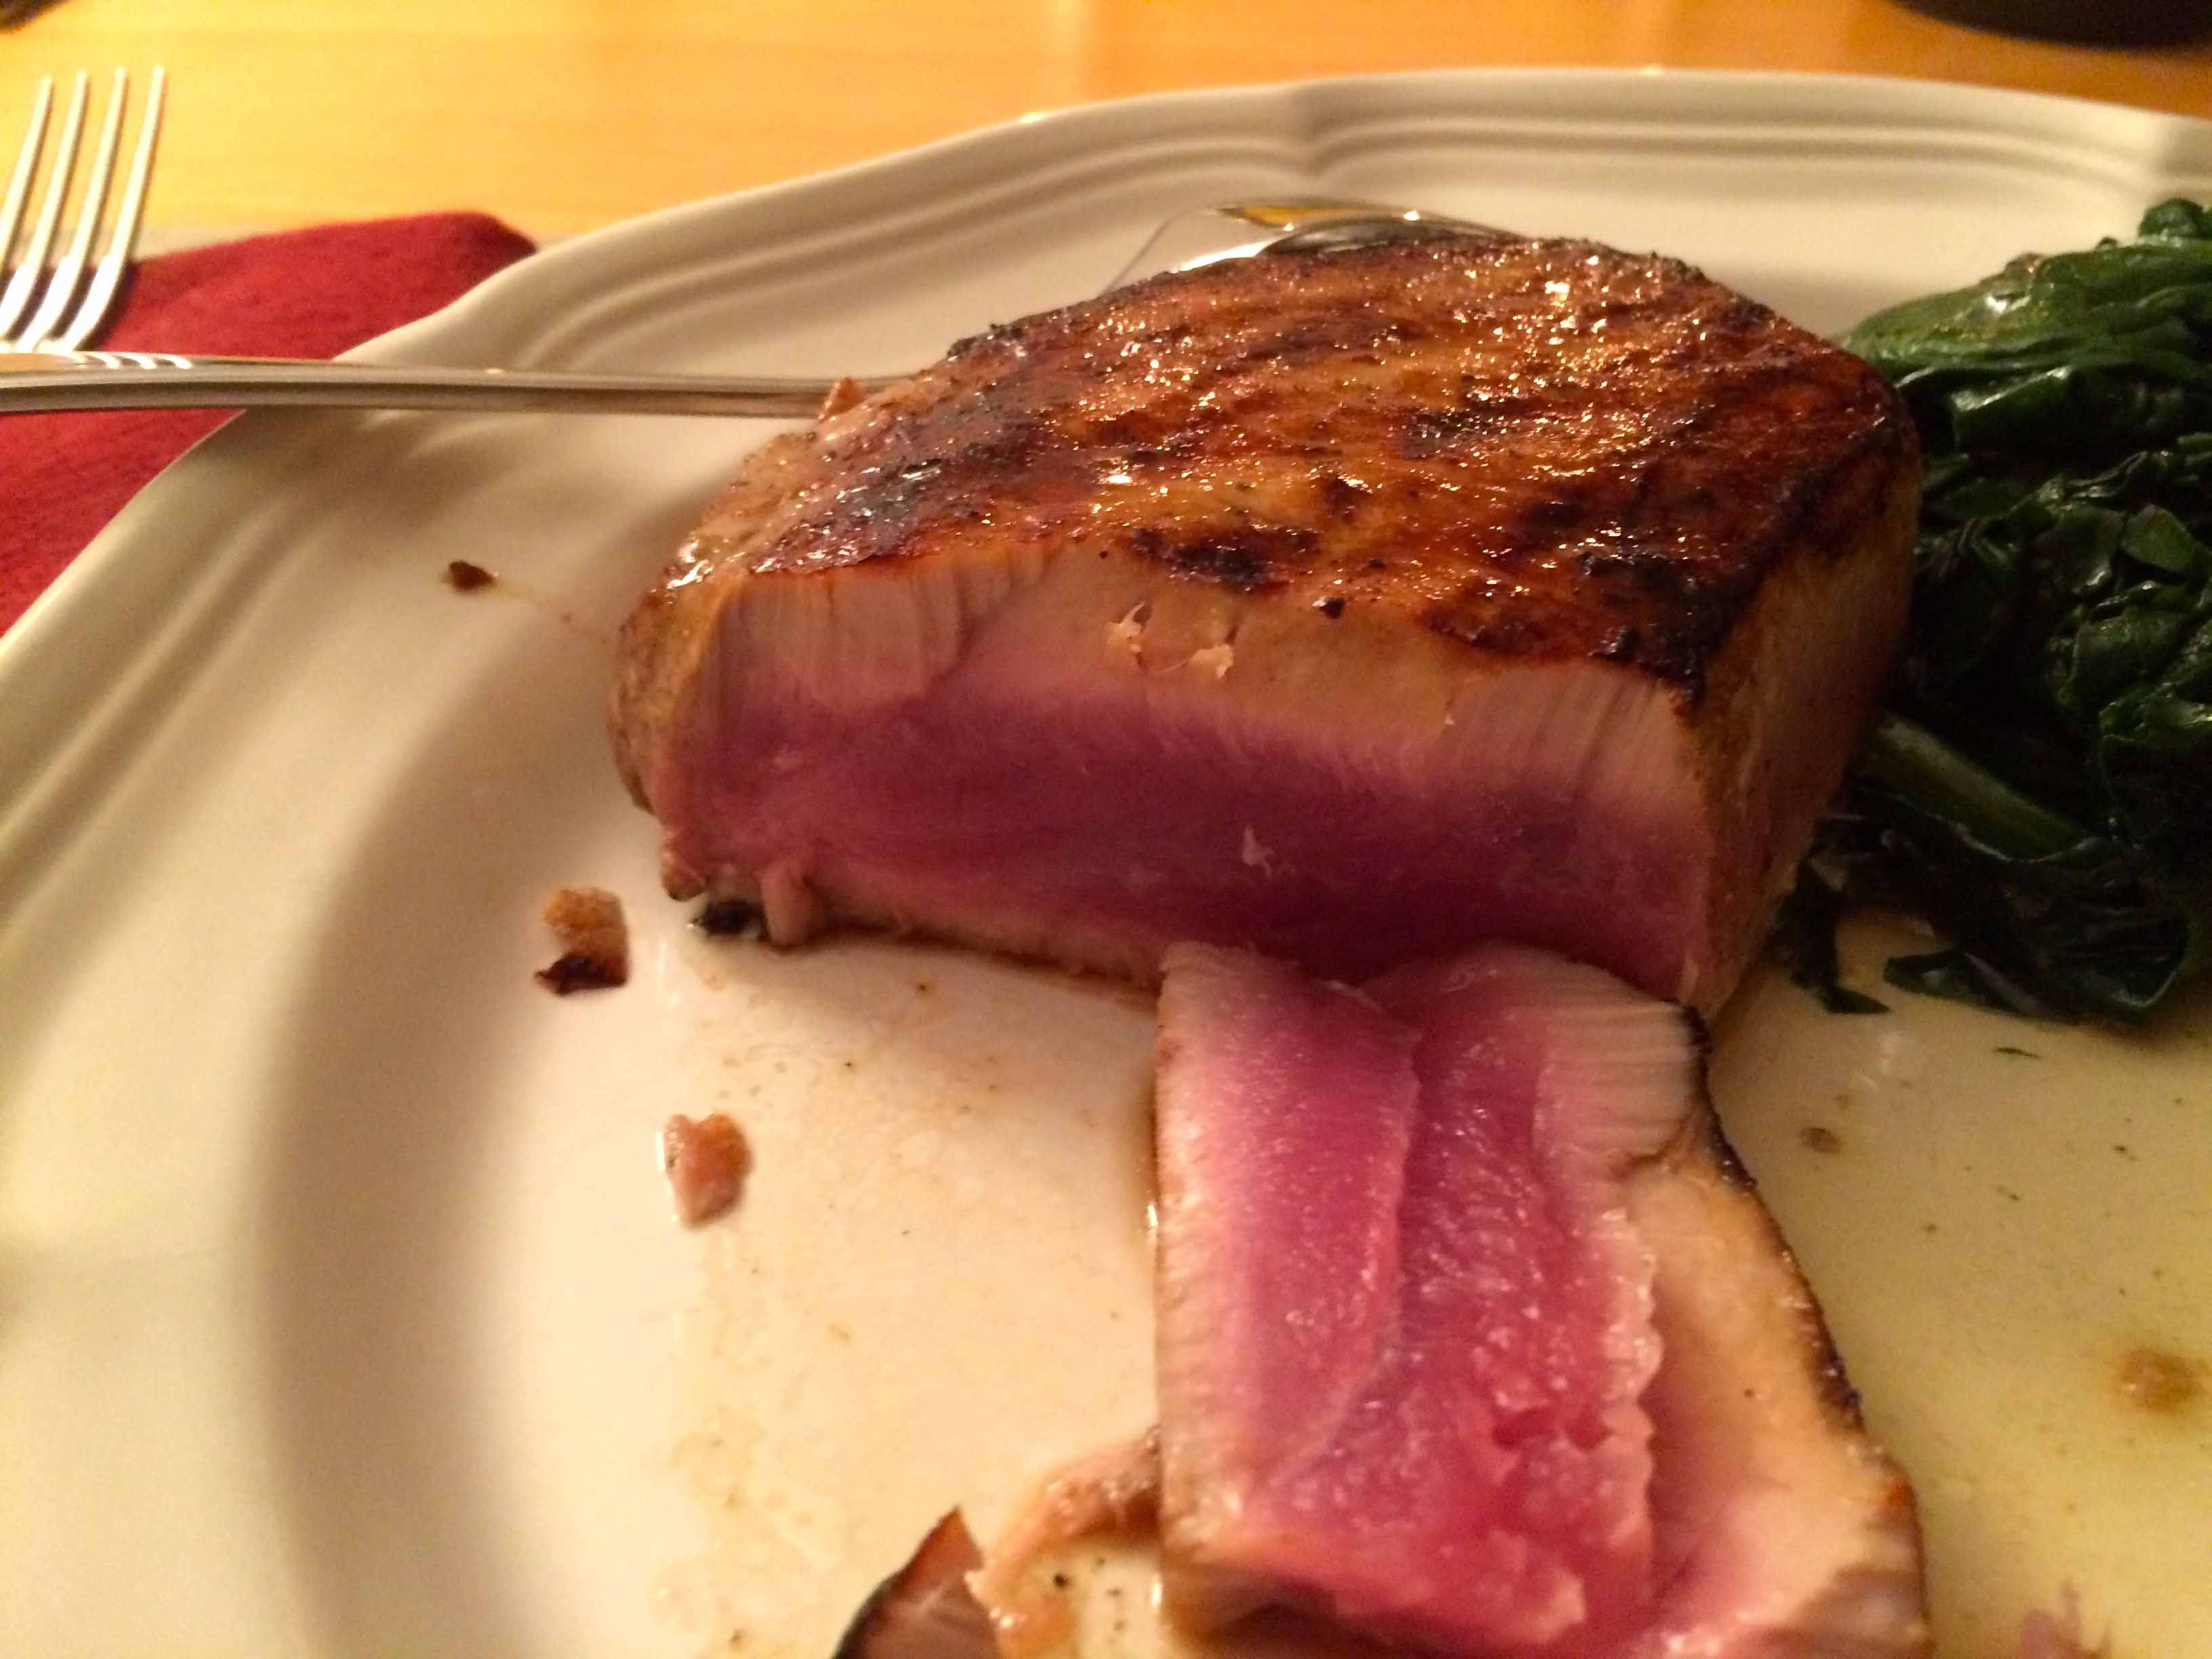
One of my favorite books for slow cooking is Michele Scicolone’s The Italian Slow Cooker, and amongst its fool-proof recipes, I continually return to her balsamic-glazed short ribs. Just a few ingredients, beef short ribs, olive oil, garlic, red wine, balsamic vinegar, and fresh rosemary, yield an extraordinary savory dish that will wow your guests and have them asking for seconds.  (I also add some grated nutmeg and a bay leaf.) Any leftover ribs, can be shredded and warmed in the remaining de-fatted sauce, and served with fettuccine or pappardelle.

For contorni, side dishes, I typically serve a simple polenta and peas.

The recipe is available online here.

I find this dish works best with thick, well trimmed bone-in short ribs that will stand up to a cooking time of eight hours on low. Each rib about 1.25 pounds.

balribs1sm
Ingredients


For maximum flavor, take the time to brown your ribs well on all sides.

Browned short ribs
Browned short ribs

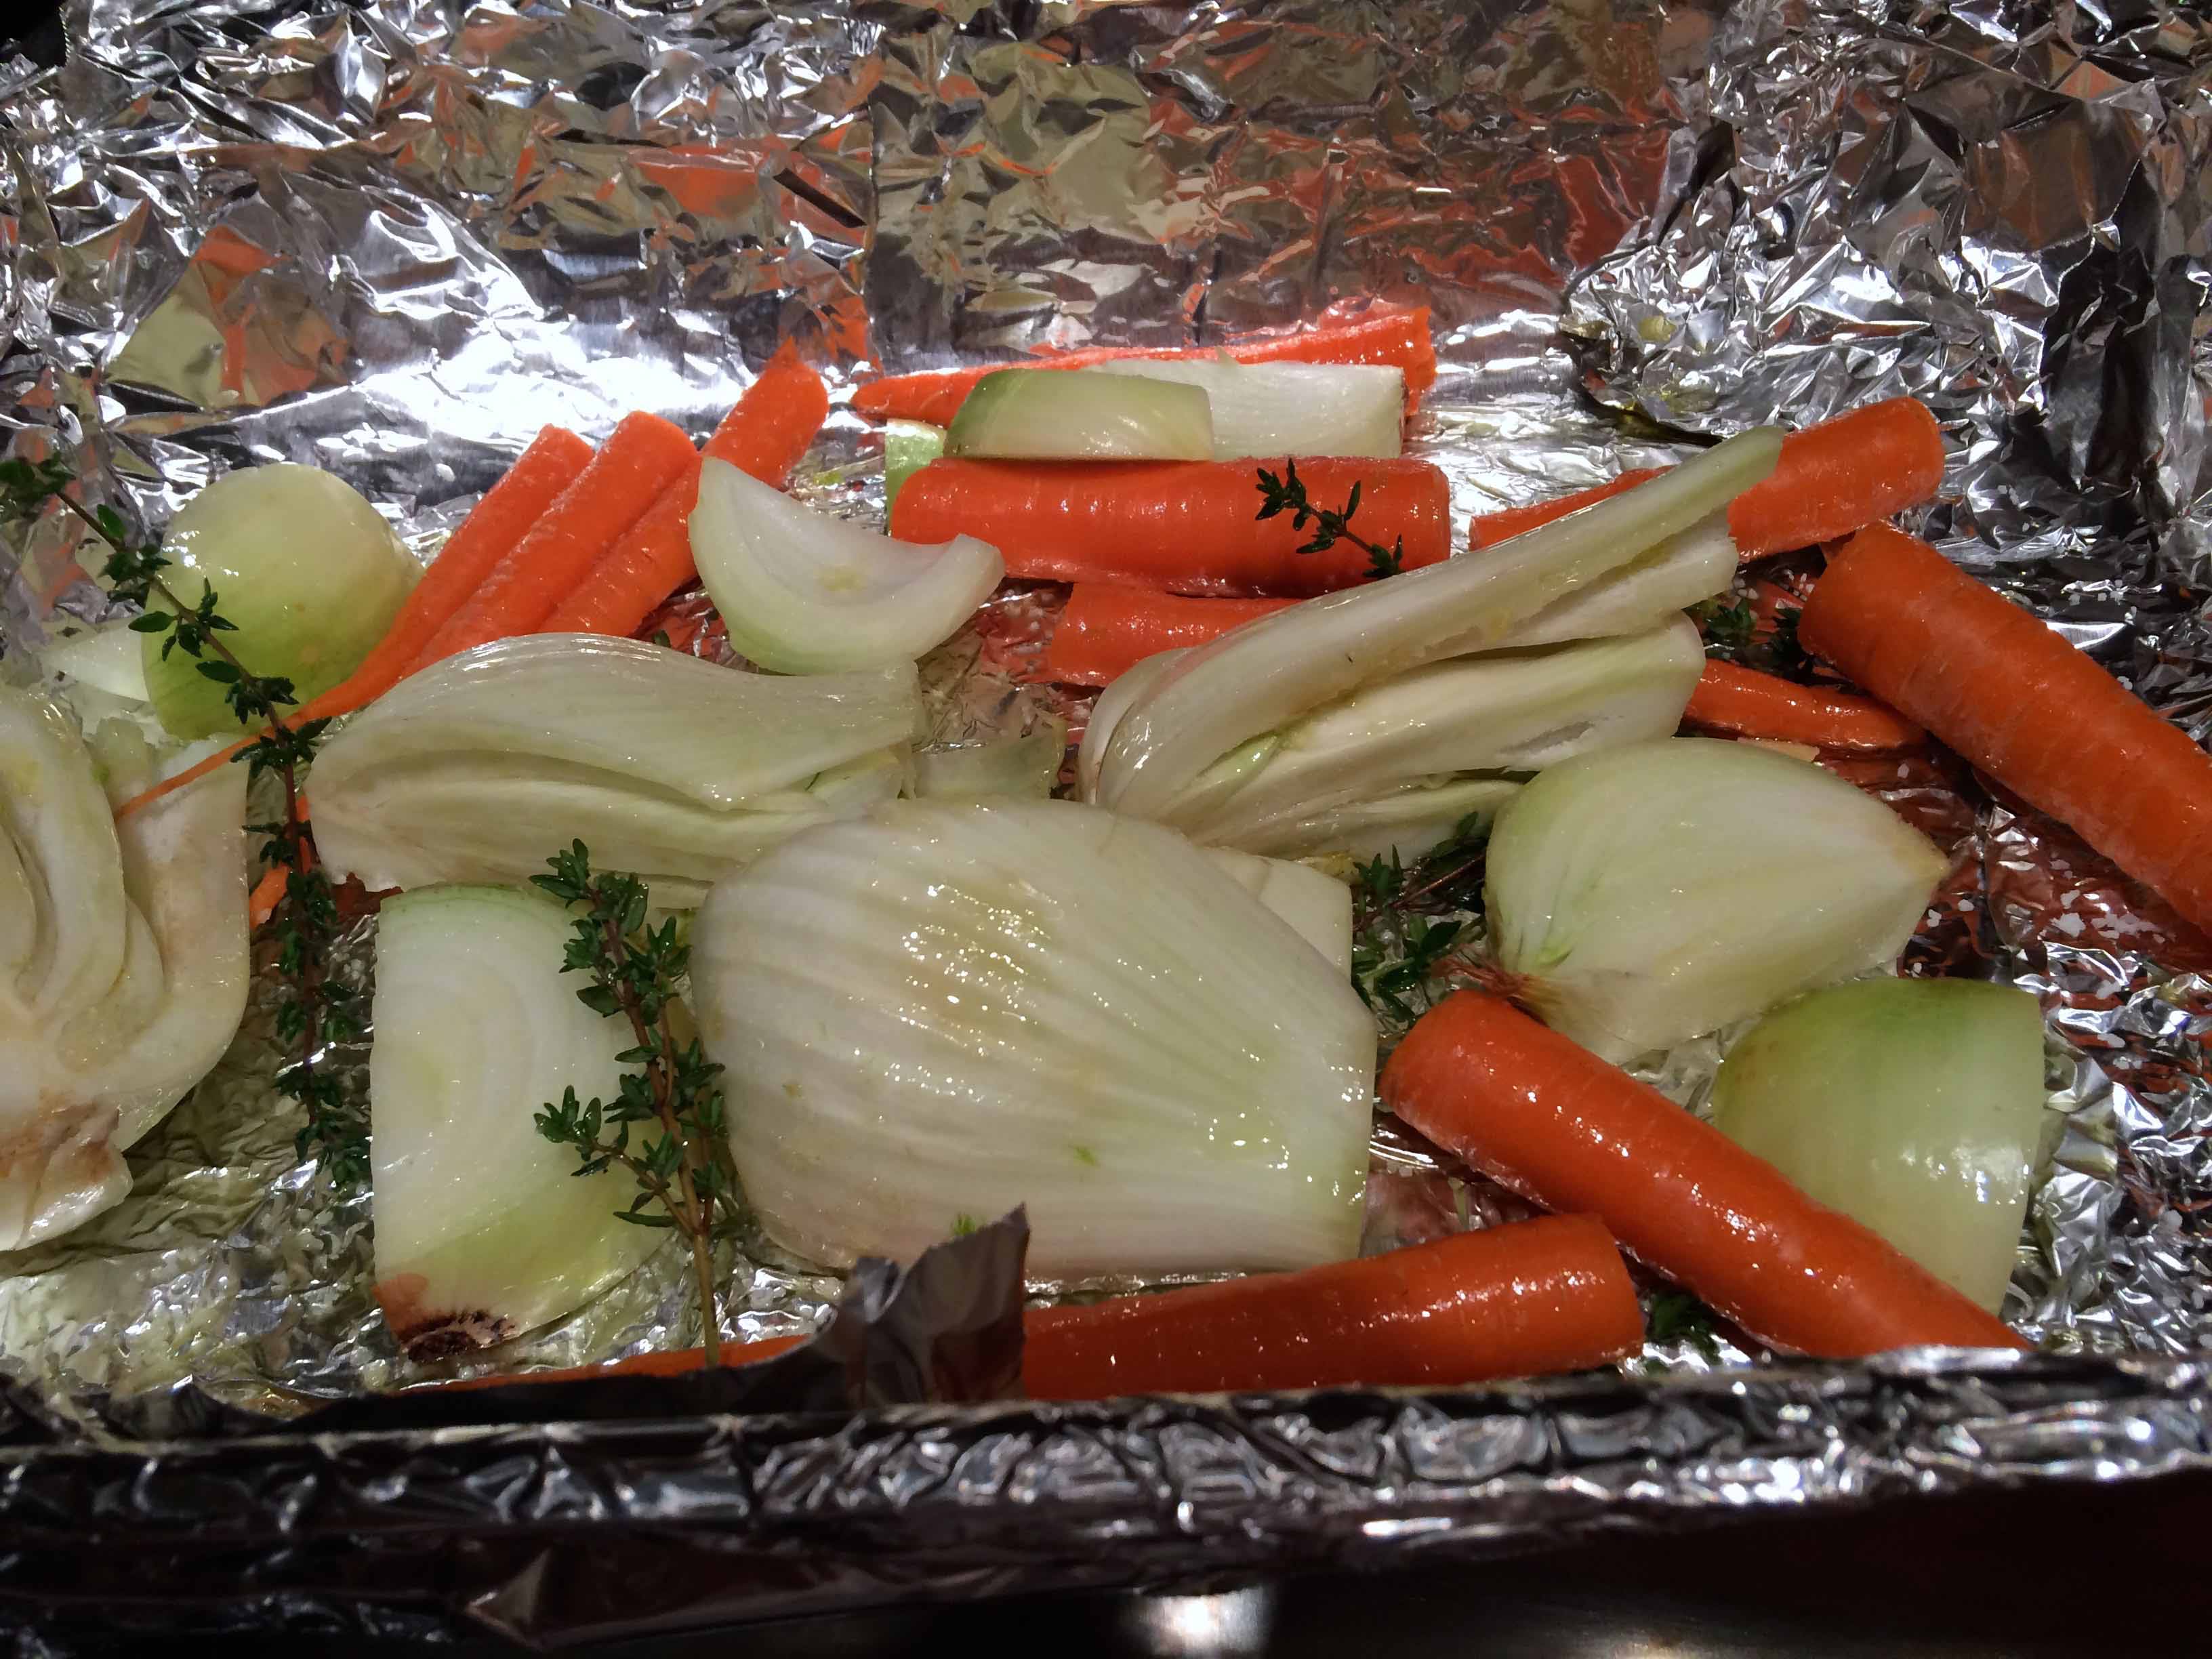
If your budget allows, use a high-quality aged balsamic that is thick and rich. It will contribute to the final glaze. In the past, I’ve made this dish with additional aromatics like onions and carrots but have found that the vegetables dilute the intensity of the sauce.

balribs4sm
Ribs in slow cooker with herbs and sauce


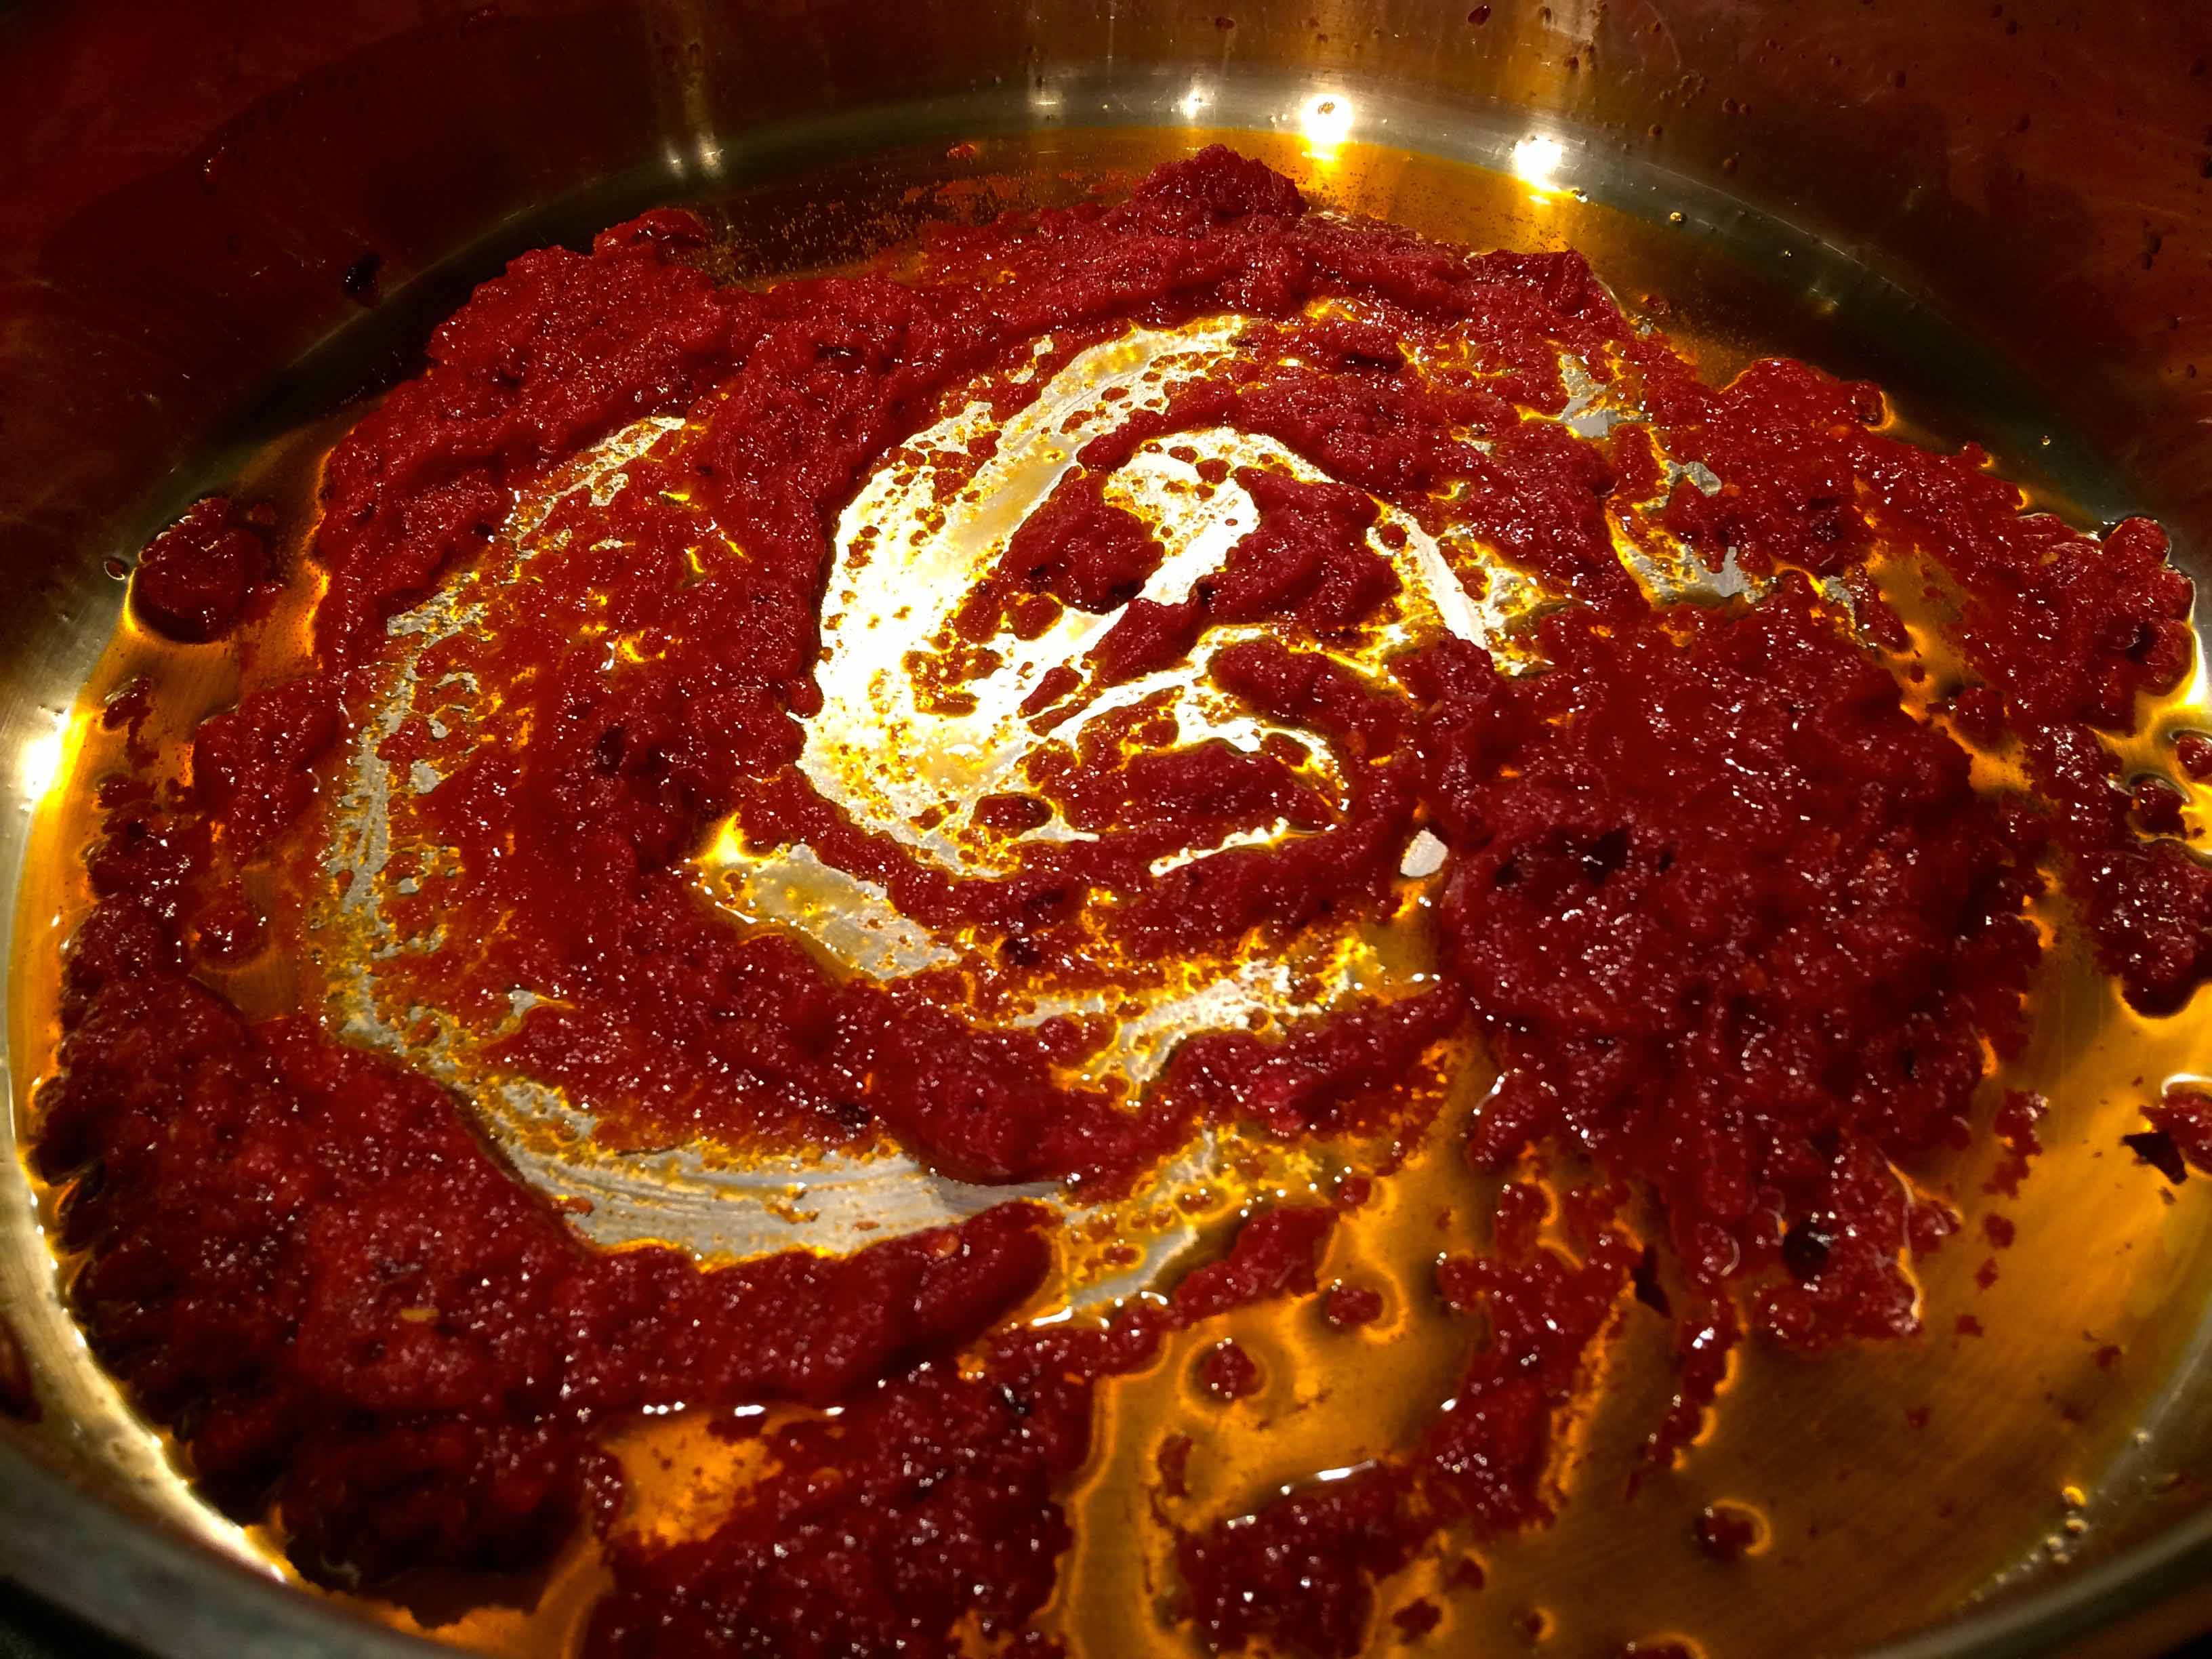
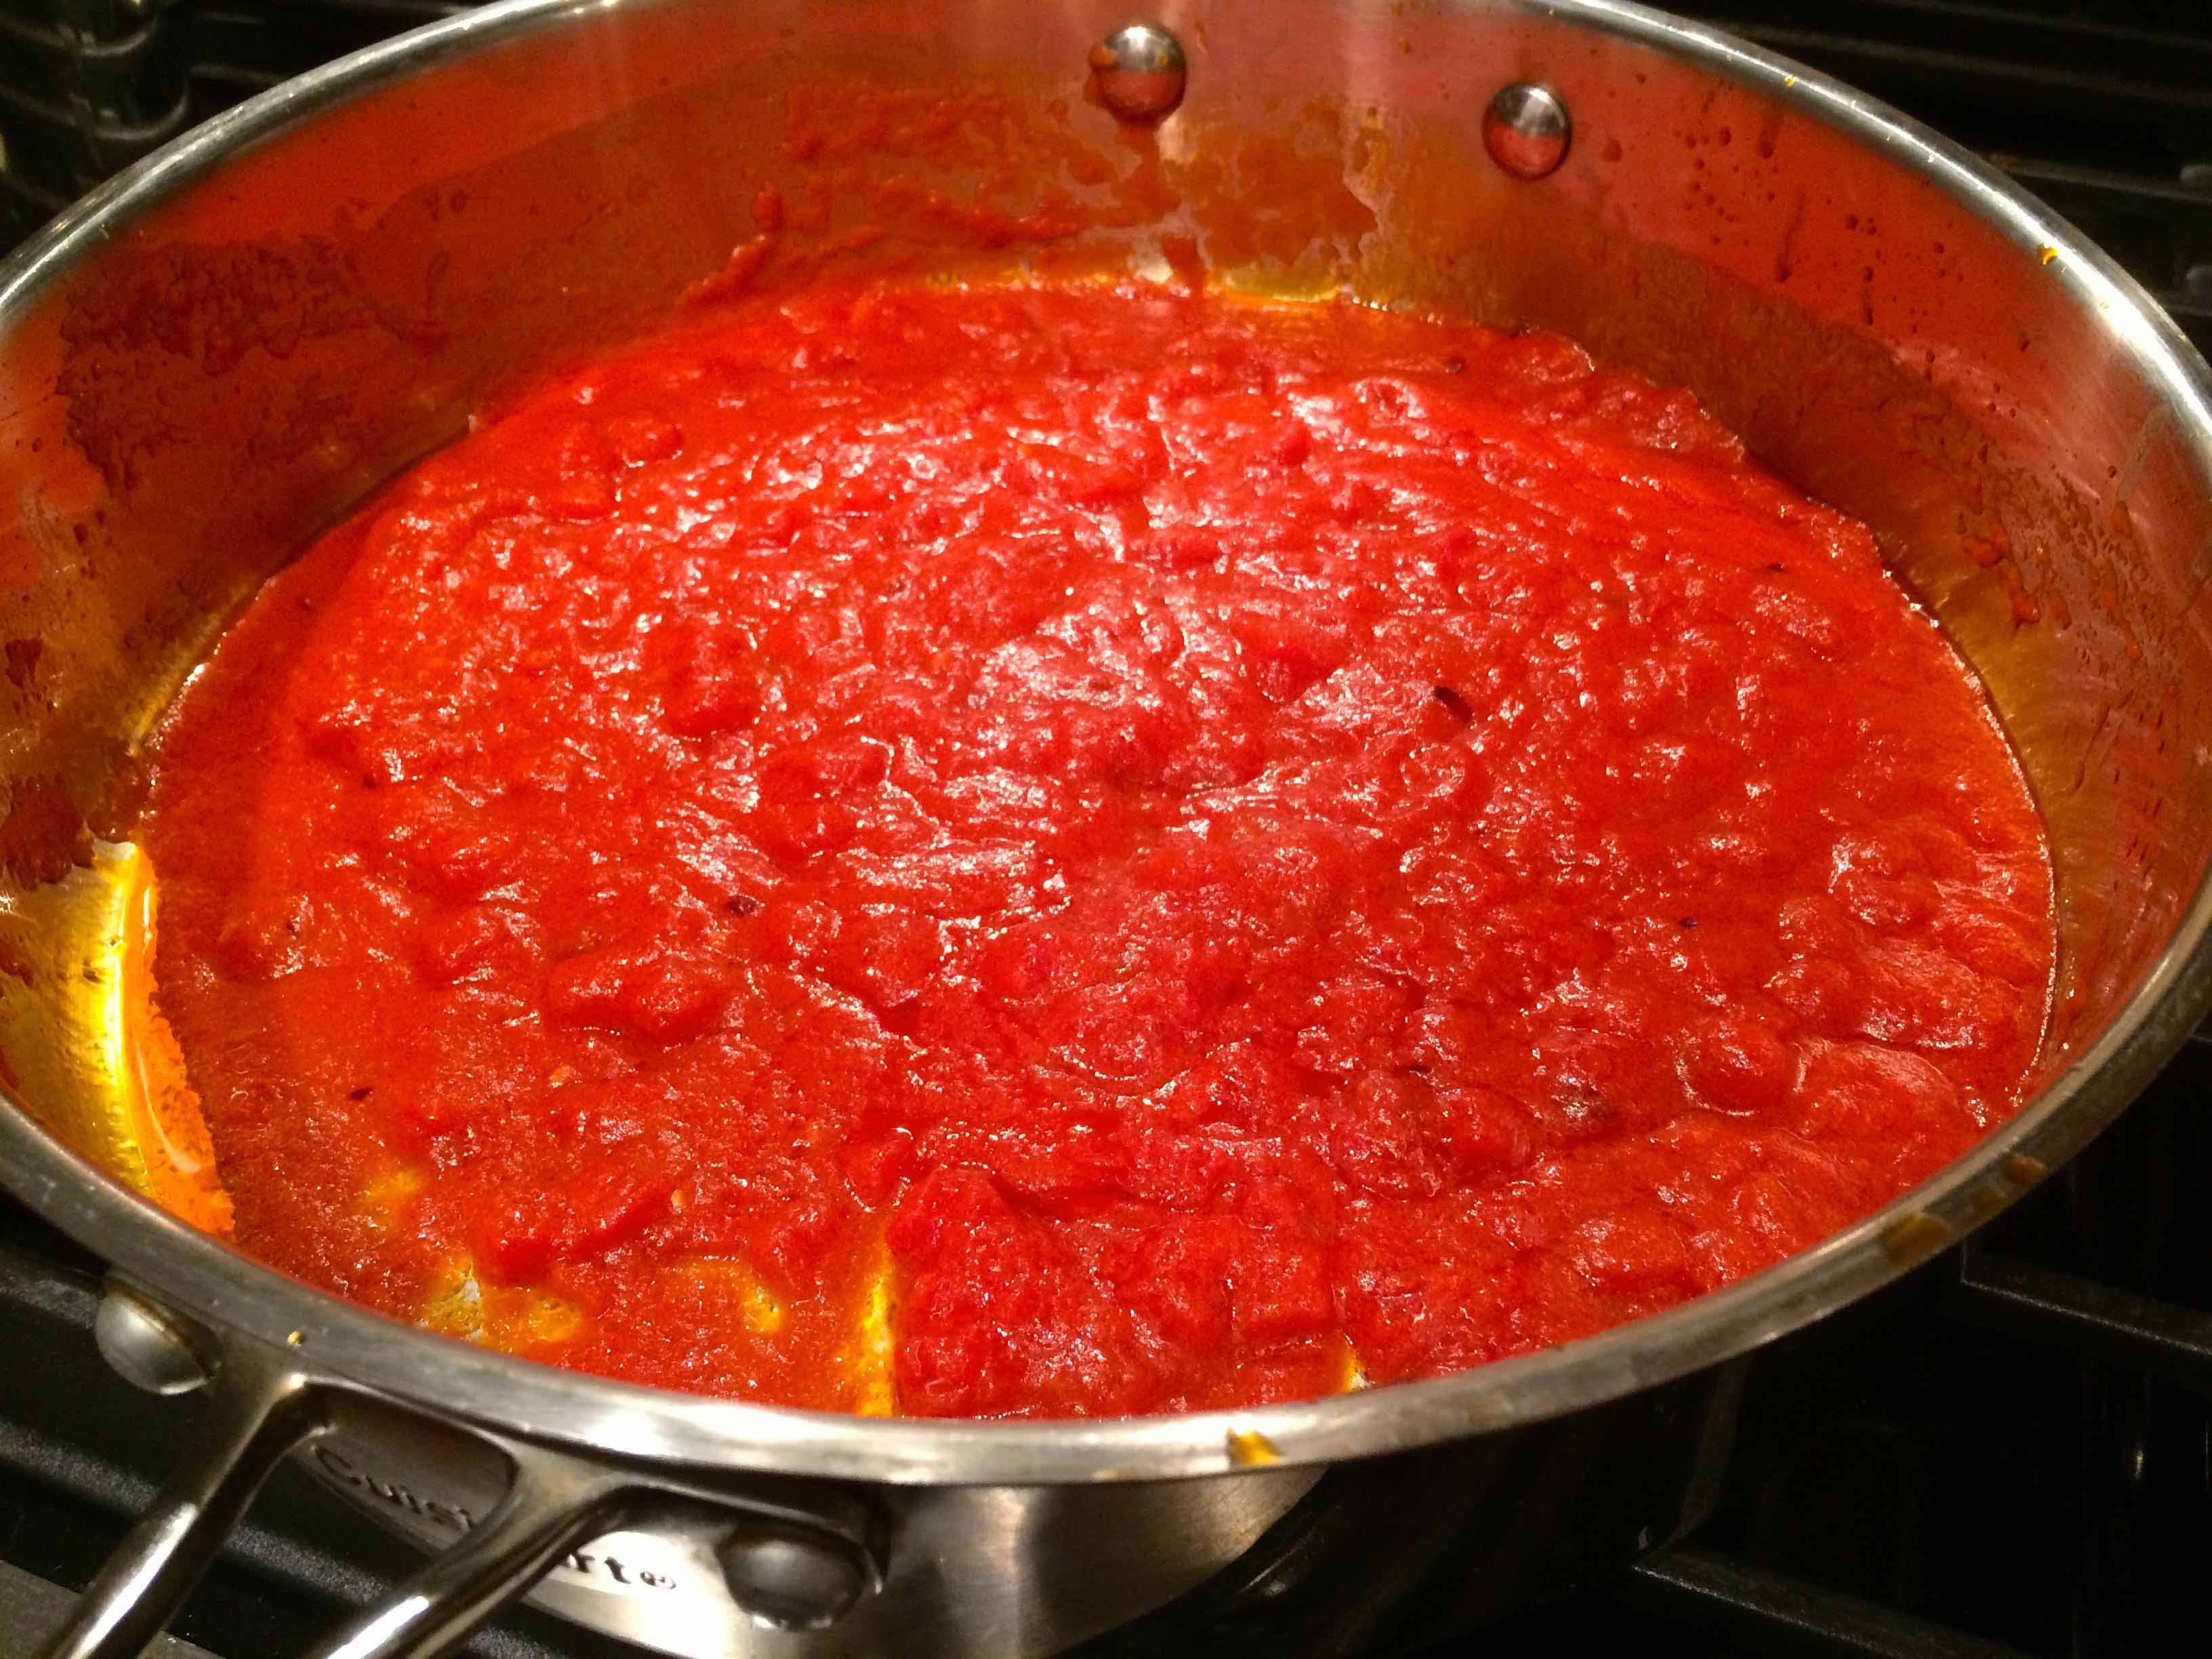
Also take the few minutes required to reduce the wine and balsamic sauce before adding to the slow cooker.

balribs5sm
Finished ribs in slow cooker


Wine Pairing: Nebbiolo, Corvina, Valpolicella Ripasso.

Roast Chicken

garchick4sm

Back in the ’70s, when I was in graduate school, for about a year, on Friday nights, I sometimes served as a shabbos goy at the home of a Jewish friend’s grandmother. Before sunset, we would walk to her apartment on Riverside Drive to join her for dinner, where my duties were simple: turn on the oven and extinguish the candles. Although our conversations would cover a wide array of subjects, ranging from the art criticism of Meyer Schapiro to the politics of Golda Meir, the menu always remained the same: a gefilte-fish appetizer, a Meal Mart roast chicken, and a parve dessert. There was also always a bottle of Kedem, a popular Kosher wine, on the table, which we served in cordial glasses, and I made sure to keep grandma’s glass full, which made our conversations even more lively.

What brought back these fond memories was a roast chicken I prepared the other night based on a recipe from Ina Garten. Somehow, whenever I want simple comfort food that’s not Italian, I turn to one of her books for a recipe, confident that I will get the sought after contentment.

The recipe for this chicken is from Garten’s The Barefoot Contessa Cookbookand can be found here online.

The ingredients
The ingredients

A 5 to 6 pound chicken is seasoned inside and out with salt and pepper and stuffed with a large bunch of thyme, lemon halves, and a sliced head of garlic. Although the recipe calls for brushing the chicken with butter, I prefer to use extra-virgin olive oil.

The oiled and seasoned vegetables

The legs of the chicken are then tied together with kitchen string, another step which I skip, as I think the bird cooks, although less aesthetically, more evenly. The chicken is them placed atop a bed of thickly sliced fennel, carrots, and onion, when are tossed with olive oil, salt, pepper, and thyme.

The stuffed bird
The stuffed bird

All are roasted for about an hour and a half in a 425°F oven.

If you choose to make this recipe, you may want to continue the roast the vegetables, after the chicken is done and while it is resting covered, for another 10 minutes or until roasted to your liking.

Wine Pairing: A Cru Beaujolais, Syrah

Seared Scallops

searscallopsplatedsm

All too often, when dining out, I find myself ordering seared scallops and I wind up being dismayed at how much such a simple dish costs. Granted, sea scallops in the market are quite expensive, but why pay so much in a restaurant for something that is so simple and quick to prepare at home.

Last Friday, I made them for the first time at home and thought they were as good as almost any I had ever had out. The key to searing them correctly is patience: leave them alone after they hit the pan. Don’t move them or shake the pan. Just let them take on a nice sear, which they will after approximately 3 minutes. Then flip them and do the same: nothing, but wait maybe another 2 or 3 minutes.

Sautéed Sea Scallops
2 tablespoons extra-virgin olive oil
3 tablespoons unsalted butter
8 large sea scallops (about 1 pound), abductor muscle removed
Kosher salt
Freshly ground black pepper
1/4 cup dry vermouth
2 tablespoons finely chopped onion
2 tablespoons finely chopped parsley
zest of 1 small lemon
Season the scallops with salt and pepper.

The ingredients
The ingredients

Make sure to dry the scallops thoroughly with paper towels. If they are wet, they will not brown.

Heat 2 tablespoons of oil and 1 tablespoon of butter in a pan over medium high. When the butter stops sizzling, place the scallops vertically in the pan, leaving some space between each one. Use a 10” or 12” skillet to avoid overcrowding. As scallops have a tendency to stick, this is one time I recommend using a non-stick pan.

Scallops seared first side

When the first side has seared and browned, after about 3 minutes, turn them over to the other side and cook for an additional 2 to 3 minutes, until nicely browned. The scallops should be firm to the touch.

Remove the scallops from the pan and keep warm.

Add the vermouth to the pan scraping up any brown bits that may have stuck to the bottom of the pan. Let the alcohol evaporate, about 1 minute.

The pan sauce
The pan sauce

Add the remaining two tablespoons of butter and the chopped onion. Sauté over medium heat until the onions have softened, about 1 or 2 minutes.

Turn the heat to low and return the scallops and any of their juices to the pan, along with the parsley and lemon zest. Turn the scallops to coat them with the sauce in the pan and serve.

For a professional recipe and instructional video, you may want to follow this link to the Fine Cooking website.

Wine Pairing: Garganega, Soave, Chardonnay

Penne all’Arrabbiata

penarabplatedsmall

At least once a week, especially on those nights that time is limited, we enjoy pasta as a main course. Of course, we have our favorites, but once in a while, I like to try something new. Recently, I’ve started getting the Cooking Newsletter from New York Times and this is where I came across Mario Batali’s recipe for a Roman classic: Penne all’Arrabbiata, or “furious penne.” As its name might lead you to believe, this is a spicy dish and the spice, or “fury” comes from one source: dried red pepper flakes, or peperoncini.

Batali’s recipe calls for a tablespoon of hot-red pepper flakes, but as I use the Calabrian variety, which I believe are considerably hotter than most, I reduce this amount considerably. But let your own palate be the judge. It also calls for 1/2 cup of tomato paste, which is toasted briefly with the peperoncini in olive oil. This makes for an intense tomato flavor, especially if you use the concentrated Italian variety that comes in a tube.

Like many of Batali’s dishes, this pasta is finished with an additional 4 tablespoons of extra-virgin olive oil that contributes a silky texture to the sauce.

I urge you to make this recipe; it’s simple, quick, and well, just delicious.

1. Toast the tomato paste and peperoncini:

Toasting
Toasting

2. Add the chopped tomatoes and remove from heat:

With the chopped tomatoes

3: Add the cooked pasta, some reserved pasta water, and toss over medium heat. Finish with olive oil.

The finished pasta
The finished pasta

Wine Pairing: Frascati, Montepulciano d’Abruzzo

Italian Roast Chicken with Peppers and Olives

ircplatedsmall

There’s something about Nigella Lawson. I can’t put my finger on it, but I can watch her cook for hours, even replaying her shows, and never get bored. Yes, she’s probably the most attractive TV chef around, but she brings more than good looks to the table. As she sashays through her kitchen with a just a hint of insouciance, she describes her dishes so sensuously that your mouth waters. And when she cooks, Italian, well…be still my palate.

Most recently, I watched her making an Italian roast chicken with peppers and olives accompanied by a saffron orzotto. The chicken is cooked untrussed in a roasting pan, stuffed with a half of lemon and rosemary, atop sliced red, yellow, and orange peppers, leeks, and pitted black olives. Everything is drizzled with olive oil and seasoned simply with sea salt and freshly ground black pepper. A few more sprigs of rosemary are tossed in with the sliced vegetables.

Oven-ready chicken and vegetables

Because the chicken is untrussed, it cooks rather quickly in a 400°F oven for about an hour or an hour and a quarter. As the chicken, or as Lawson calls it “my burnished bird,” rests, the vegetables continue to roast for another 10 minutes.

The "burnished bird"
The “burnished bird”

Lawson accompanies this succulent chicken with a saffron orzotto, an easy alternative to a risotto Milanese. I prepared it for two and used a half cup of pearled barley (orzo in Italian).
Heat 1 cup of chicken stock and add about a 1/4 teaspoon of saffron threads. Keep it warm.

Finely chop a banana shallot and cook it over medium heat in a couple of tablespoons of olive oil. When the shallot has softened, in about 5 minutes, add the barley, stirring to thoroughly coat the grains with the oil for about 1 minute.

Add the stock, cover, reduce the heat to low and simmer for about 30 minutes or until the barley is cooked. At the end, stir in some freshly grated Parmigiano-Reggiano and serve.

The finished vegetables

There is nothing difficult about this menu. The multicolored vegetables and the golden orzotto alongside the burnished chicken make for a colorful presentation.

Here’s a link to the original recipe on Lawson’s Website.

Pasta Stuffed Peppers

stuffedpplatedsmall

When it comes to cooking, I react to the word “vegetarian” as a vampire would to “garlic.” Fortunately, I just purchased Michele Scicolone’s The Italian Vegetable Cookbook

This richly illustrated volume has 200 recipes for a wide variety of dishes including antipasti, soups, pasta, main dishes, and even desserts. My only regret is that I didn’t have it for the summer months, when so many vegetables are widely available and at their best.

Scicolone is a prolific writer who has produced at least a dozen books on Italian cooking and has earned a well deserved reputation for recipes that work. This weekend I decided to make one of her main course dishes for some friends: Pasta-Stuffed Peppers.

Red and yellow bell peppers are hollowed out and filled with small pasta like ditalaini that is mixed in a savory sauce of tomatoes, garlic, capers, anchovies, and olives. The peppers are then covered with their tops and baked in a moderate oven until the peppers are tender, about 45 minutes.

Here is a link to her recipe online on Food Republic. Although the recipe claims to serve 6, your guests, as did mine, may find that just one of these delicious peppers is not enough. Below is my illustrated version of the recipe.

1. Prepare and assemble the ingredients: peppers, tomatoes, garlic, black olives, anchovies, capers, and dried oregano

The prepped ingredients

2. Heat the oil and garlic and cooke the tomatoes seasoned with oregano:

Cook the tomatoes
Cook the tomatoes

3. Add the savory components: olives, capers, anchovies and season with salt and pepper.

The savory components

4. Add the cooked small pasta to the sauce before filling and baking the peppers.

Sauce the cooked pasta before filling the peppers

5. Bake in a 375ºF oven. Be sure that your peppers are tender; it may take a tad more than the suggested 45 minutes.

Wine Pairing: Chianti Montalbano, Falanghina

Grilled Tuna. . .Again?

tunamarsmall

I know that this is my second posting on grilled tuna in one month’s time. However, the other night I decided to abandon the soy-based marinade from Mark Bittman, which I’ve used for years, for one made with Marsala. While the former marinade yields a meaty-tasting tuna steak, the latter wine-based one is happy to play a supporting role and allow the lush flavor of the tuna to take precedence.

I used equal amounts of extra-virgin olive oil and dry Marsala to make the marinade and allowed the fish to marinate for about 30 minutes before putting it on a hot grill pan. I cooked the 3/4-pound yellowfin-tuna steaks, a little more than an inch thick, grill on the first side for 5 minutes seasoning them lightly with salt and freshly ground black pepper. I then turned them and allowed them to cook for about another two minutes, leaving a pink, almost sushi-style middle. While cooking, I basted the steaks with the marinade.

A pink, almost sushi-style center

I enjoying experimenting with my favorite recipes; sometimes, I fail and other times, I succeed. This time, I undoubtedly succeeded.

I served the fish with fresh spinach sautéed in olive oil and garlic and accompanied by a spectacular 2013 Domaine de Robert Morgon. This young fruit-forward cru Beaujolais was the perfect pairing for the rich tuna.

Wine Pairing: Morgon, Pinot Noir, Cotes du Rhone

Duck Breast with Sauternes and Golden Raisins

duckplatedsmall

I’ve always enjoyed duck, but for some odd reason I rarely prepare it at home. I’ll keep saying we’ll have it for dinner sometime soon, but that sometime never seems to come. But yesterday afternoon, I saw fresh duck breasts at a nearby market and grabbed them. The die was cast: we were having duck for dinner.

Duck breast, sometimes referred to as magret, is relatively easy and quick to prepare. They can be prepped and cooked in about 30 minutes. What’s more, the fat that’s rendered while browning the skin can be used for a side of thinly sliced potatoes. And the pan sauces that can be prepared from the fond at the bottom of the pan are countless.

My source for this recipe is from two Wine Spectator videos that are available online.The original recipe uses a blueberry and red-wine sauce, but not having any blueberries on hand and perhaps being a little lazy, I chose to make a simple pan sauce with some French Sauternes and golden raisins.

Duck Breasts with Sauternes and Golden Raisins Adapted from The Wine Spectator

2 fresh duck breasts, each about 3/4 pound
Kosher salt
Freshly ground black pepper
1 cup, approximately, Sauternes
1/2 cup, approximately, golden raisins

For the potatoes:
2 baking potatoes, peeled and sliced 1/4-inch thick
Italian parsley 1/2 cup chopped
1 large garlic clove, minced
Duck fat from cooking breasts

1.    With a sharp knife, score the skin of the duck breasts making the squares as small as possible without cutting into the meat.

Scored duck breasts
Scored duck breasts

2.  Season the breasts on both sides with salt and pepper.

3.  Place scored breasts in a cold skillet with the skin side down. Turn heat on to medium- or medium-low heat. Cook gently for 8 minutes, rendering the fat. Drain off most of the fat before it browns, reserving fat in the frying pan that you’ll use for the potatoes.

4. Cook the breasts on medium-high for 4 minutes or until the skin side is well browned and crispy. Then flip the breasts over and cook skin side up on medium heat for 8 minutes.

The breasts browned
The breasts browned

5. Remove the breasts from the pan and cover loosely with foil to keep warm and set aside.

6. As the breasts are cooking, turn up the heat on the pan with the duck fat and, when it is hot, add the potato slices. Make sure the pan is not overloaded; the slices should fit loosely. About 30 seconds before the potatoes are finished, add the parsley and the garlic. The potatoes are best served as soon as they are done.

The potatoes cooked in duck fat

7. While the potatoes are cooking, make the pan sauce. Drain all but a tablespoon of the fat from the pan in which you cooked the breasts.

8. Turn the heat to medium and deglaze the pan with about a cup of the Sauternes, scraping up the brown bits from the bottom of the pan. Toss in about a cup of the golden raisins, raise the heat to medium high, and reduce the sauce, stirring for 2 to 3 minutes.

The Sauternes and golden raisin sauce

9. Slice breasts in 1/4″ slices. Lay slices on warm plates in a fan. Place the potatoes on the side.

10. Spoon the pan sauce over the meat and serve.

Wine Pairing: Pinot Noir, Chinon

Grilled Tuna

tunagrilledplatesmall

When it comes to pure flavor, I’d have to say that tuna, raw or cooked, is my favorite fish. As a true beef lover, I find tuna the perfect substitute when trying to eat healthy. Because I truly enjoy the flavor of this fish, I like to prepare it with a minimum of ingredients and cook it as simply as possible.

My go-to recipe for this “king of the sea” is “Basic Grilled Tuna” in Mark Bittman’s Fish: Fish: Complete Guide to Buying and Cooking.

The recipe calls for marinating a thick tuna steak (1.5 to 2 pounds) in a high-quality soy sauce and olive oil marinade for an hour or less and then grilling it on a hot grill or under a broiler, and basting occasionally with the marinade. After five minutes, the steak is turned and you start checking for doneness by cutting into the steak with a thin-bladed knife.

He warns that tuna should not be cooked to the well-done stage as it will continue to cook after its removed from the heat.

tunagrilledsmall
After the first turn

The first time I prepared this recipe, I overcooked my tuna. Now I turn my fish after about 3 minutes on a hot grill pan and then cook it for about 2 minutes on the other side. Rather than using a knife, I keep my eye on the sides of the steak and remove them before the rare middle is cooked. You can see the band of “rare” tuna in the photo above.

Although Bittman provides a recipe for an optional ginger-soy dipping sauce, I prefer to serve the tuna plain with a drizzle of extra-virgin olive oil and a lemon wedge.

Wine Pairing: Pinot Noir, Sauvignon Blanc

Roast Chicken Stuffed with Zucchini and Cheese

moultchicendsmall

Back in the day when the Food Network seemed to care more about food than personalities and featured cooks who could teach rather than stars who entertain, Sara Moulton was one of my favorites. Her style was similar to Julia Child’s: instructive and encouraging.

This past weekend, I was happy to discover that she has a new show on PBS, Sara’s Weeknight Meals. I watched her prepare a roast chicken stuffed under the skin with zucchini and cheese with such nonchalance that I had to make it myself. I thought it would be perfect for supper on Rosh Hashanah, the start of the Jewish New Year.

Roast Chicken Stuffed with Zucchini and Cheese Adapted from Sara’s Weeknight Meals

1 medium zucchini (about 1/2 pound), grated coarsely, about 2 cups
Kosher salt
1/2 medium onion, chopped fine (about 1/2 cup)
2 tablespoon extra virgin olive oil
1 garlic clove, chopped fine (about 1 teaspoon)
1 teaspoon fresh thyme, chopped fine
1 1/2 oz Parmigiano-Reggiano, grated
2 slices firm white bread, pulsed in food processor or blender to make 1 cup of fine crumbs
1/4 cup whole milk ricotta
Freshly ground black pepper
One 3 1/2 pound chicken

Directions
1. Position a rack in the middle of the oven and preheat the oven to 450°F.
2. Toss the zucchini with ¼ teaspoon salt and set it aside in a strainer to drain for 15 minutes.
3. Heat 1 tablespoon olive oil in a large skillet over medium heat until hot. Add the onion and cook for 6 to 8 minutes, or until it is golden. Add the garlic and cook for 1 minute more.

moultonchickzuchsmall
The zucchini with the onions

4. Squeeze the zucchini by small handfuls to remove excess liquid. Discard the liquid and set the zucchini aside.
5. Stir the thyme and well-drained zucchini into the skillet and sauté for 2 minutes over medium heat; transfer the mixture to a medium bowl and set aside.
6. Add the bread crumbs, the Parmigiano-Reggiano, the ricotta, and 1/4 teaspoon pepper to the zucchini mixture. Add salt to taste.

The finished stuffing

7. Place the chicken, breast-side up in a shallow roasting pan or skillet. Gently slide your fingers under the breast skin and loosen the skin on the breasts and thighs. Do this slowly to avoid tearing it. Rub the skin with the remaining 1 tablespoon olive oil and season with salt and pepper.
8. Using your fingers, stuff and spread the zucchini mixture evenly under the loosened skin of the chicken.
9. Truss the legs of the chicken loosely with kitchen string.

Trussed and stuffed
Trussed and stuffed

10. Roast the chicken for 10 minutes. Reduce the oven temperature to 375°F and roast the chicken for 20 minutes. Cover the chicken loosely with foil and roast for 25 to 30 minutes more, or until a meat thermometer inserted into an inner thigh registers 165°F.
11. Remove the chicken from the oven and set it aside for 10 minutes before carving.

Here’s a link to the original recipe: Roast Chicken Stuffed with Zucchini and Cheese. It has a recipe for an optional sauce and suggests accompaniments.

Wine Pairing: Chardonnay, Pinot Noir