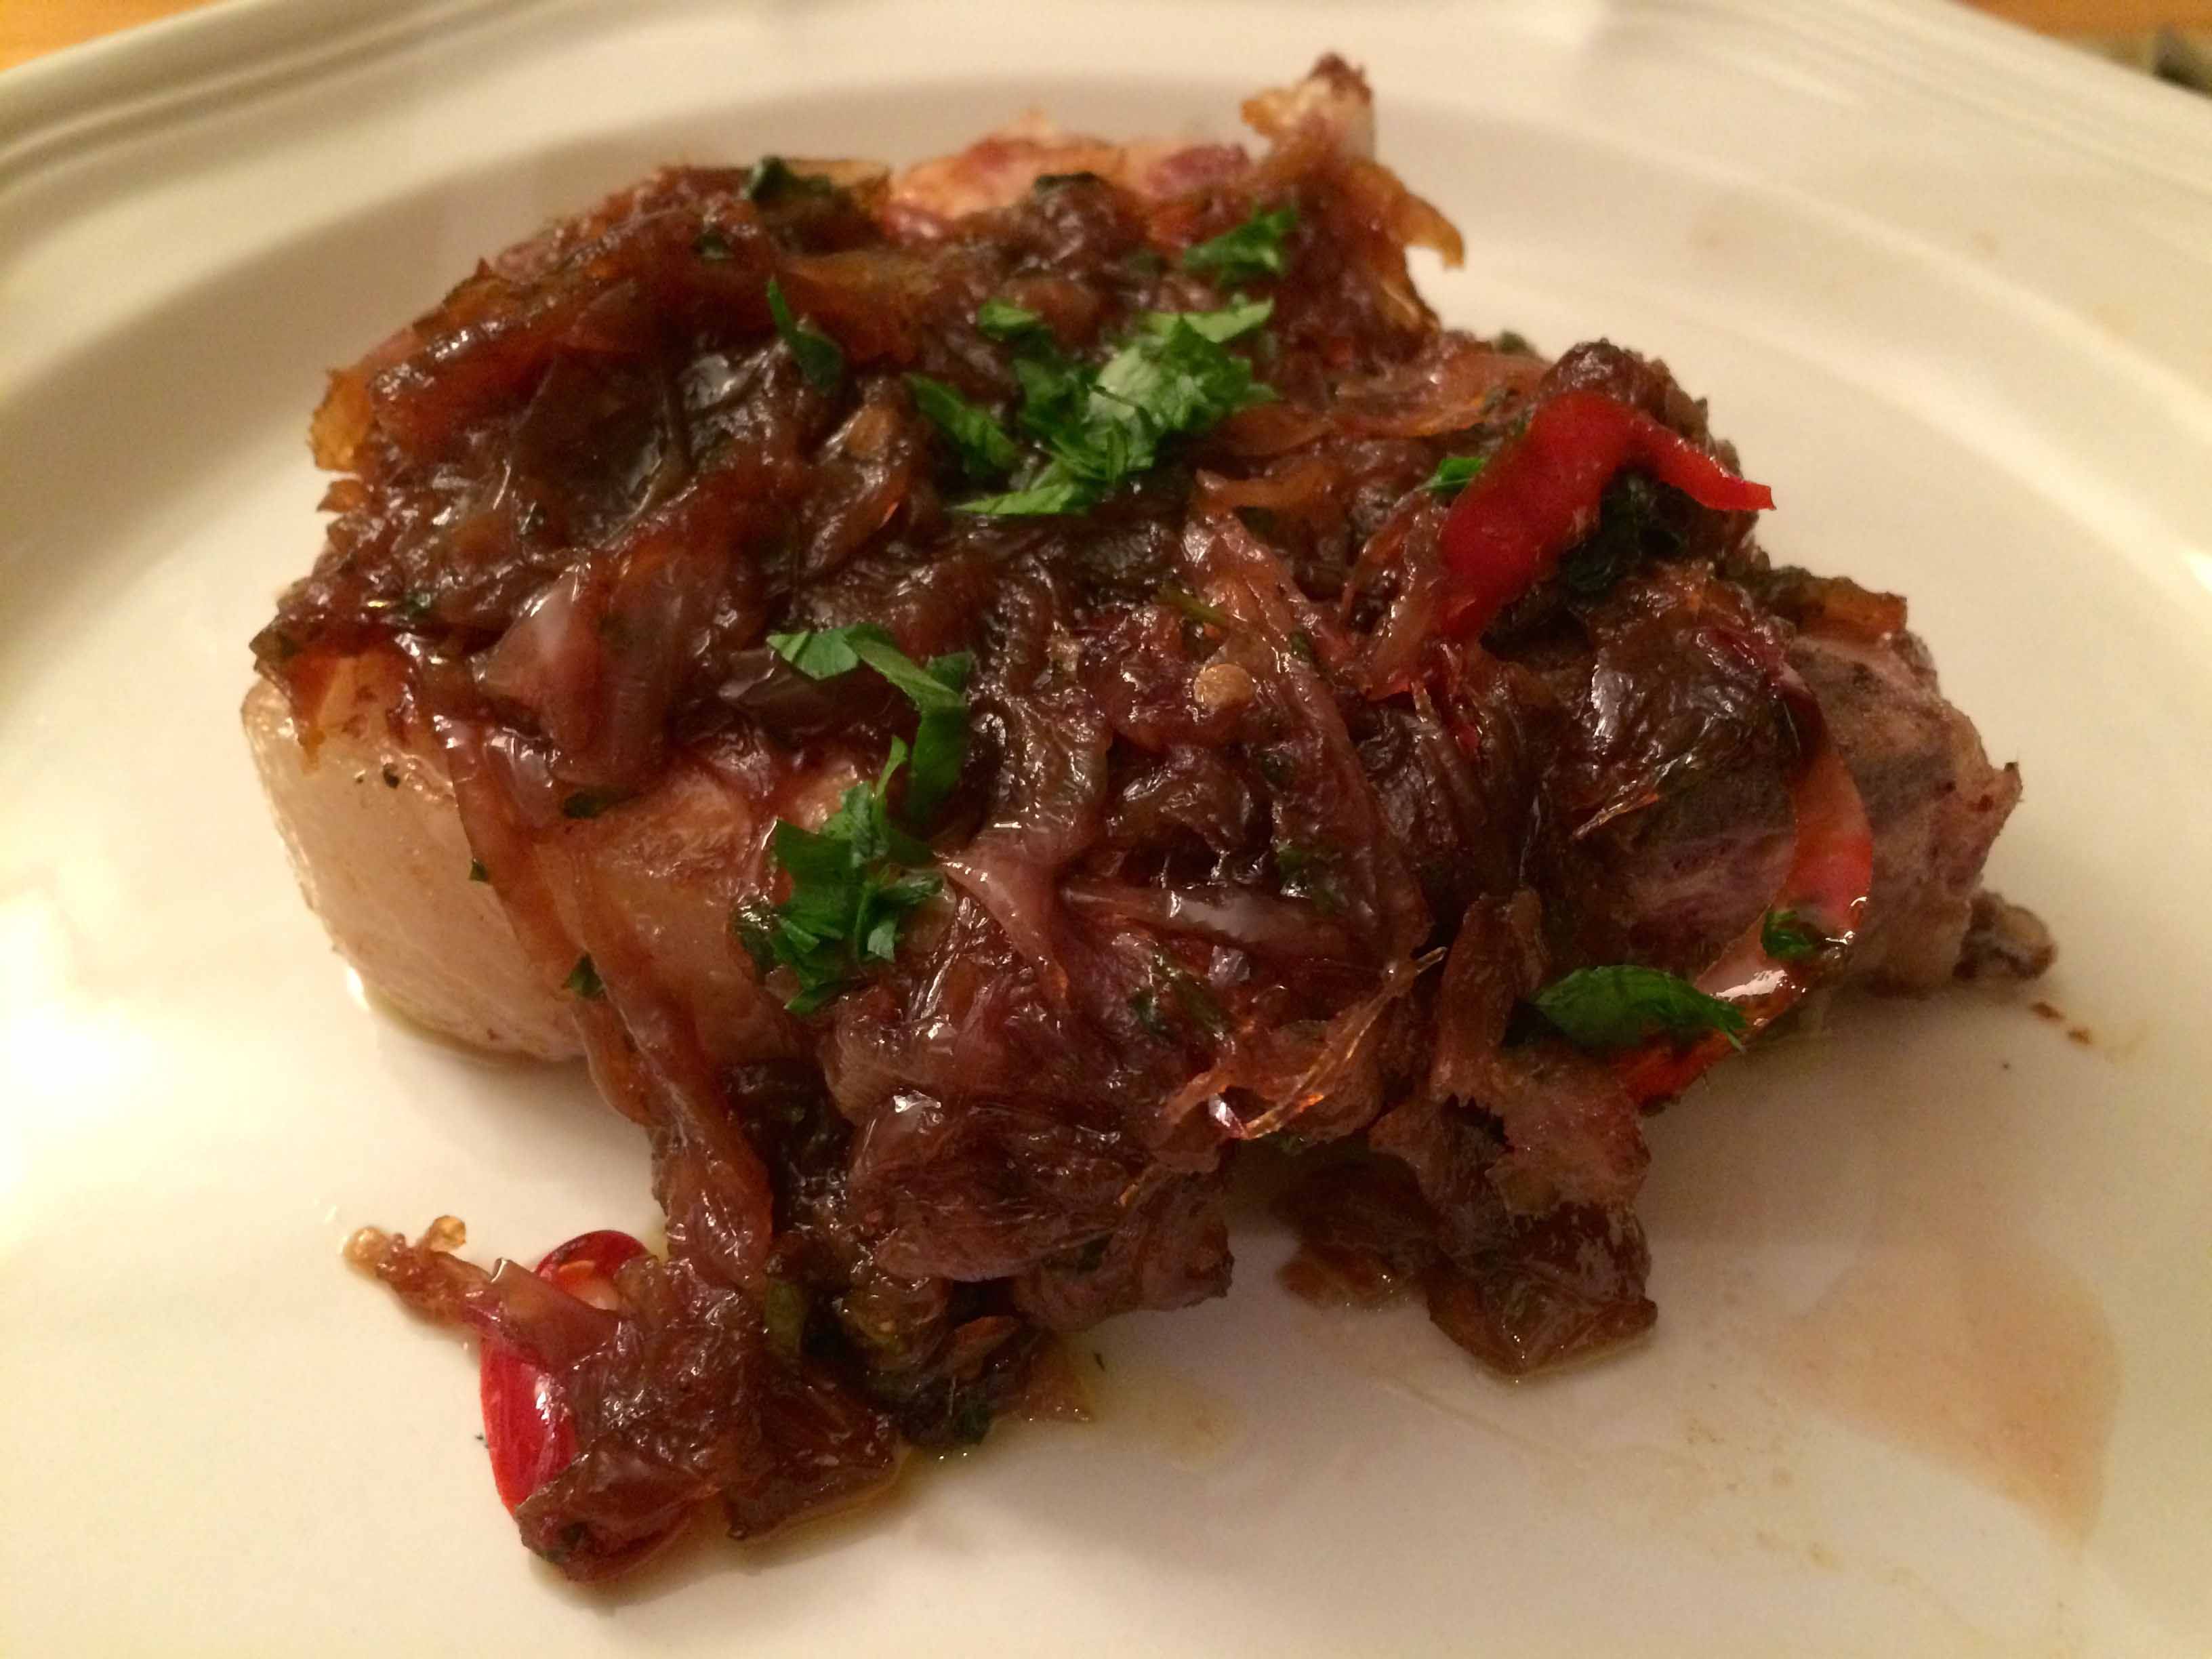
With a distinctive chill in the air, yesterday seemed to be a harbinger of fall. In fact, it was so chilly last night, that we took supper indoors for the first time since May. Fortunately, earlier in the day, I had found a recipe for Tuscan pork chops on John Fodera’s blog, Tuscan Vines, that I was planning to prepare later this year, but with the change in weather, I decided to prepare it now.
John’s recipe tops thick grilled pork chops with what is essentially a marmalade of caramelized onions spiked with some hot chili peppers. The hardest part of the preparation is waiting for the sliced onions to transform into their caramelized goodness and being tantalized by their sweet aroma.
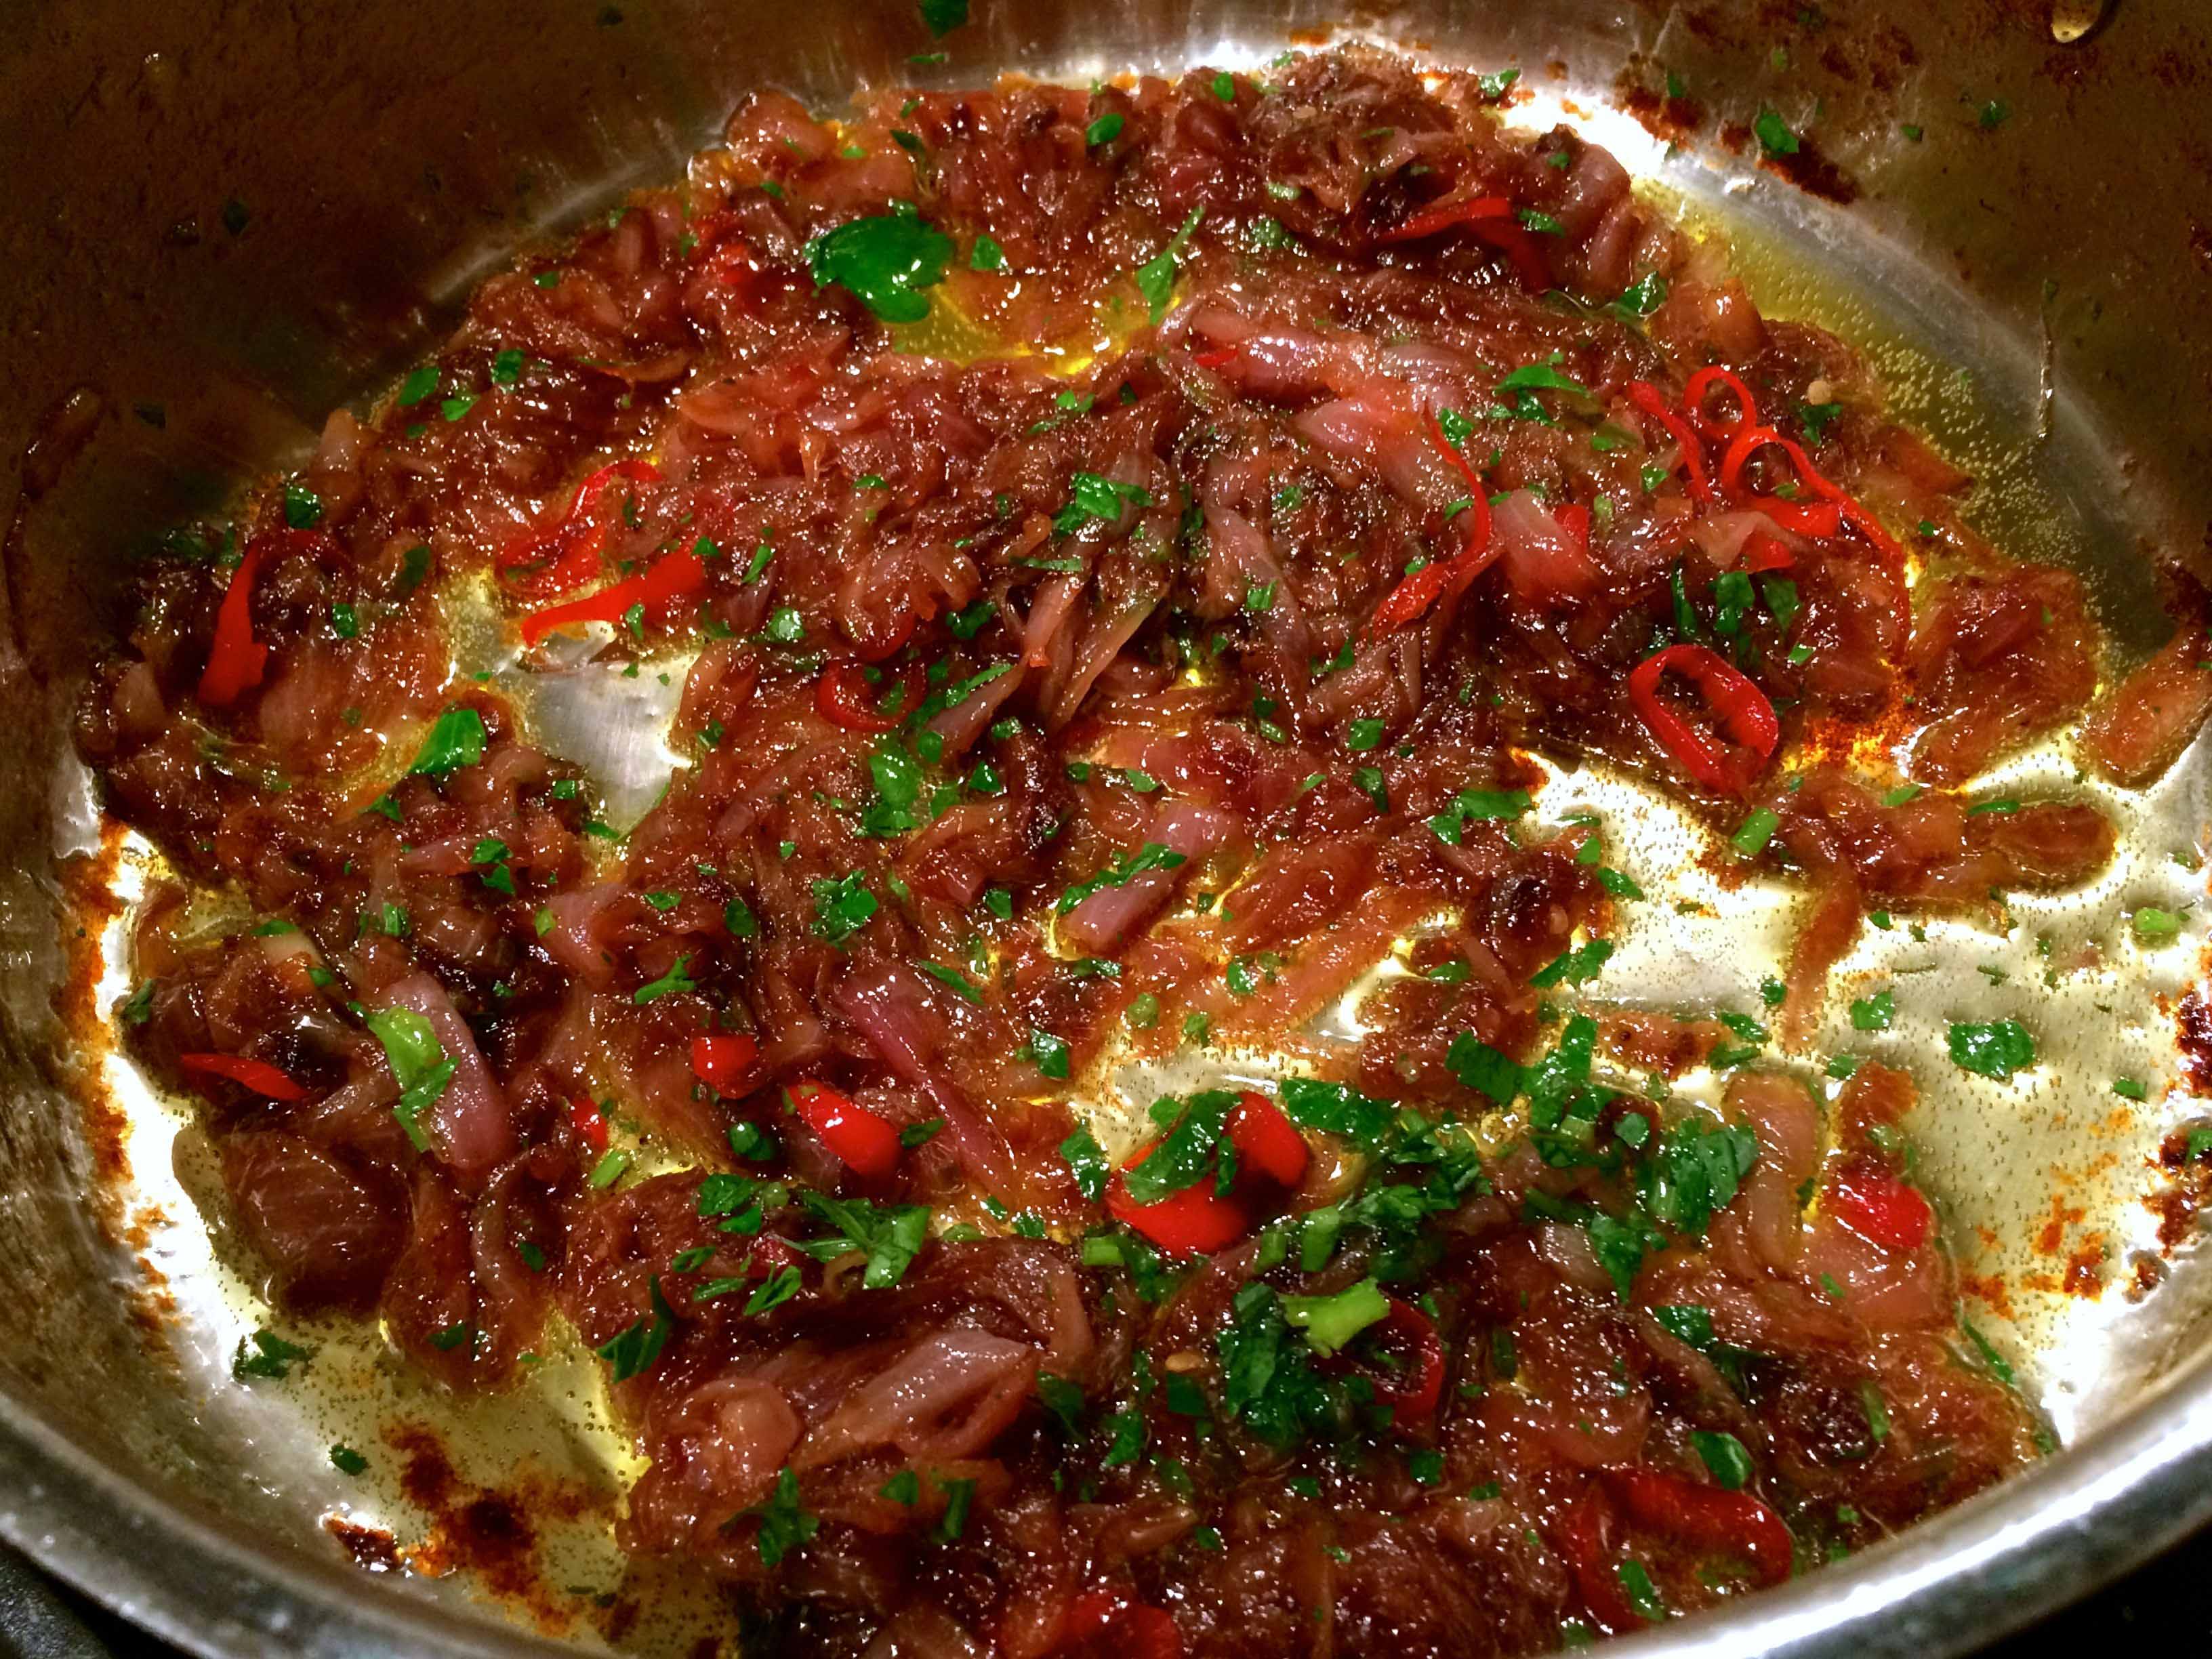
The caramelized onions
I followed the recipe pretty closely, halving the quantities as I was preparing for two. However, I chose to simmer the onions covered for the first 30 minutes of cooking and then browned them uncovered for the last 20 minutes or so. I also toned down the heat using only one chili pepper and I added a teaspoon or so of a thick balsamic vinegar to lend some acidity and complement the sweetness of the sauce.
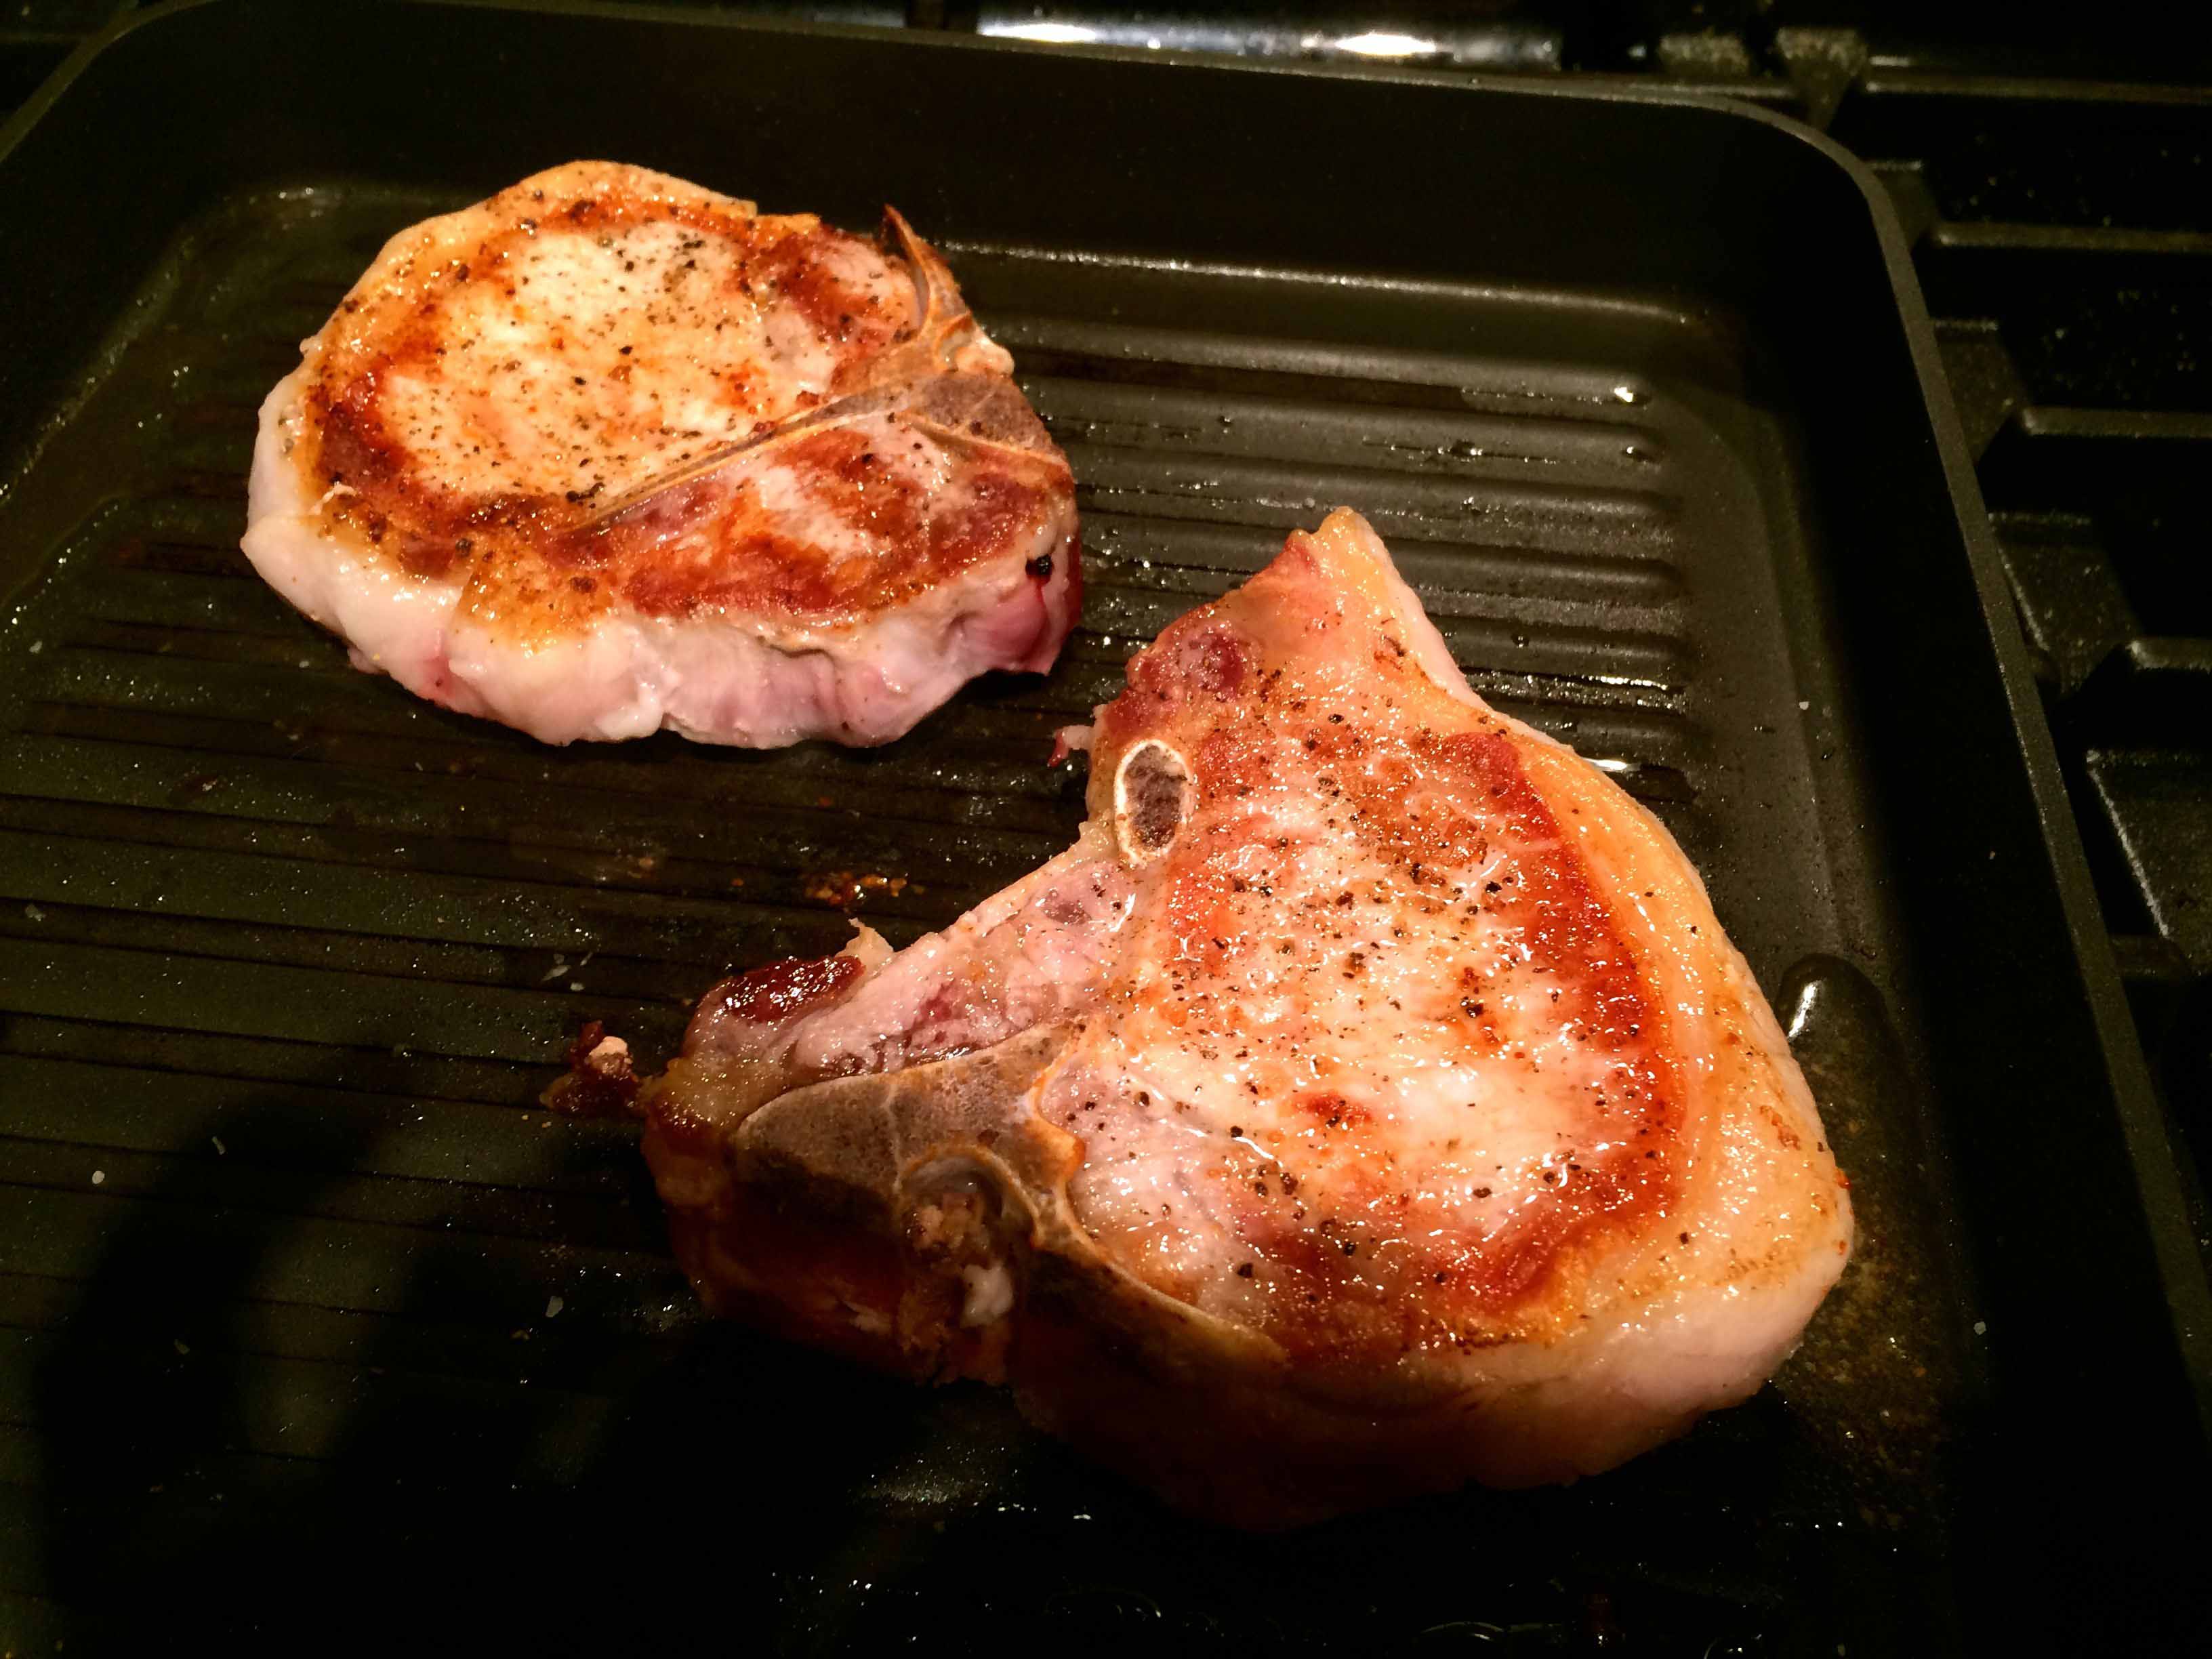
Chops on the grill
If you’re entertaining, you can easily prepare the onions ahead of time and then reheat them gently as you cook the chops. But do not try to rush the onions, otherwise they will taste more burnt than caramelized.
The onions would also make a great topping for steaks, chicken, or even bruschetta.
I’m often asked which is my favorite Italian regional cuisine. And although my heritage is Neapolitan and Sicilian, and I love the hearty cooking of Tuscany, the exquisite dishes of the Veneto, and the aromatic braises of Piemonte, Lazio is my first choice. There’s something of about the earthiness of Roman cooking, its subtle use of spice and herbs, its tantalizing fried plates, and incomparable pastas that bring be back for visits either by traveling or by cooking.
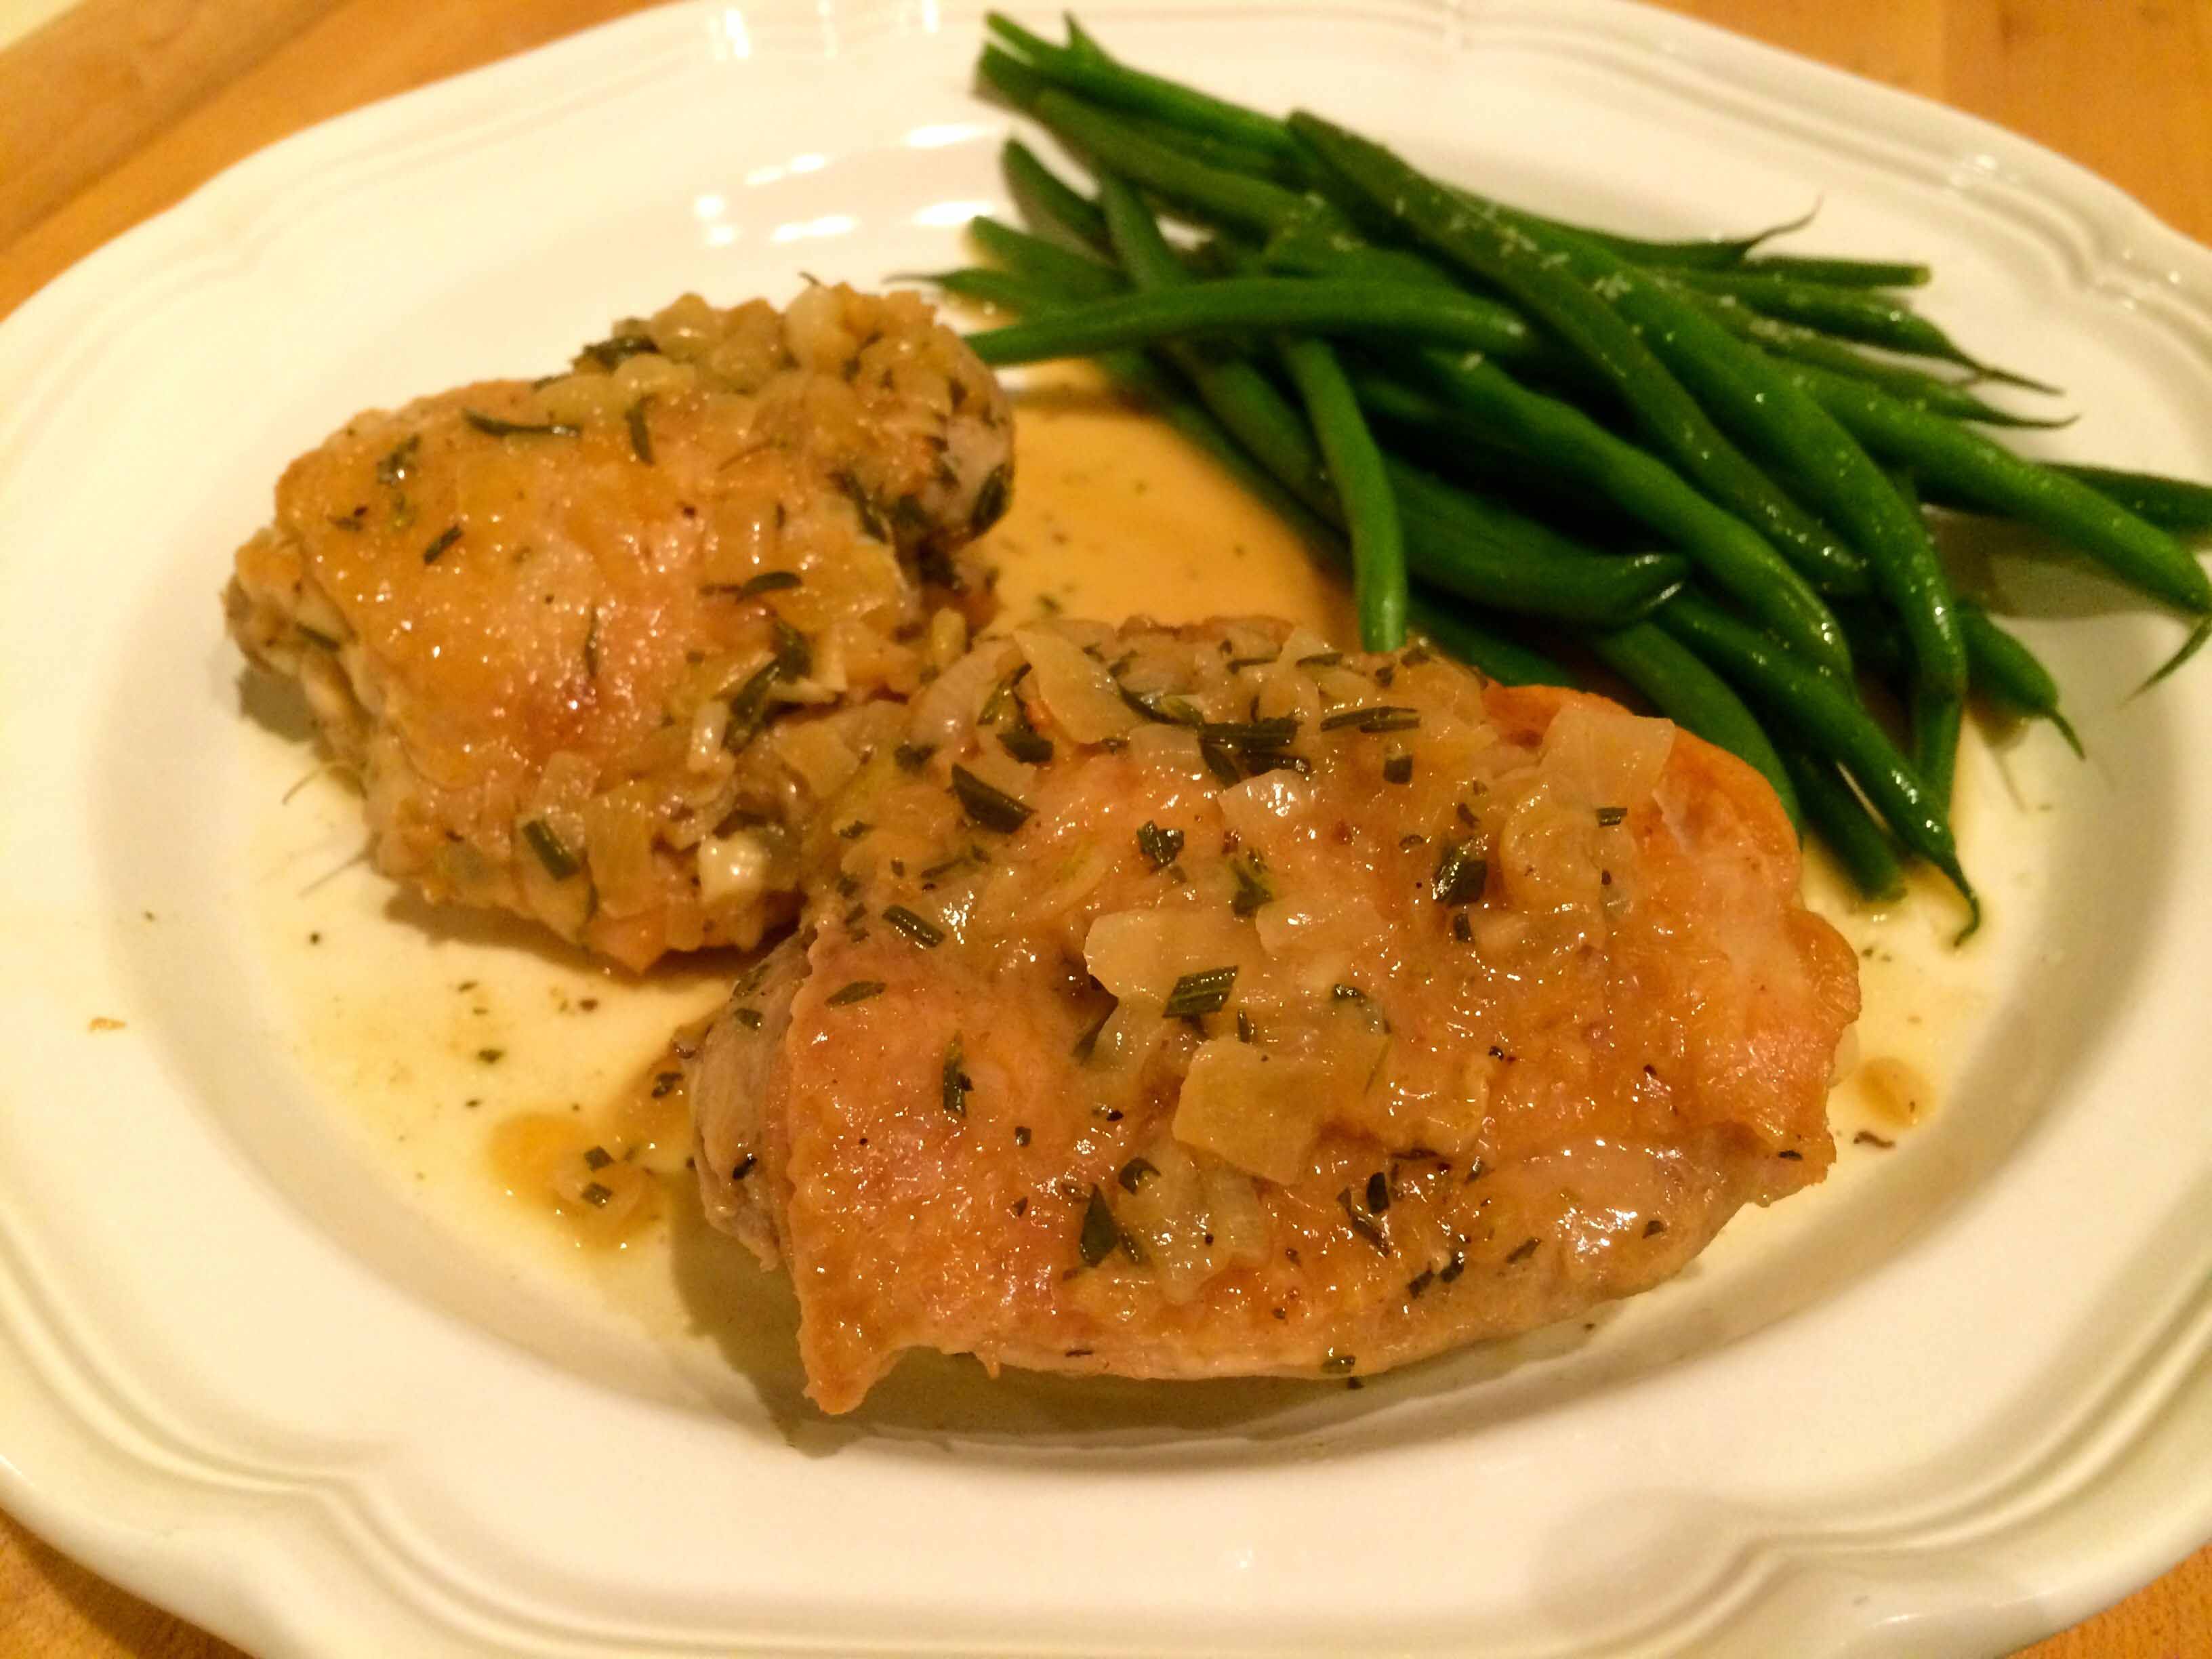
Indeed, when I cook Roman more often than not I feel like I’m back in the Eternal City at one of my favorite trattorias or al fresco cafes. That’s how I felt last night, as we dined on a delectable pollo in padella, literally “chicken in a frying pan.” This simply prepared dish uses a minimum of ingredients to yield a sauté of chicken so aromatic with fresh bay and rosemary and coated with a silky sauce flavored with onions, garlic, and white wine.
My source for the recipe was one of my go to books for Italian cuisine, Cooking the Roman Wayby David Downie. Although sadly out of print, it’s still widely available online and even as an ebook. In fact, the Kindle version on Amazon is 99 cents, a small price to pay for book that’s not only a source for authentic recipes but for guided tour of Rome and its culinary traditions.
Pollo in PadellaAdapted from Cooking the Roman Way
3 pounds skin on-bone in chicken thighs
5 tablespoons extra-virgin olive oil
Kosher salt
Freshly ground black pepper
1 large onion, chopped fine
2 cloves garlic, minced
4 whole fresh bay leaves
3 heaping tablespoons fresh rosemary leaves, minced
3/4 cup Italian dry white wine, preferably Frascati
Pat the chicken dry and trim off and discard any excess fat.
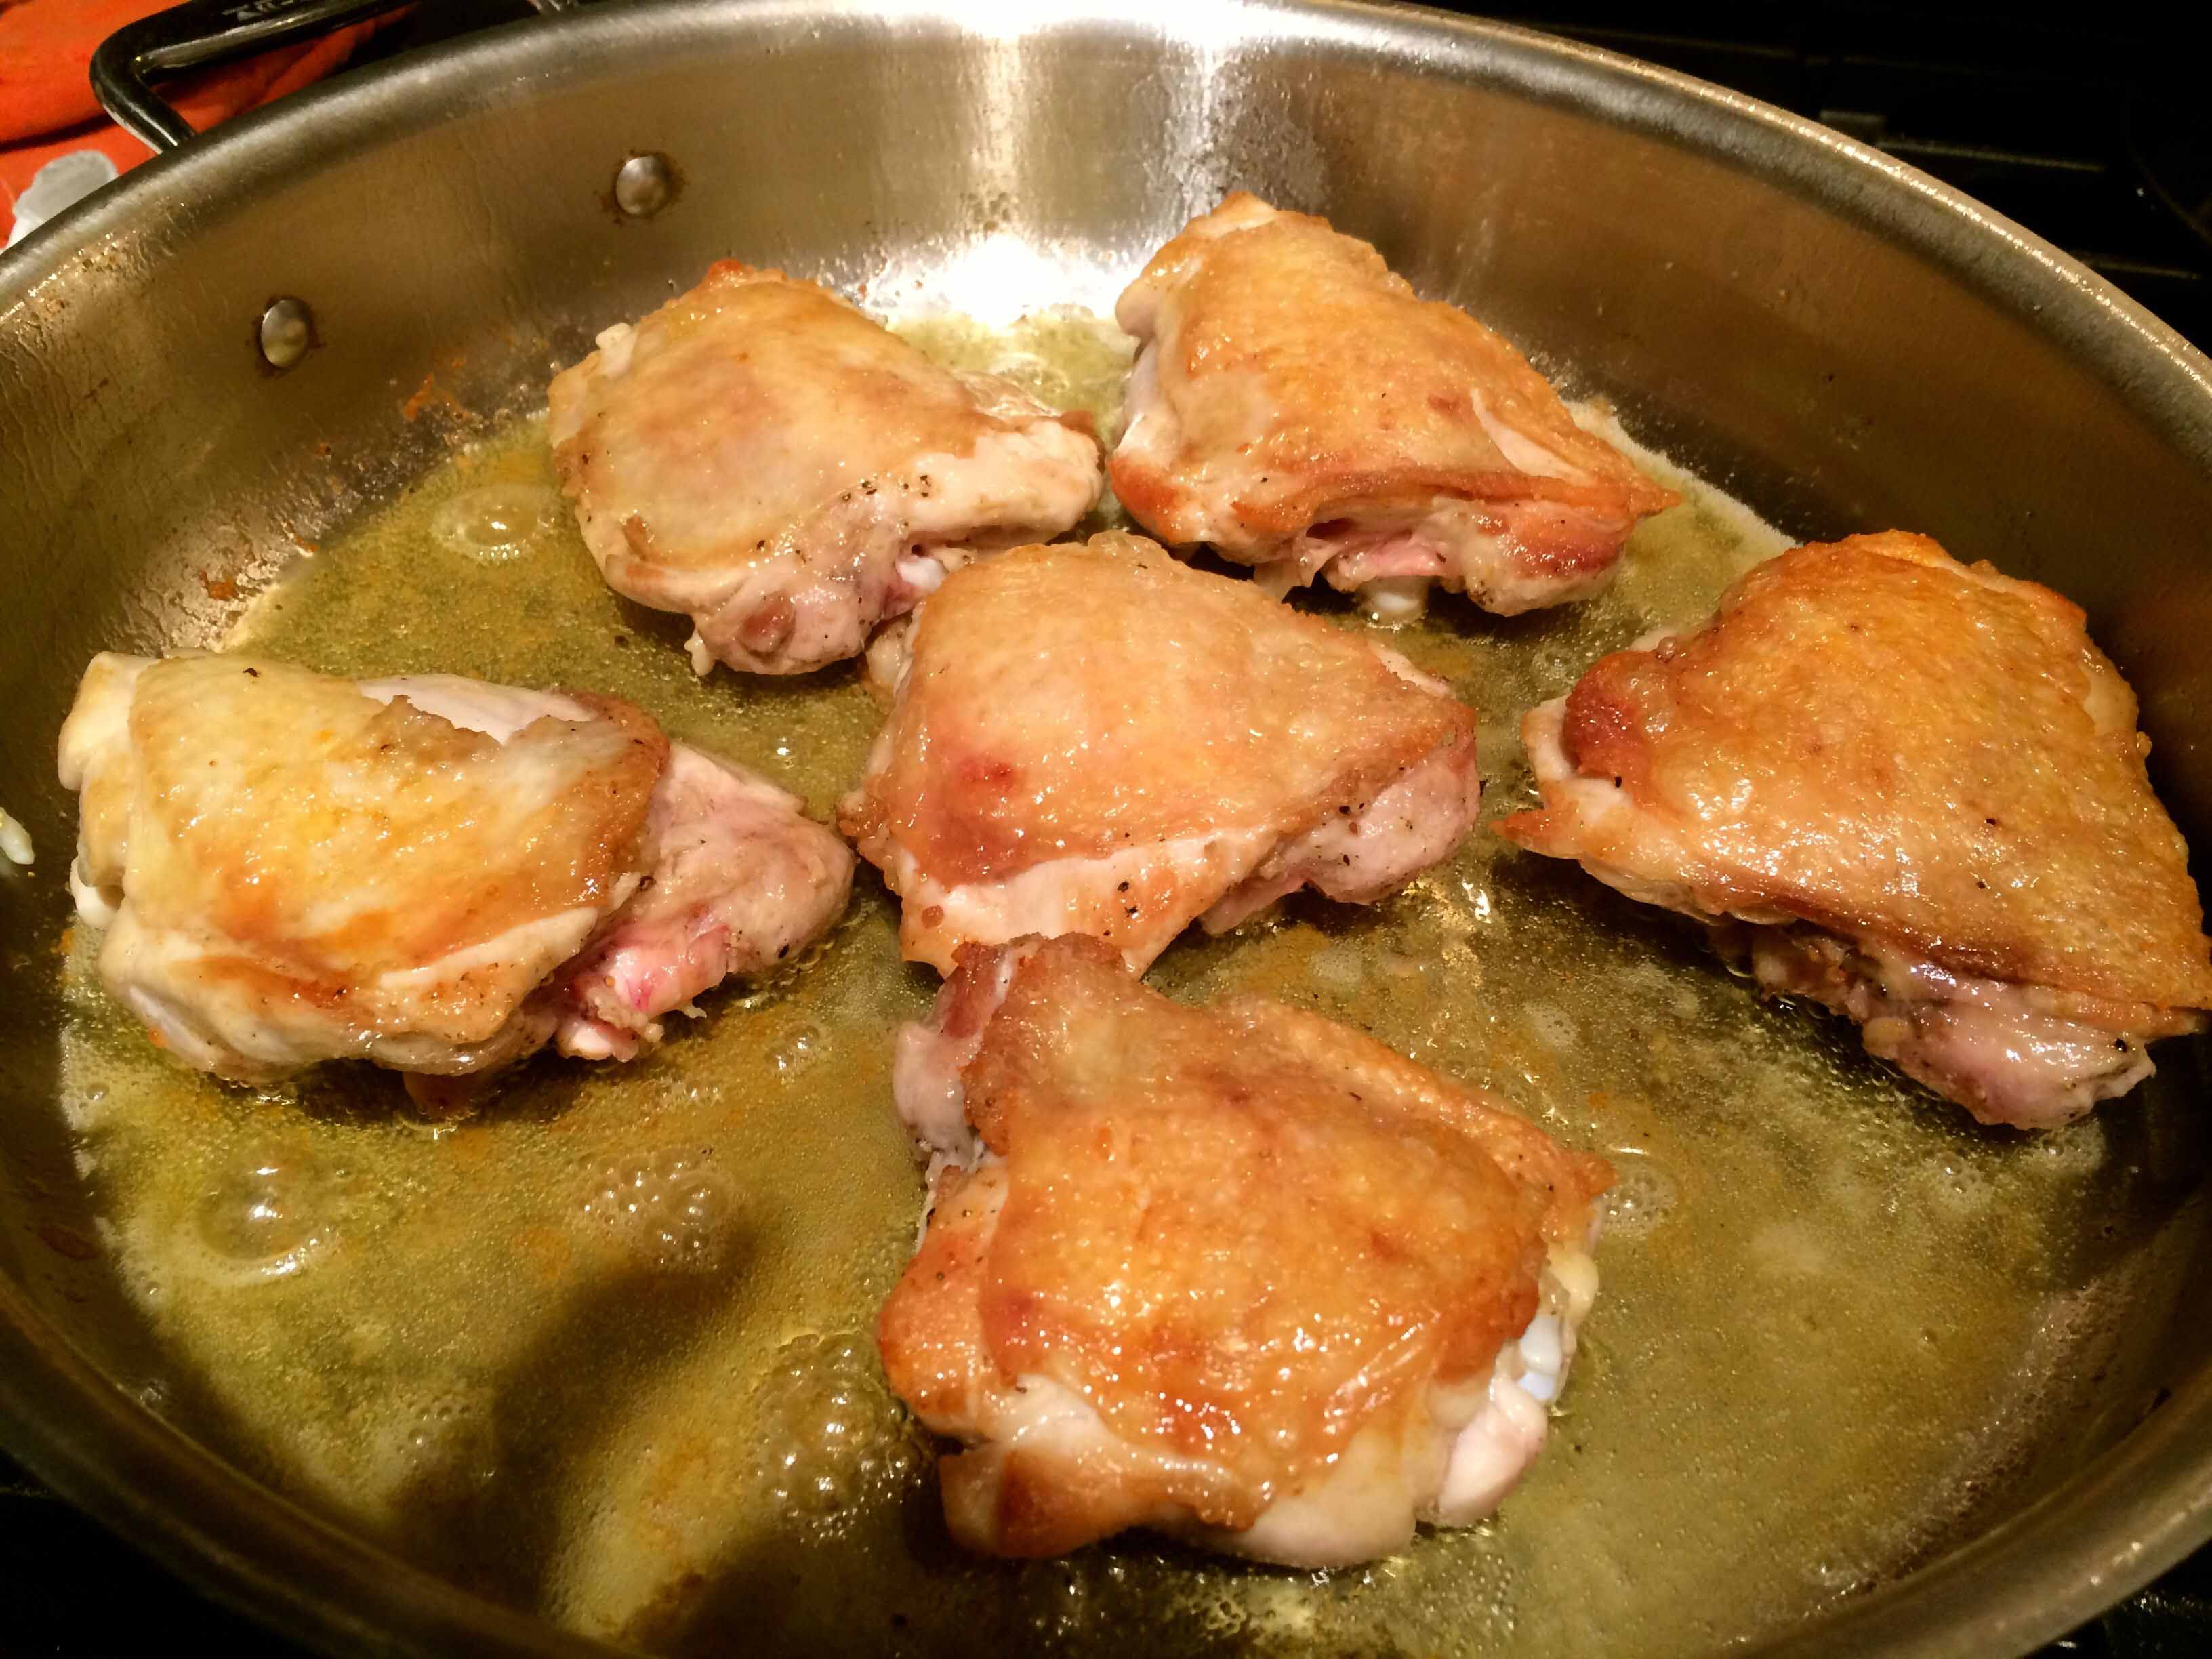
Heat 3 tablespoons of oil over medium-high heat in a heavy sauté pan large enough to accommodate the chicken in a single layer. When the oil is hot, add the chicken thighs skin-side down and season the exposed side with salt and pepper. Over medium-high heat, brown the chicken well on both sides, about 8 to 10 minutes.
Chicken browning
Transfer the chicken to a bowl with a slotted spoon and pour off all the fat and oil from the pan.
Return the pan to the stove and add the remaining 2 tablespoons of oil and the onion. Over medium heat, sauté the onions, stirring often, until the onions become translucent, about 3 to 4 minutes. Add the garlic and sauté stirring for 1 more minute stirring to avoid the garlic getting brown.
Stir in the bay leaves and 2 tablespoons of the rosemary.
The onion, garlic, and herbs
Add the chicken, one piece at a time, along with any remaining juices, turning them to coat with the oil and the herbs. Sauté over medium heat for one minute. Add the wine, and bring to a boil to evaporate it for 1 to 2 minutes, scraping up any browned bits on the bottom of the pan.
Add the remaining 1 tablespoon of rosemary, lower the heat to medium-low, and simmer covered for 45 minutes. Turn the chicken once or twice during this time.
Remove the bay leaves and serve immediately with the pan sauce.
My quest for the perfect pizza continues. But after last night’s attempt, I’d say that I’m pretty close to achieving my goal. A few weeks ago, fellow food blogger, Diane Darrow, sent me a link to what I believe to be the best recipe so far for my pizza dough. And so far, I’m sticking with it.
However, my last two posts on pizza switched the focus from the dough to the cooking medium and highlighted Breville’s “Crispy Crust” pizza oven. This counter-top appliance yields very good pizzas with a nice balance between the crisp and chew factors. But after experimenting more with this oven, I felt that its size limited me to making smaller pizzas, about 10 inches in diameter, if I wanted to achieve a balanced crust.
After my first post about the Breville oven, Ms. Darrow wrote to me, saying that she had discovered another tool that promised even better results than the Breville. Last week, she posted a story about it on her blog, Another Year in Recipes.
Named“The Baking Steel,” it’s a 1/4-inch thick slab of steel weighing 15 pounds that’s preheated for 45 minutes in a 500° or 550° oven. Like a pizza stone, it provides a hot surface on which to bake a pizza, but does so at an even higher temperature.
Baking Steel
Following Diane’s post, I read more about the steel on Serious Eats. It provided directions for achieving excellent results with the steel by cooking the pizza in the prescribed preheated oven on the second highest rack, but right before putting the pizza into the oven, you turn the broiler to high. Serious Eats has a richly illustrated story on this method.
After reading both blogs, I thought that the steel’s 16” x 14” inch surface would allow me to make larger pizzas, so I went to the manufacturer’s website and ordered one. It arrived the next day.
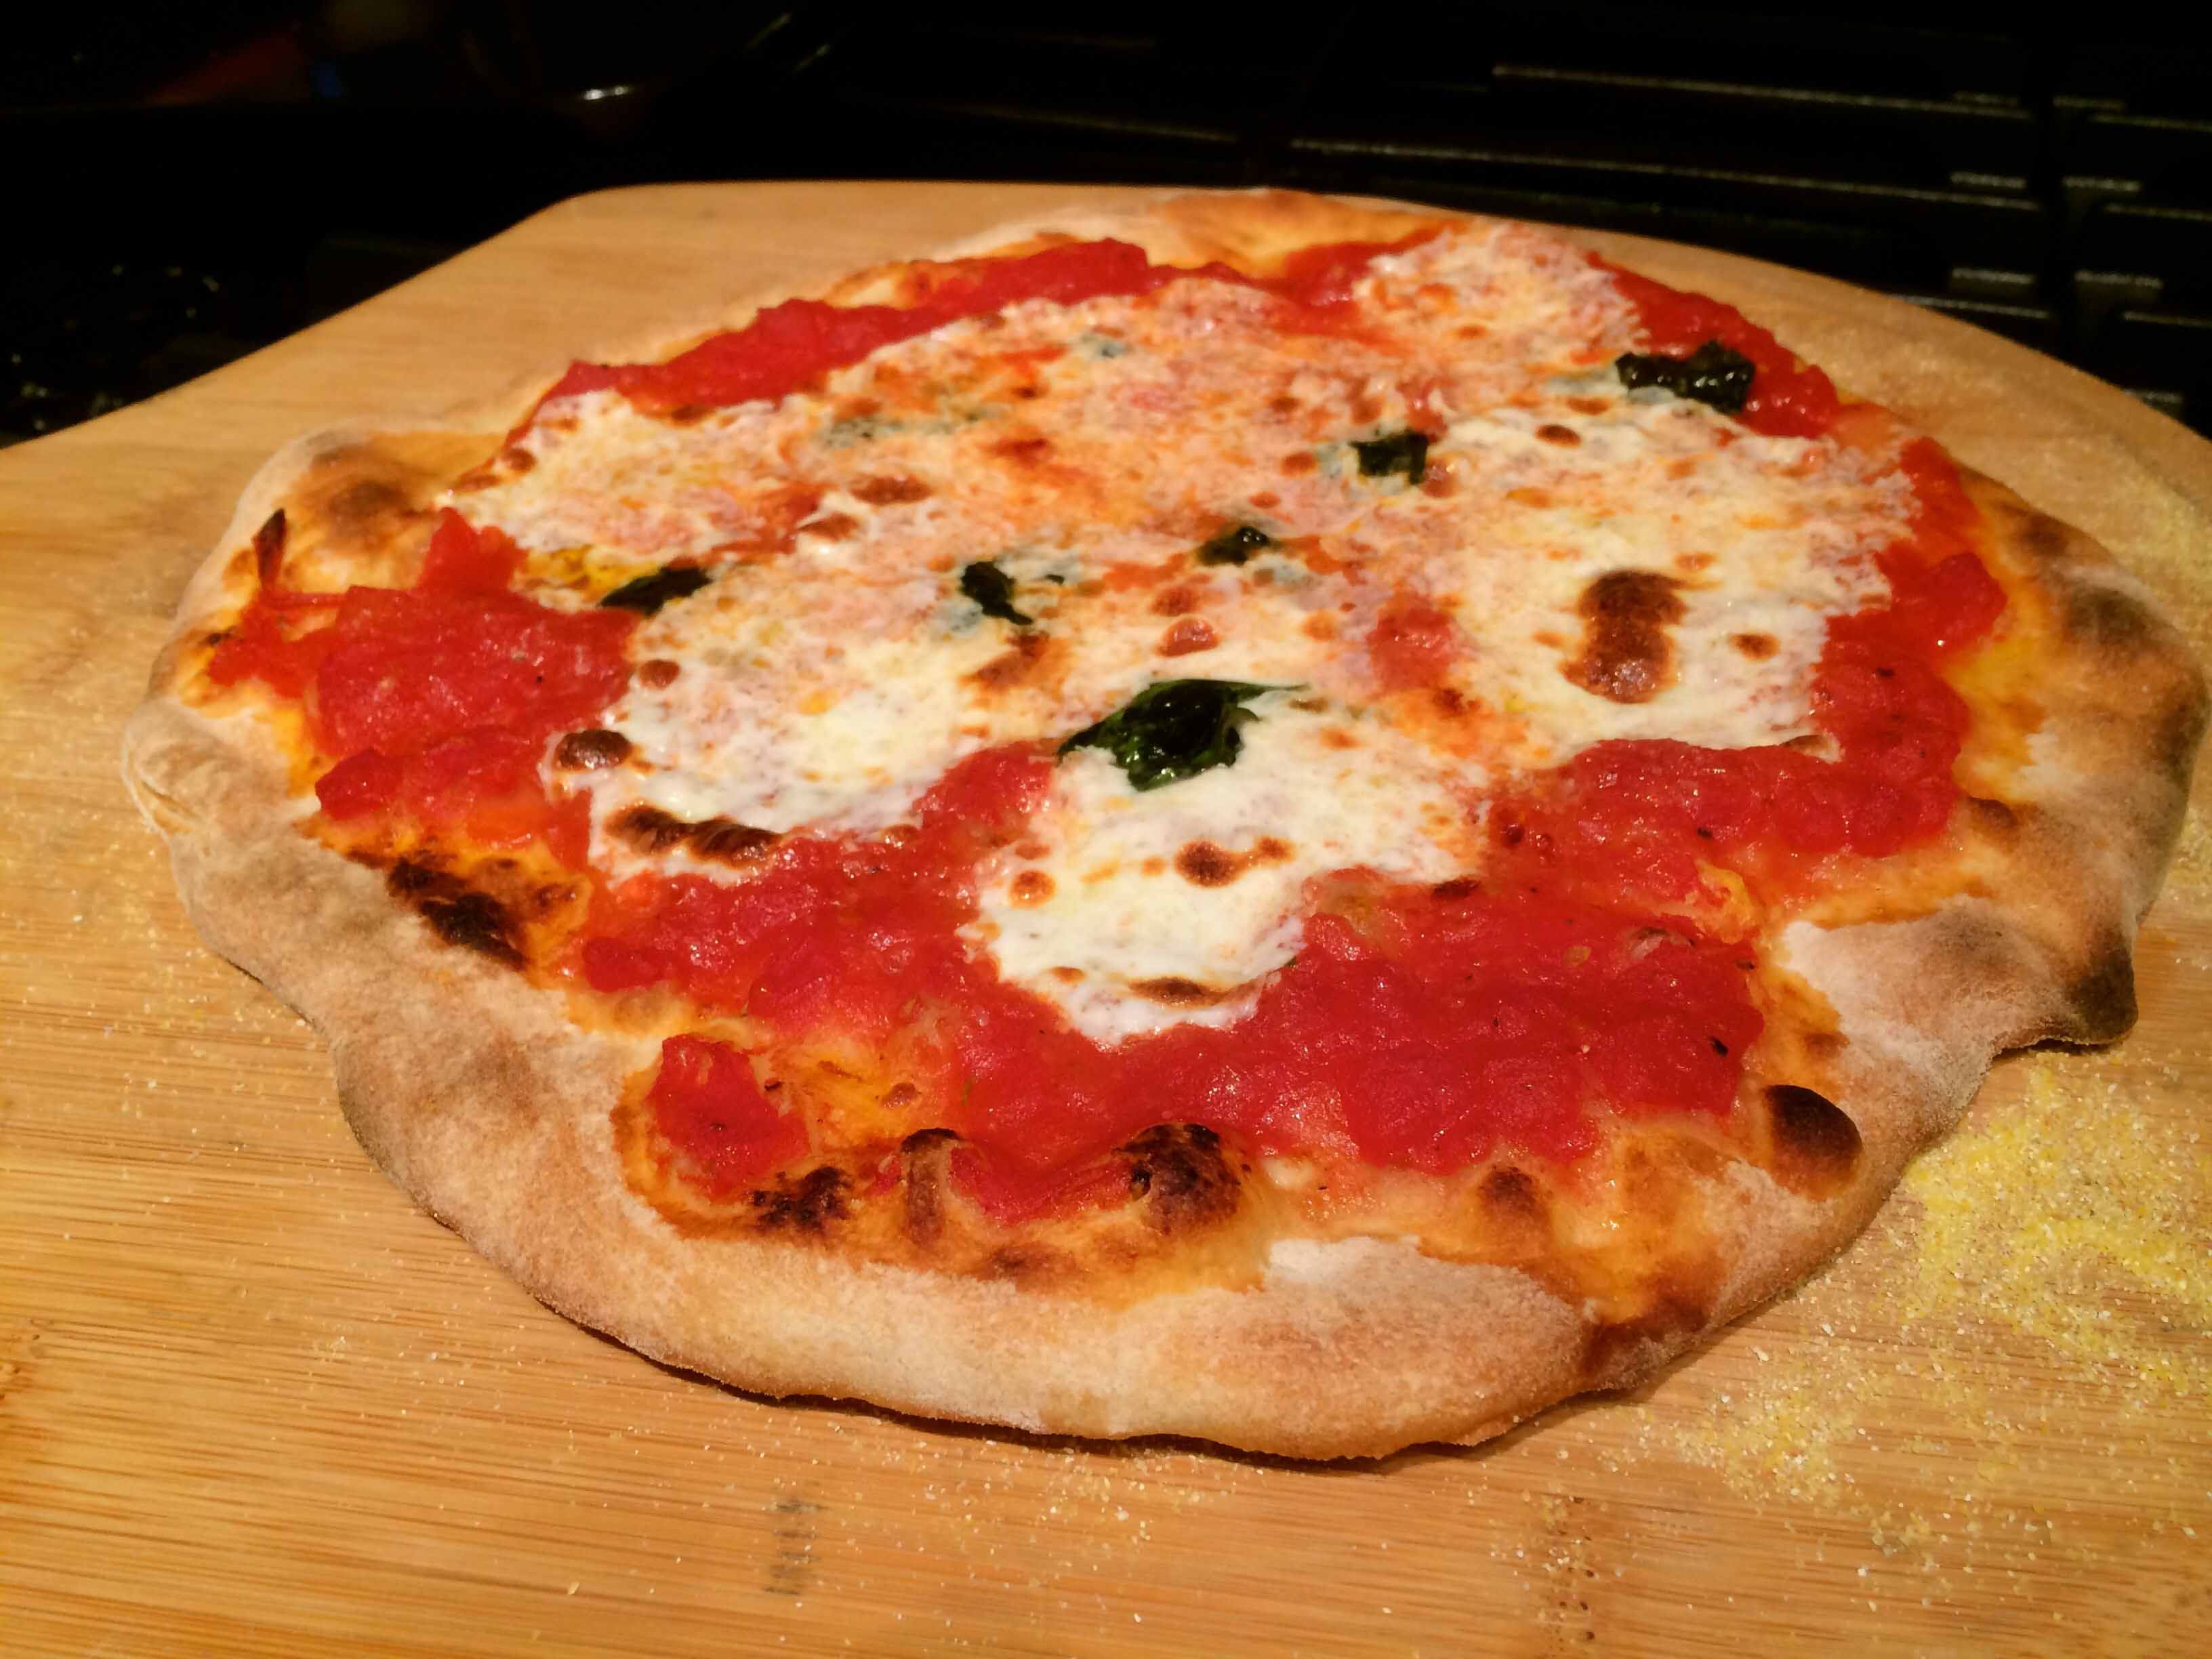
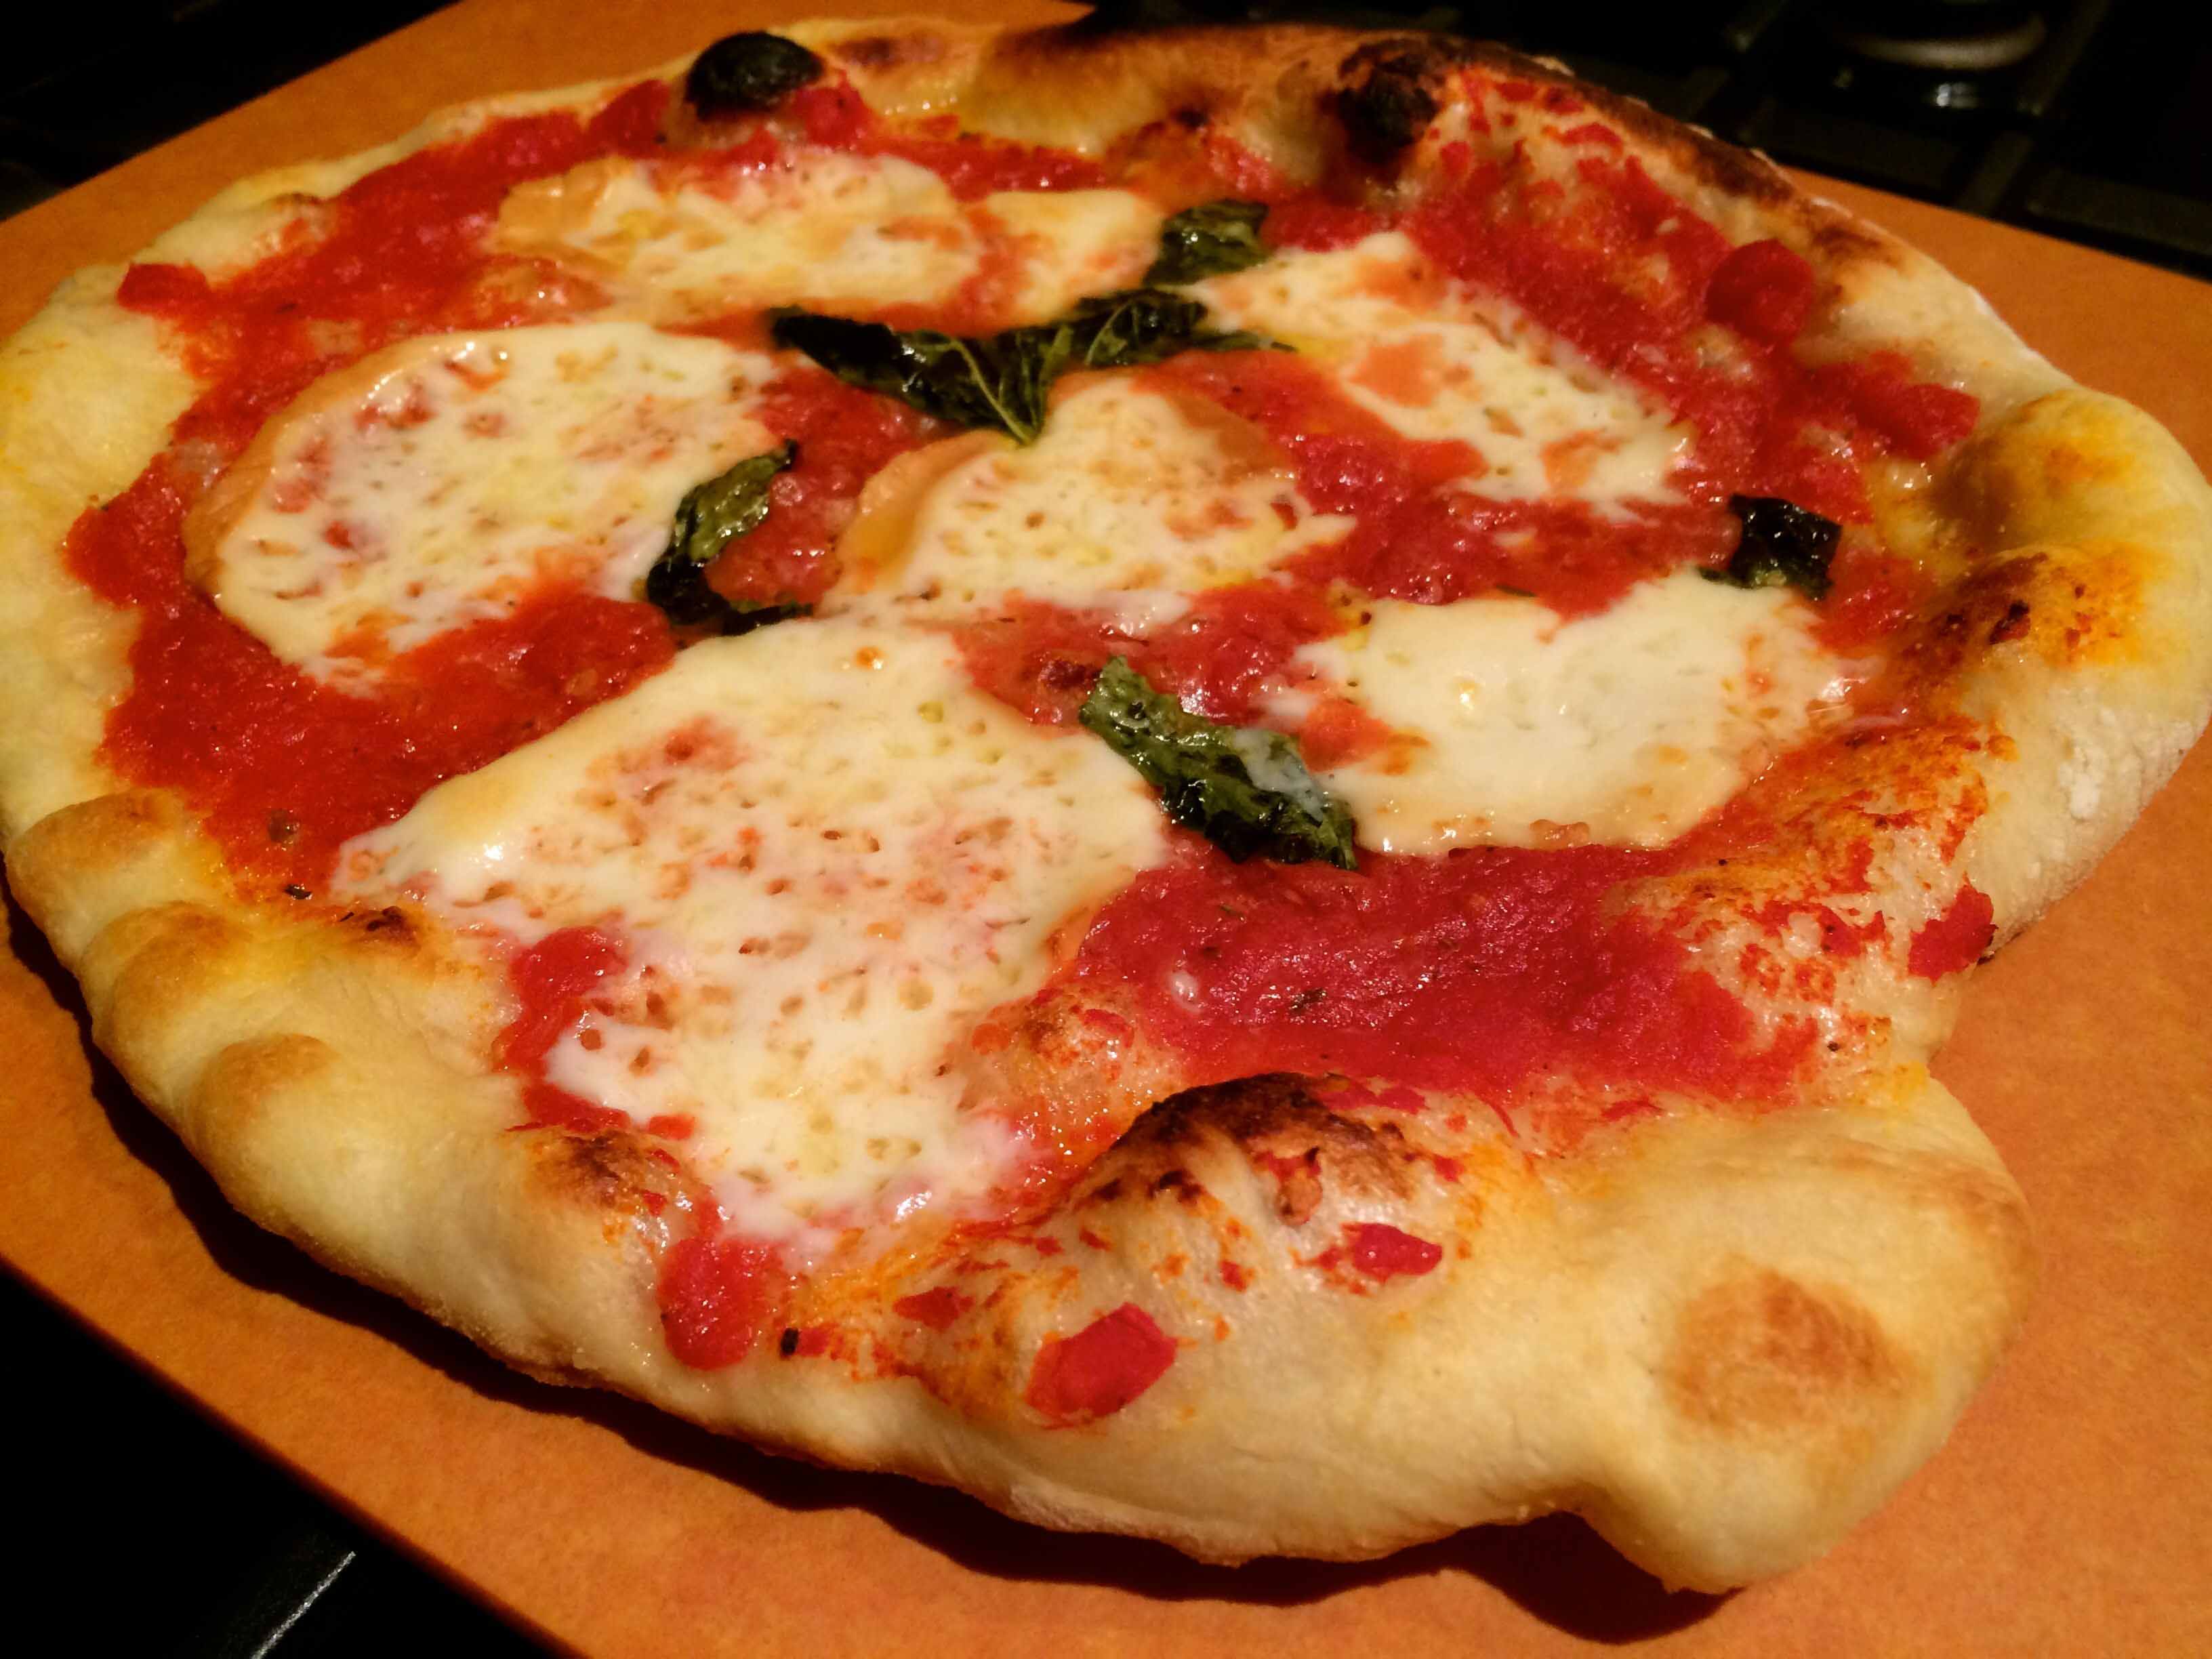
Last night, I used it for the first time. I’m a convert. It worked as advertised and delivered the best pizzas I’ve made to date: one Margherita, pictured above, and one mushroom, pictured below. I was hesitant to cook the pizzas so close to the broiler so I placed the steel on the third position in the oven. And although they took about 6 minutes more than those on Serious Eats, they were perfectly cooked with an even better balance between the crusts’ crisp and chew factors.
Mushroom pizza
I’m sure that I shall experiment further and next time I will probably take the plunge and movemy steel to the higher rack.
One word of caution: if you’re like me and don’t have an air-conditioned kitchen, between the pre-heating and the baking, it does get quite warm in there.
I recommend reading both blogs to learn more about this tool and, if you’re still interested, going to the manufacturer’s website.
As of late, quick-fix dishes seem to be dominating our weeknight meals. More often than not, they’re dictated, not only by my schedule, but by what’s in the market and how many extra ingredients I’ll need to pick up. Having over five items kicks me off the express check-out line, so 4 is my maximum number of secondary ingredients.
Last night’s supper is a case in point. Peeled and deveined shrimp caught my eye at the market. I knew I already had half a can of chopped tomatoes sitting in our fridge, so I thought: shrimp marinara with some pasta. The shopping list evolved from there: parsley and spaghetti were the only other ingredients I needed to purchase as I already had plenty of olive oil, garlic, herbs and spices at home. I was out of the market in 10 minutes. (Pity anyone who stands in my way as I race through the aisles.)
If you start with putting up the water for your pasta and prep and cook as it comes to a boil, you can have shrimp marinara on the table in about 30 minutes. Here’s my recipe:
Shrimp Marinara with Spaghetti
2 small garlic cloves, sliced thin
1/4 cup extra-vigin olive oil
1/4 teaspoon Calabrian red-pepper flakes (Calabrian red pepper flakes have a lot of heat; you may need to use more or less depending on the type of pepper flakes you have and how spicy you like your sauce.)
16-ounce can chopped Italian tomatoes
1/2 teaspoon dried oregano
Salt to taste
Freshly ground black pepper to taste
1 pound shrimp, peeled and deveined
1/4 cup chopped parsley
8 ounces spaghetti (I recommend a spaghetti that has flavor and texture. Rustichella d’Abruzzo is my favorite.)
Prepped ingredients
1. Put up the water for the pasta.
2. In a large skillet, over medium low heat sauté the garlic with the red-pepper flakes in olive oil. When they become fragrant and the garlic turns just a very pale gold, add the tomatoes, oregano, salt and pepper.
The garlic and red-pepper flakes
3. Continue to cook on medium low and after the tomatoes come to a slow simmer, cook for 15 minutes, string occasionally.
4. At this point, the water for the pasta should be at a boil. Add a handful of salt to the water and add the spaghetti. Cook, following package direction for al dente.
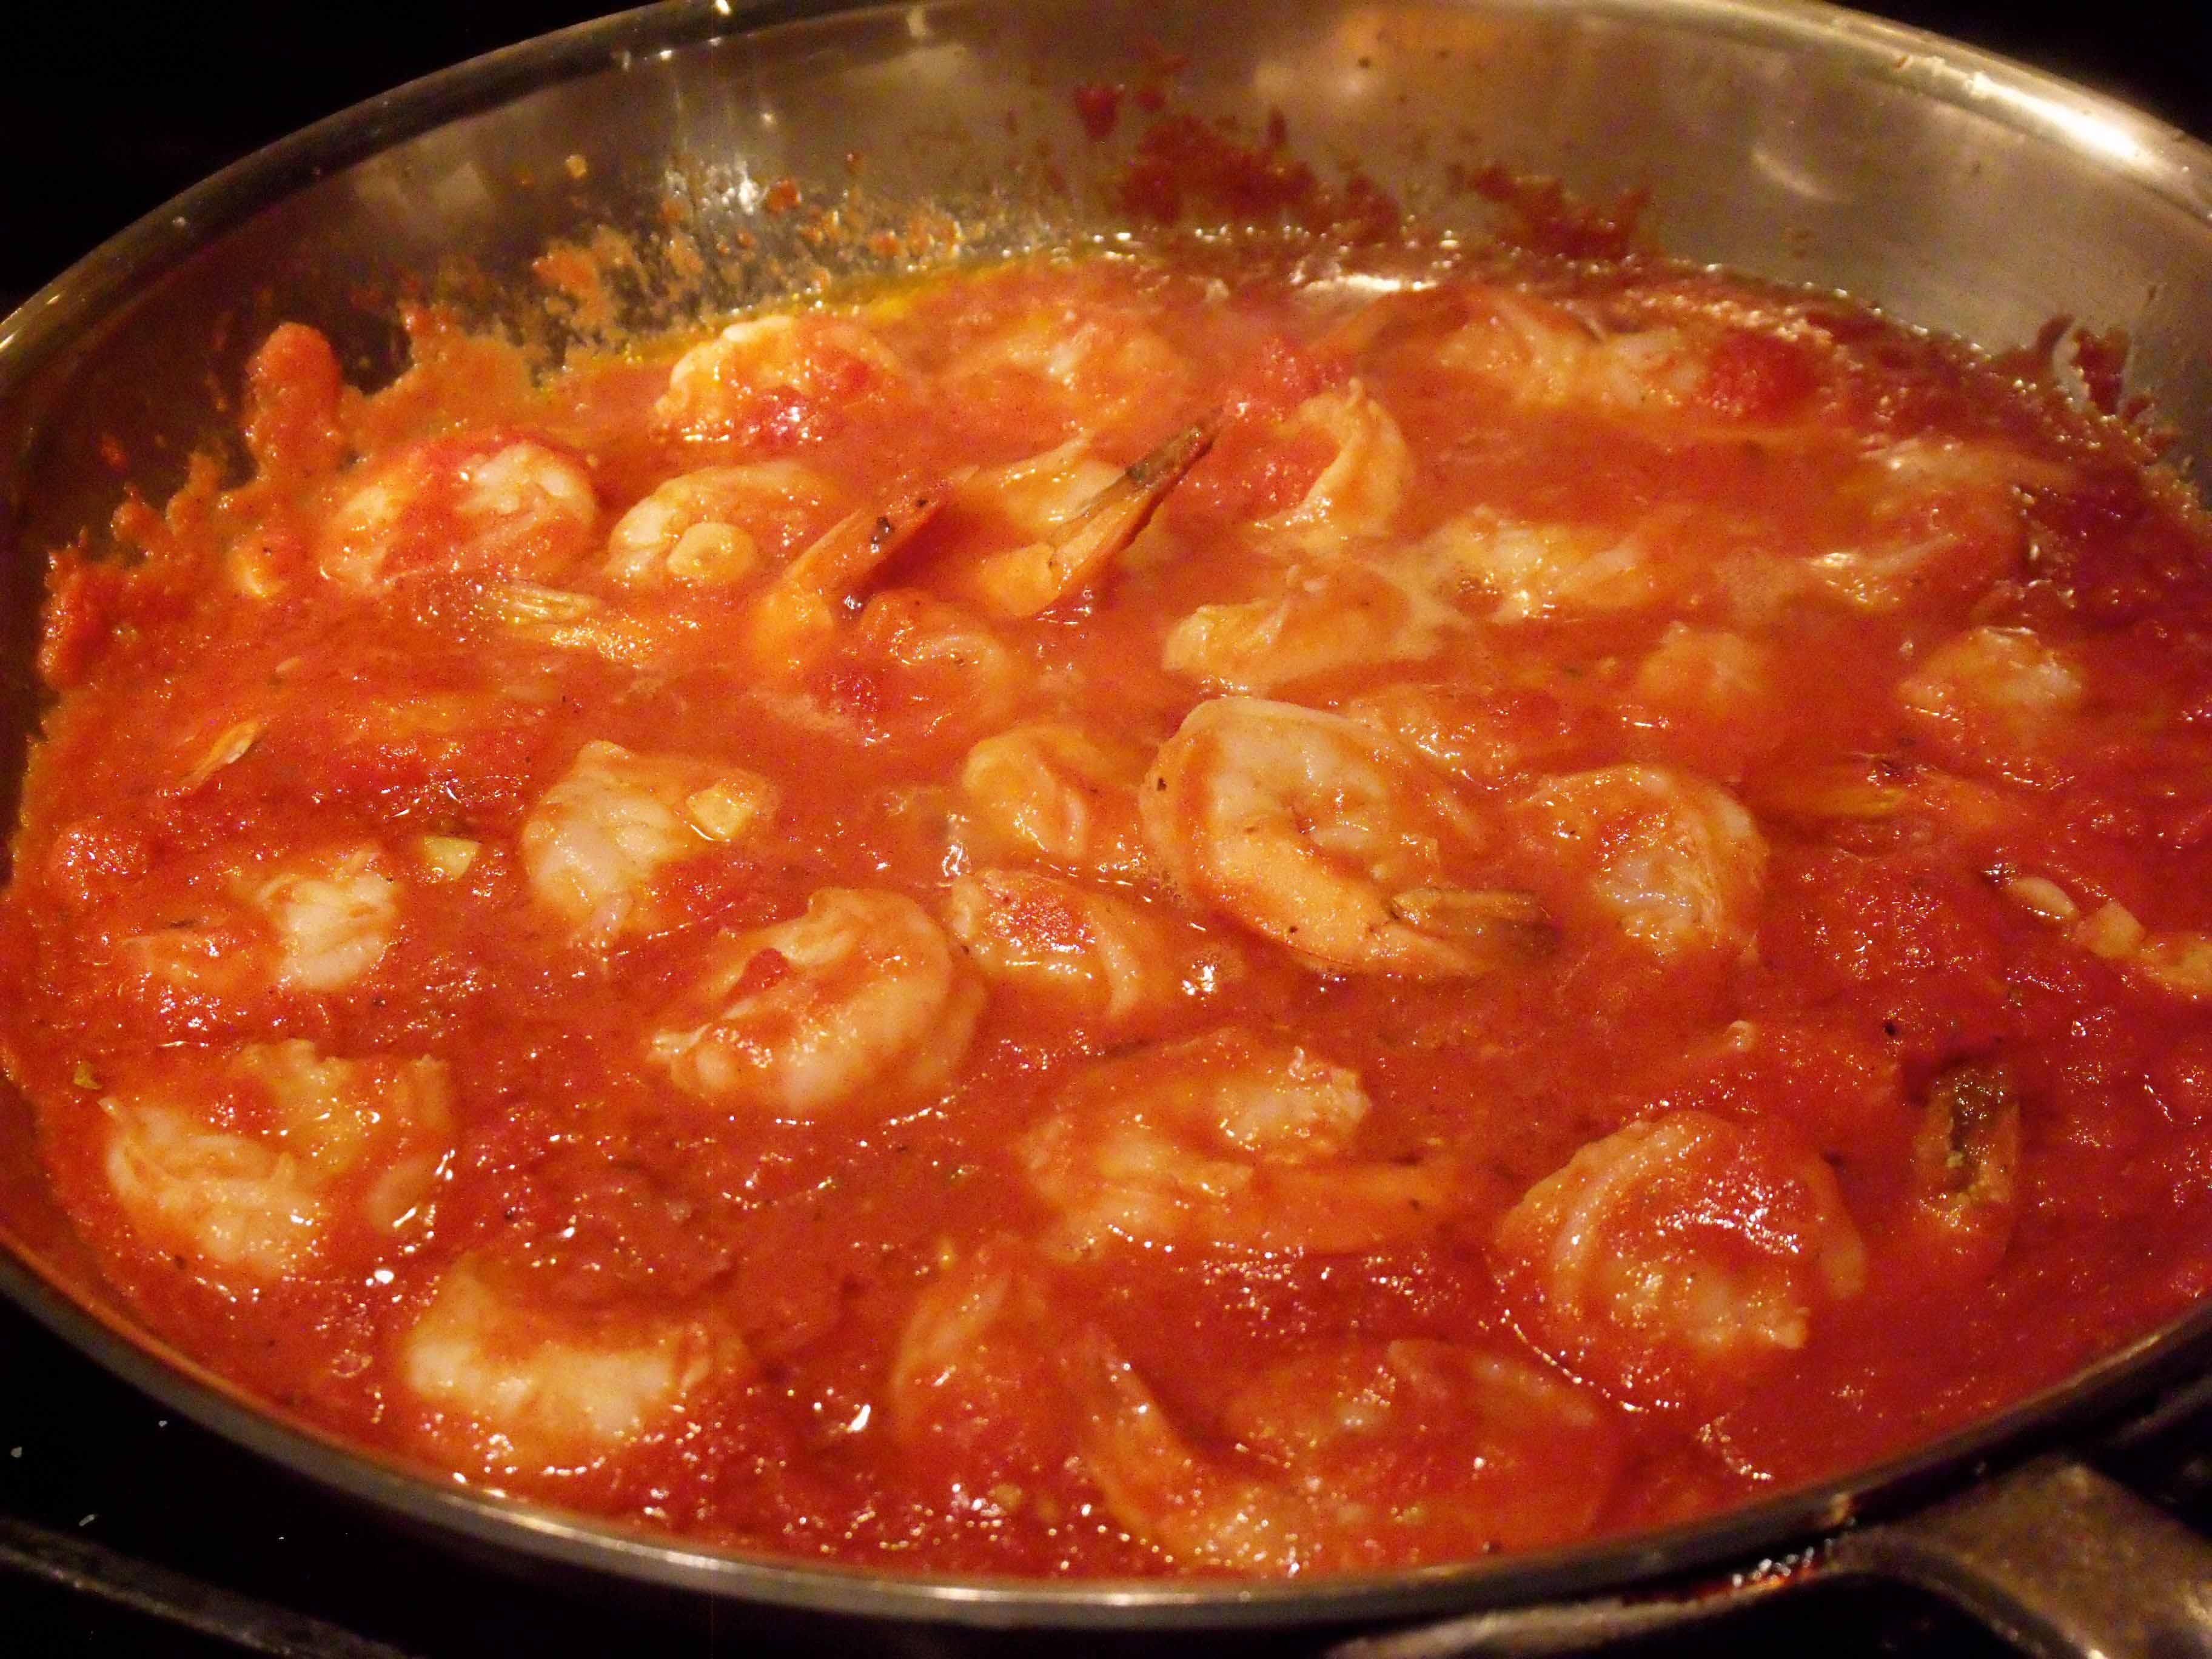
5. While the pasta is cooking, add the shrimp to the sauce, raise the heat to medium and cook until the first side turns pinks, around 3 minutes. Turn the shrimp and cook for another 2 to 3 minutes.
Shrimp cookiing
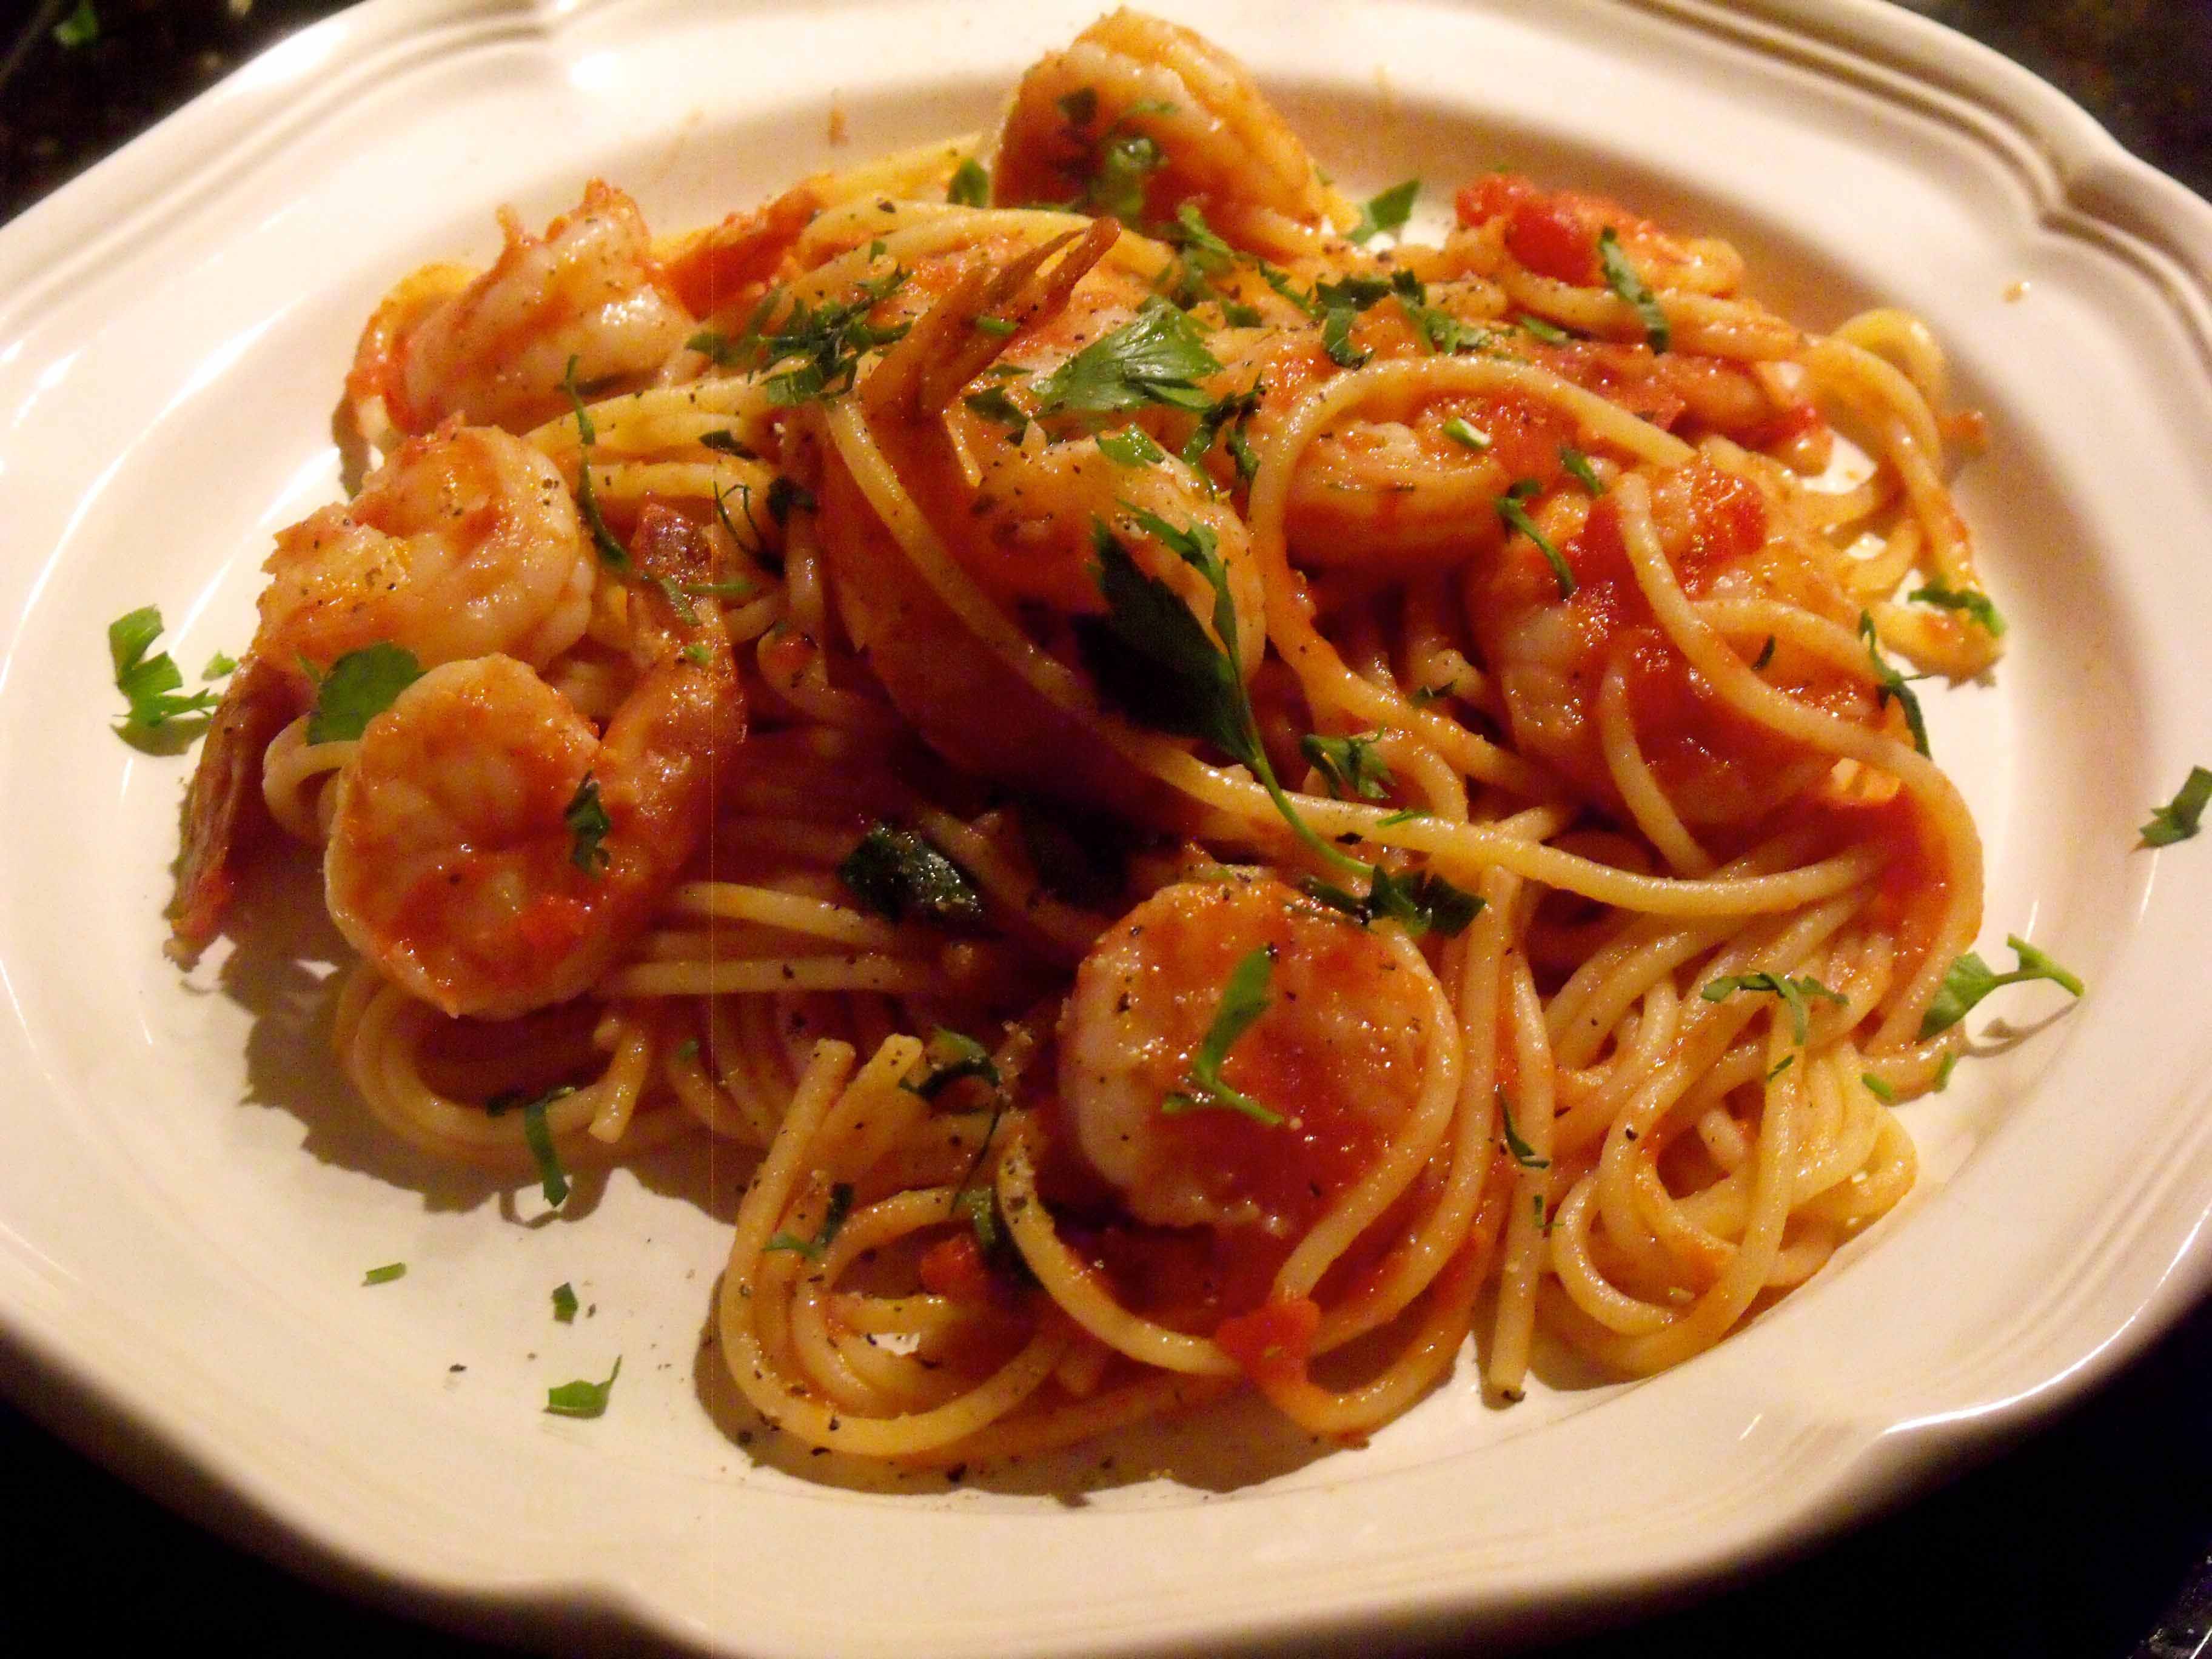
6. One minute before the prescribed time for al dente, using tongs, transfer the spaghetti to the skillet with the shrimp, reduce the flame to low, and toss the spaghetti to coat with the sauce. Off the heat, sprinkle with the chopped parsley and serve.
The spaghetti coated with the sauce
Wine Pairing: Pecorino, Vernaccia di San Gimignano, Sauvignon Blanc
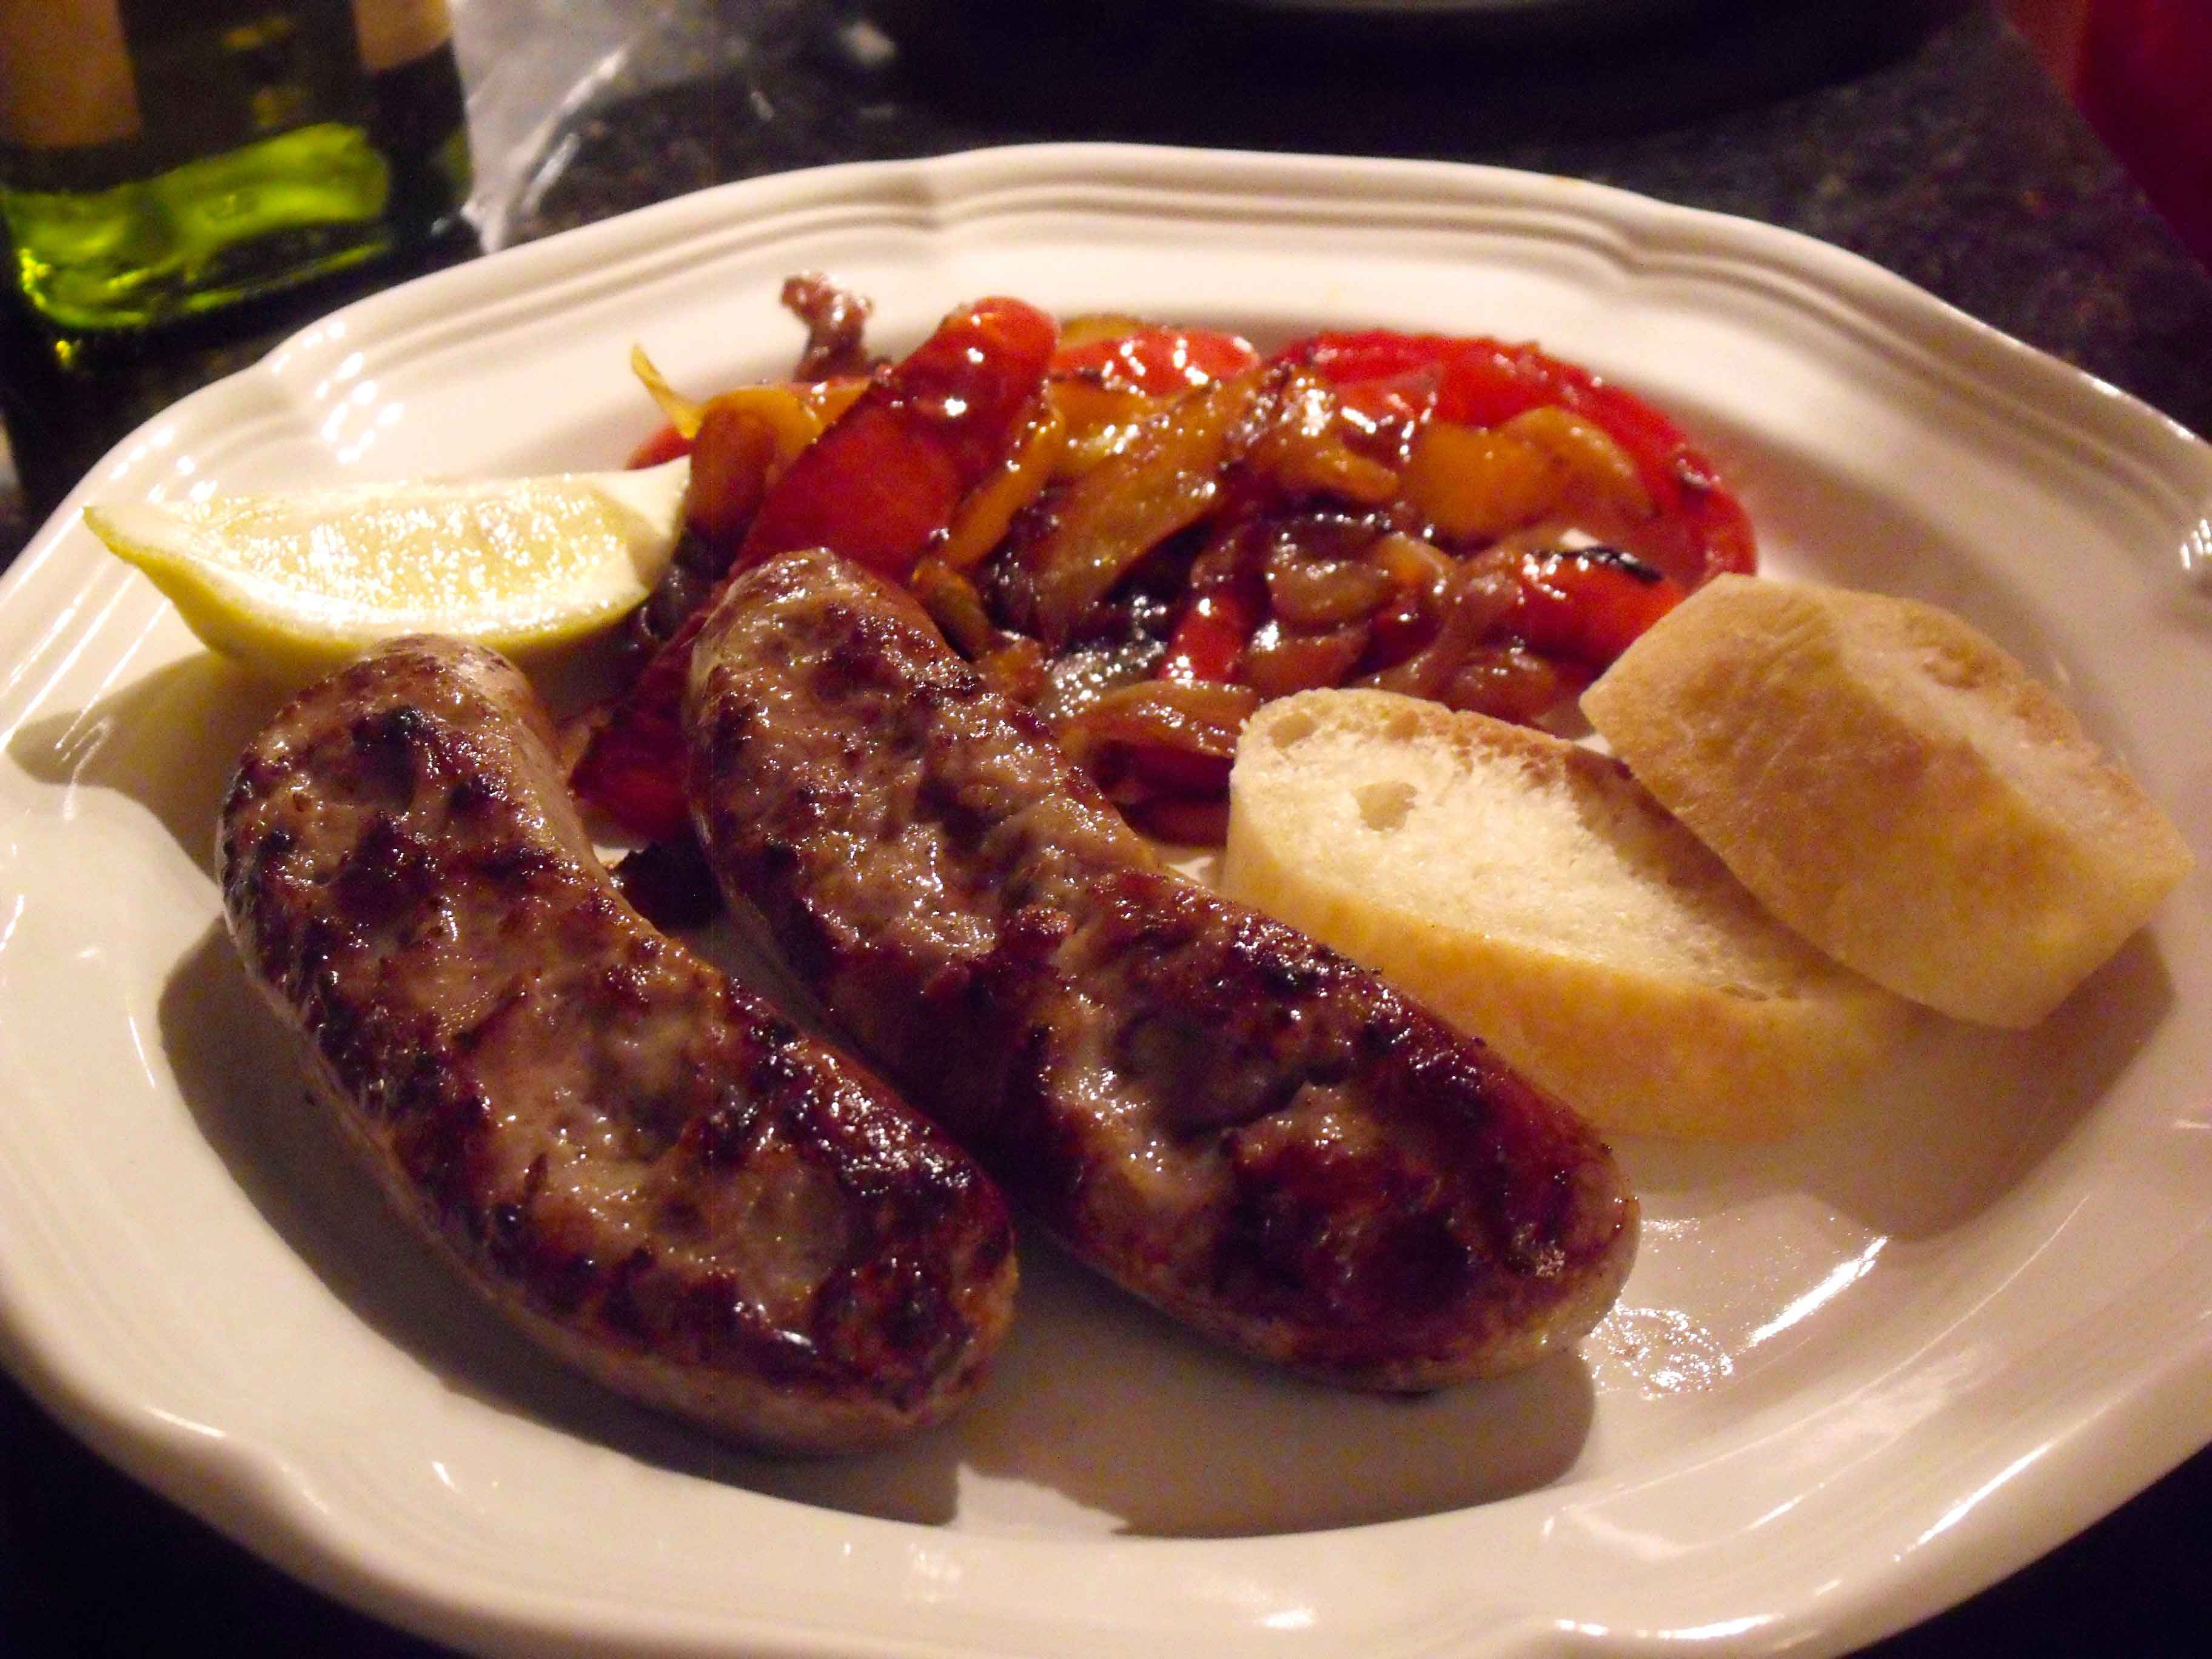
I cannot count the number of times I’ve prepared Italian fennel sausages. Last night, however, influenced by some cooking show, I opted to grill rather than fry them. Not as fortunate as the show’s chef, who used an open fire, I was limited to a stovetop grill pan. Yet despite this restraint, I’m happy to report that this grilling method yielded thoroughly cooked links that were delectably moist and juicy.
To grill the sausages, I made a shallow slit, about a 1/4-inch deep, lengthwise along one side of each sausage and spread it slightly open to expose the meat. I then placed the sausages slit-side down on a hot grill pan over medium-high heat and cooked them for 5 minutes. When they were nicely browned, I turned and cooked the sausages for about an additional 5 minutes.
I served the sausages accompanied by this classic peperonata inspired by my Neapolitan aunt.
Peperonata
3 tablespoons extra-virgin olive oil
3 bell peppers, sliced into 1/4-inch wide strips (I prefer red, yellow, and orange to green)
1 large sweet onion, sliced lengthwise
3 small cloves garlic, peeled and smashed
Kosher salt
1 tablespoon dry Marsala
In a large sauté pan heat the olive oil until shimmering. Add the sliced peppers and cook them, tossing occasionally, over medium-high heat for about 10 minutes, or until they start to become tender and slightly charred.
Add the sliced onion and garlic, sprinkle with some salt, and cook them with the peppers, still over medium-high heat, for about another 10 minutes, again tossing occasionally, until golden brown. Add the Marsala, scraping up any browned bits on the bottom of the pan. and cook for an additional minute or so. Transfer to a serving bowl.
Pairing the peperonta with the grilled sausages makes a perfect weekday supper as we start to enter fall.
A Saturday night without guests for dinner offered us a chance to play with our new Breville pizza oven which I wrote about in my post last month. Rather than changing too many variables, I used the same NY Times recipe as I did the first time I used the new “toy.” However, to improve the balance between the crisp and chew factors, I made 10-inch rather than 11- or 12-inch pizzas and adjusted the amount of sauce used.
I found that making smaller pizzas gave me the perfect amount of chew without decreasing the pizzas’ crispness. I cooked one of the pizzas at the highest temperature (the “thin” setting) for 7 minutes and the second on at a slightly lower temperature (closer to the oven’s “medium” setting) for about 10 minutes.
Both pizzas were very good; but, as the second pizza was sauced a tad more heavily and had a longer cooking time, we thought it was better than the first. The extended cooking at a lower temperature allowed the sauce to develop more flavor and the edges to cook a little more evenly.
The second pizza
Some other variations from last month’s pizzas included using smoked mozzarella and topping one of the cooked pizzas with some wild arugula. Using the smoked cheese added a meaty flavor to the pies, which was perfectly complement by the wild arugula topping on the second.
One side note: when we purchased the oven at Williams-Sonoma a couple of weeks ago, it was $149. Last week, it went on sale for $129. We returned to the store with our emailed receipt and without any hassle they refunded the difference.
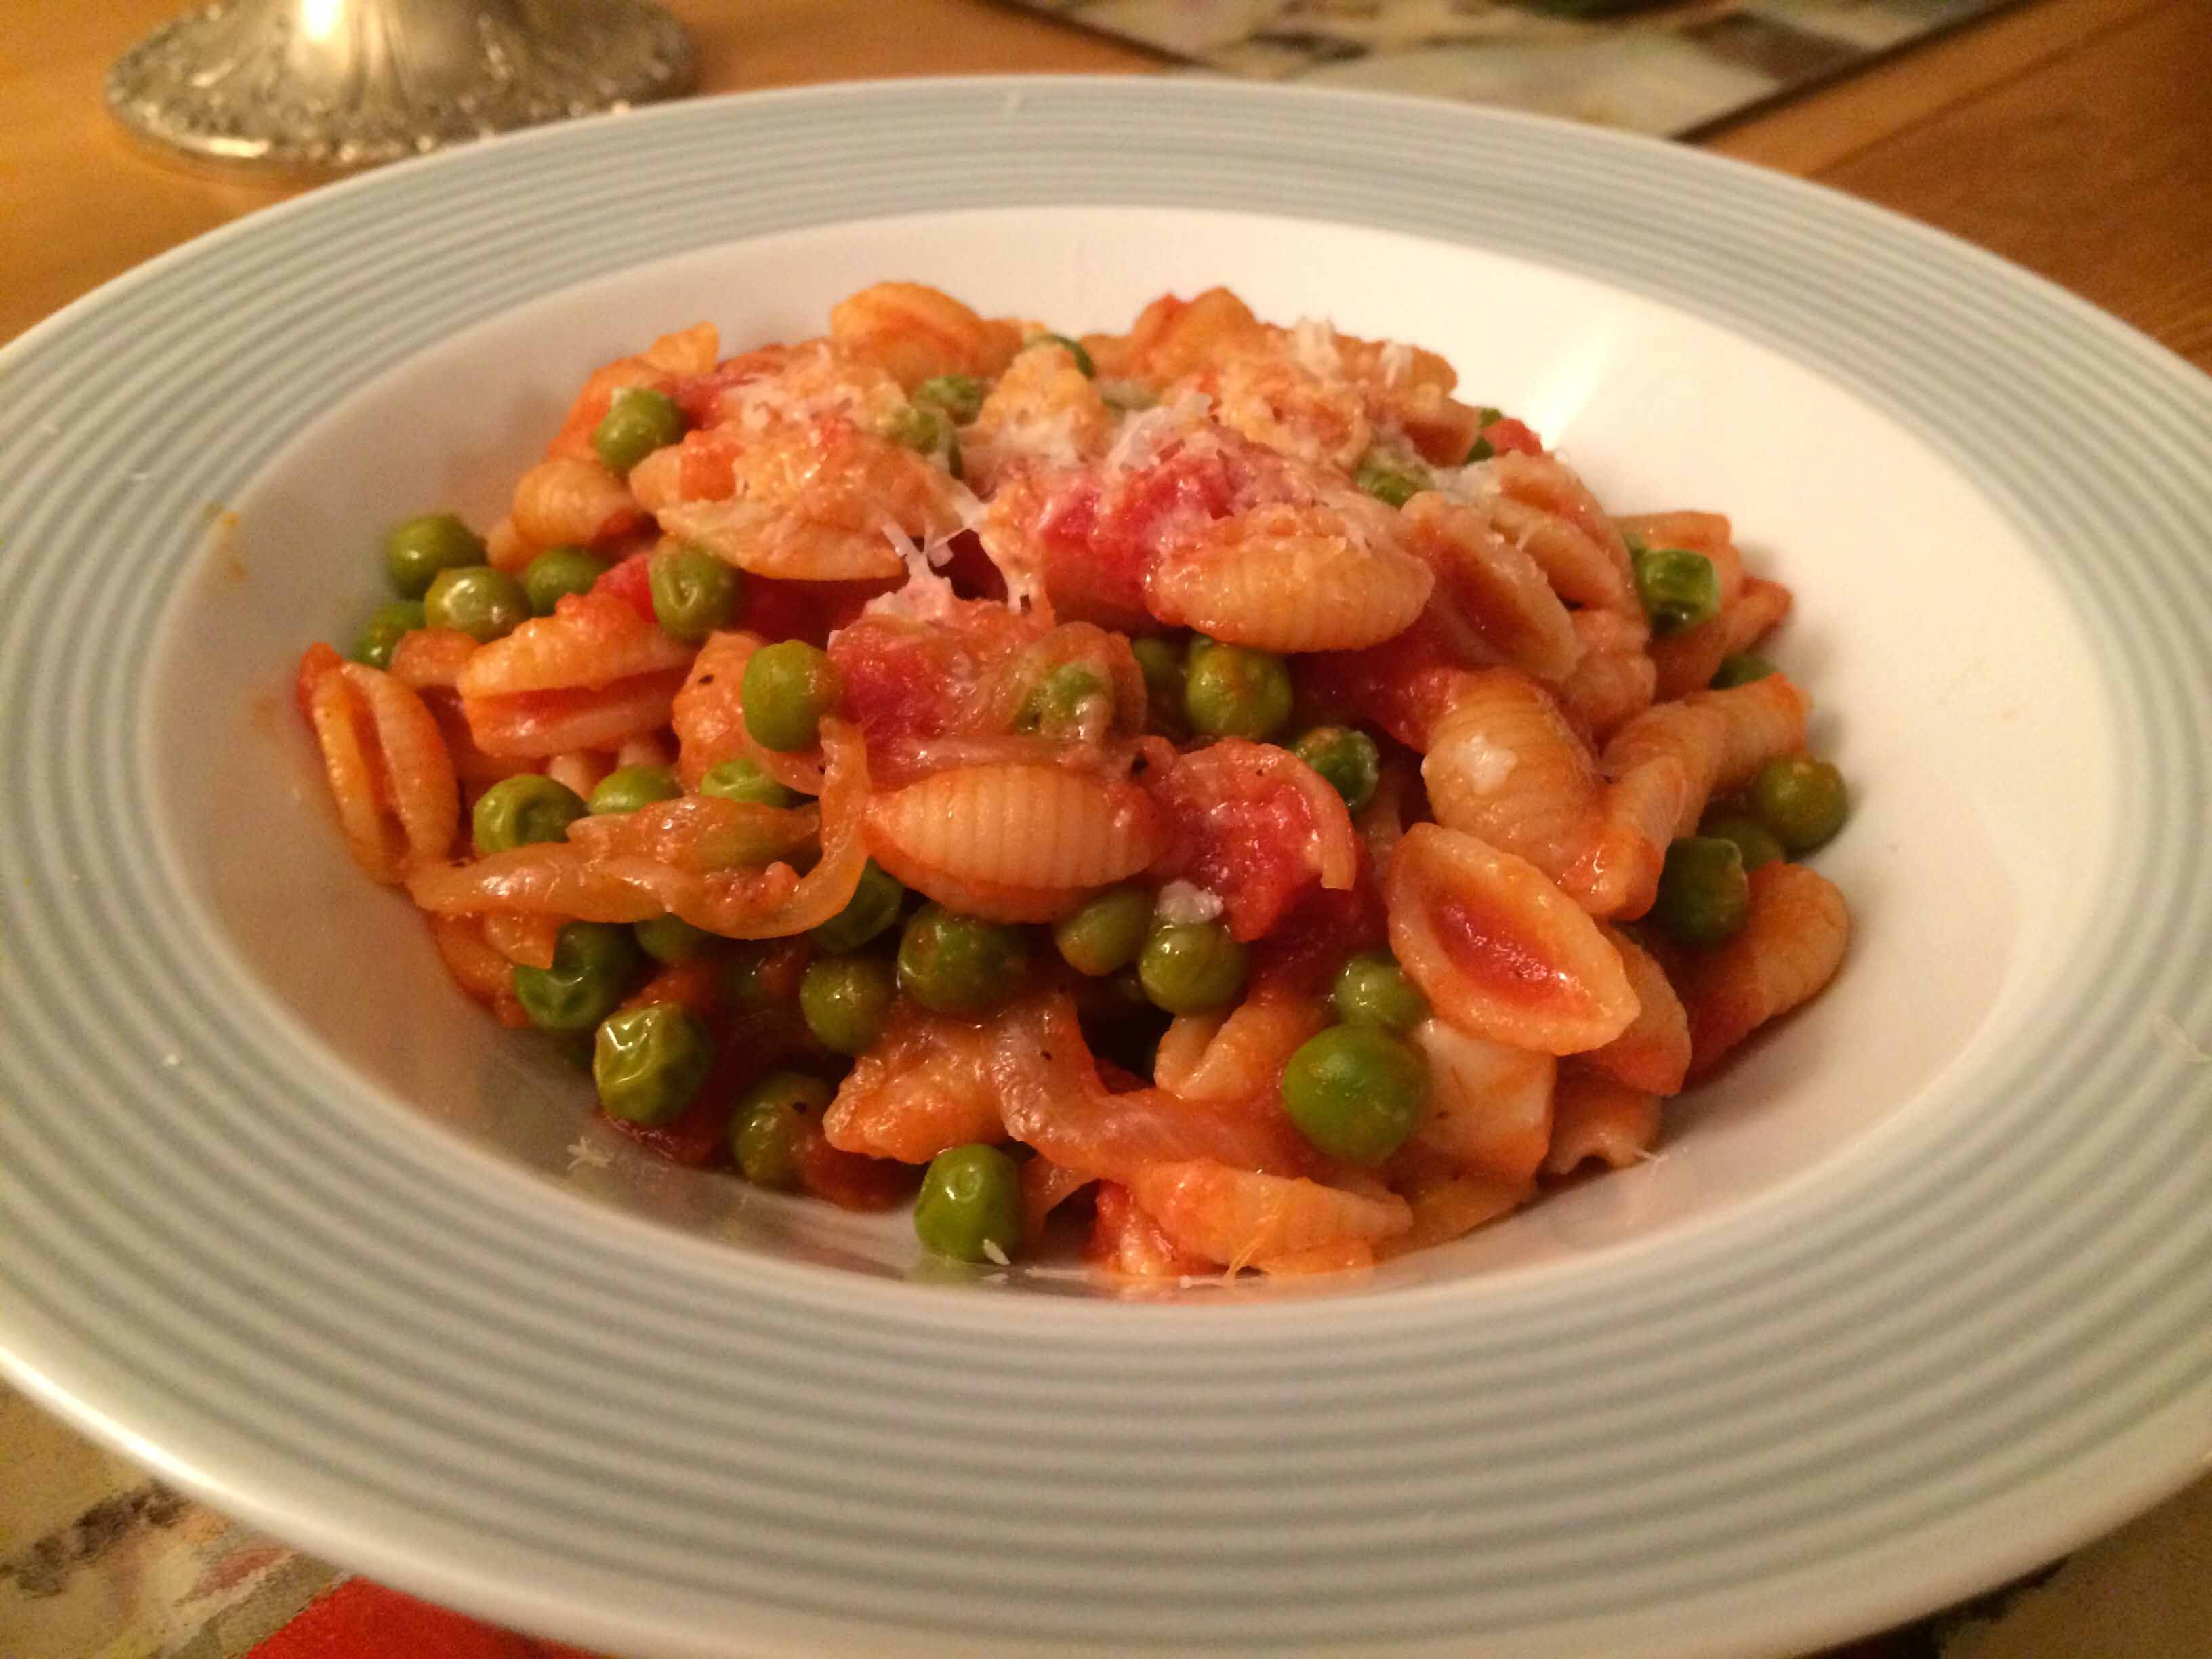
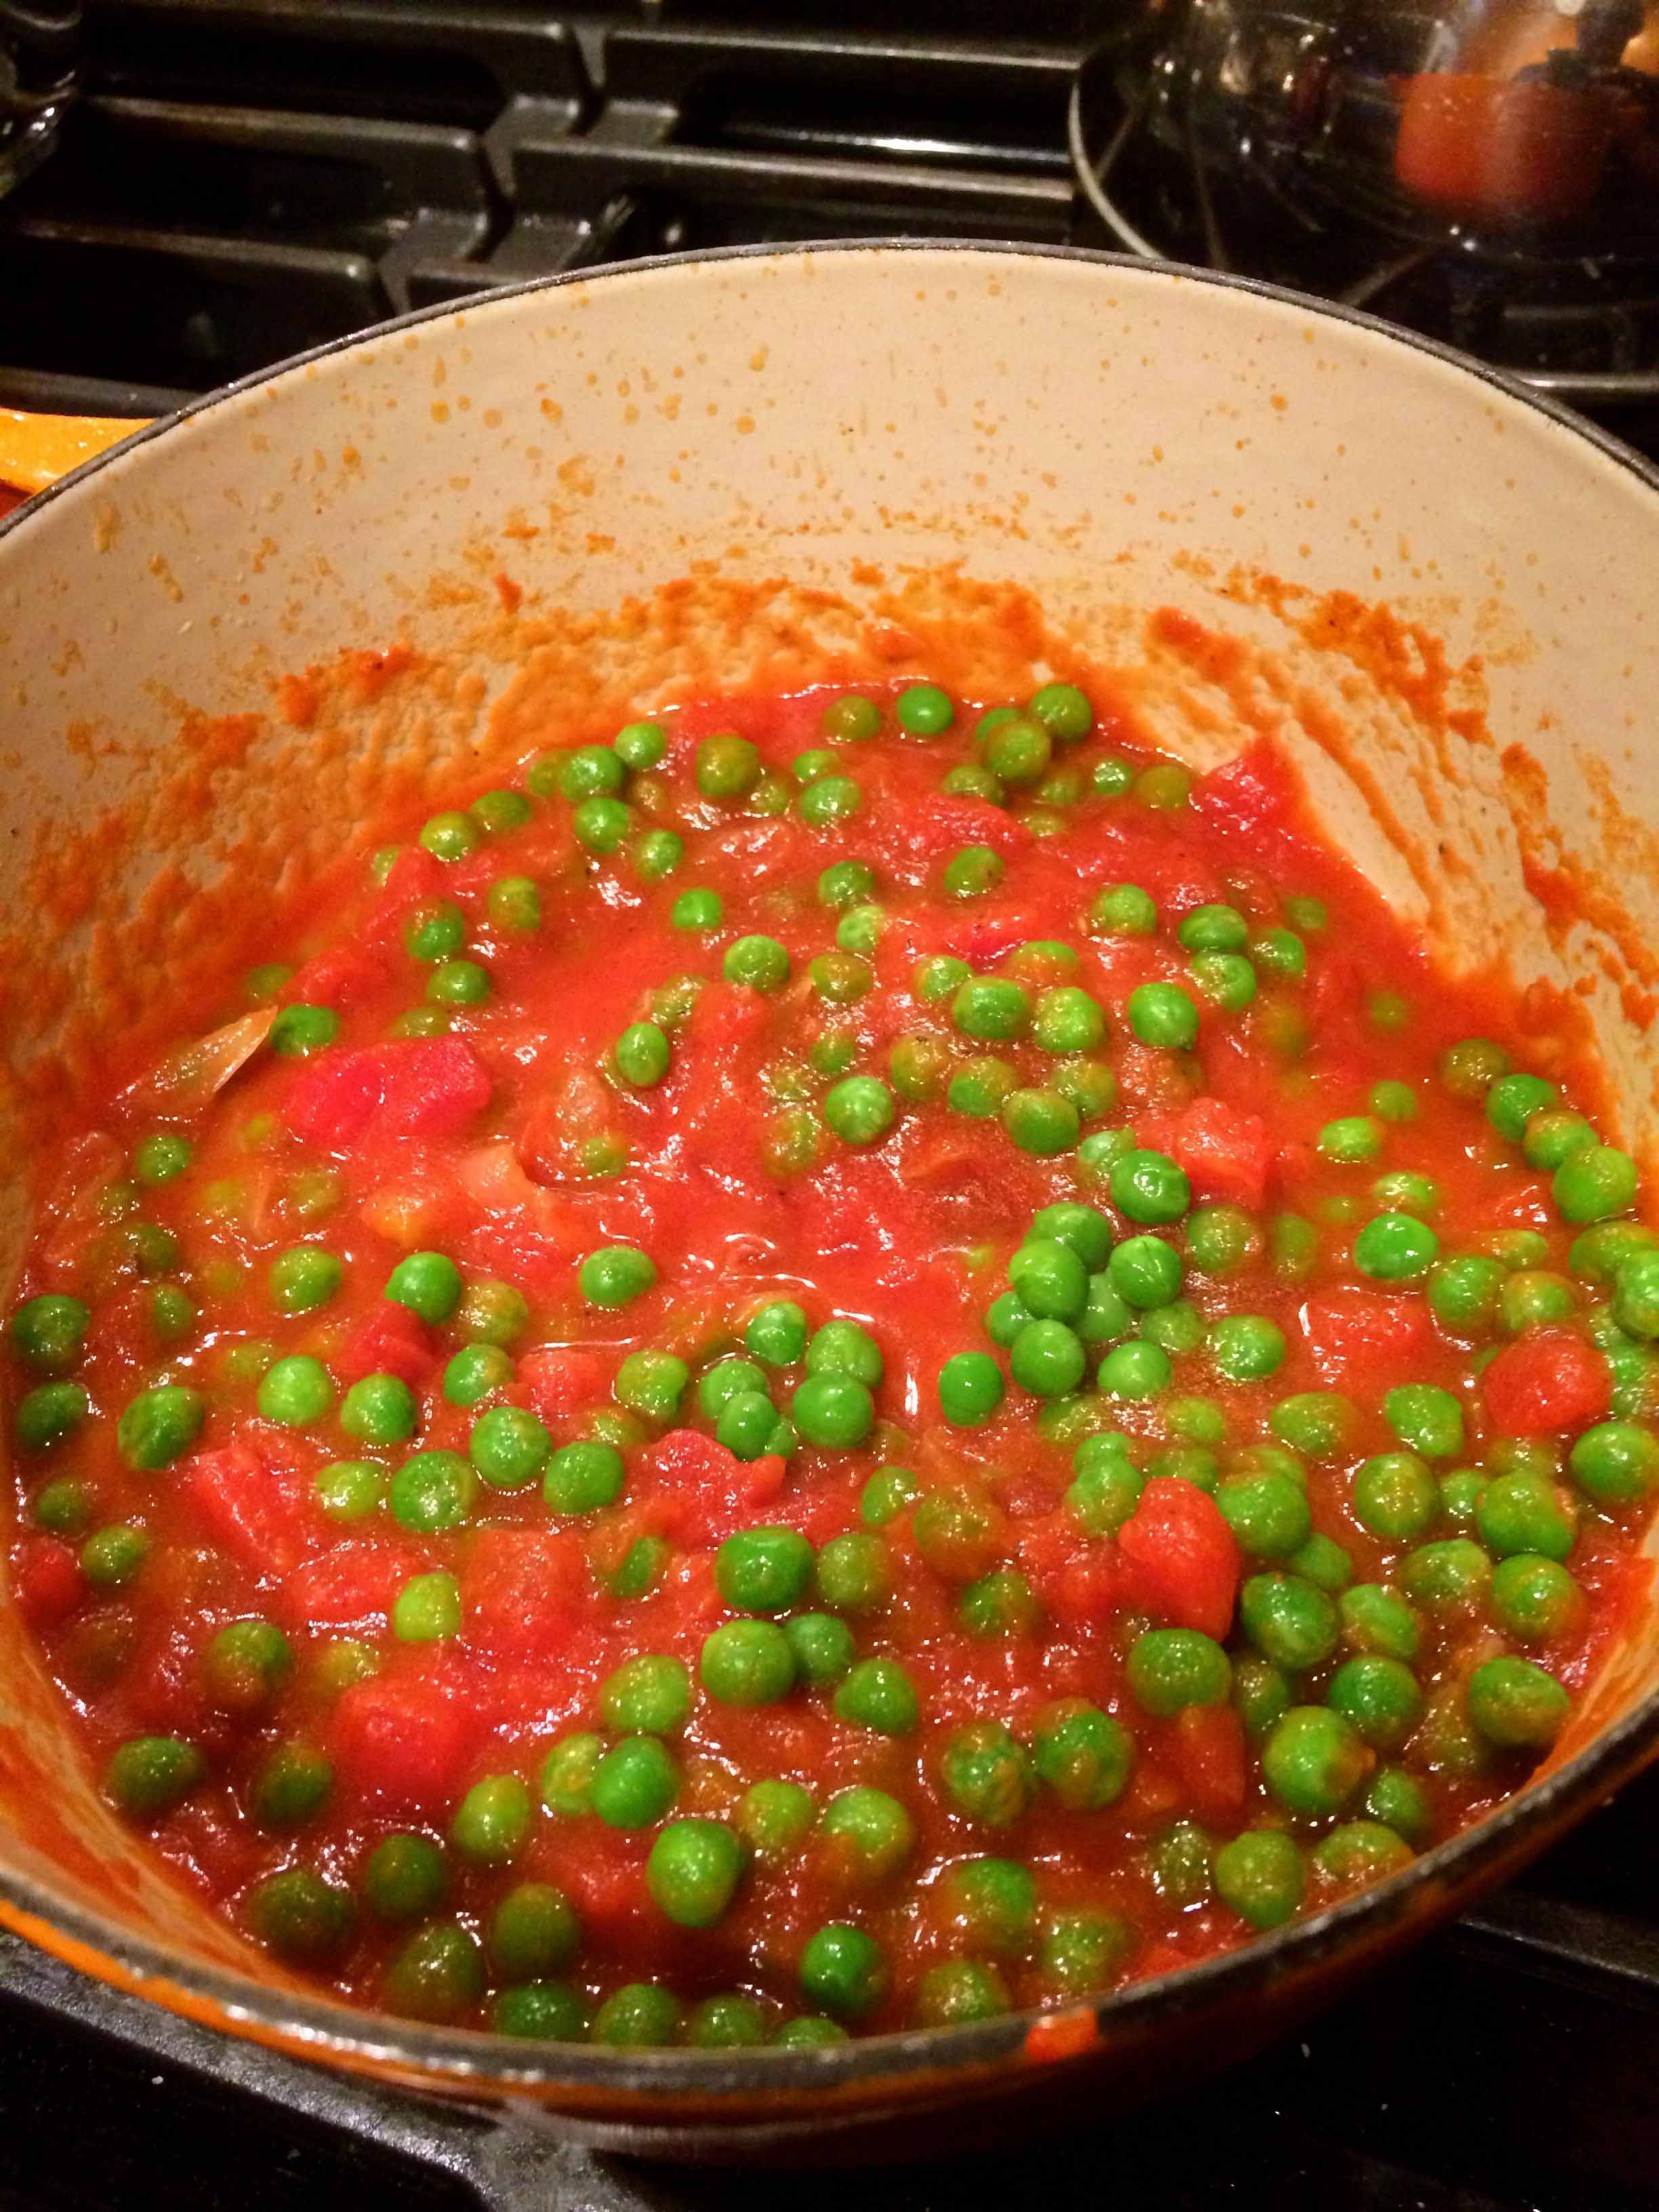
When my brother left home for college, my mother, while proud of her first born’s academic accomplishment, was sad to see him go. (I, however, was glad to finally have a bedroom to myself.) From that first September until his return for Thanksgiving, a day never went by when mom didn’t say how much she missed him. So when he came home for the holiday weekend, that first night she prepared his favorite dish, pasta piselli, pasta with peas, a recipe that reflected her own Sicilian heritage.
The extreme pleasure he exhibited when she brought it to the table—and consumed multiple portions—is probably why she continued to prepare this pasta every time he returned home not only from college and graduate school but even after he entered the Foreign Service and came back from posts abroad. It was always the first course for his first night back.
My brother has been asking me to re-create this dish, so last night I decided to give it a go.I must admit, I came pretty close. My only disappointment was that I was unable to find ditali, the only pasta shape my mother would use for her pasta piselli.
Our Mother’s Pasta Piselli
2 tablespoons extra virgin olive oil 1 small onion, sliced thin vertically Salt Freshly ground black pepper 1 16-ounce can crushed San Marzano tomatoes 1.5 cups frozen peas 8 ounces ditali or other small pasta Pecorino-Romano
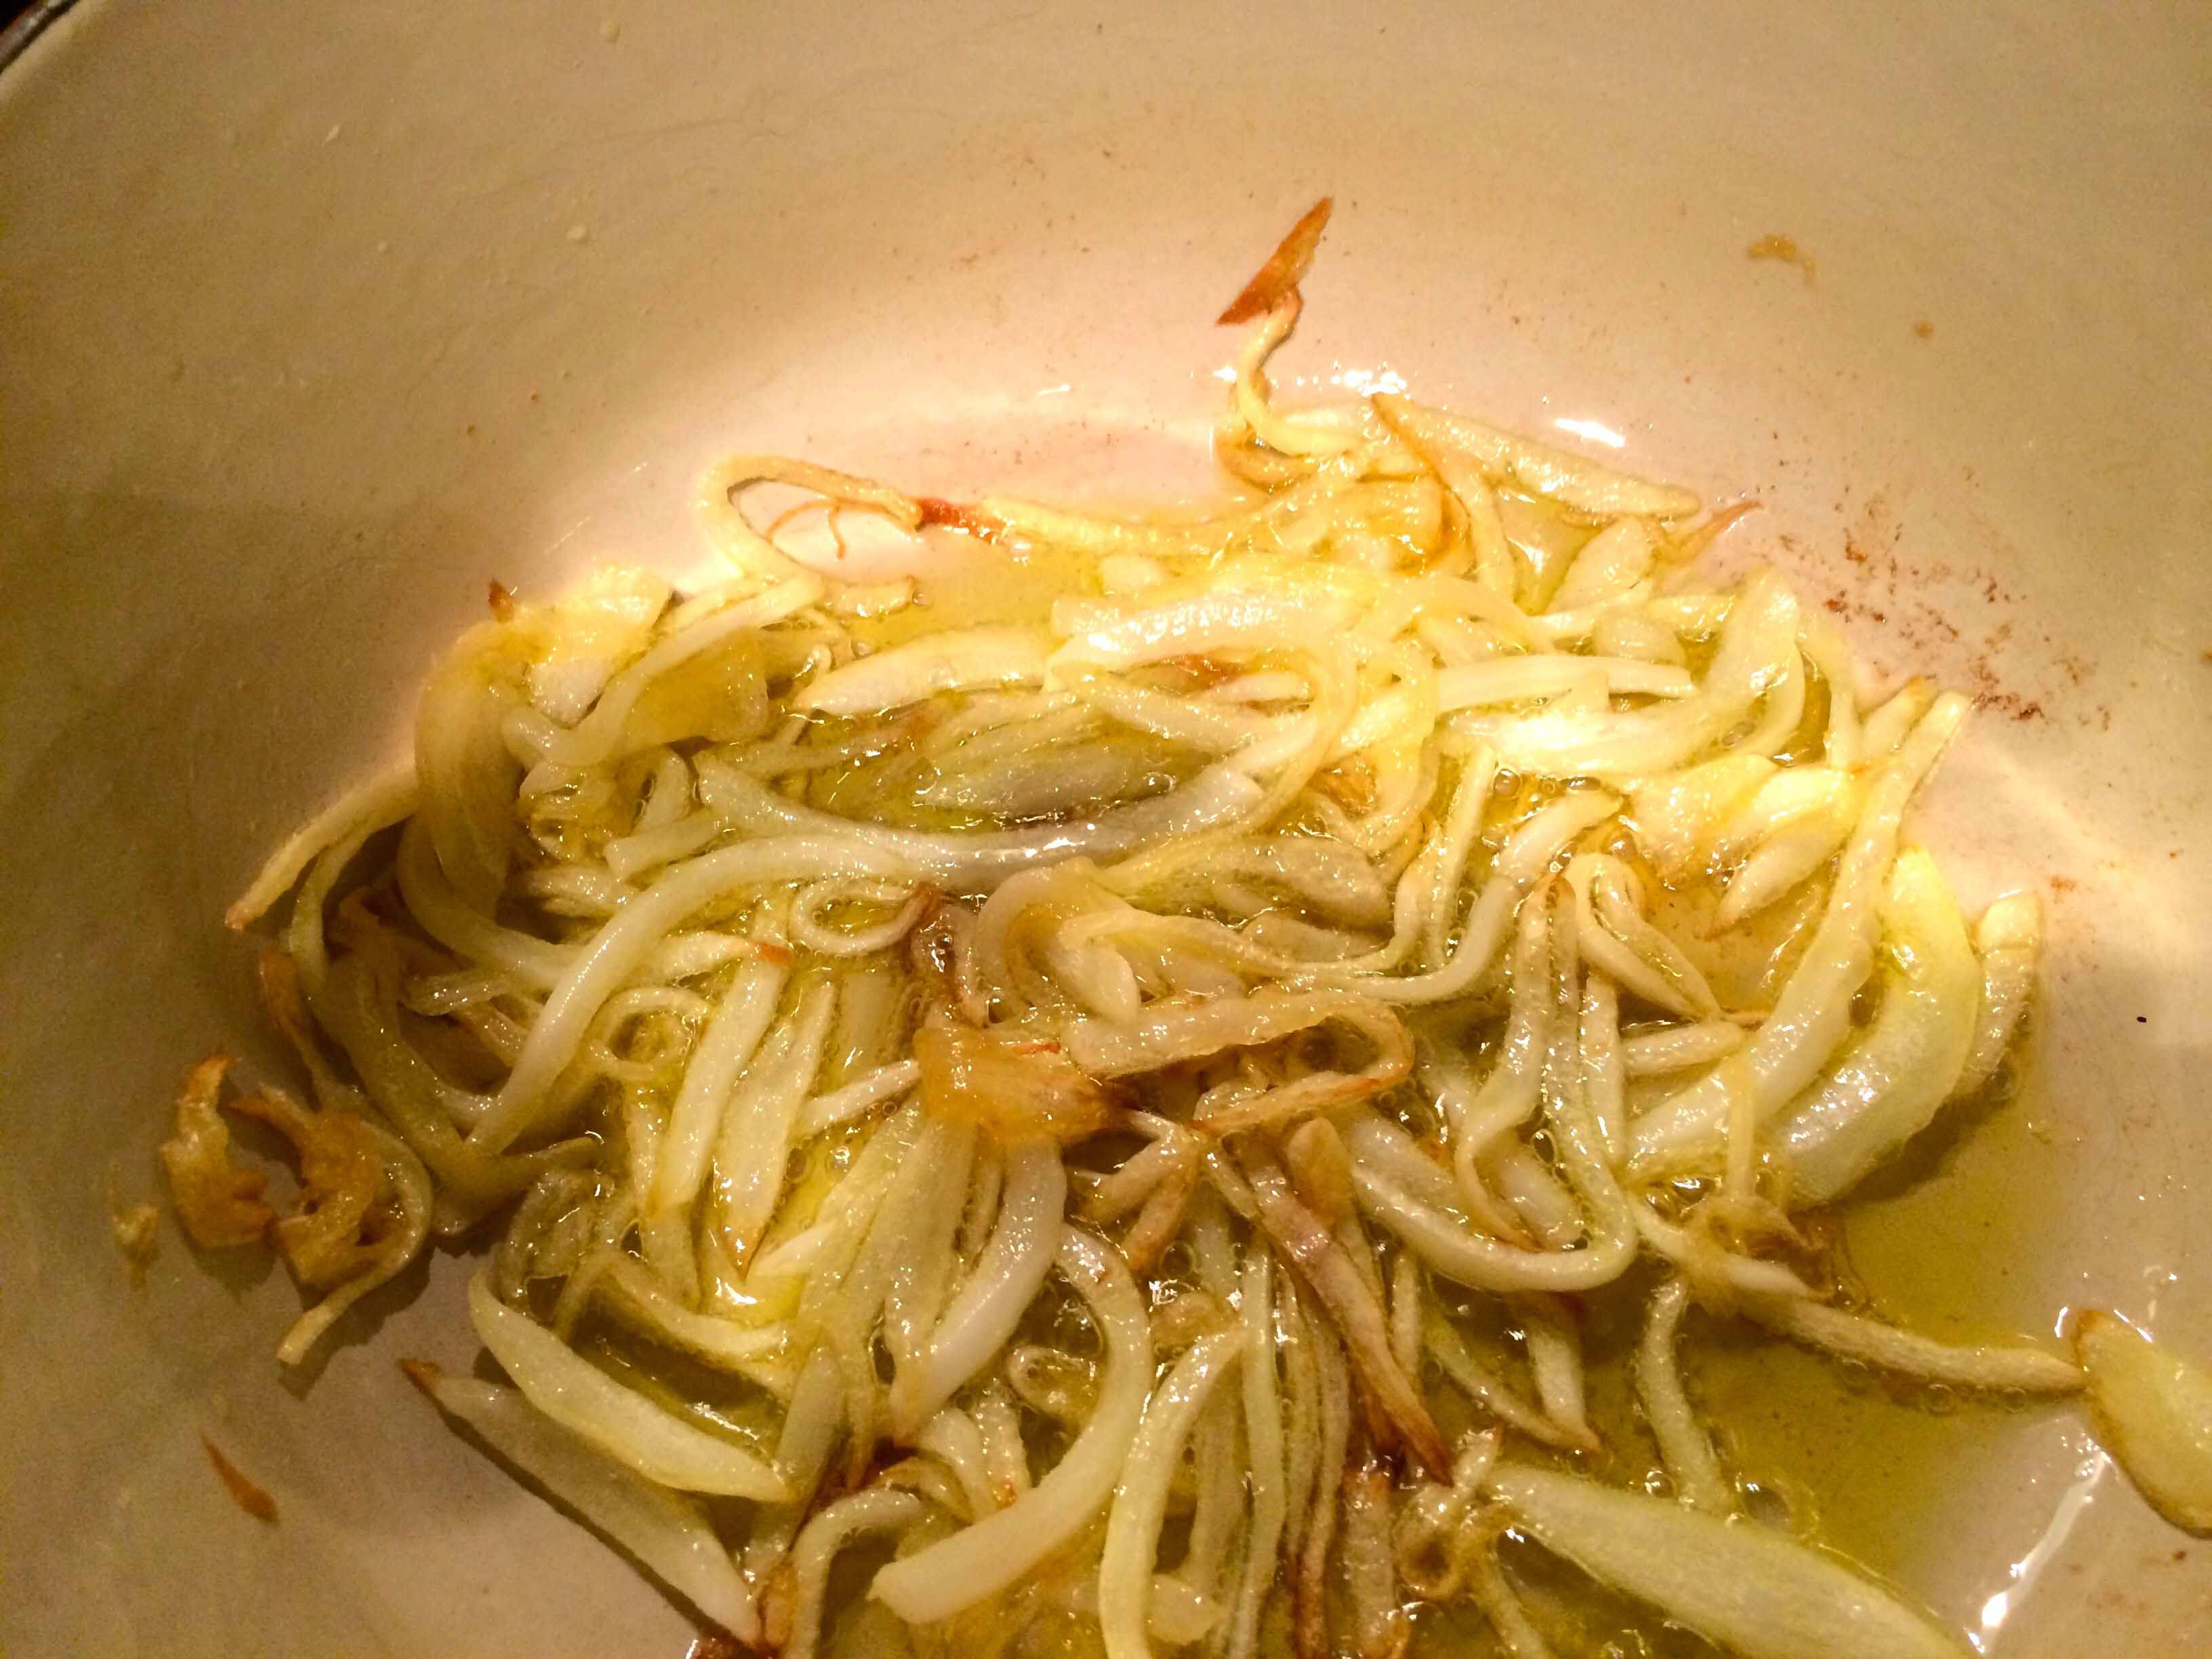
In a 3-quart heavy-bottomed sauce pan with a lid, place the olive oil and onion with a pinch of salt and cook uncovered over medium-low heat until the onions are softened and turn a pale gold.
The cooked onions
Add the tomatoes with their juice, salt and pepper to taste, and cook uncovered for about 10 minutes, until slightly thickened.
Add the peas, stir, and bring to a simmer. Cover the pan and continue to cook over low heat for 20 minutes, stirring occasionally. The peas should be well cooked, but not mushy.
The peas added to the sauce
Meanwhile, cook the pasta in well salted water, following package directions for al dente. Cook for one minute less than indicated. Reserve one cup of the pasta water and set aside. Drain the pasta and transfer it to the pan with the sauce. Cook for 1 minute, stirring to coat the pasta with the sauce. If too thick add some of the reserved pasta water.
Transfer to a warmed serving bowl and sprinkle with grated pecorino cheese.
Although my family preferred to dine at home for Italian food, we would on occasion patronize a local neighborhood restaurant in Brooklyn named Michael’s. This past summer, after a visit to our parents’ graves, my brother and I, prompted by nostalgia, thought we would return there with our spouses for lunch.
When we entered, we were amazed at how little the place had changed; the son of the original proprietor still remembered us even after a 25 year absence; it was still elegant, with white tablecloths, polished stemware, and attentive waiters dressed in dark suits and ties. Even the menu was as I remembered it, allowing my brother and me to pick out parents’ favorite dishes as well as ours.
Mine was always their lemon chicken on the bone, a fricassee with small bone-in pieces of chicken, perfectly browned and napped in an intensely flavored lemon sauce and always served, even today, with sautéed string beans and a potato croquette.
Last night, I tried to re-create this dish—but only with a modicum of success. I based my recipe on a recipe from Marcella Hazan’s Essentials of Classic Italian Cooking. However, I used a chicken cut into 16 pieces as opposed to the 8 called for by the recipe and I did not follow the original recipe’s directions for cooking the breast meat for a shorter time than the dark. After browning, I cooked the entire batch of chicken for close to 50 minutes. Consequently, some of the pieces of white meat were not as moist as I would have liked them to be. Finally, the amount of sauce I wound up with was considerably less than I had expected, despite using more wine and lemon juice than was called for.
Nevertheless, the final dish was more than edible and both of us went back for seconds. The flavor of the sauce was extremely close to what I was aiming for and the dark meat was both moist and flavorful. Before long, I shall attempt this dish again and hopefully will have more success—perhaps another visit to Michael’s in Brooklyn will help.
Fricasseed Chicken with Rosemary and Lemon Juice
Adapted from Essentials of Italian Cooking
3 pound chicken, cut into 16 pieces 2 tablespoons extra virgin olive oil 1 tablespoon unsalted butter 4 2-inch sprigs fresh rosemary 3 garlic cloves, lightly smashed Salt Fresh-ground black pepper 1/3 cup dry white wine 4 tablespoons fresh squeezed lemon Grated zest of 1 lemon
Wash with cold water and thoroughly pat dry the chicken
Choose a lidded sauté pan large enough enough to eventually accommodate the chicken in a single layer without overlapping.
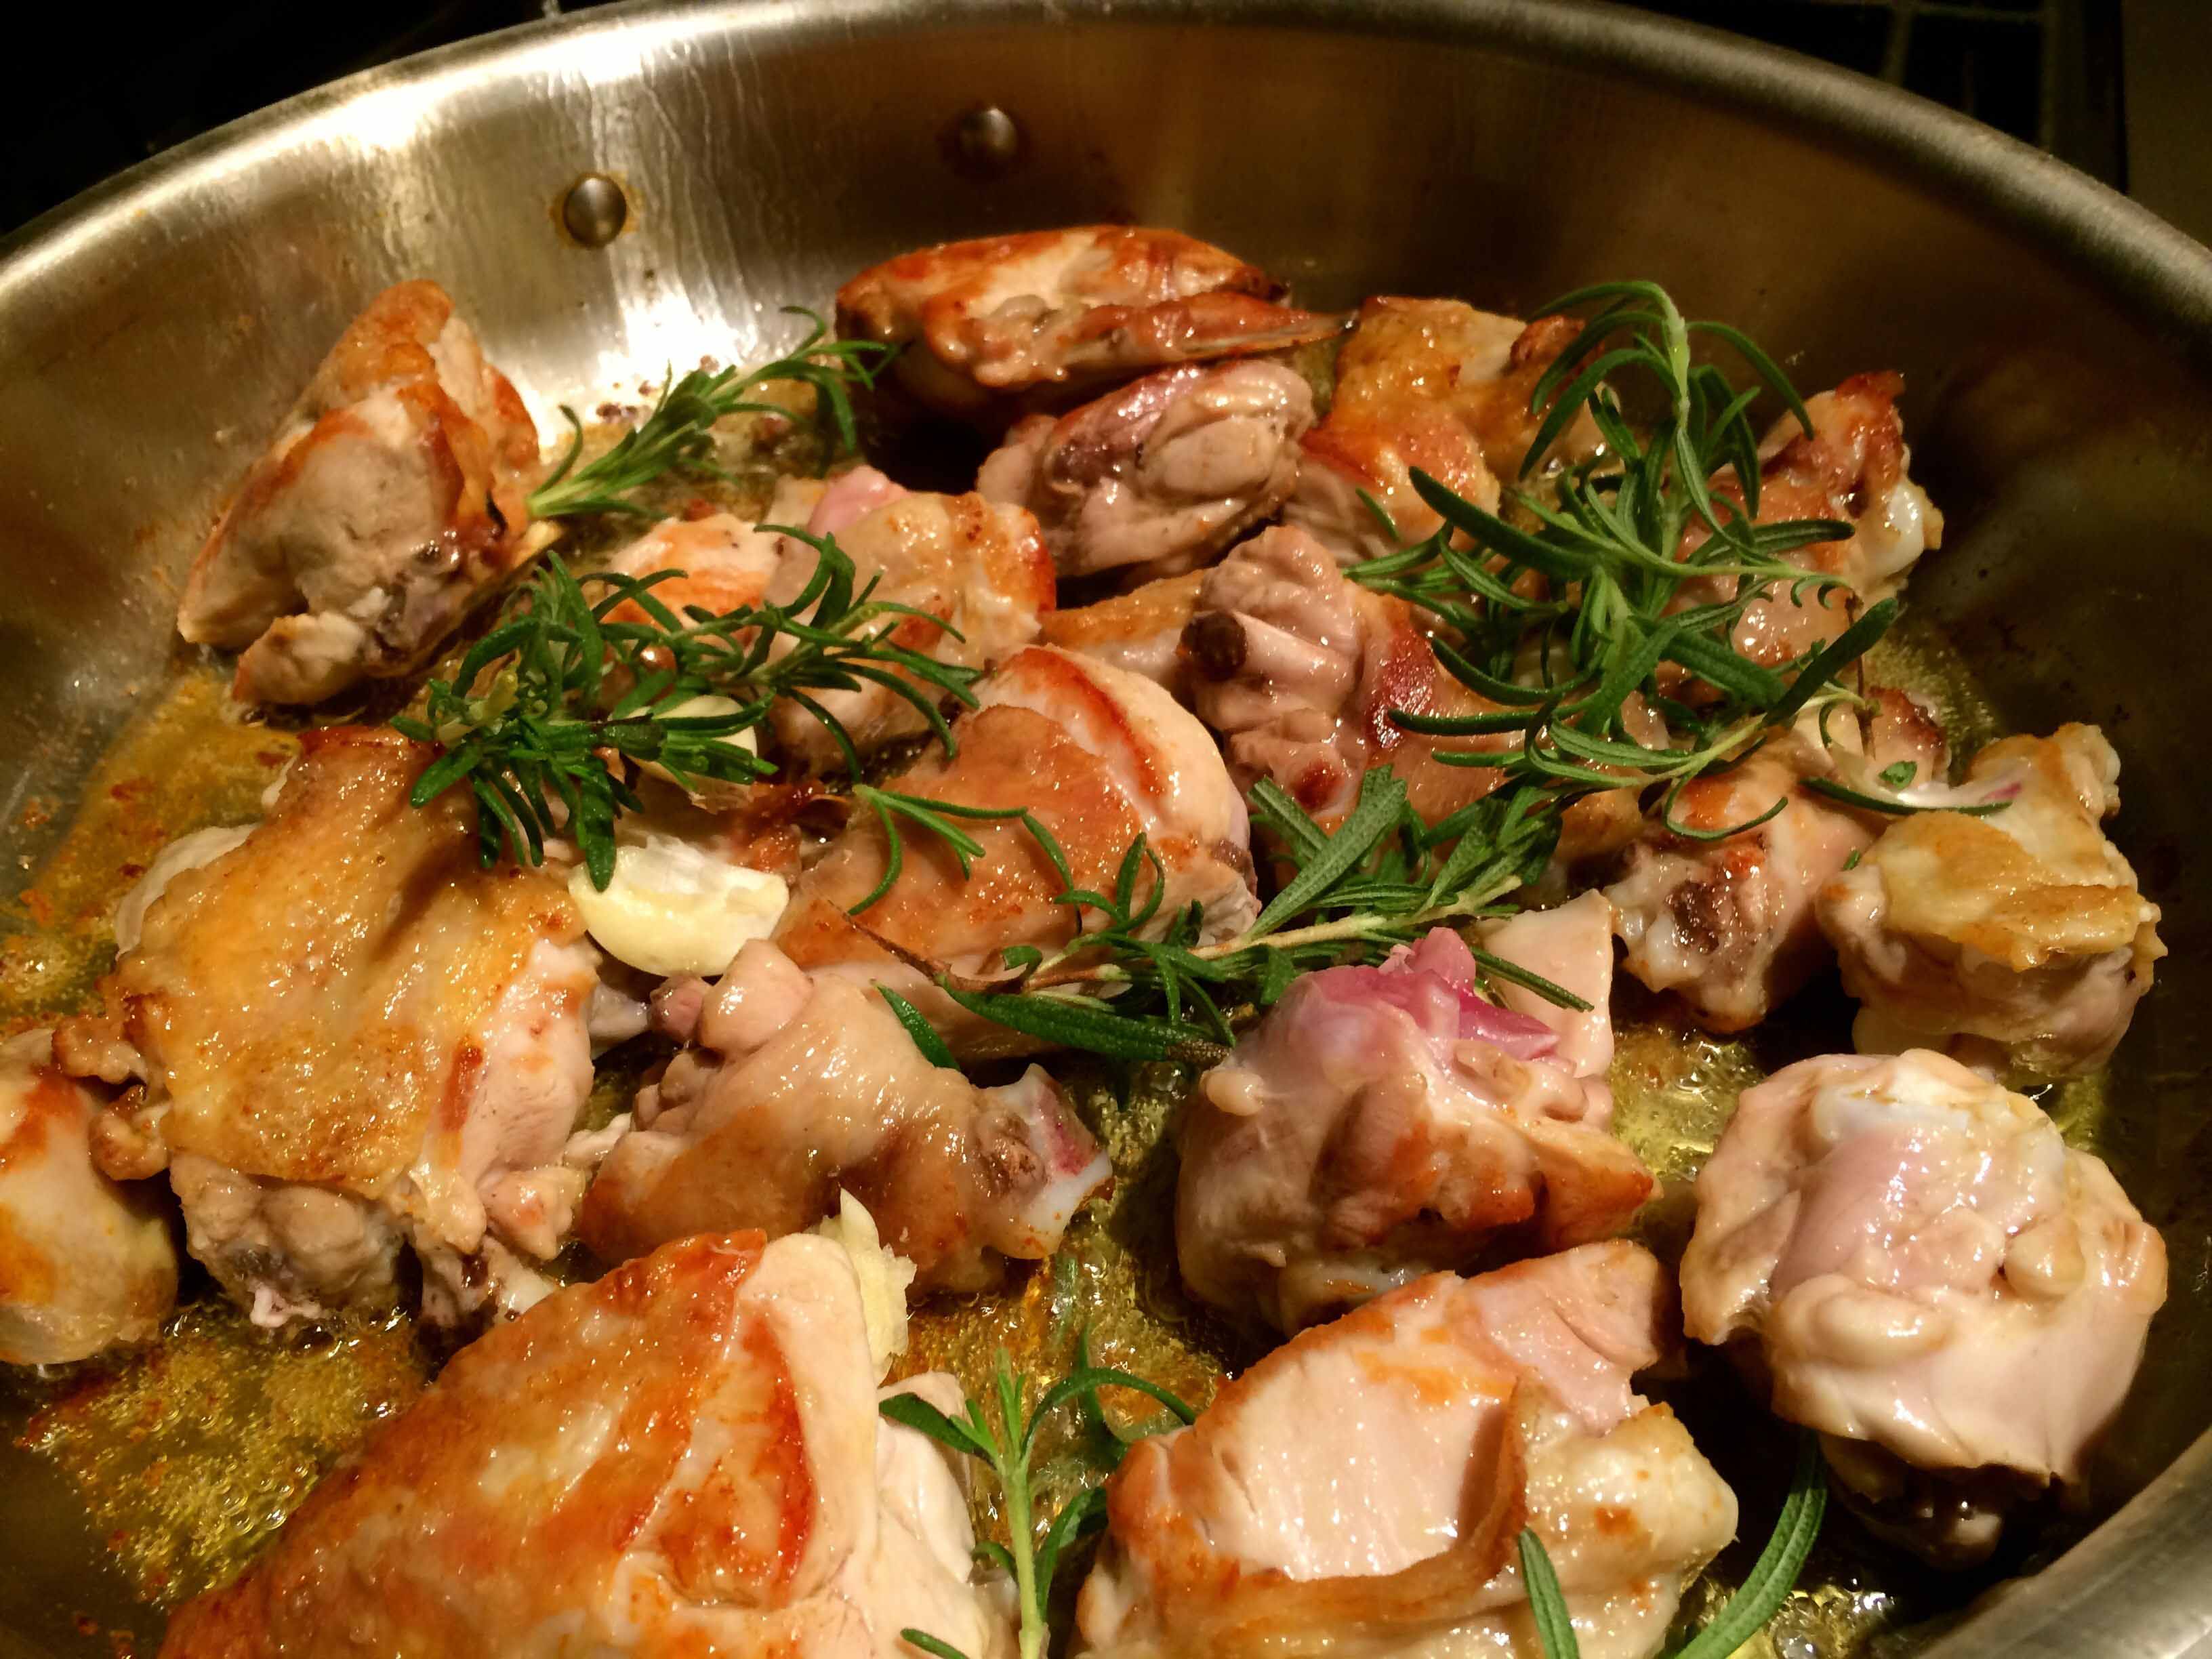
Place oil and butter in the pan over medium-high heat. When the butter foam subsides, put in the chicken skin-side down. Brown the chicken well on both sides. Add the rosemary, garlic, salt and pepper. Cook for 2 to 3 minutes, turning the chicken from time to time. (At this point, Hazan says to remove the breasts and set aside. I left all the meat in the pan.)
Chicken with the rosemary and garlic
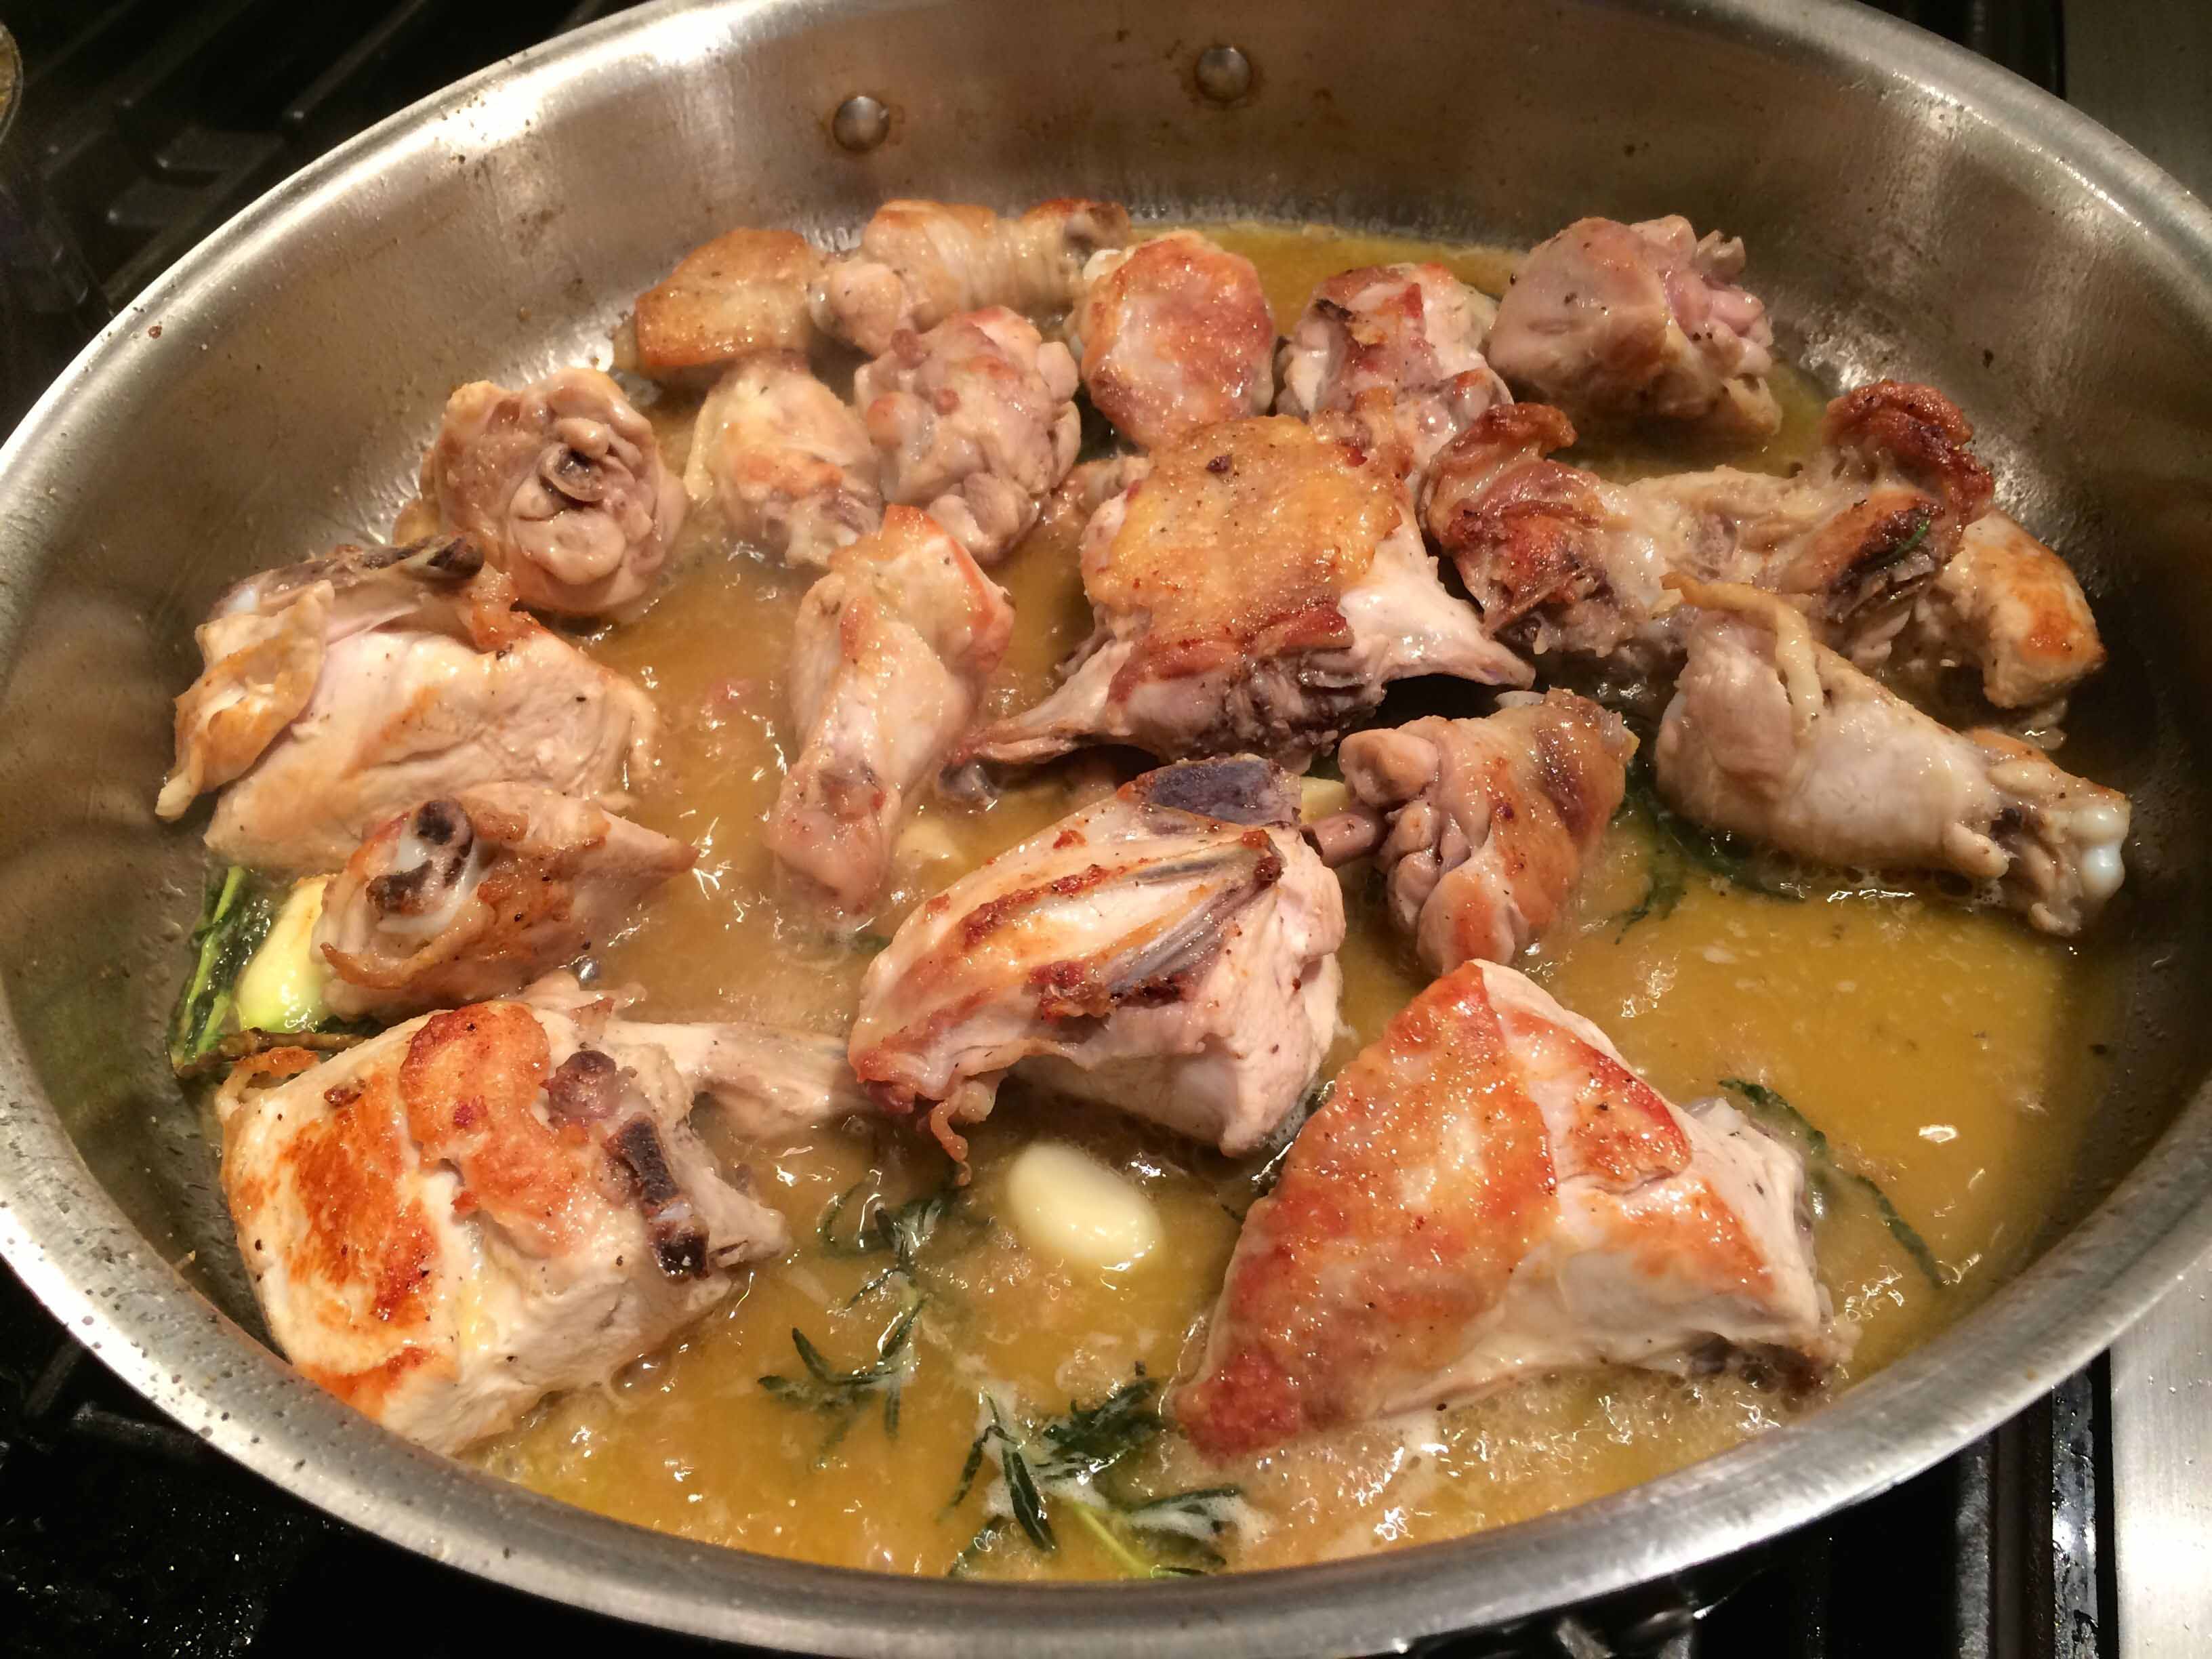
Add the wine, and bring it to a brisk simmer of about 20 seconds. Then lower the heat to cook the chicken at a very low simmer. Place the lid on the pan, leaving it slightly ajar. Cook for 40 minutes (Hazan calls for returning the white meat to the pan at this point), occasionally turning the pieces to ensure even cooking. Cook for at least 10 minutes more, until the thigh meat is tender. While the chicken is cooking, check the liquid in the pan. If too low, add 2 to 3 tablespoons of water.
After adding the lemon juice and zest
When the chicken is done, remove from heat and transfer the pieces to a warm serving platter, using a slotted spoon. Tip the pan and spoon off all but a little bit of the fat.
Add the lemon juice and zest to the pan and place over medium-low heat to deglaze the pan, using a wooden spoon to scrape loose any brown bits on the bottom and the sides of the pan. Pour the pan juices over the chicken and serve at once.
We served the chicken with a simp couscous and steamed green beans.
For me, one of the best times to visit Venice is the winter. Although it can get cold, and even albeit rarely snow, during this period, this unique city seems to shed the facade it puts on for spring and summer tourists and shows its true colors. You stroll through the city’s narrow alleys and passageways and through the silence you can hear its citizens going through their daily routines. Somehow, you feel at one with them and are woven into the fabric of La Serenissima.
On one of my visits, I chanced upon a small restaurant, whose name escapes me now, at lunch hour. There were only a few patrons, one table of businessmen, another table with a family of five celebrating a nonna’s birthday. It didn’t take long before I was seated and handed a menu with many familiar dishes typical of the region. One of them, however, stood out, as I had never seen it before: straccetti di manzo con rucola, or “rags of beef with arugula.” I had to try it.
When it appeared on the table, I was struck by how much beef was on the plate, interlaced with wilted leaves of baby arugula and shavings of parmigiano-reggiano. But when I brought my fork to the beef, I saw how thinly sliced it was and realized that my serving, although more than adequate, was not as large as it had appeared at first.
I’ve been wanting to make this dish for some time now, and a recent conversation with a friend who had just been to Italy reminded me about it. So yesterday, I went to one of my butchers and told him I needed some beef for straccetti. To my surprise, he was familiar with the dish and suggested a few cuts. “It’s cooked quickly,” he said “and the meat needs to be tender. I suggest Bohemian steak.” He explained that this cut comes from the tail of the porterhouse, is well marbled, and very flavorful.”
I’m glad I followed his advice, for the dish l prepared last night could not have been better. The beef was cooked in a matter of minutes and, although no more than an eighth of an inch thick, was juicy and tender.
If you’re looking for a quick and easy dish, I highly recommend this one. A Google search yielded a plethora of recipes for straccetti and mine is an amalgam of at least four.
Straccetti di Manzo con Rucola e Pomodorini
3 tablespoons of extra virgin olive oil
1 clove garlic peeled and smashed
5 ounces grape tomatoes, halved
1 pound Bohemian steak, sliced into 1/8-inch strips
Salt
Fresh ground pepper
1 tablespoon good quality Balsamic vinegar
1 large handful of wild arugula, washed and dried
2 ounces Parmigiano-Reggiano shaved
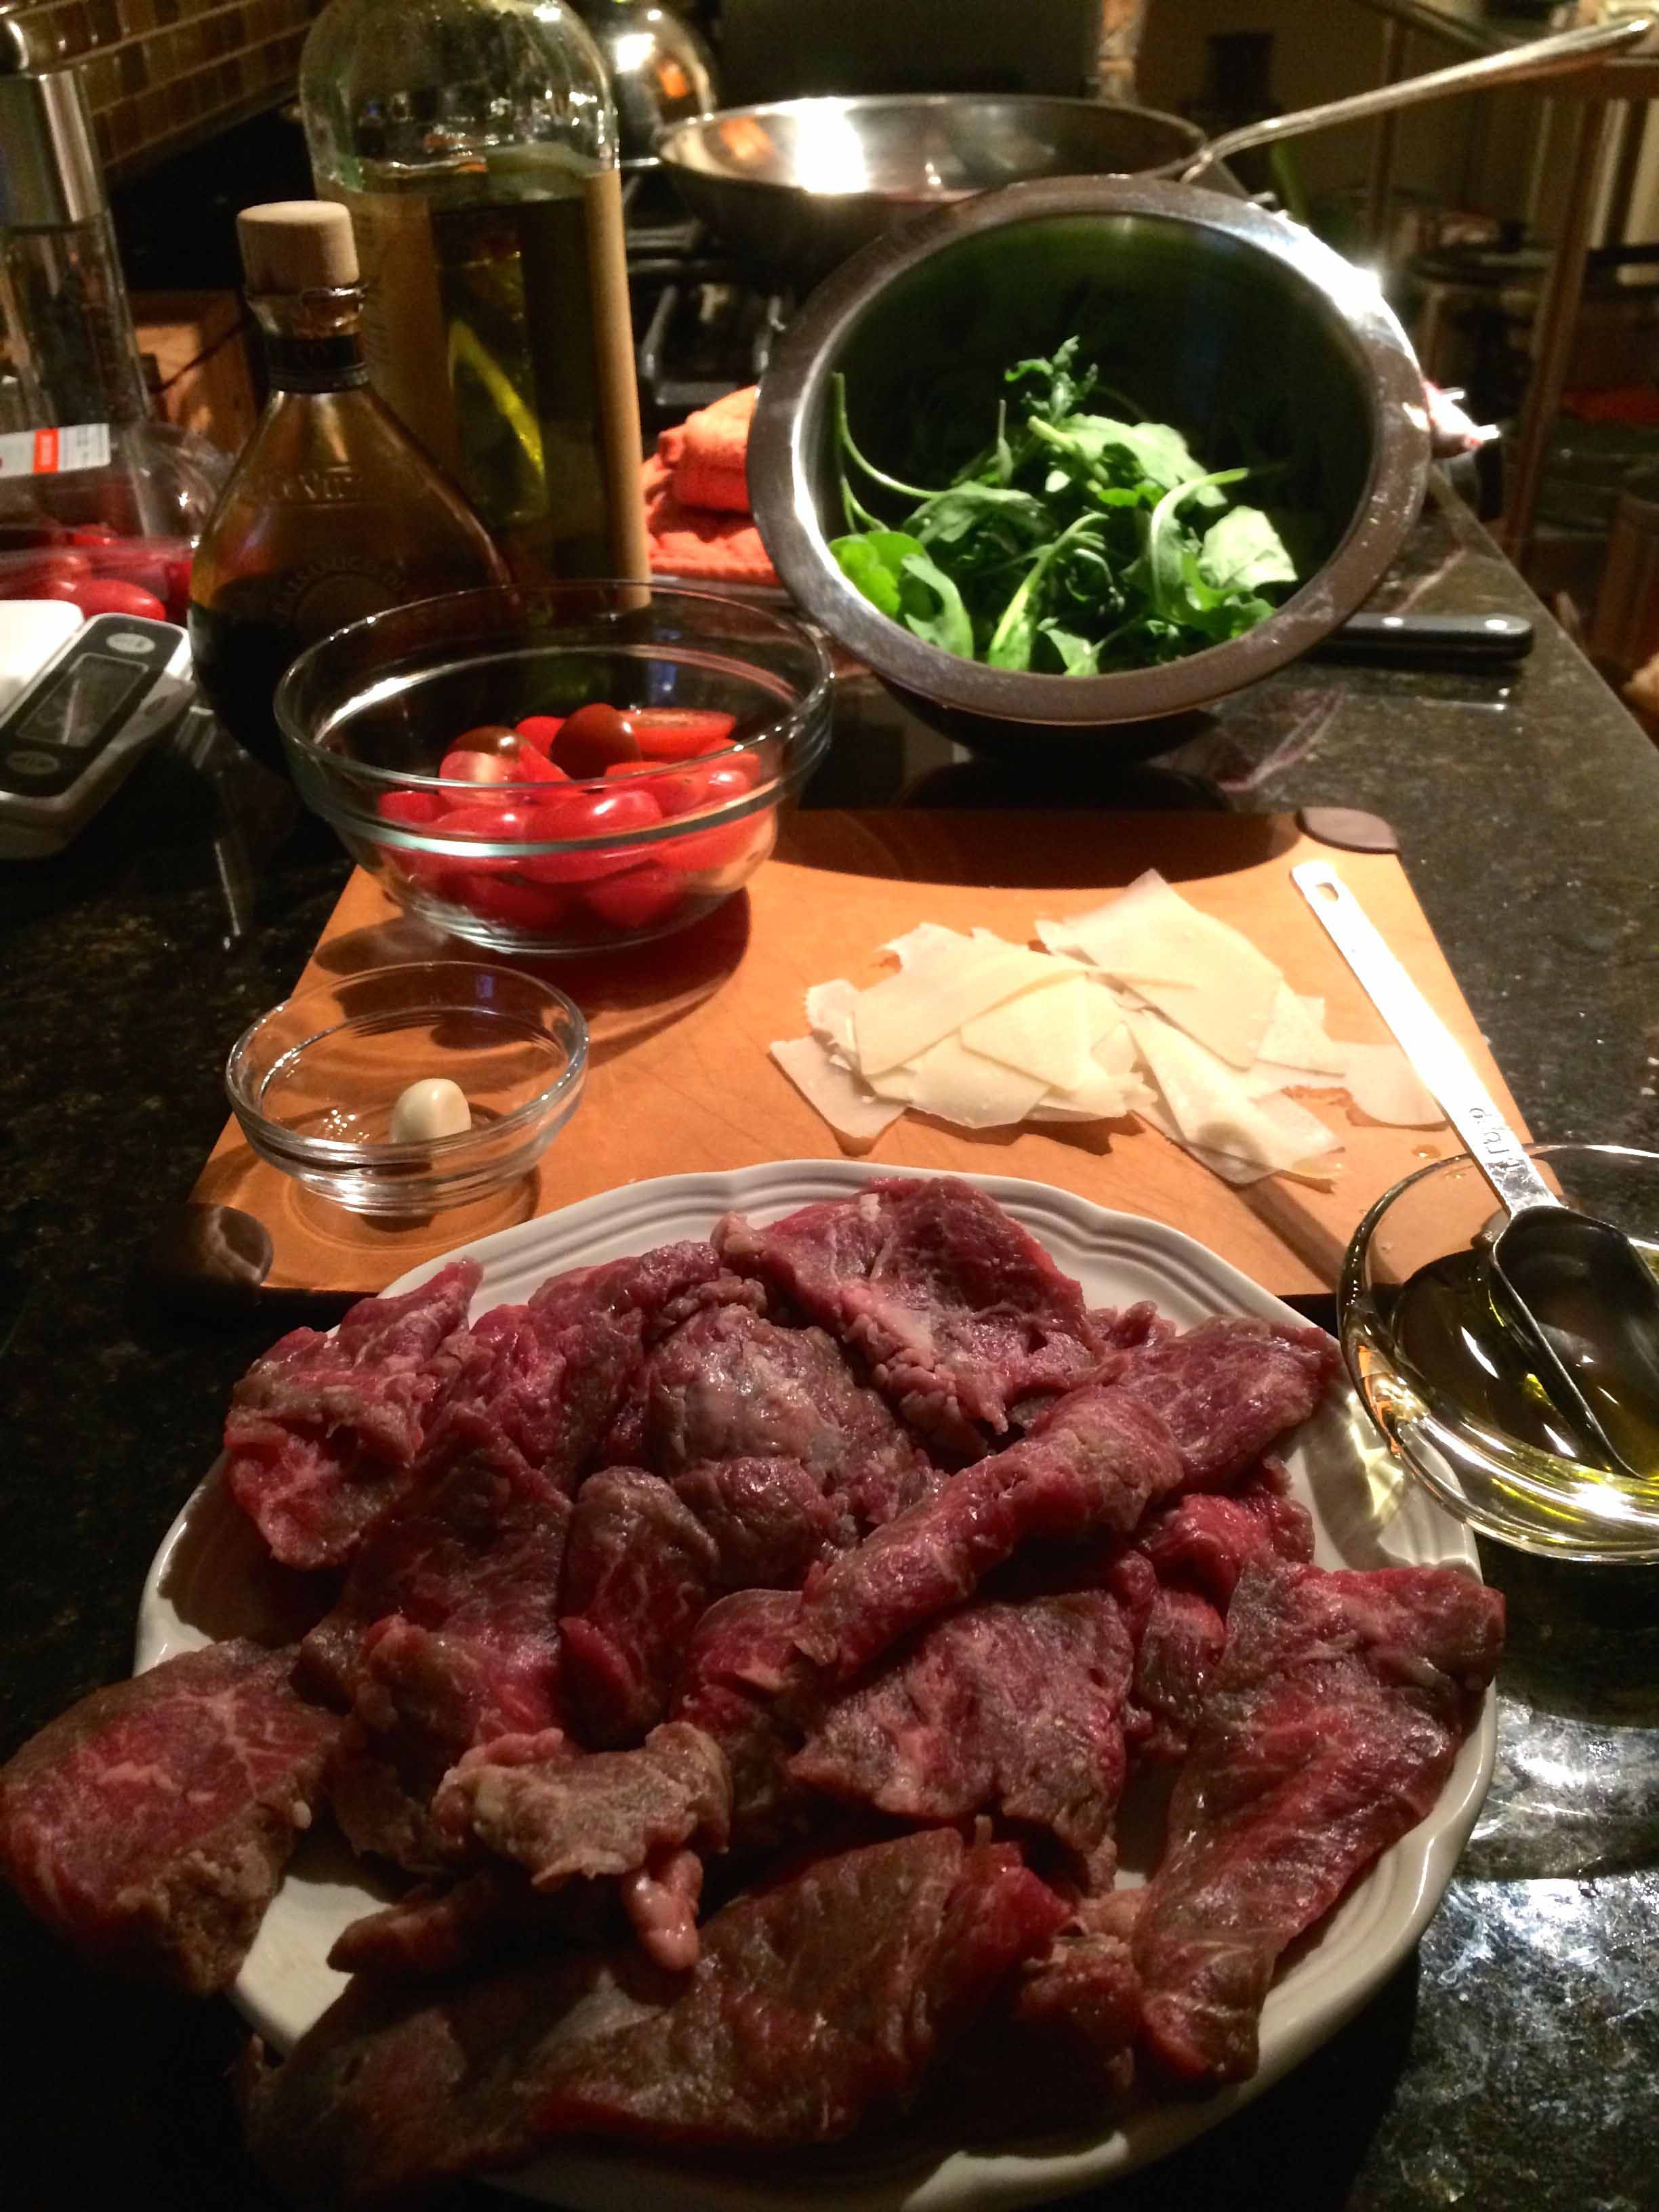
The ingredients
In a large, heavy-bottomed skillet large enough to eventually accommodate the meat in a single layer, place the olive-oil and smashed garlic and over medium-low heat poach the garlic until it becomes fragrant and a light gold.
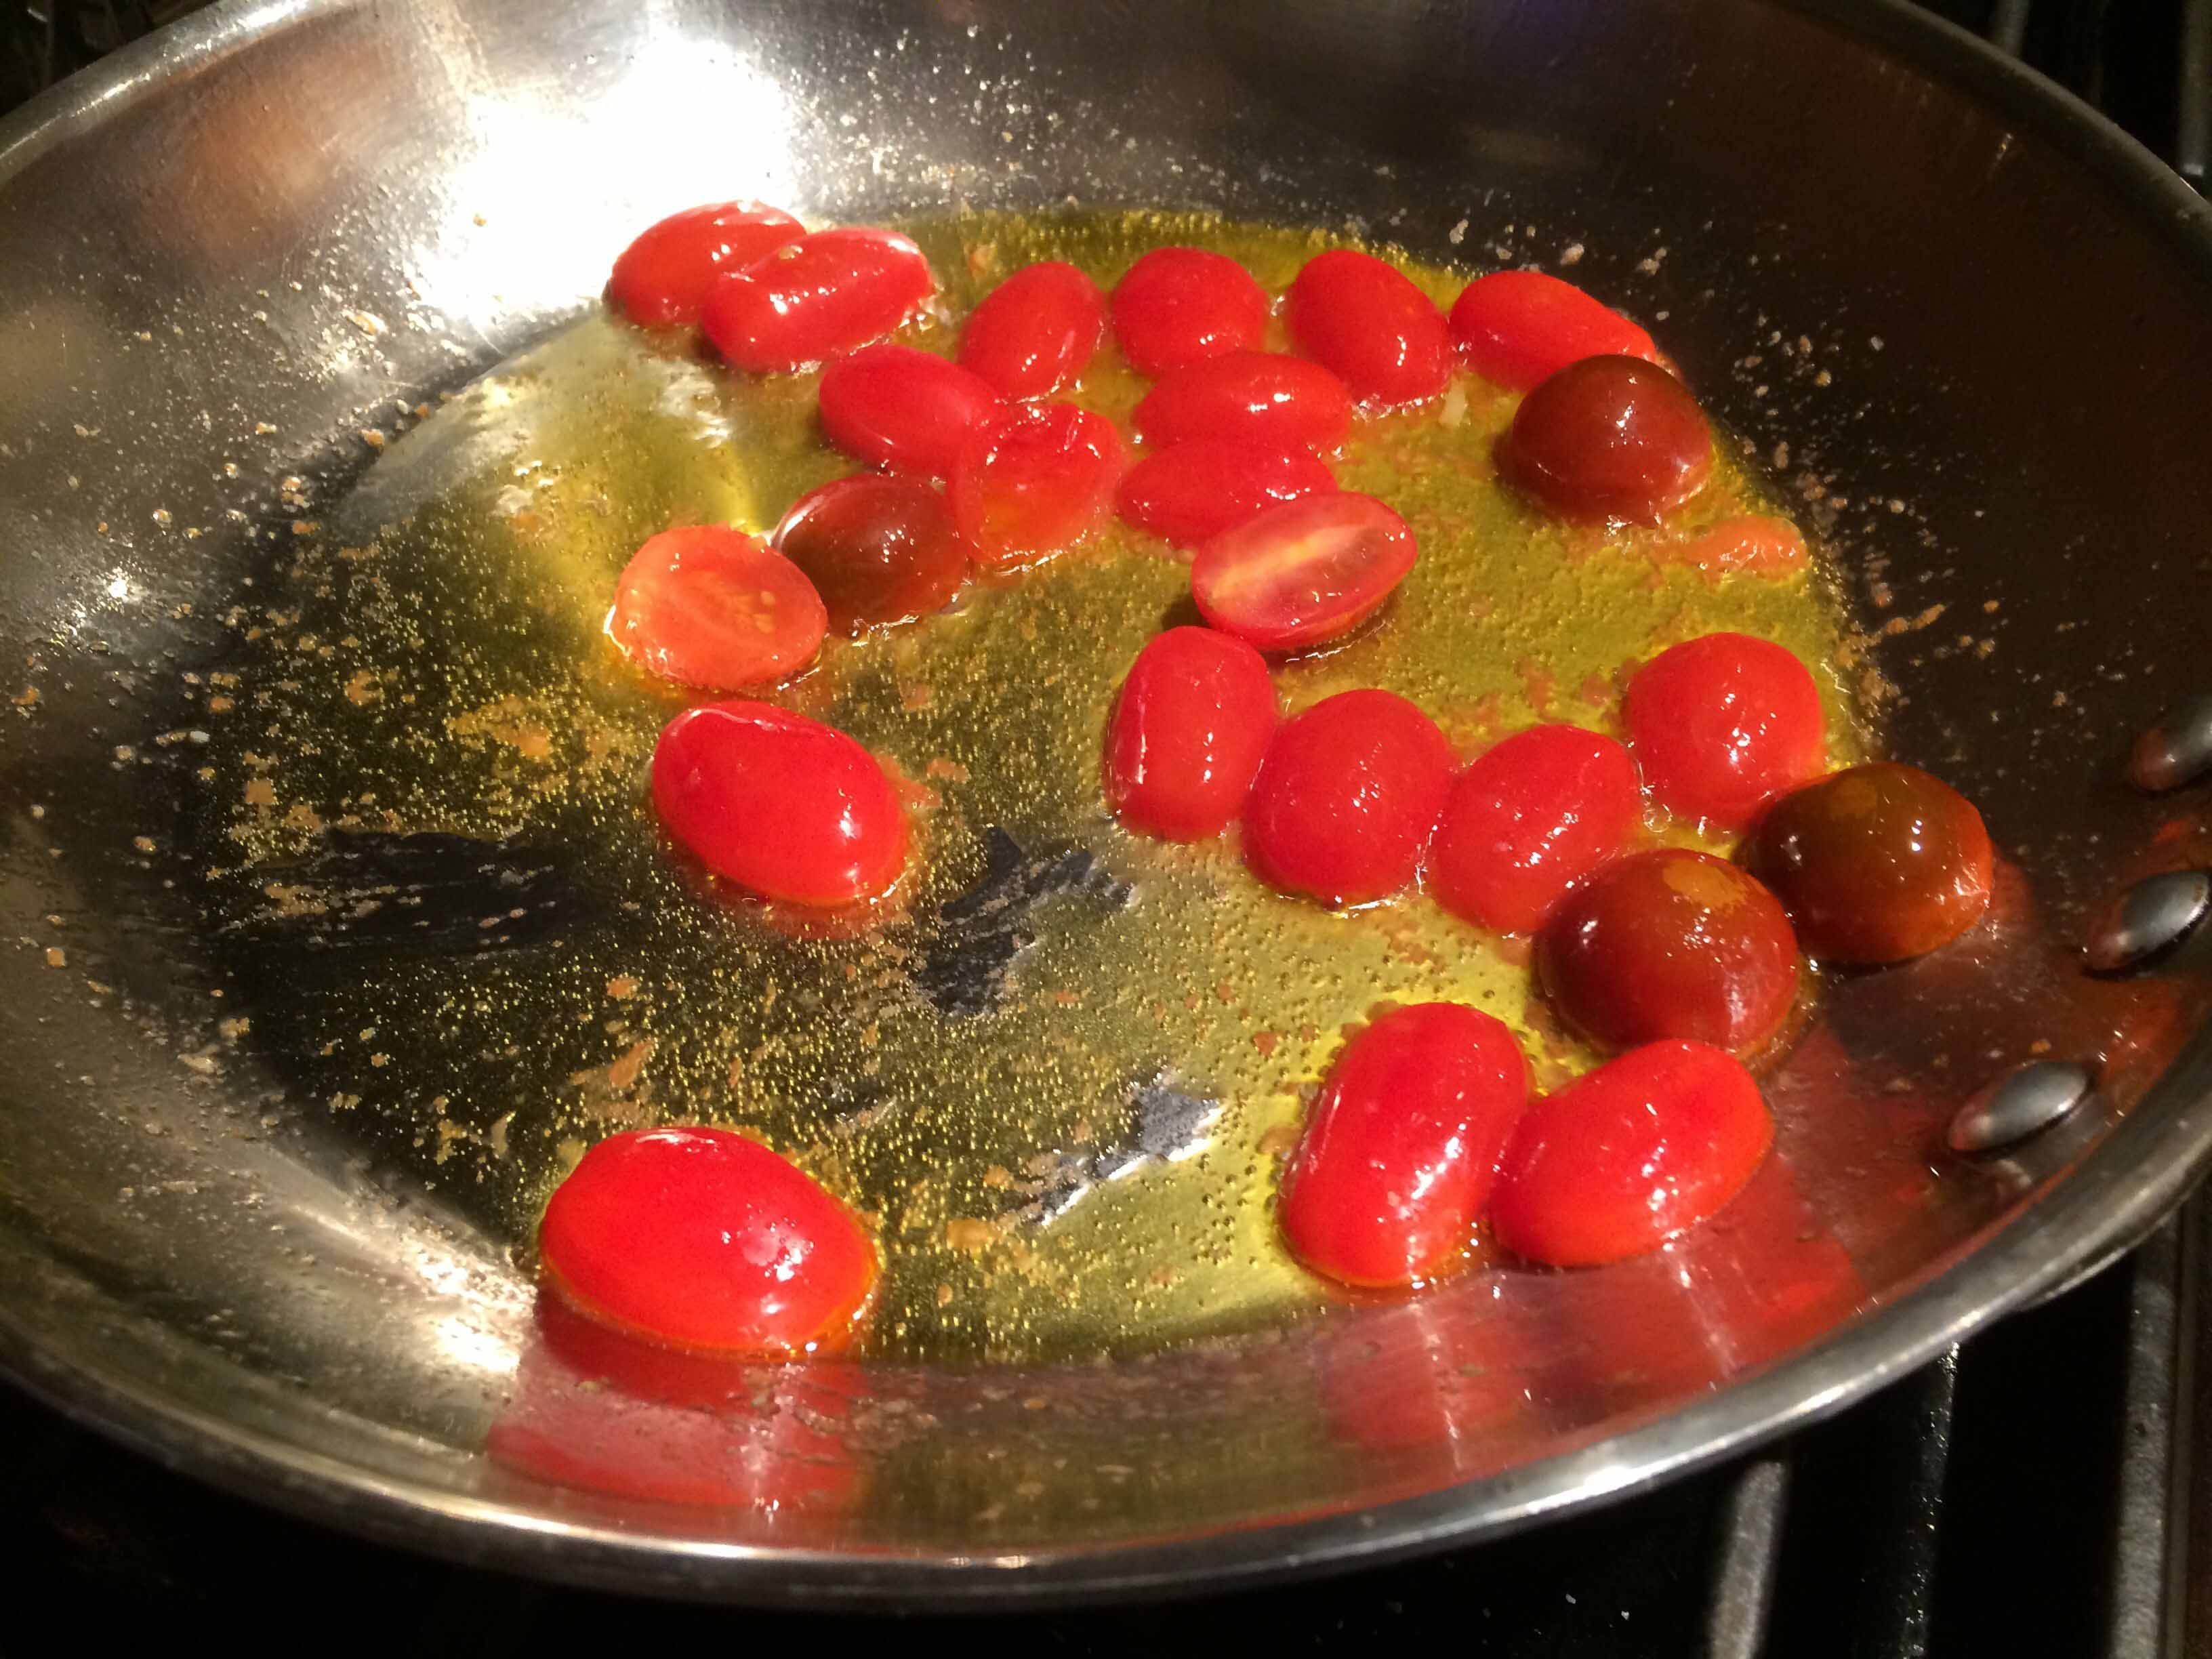
Discard the garlic and add the sliced tomatoes with a pinch of salt and cook over medium heat for about 3 to 4 minutes, or until the tomatoes just start to break down. Remove the tomatoes with a slotted spoon and set aside.
The tomatoes just breaking down
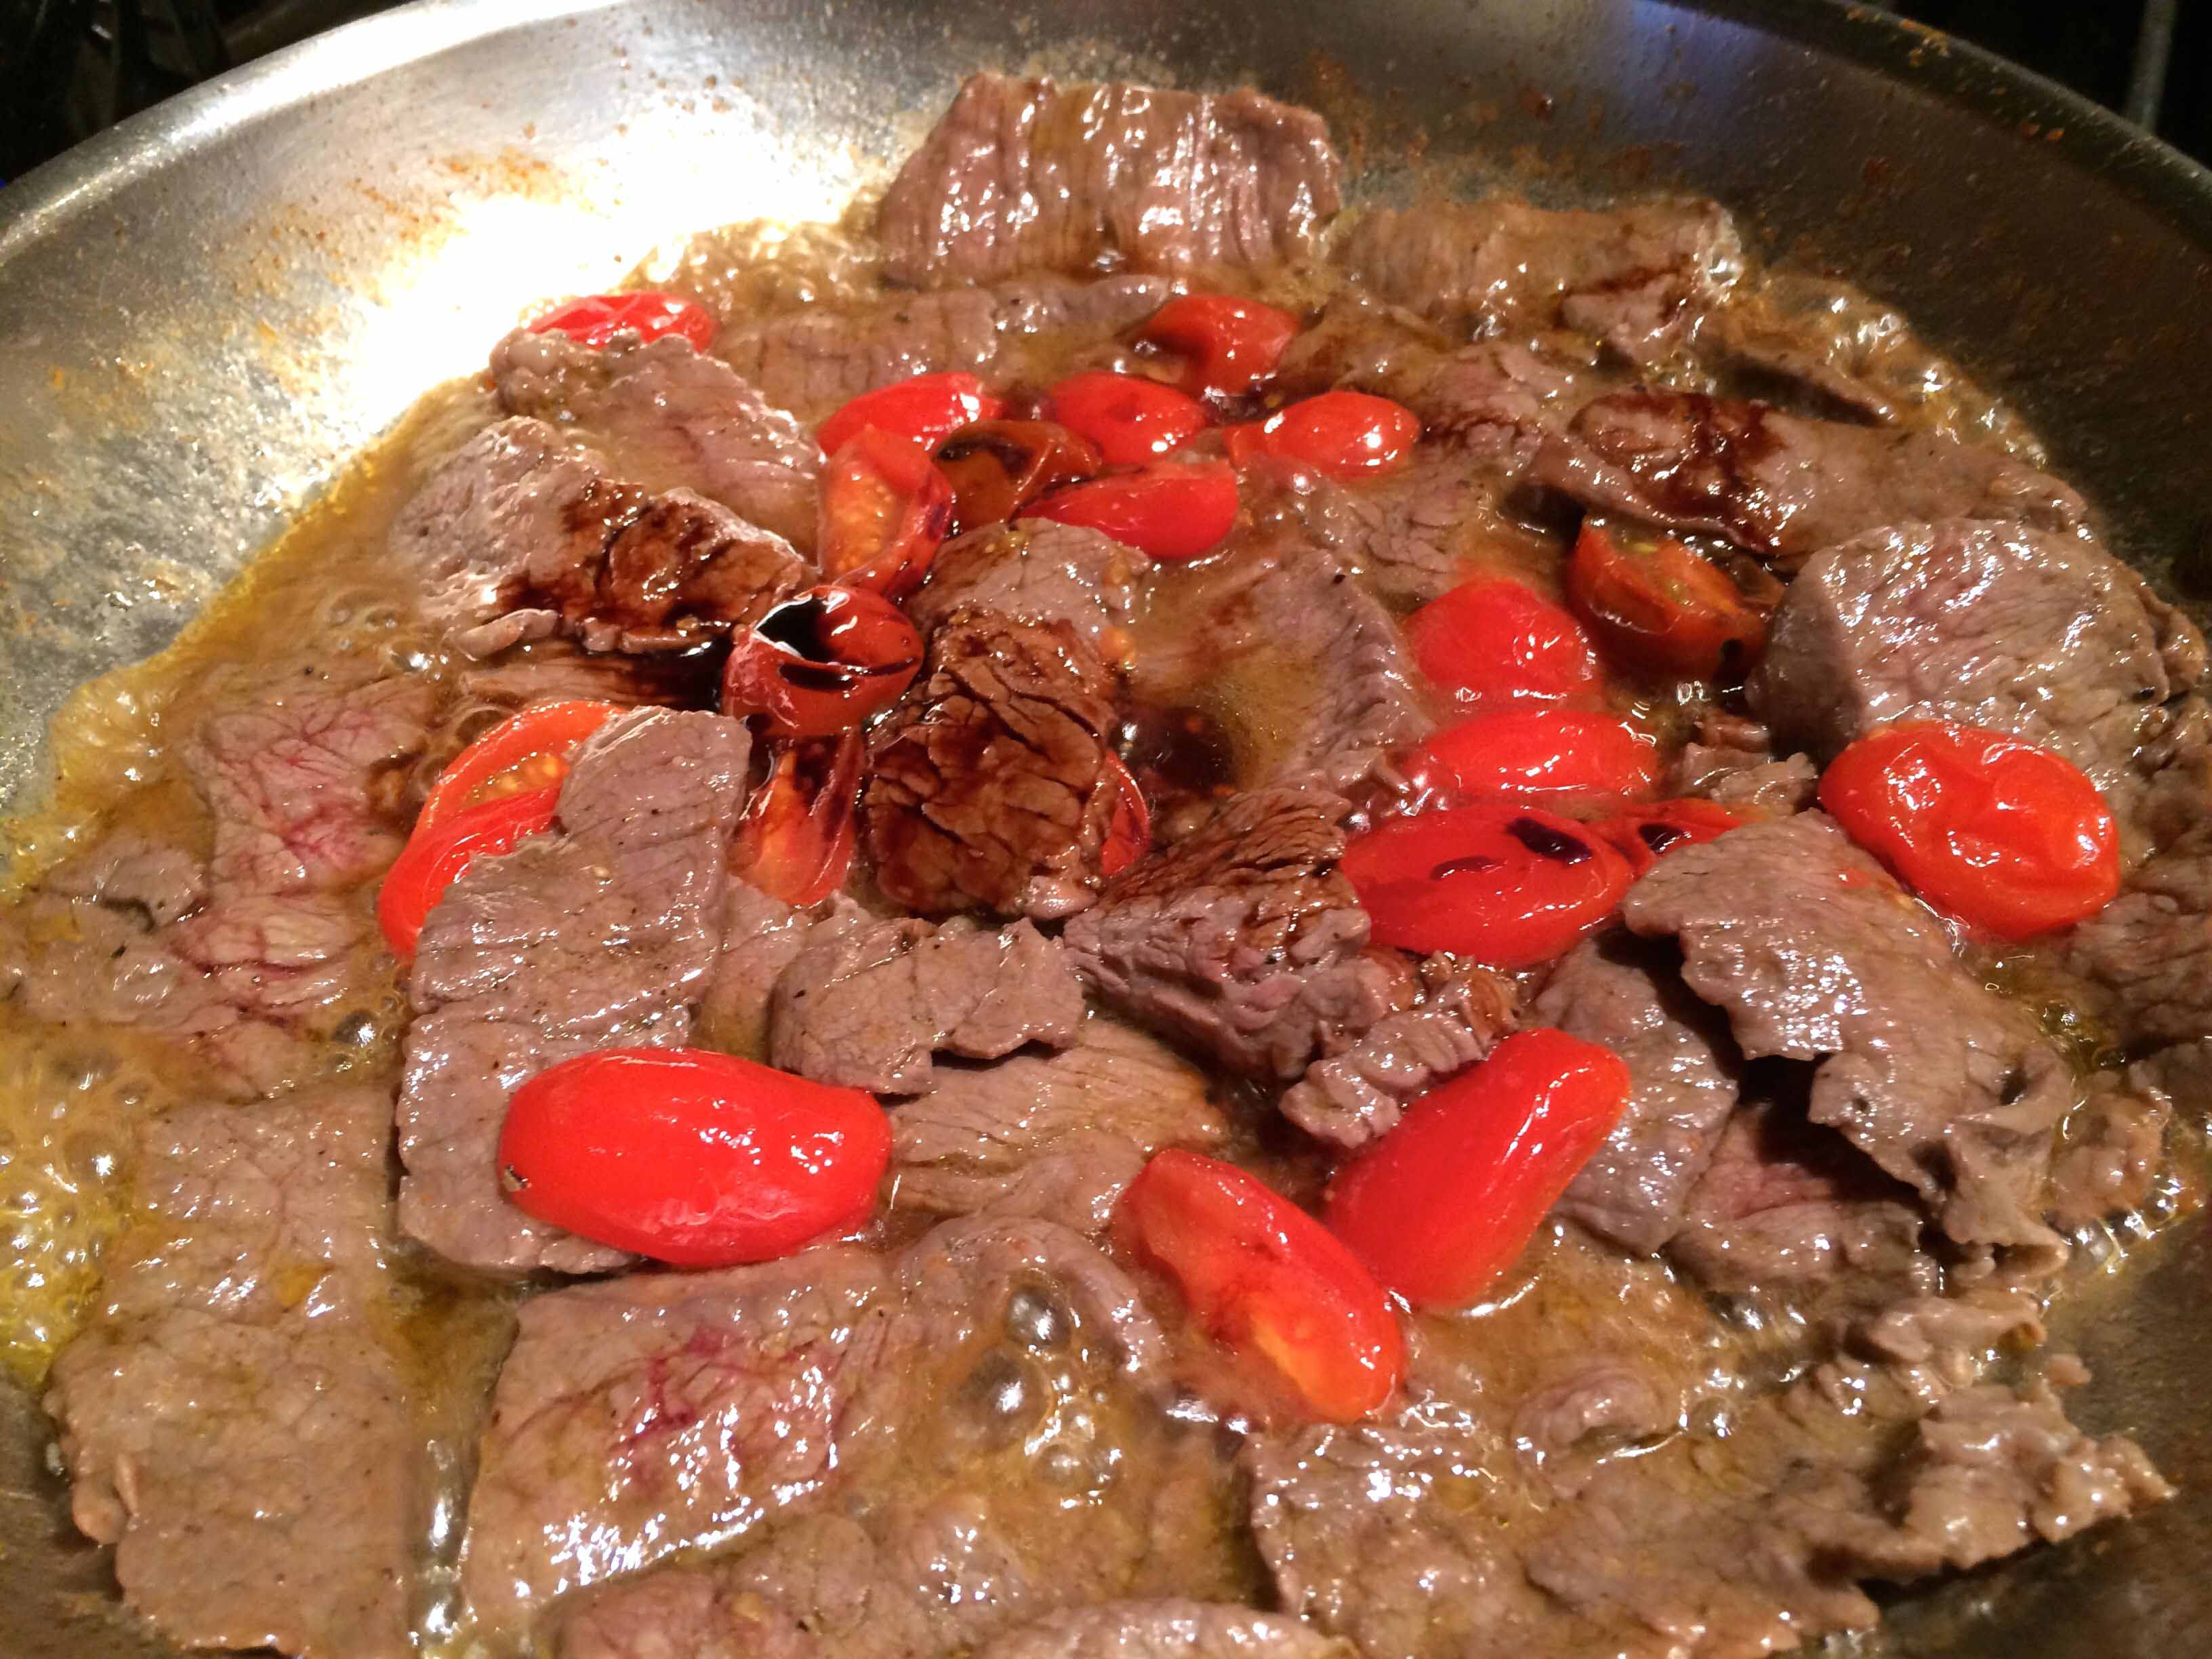
Add an additional tablespoon of oil to the remaining oil in the pan and raise the heat to medium high. When the oil is hot, add the meat separating the slices so they form a single layer. Season the meat with salt and pepper and cook the meat for 3 or 4 minutes, or until the strips are cooked through with no trace of blood. Add the balsamic and cook for about another minute until the vinegar has reduced slightly. Then add the reserved tomatoes with all of their juices. (Be careful not to overcook or the meat will be dry.)
Beef with the tomatoes and balsamic
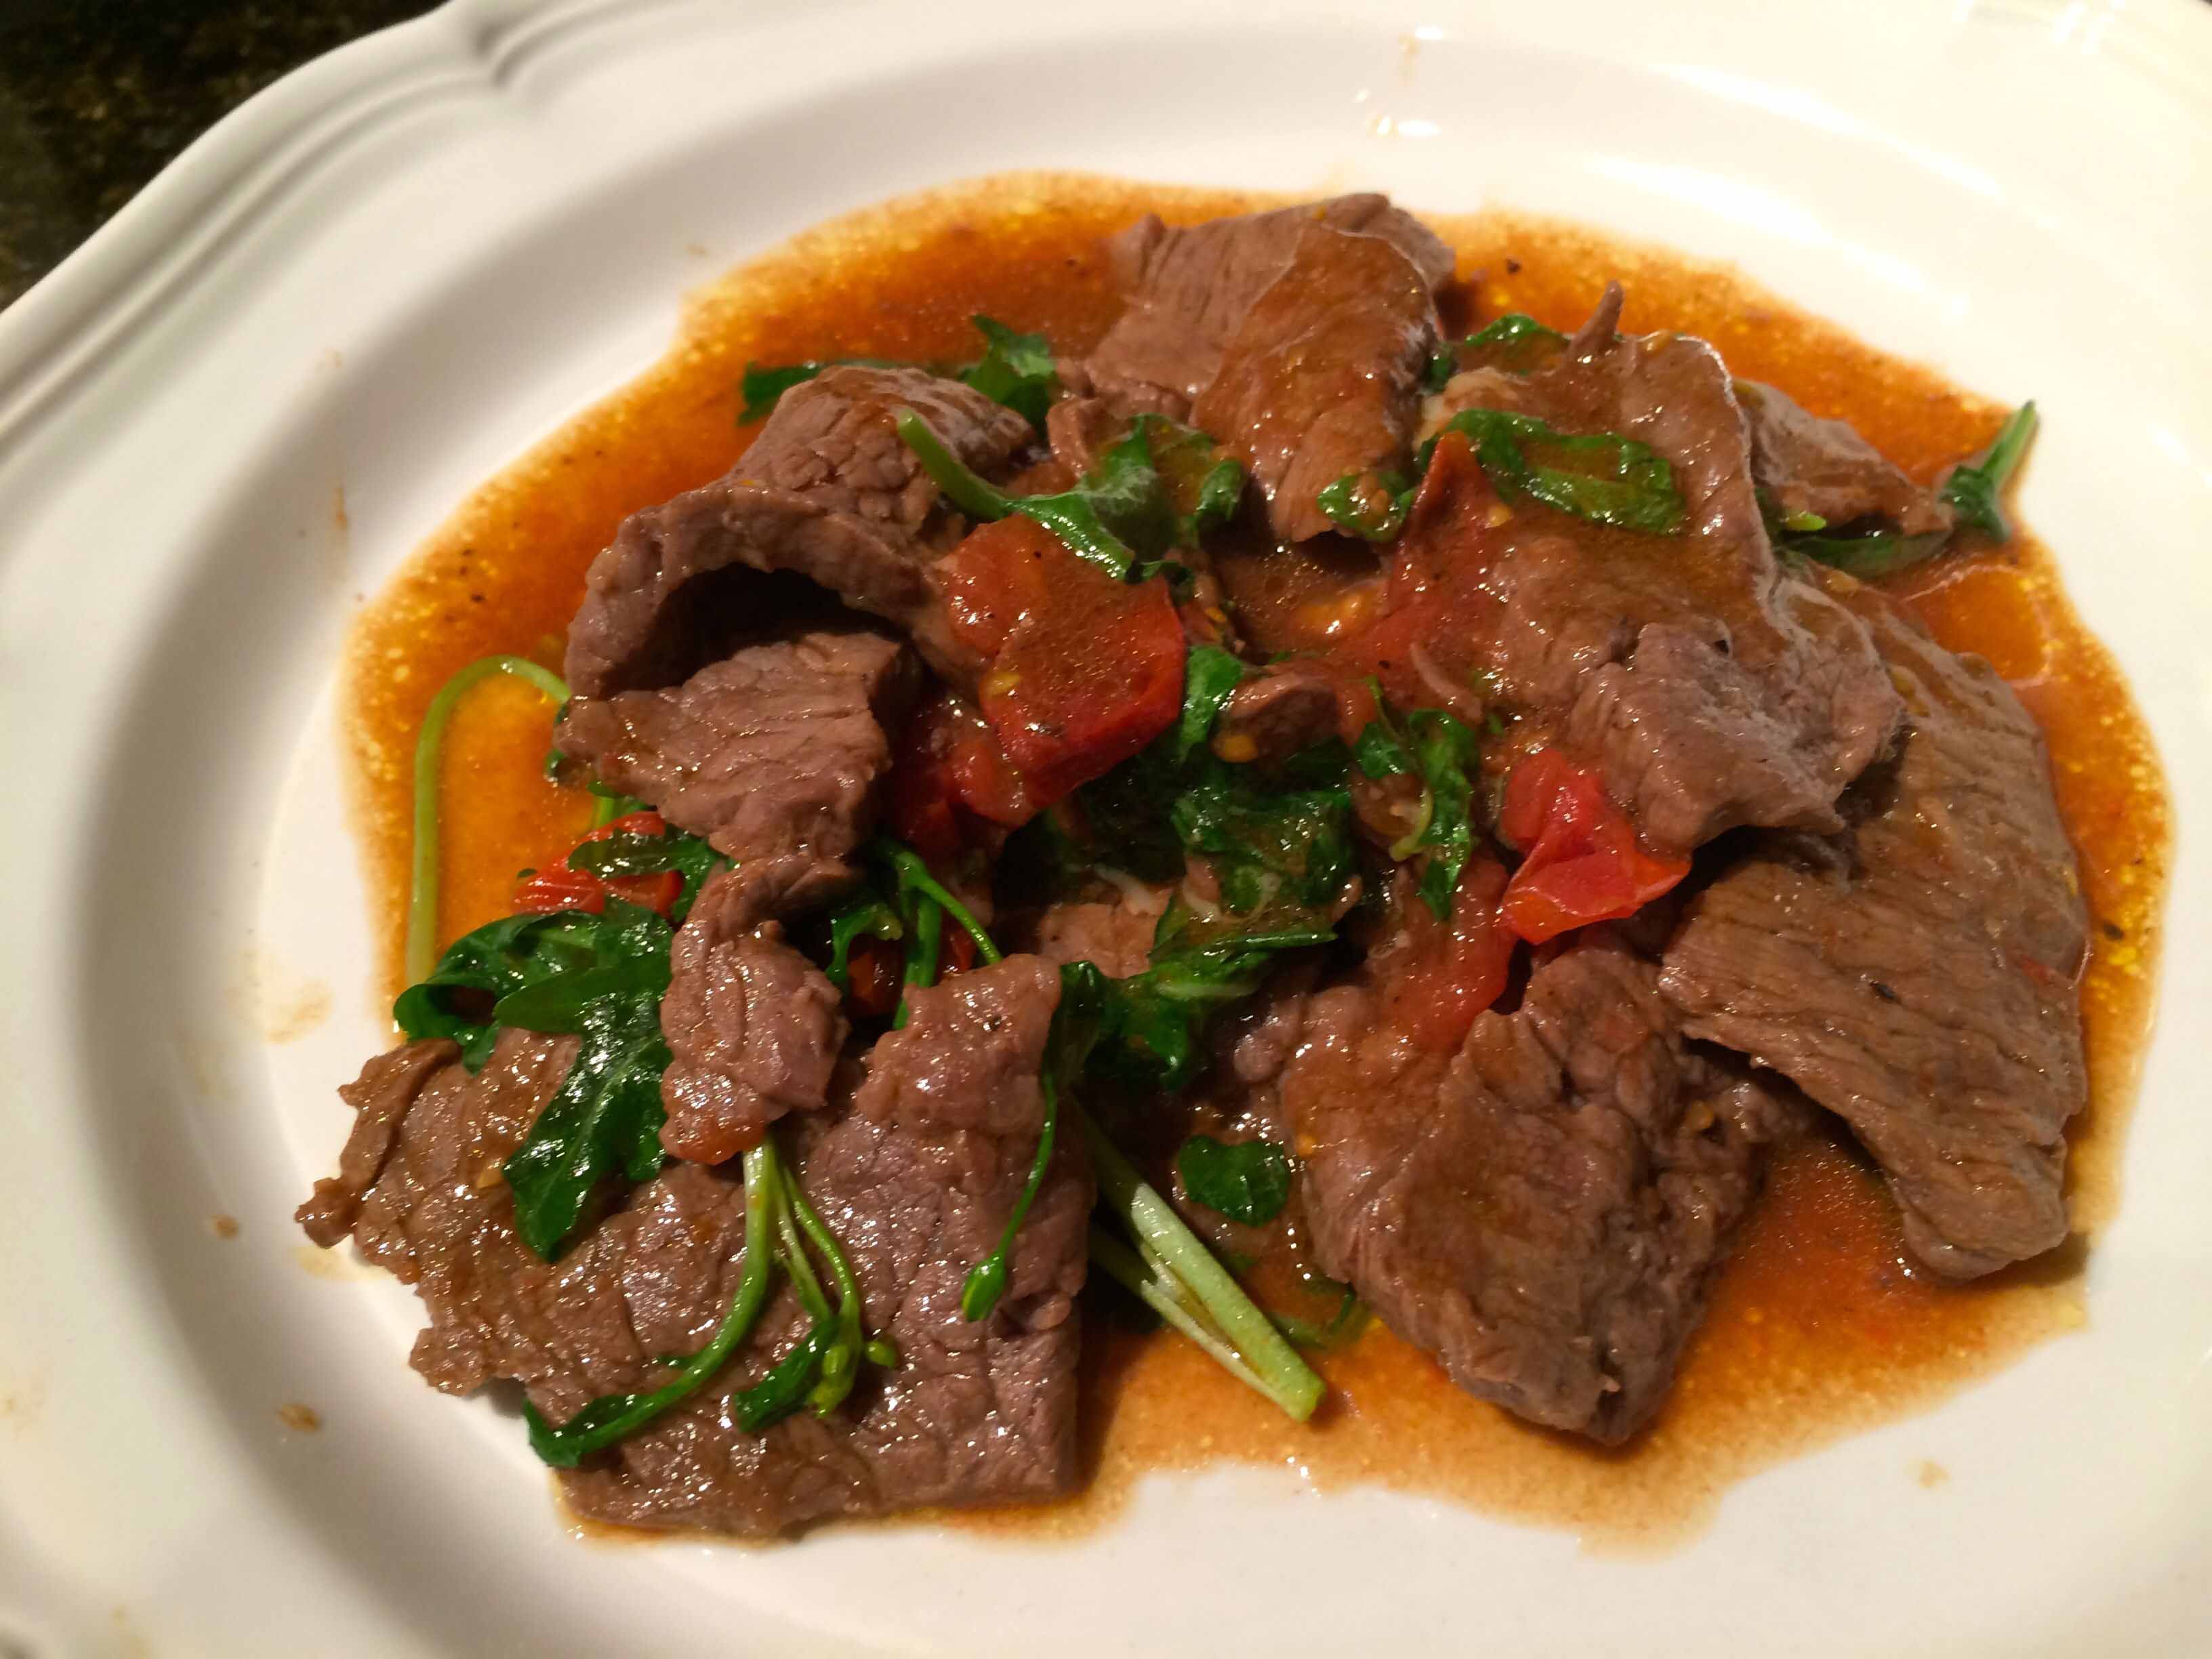
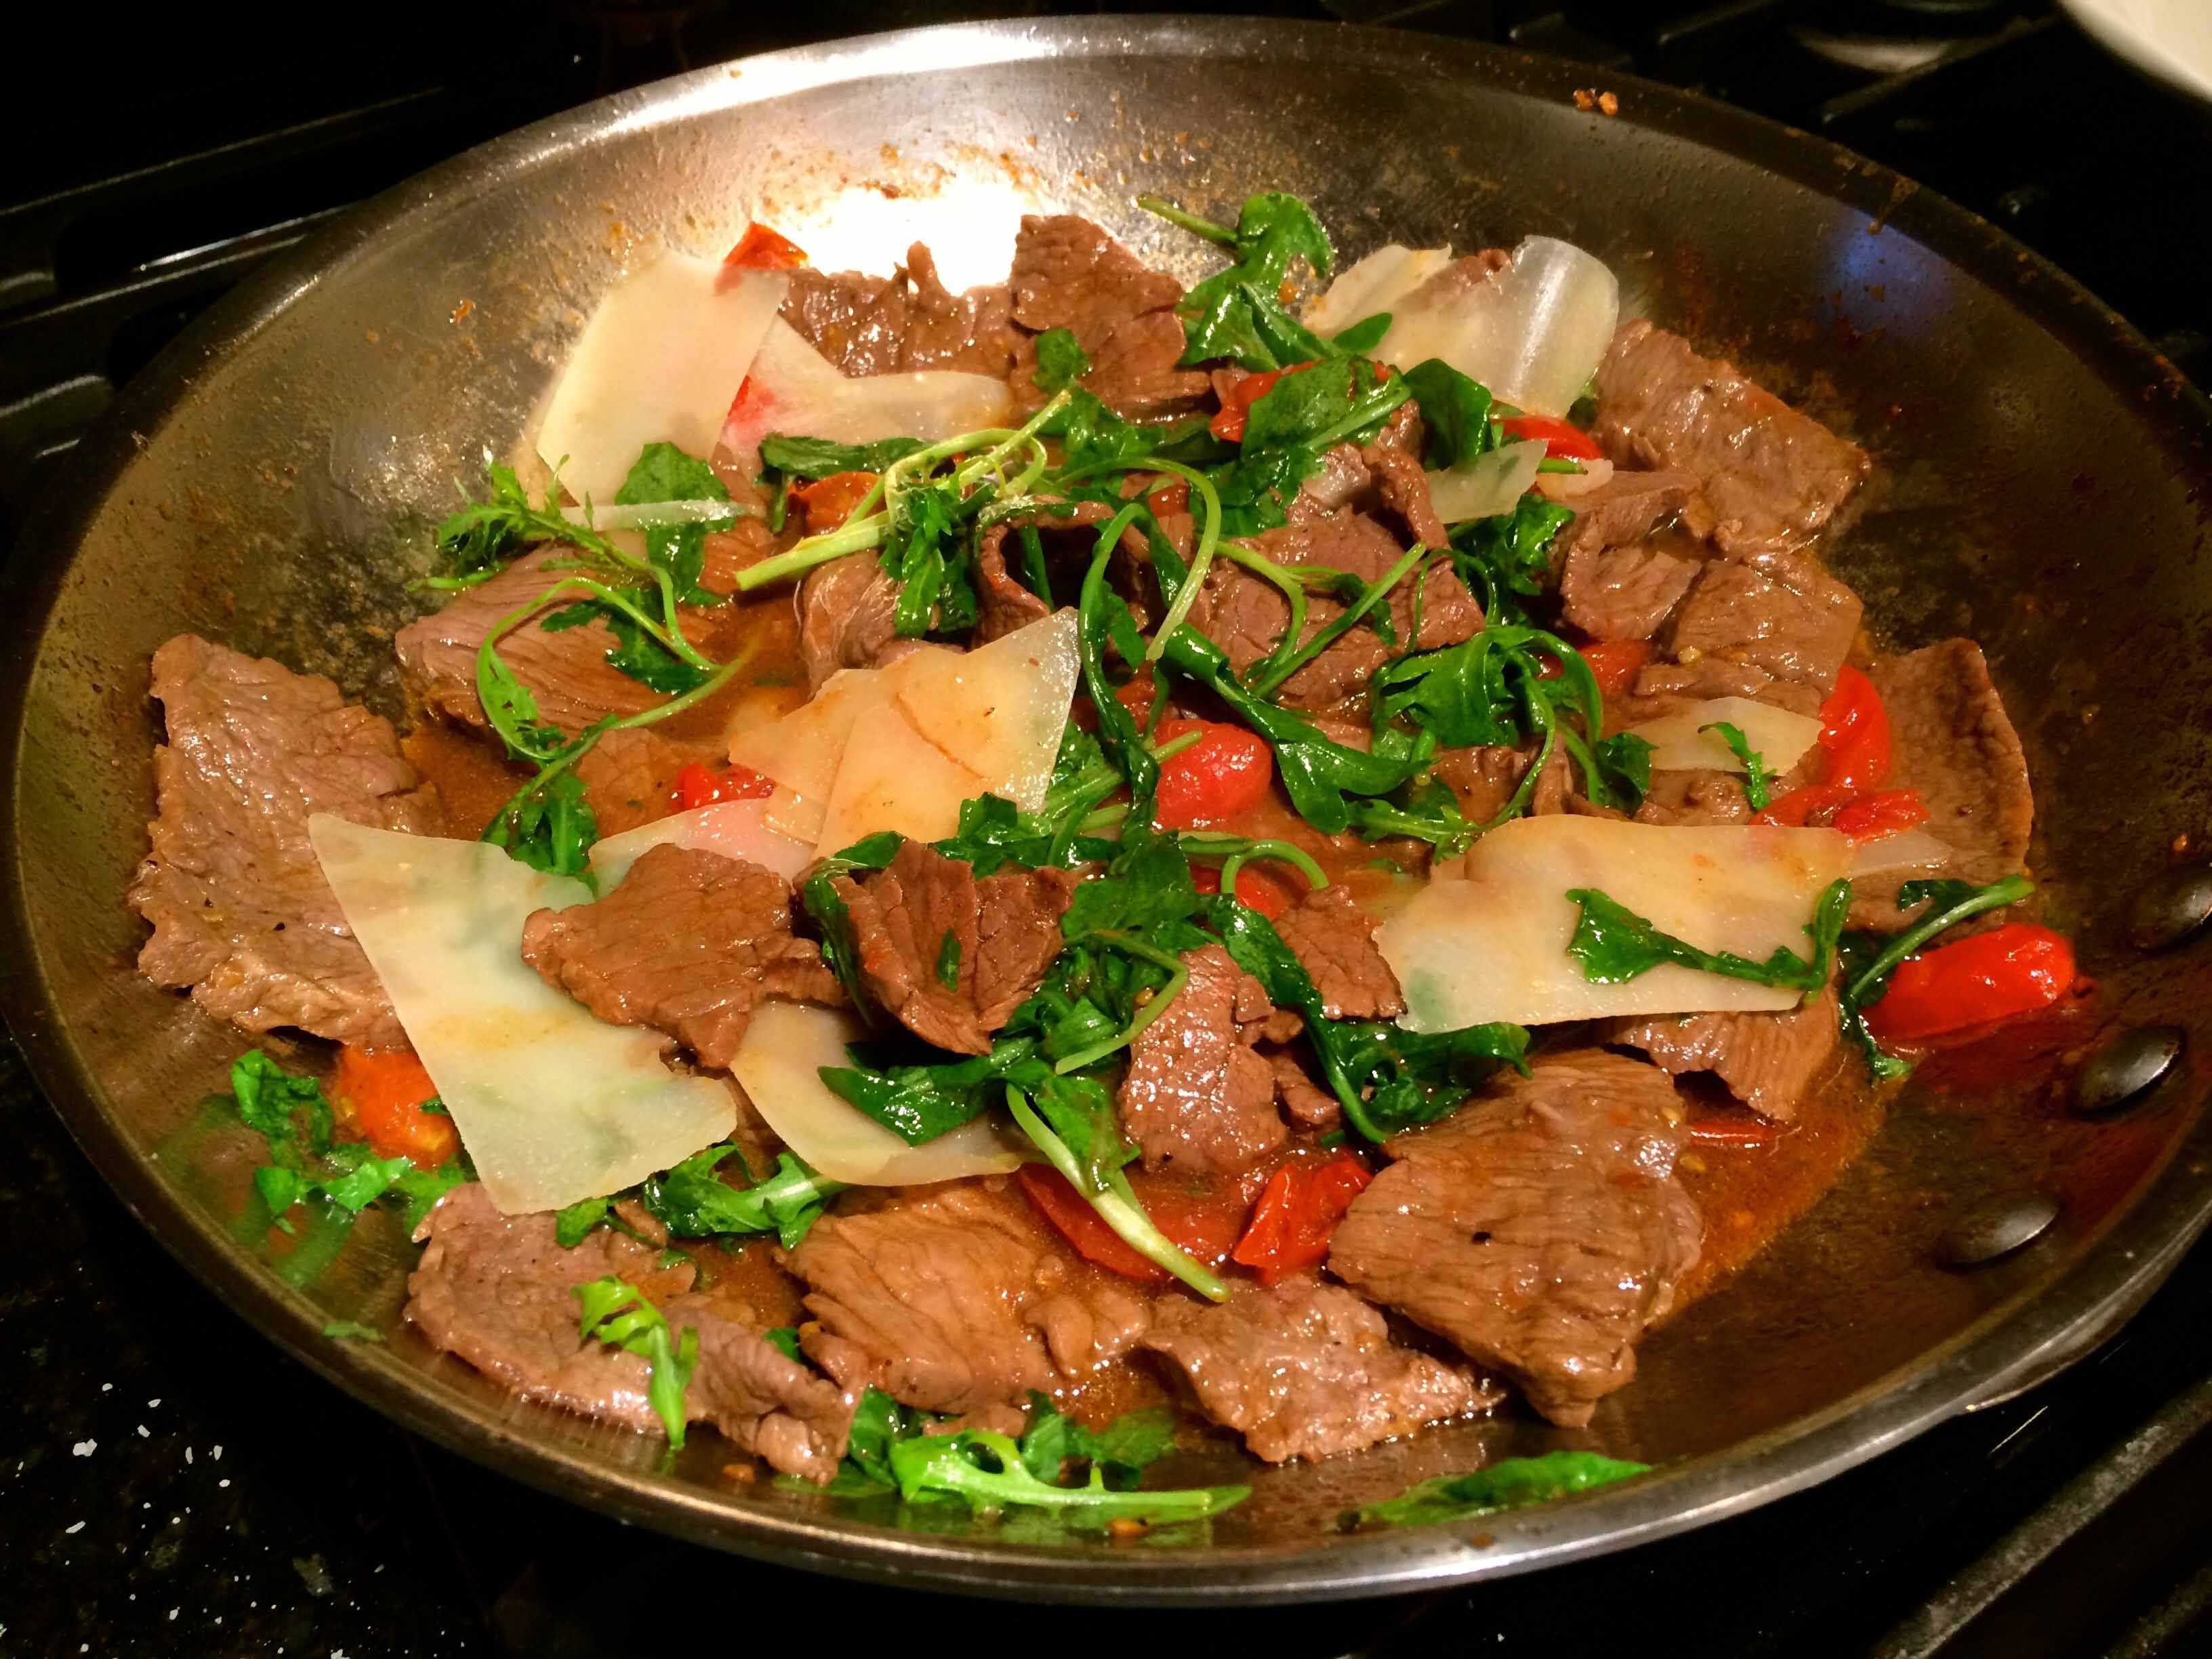
Turn off the heat, add the arugula and toss with the beef. The arugula will start to wilt. Add the shavings of cheese and toss once.
Tossed with the arugula and the cheese
Serve immediately on heated plates accompanied with crusty bread to sop up the sauce.
After a week of indulging in more mundane fare like grilled steaks and summer corn, hot dogs with baked beans, and roast chicken, I thought it was time to get back into the kitchen and cook something new. We both wanted that something to be light and and my new schedule required it to be quick to prepare. Looking for a recipe to meet these requirements, I turned to one of Marcella Hazan’s lesser known books, Marcella’s Italian Kitchen. Still widely available online, I find it a more personal book than her better known and widely acclaimed Classic Italian Cooking volumes.
The recipe I chose for dinner last night was one of two in the book for scallops, “Sautéed Scallops with Rosemary and Lemon.” Hazan describes her dish as “simple and very fragrant,” which, in my opinion, is an understatement. The recipe calls for a minimum of ingredients and, including prep time, can be on the table in fewer than thirty minutes That’s simple. But what makes this dish a keeper is its unctuous sauce, redolent with fresh rosemary, pale-gold garlic, and fresh lemon juice. It makes a perfect first course for a more formal dinner or, served with plain rice or crusty bread, an elegant entree for a weekday supper.
If you choose to make this dish for two, you can reduce the amount of scallops. However, I would not cut back on the recipe’s other ingredients, as they yield a sauce so delicious you may find yourselves, like we did, licking your plates to savor every last drop.
To heighten the citrus factor, I used the zest of one lemon, which I added to the pan along with the juice.
Sautéed Scallops with Rosemary and Lemon Adapted from Marcella’s Italian Kitchen
1.5 pounds small bay scallops
1/4 cup extra virgin olive oil (Use the best quality you have available.)
2 medium garlic cloves, peeled and sliced very thin
1.5 teaspoons fresh rosemary, roughly chopped
Salt
Freshly ground black pepper
2 tablespoons freshly squeezed lemon juice
Zest of 1 lemon (optional)
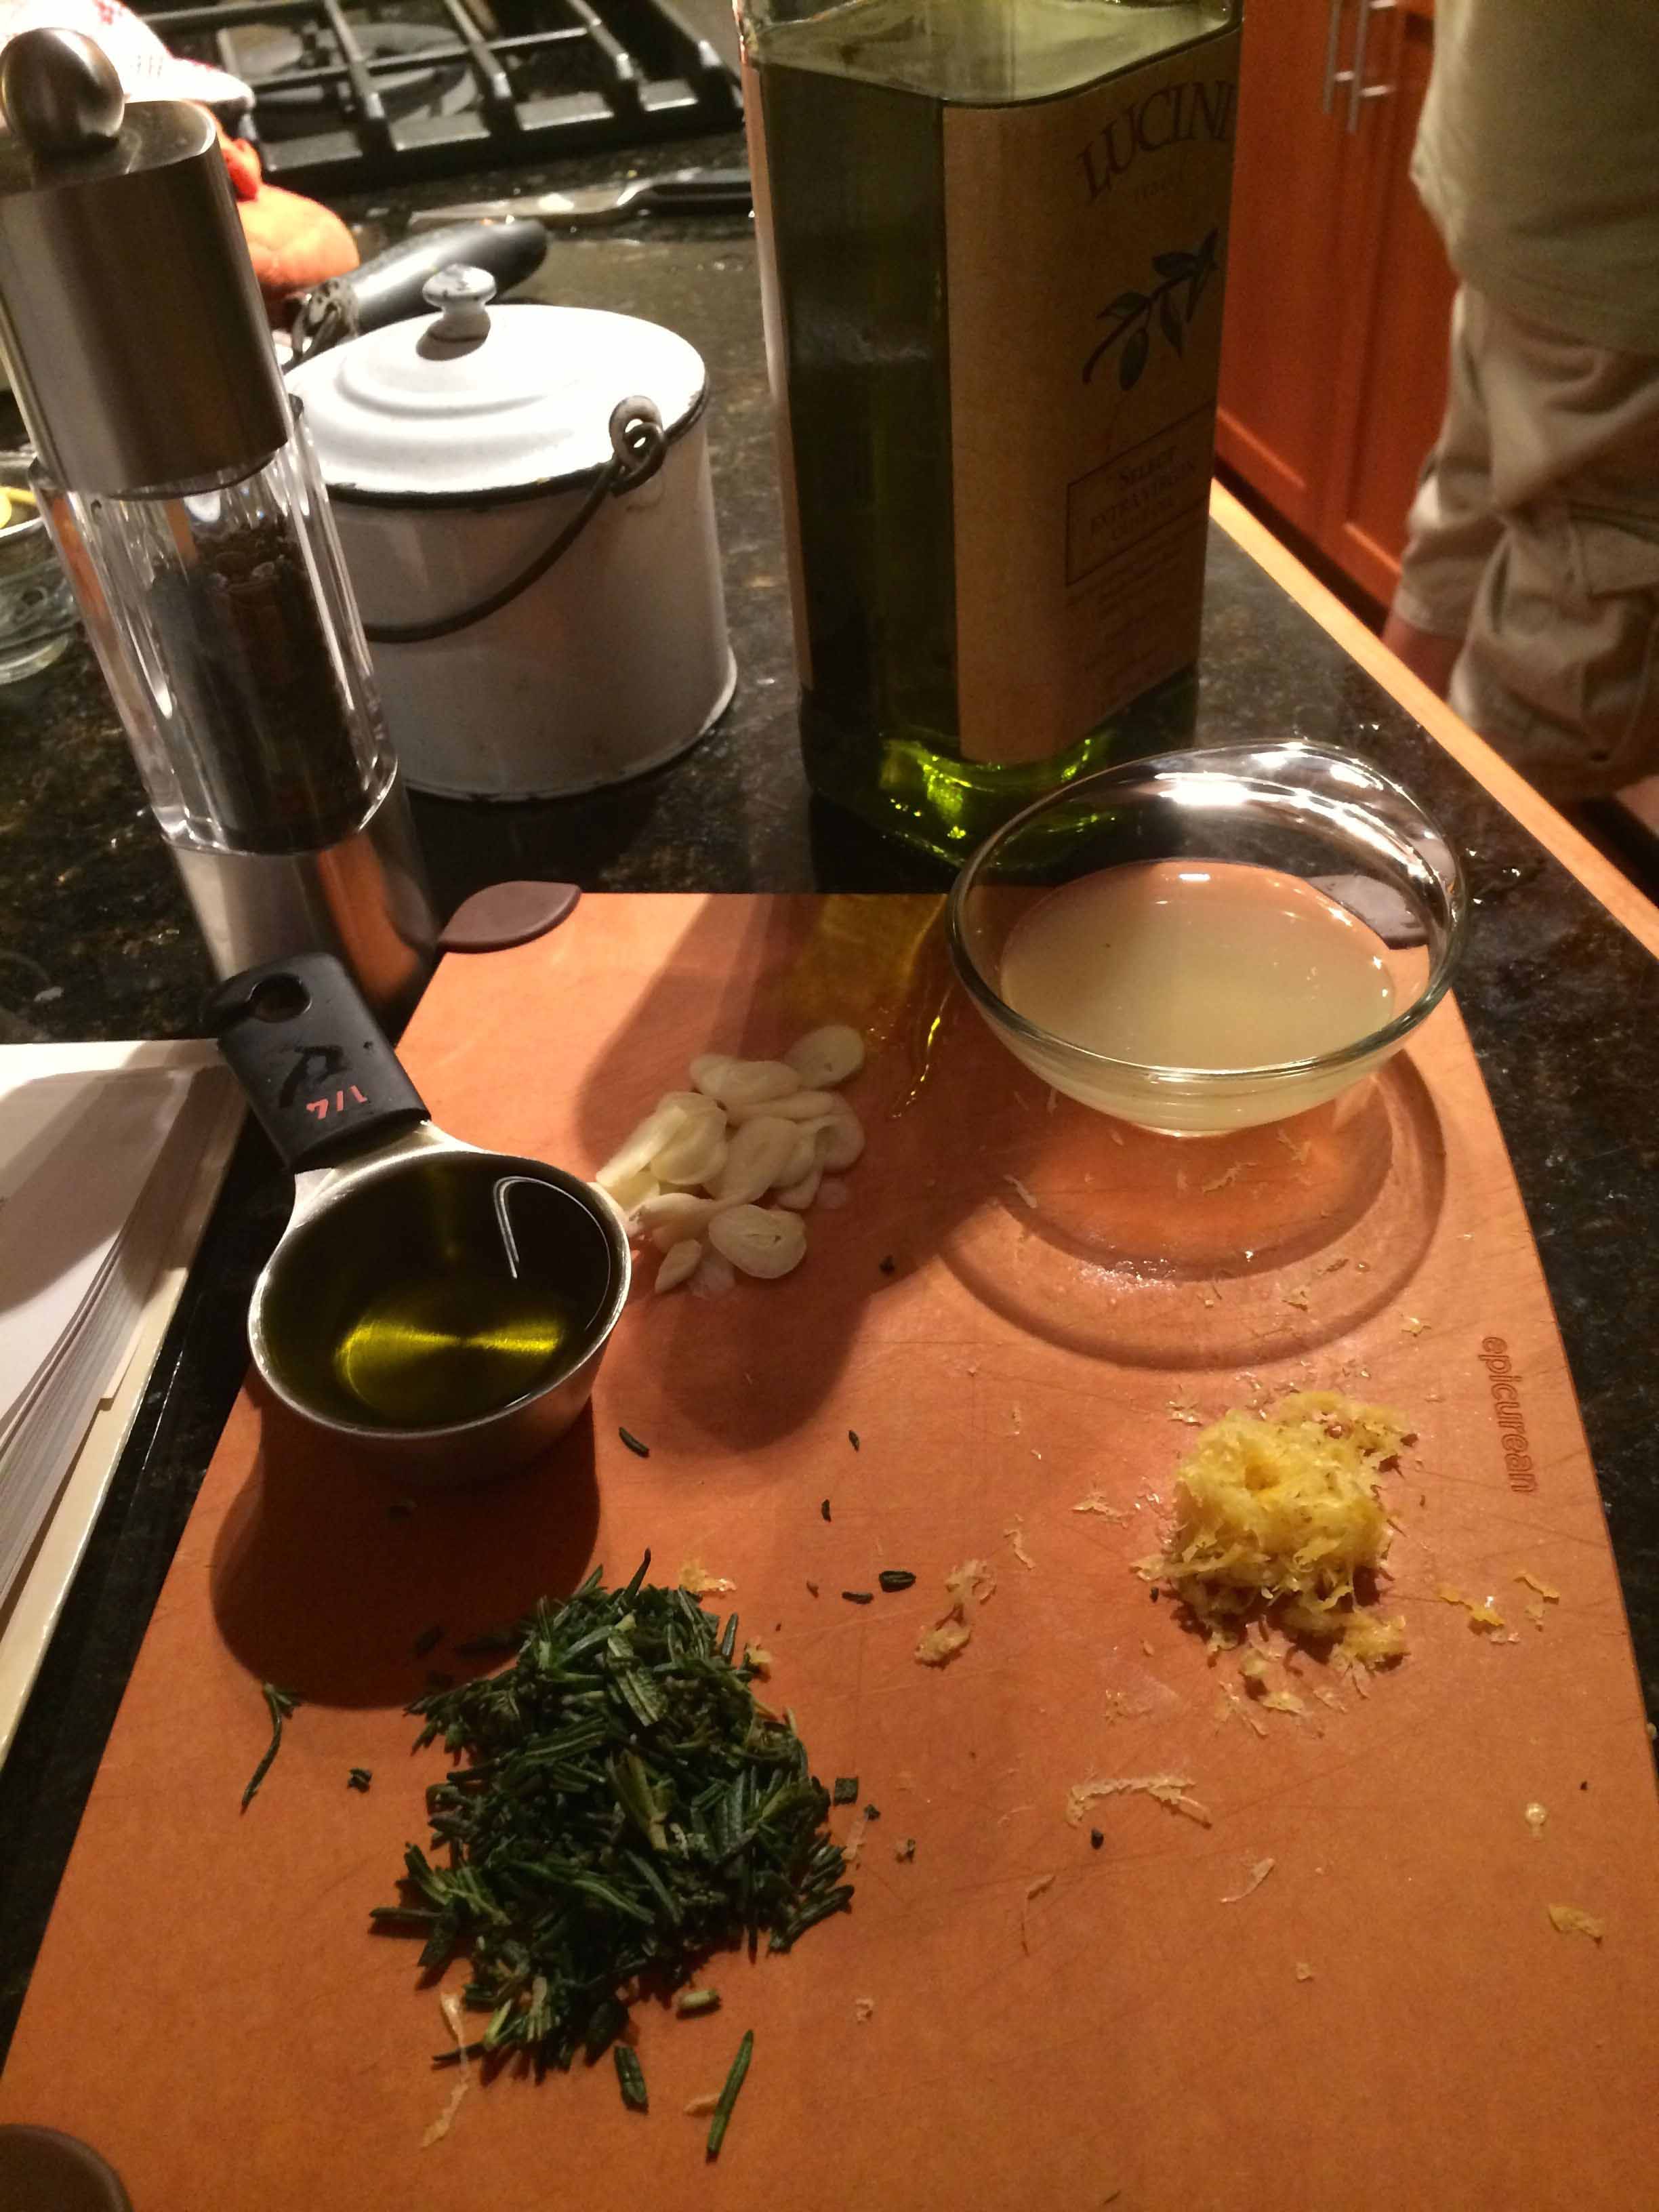
The ingredients, prepped
Wash and, using a towel, thoroughly pat dry the scallops.
Choose a skillet large enough to eventually accommodate the scallops in a single layer. Start by adding the olive oil and sliced garlic to the empty skillet and place over medium heat.
As soon as the garlic turns a pale gold, add the rosemary and stir quickly. (Do not let the garlic turn brown or it will overwhelm the delicate flavor of the scallops.)
The garlic, lightly gold
Add the scallops, and season with salt and ground pepper to taste. Raise the heat to high and cook, stirring frequently, for about 2 minutes, until the scallops change from translucent to a flat white.
The final sauté
Add the lemon juice and zest, turn up the heat as high as possible, stir once or twice, then transfer to warm plates and coat with the sauce. Serve immediately.