I really started cooking seriously in the late 70s, always inspired by my Neapolitan aunt’s and Sicilian mother’s cooking, but sparked even more so by the not yet celebrated Julia Child on my local PBS channel. I read and read books by chefs like Elizabeth David and later on Alice Waters who focused on seasonal cuisine; on fundamental cookbooks like the Grammar of Cooking by Carol Braider or The Saucier’s Apprentice by Raymond Sokolov; on the standard cookbooks like The James Beard Cookbook, The Joy of Cooking, The New York Times Cookbook. I consulted huge tomes like the Larousse Gastronomique and the two-volume Gourmet Cookbook as well as tiny books like The Omelette Cookbook by Narcissa Chamberlain. And at the same time subscribed to almost every food magazine there was. I read and experimented; often failing but sometimes blissfully successful.
Perhaps I’m growing nostalgic (I just turned 70), but I think there was a golden age of cookbooks between the mid 80s and early 90s when I saw more serious and scholarly writers like Nancy Harmon Jenkins, Lynn Rosetto Kasper, Fred Plotkin, to name a few, and Paula Wolfert, who introduced today’s recipe in her 1985 cookbook Mediterranean Cooking.
Before I knew it, I had amassed quite a collection of cookbooks, somewhere between two and three hundred. Disaster struck, however, and I lost 90% of my collection in 2012 to a flood caused by Hurricane Sandy.
Finding Wolfert’s recipe online started me thinking about cookbooks and motivated me to make it once again.
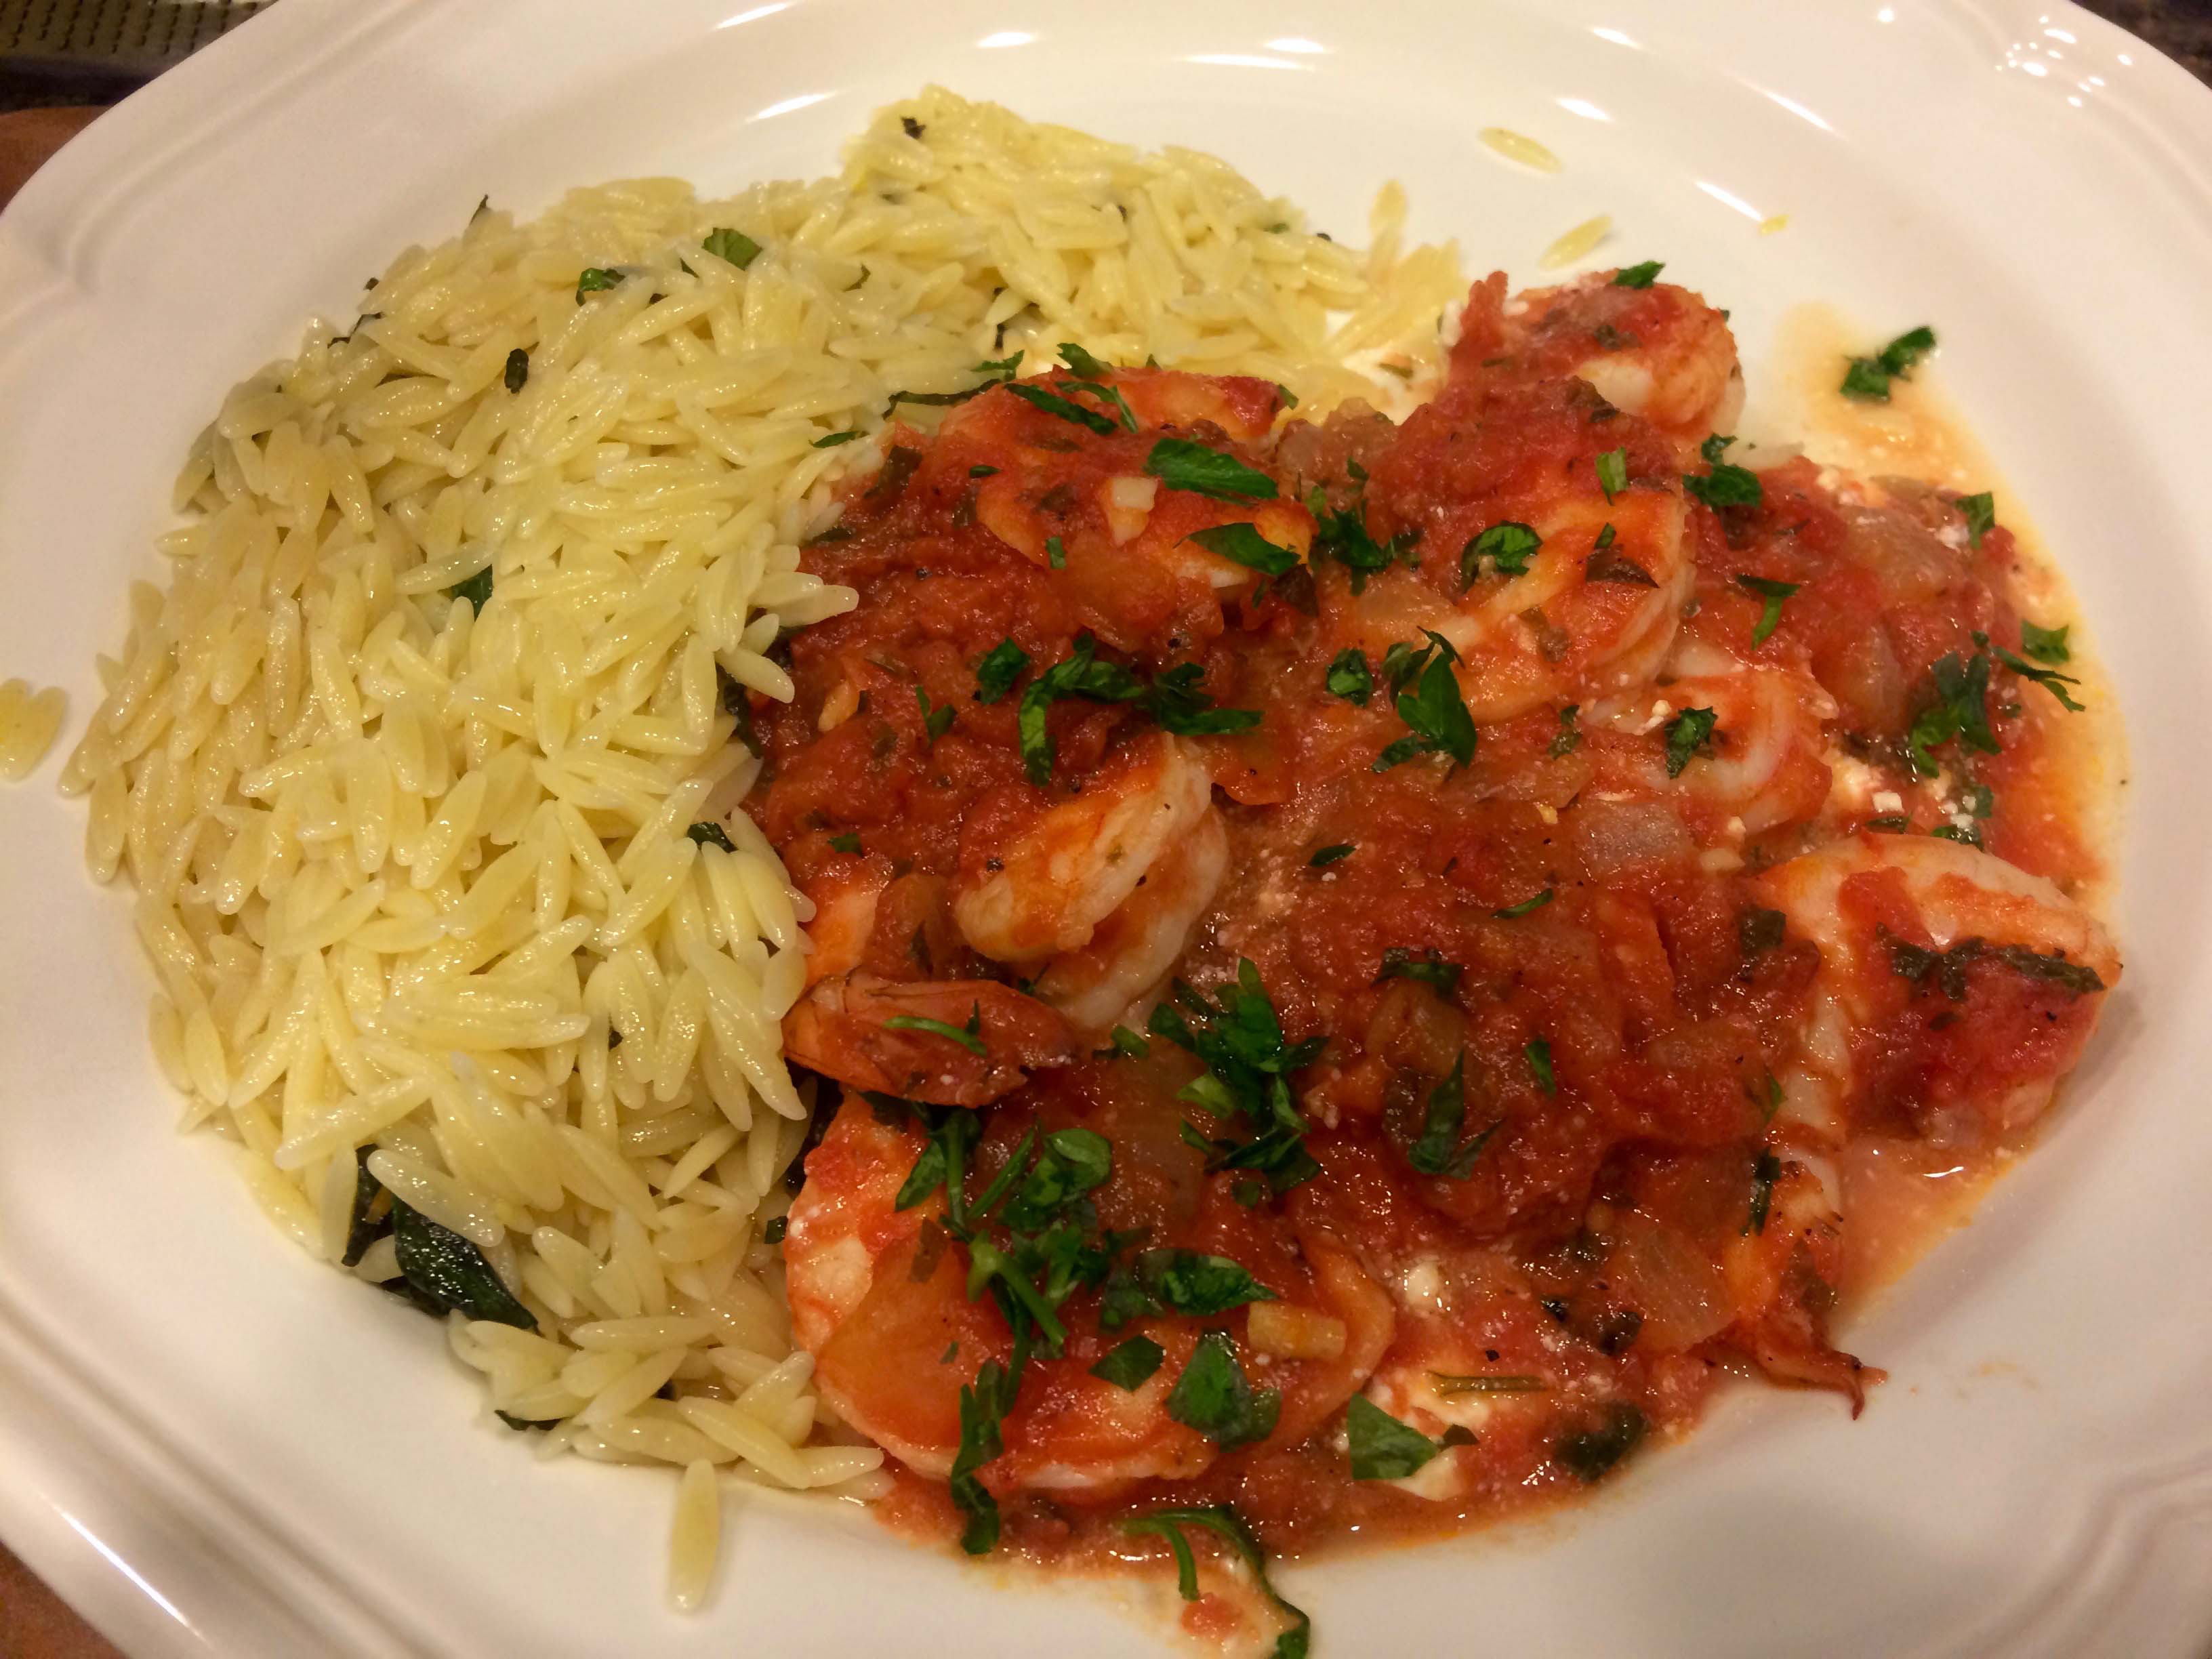
For a side dish, I served orzo sprinkled with olive oil and seasoned with fresh mint and lemon zest
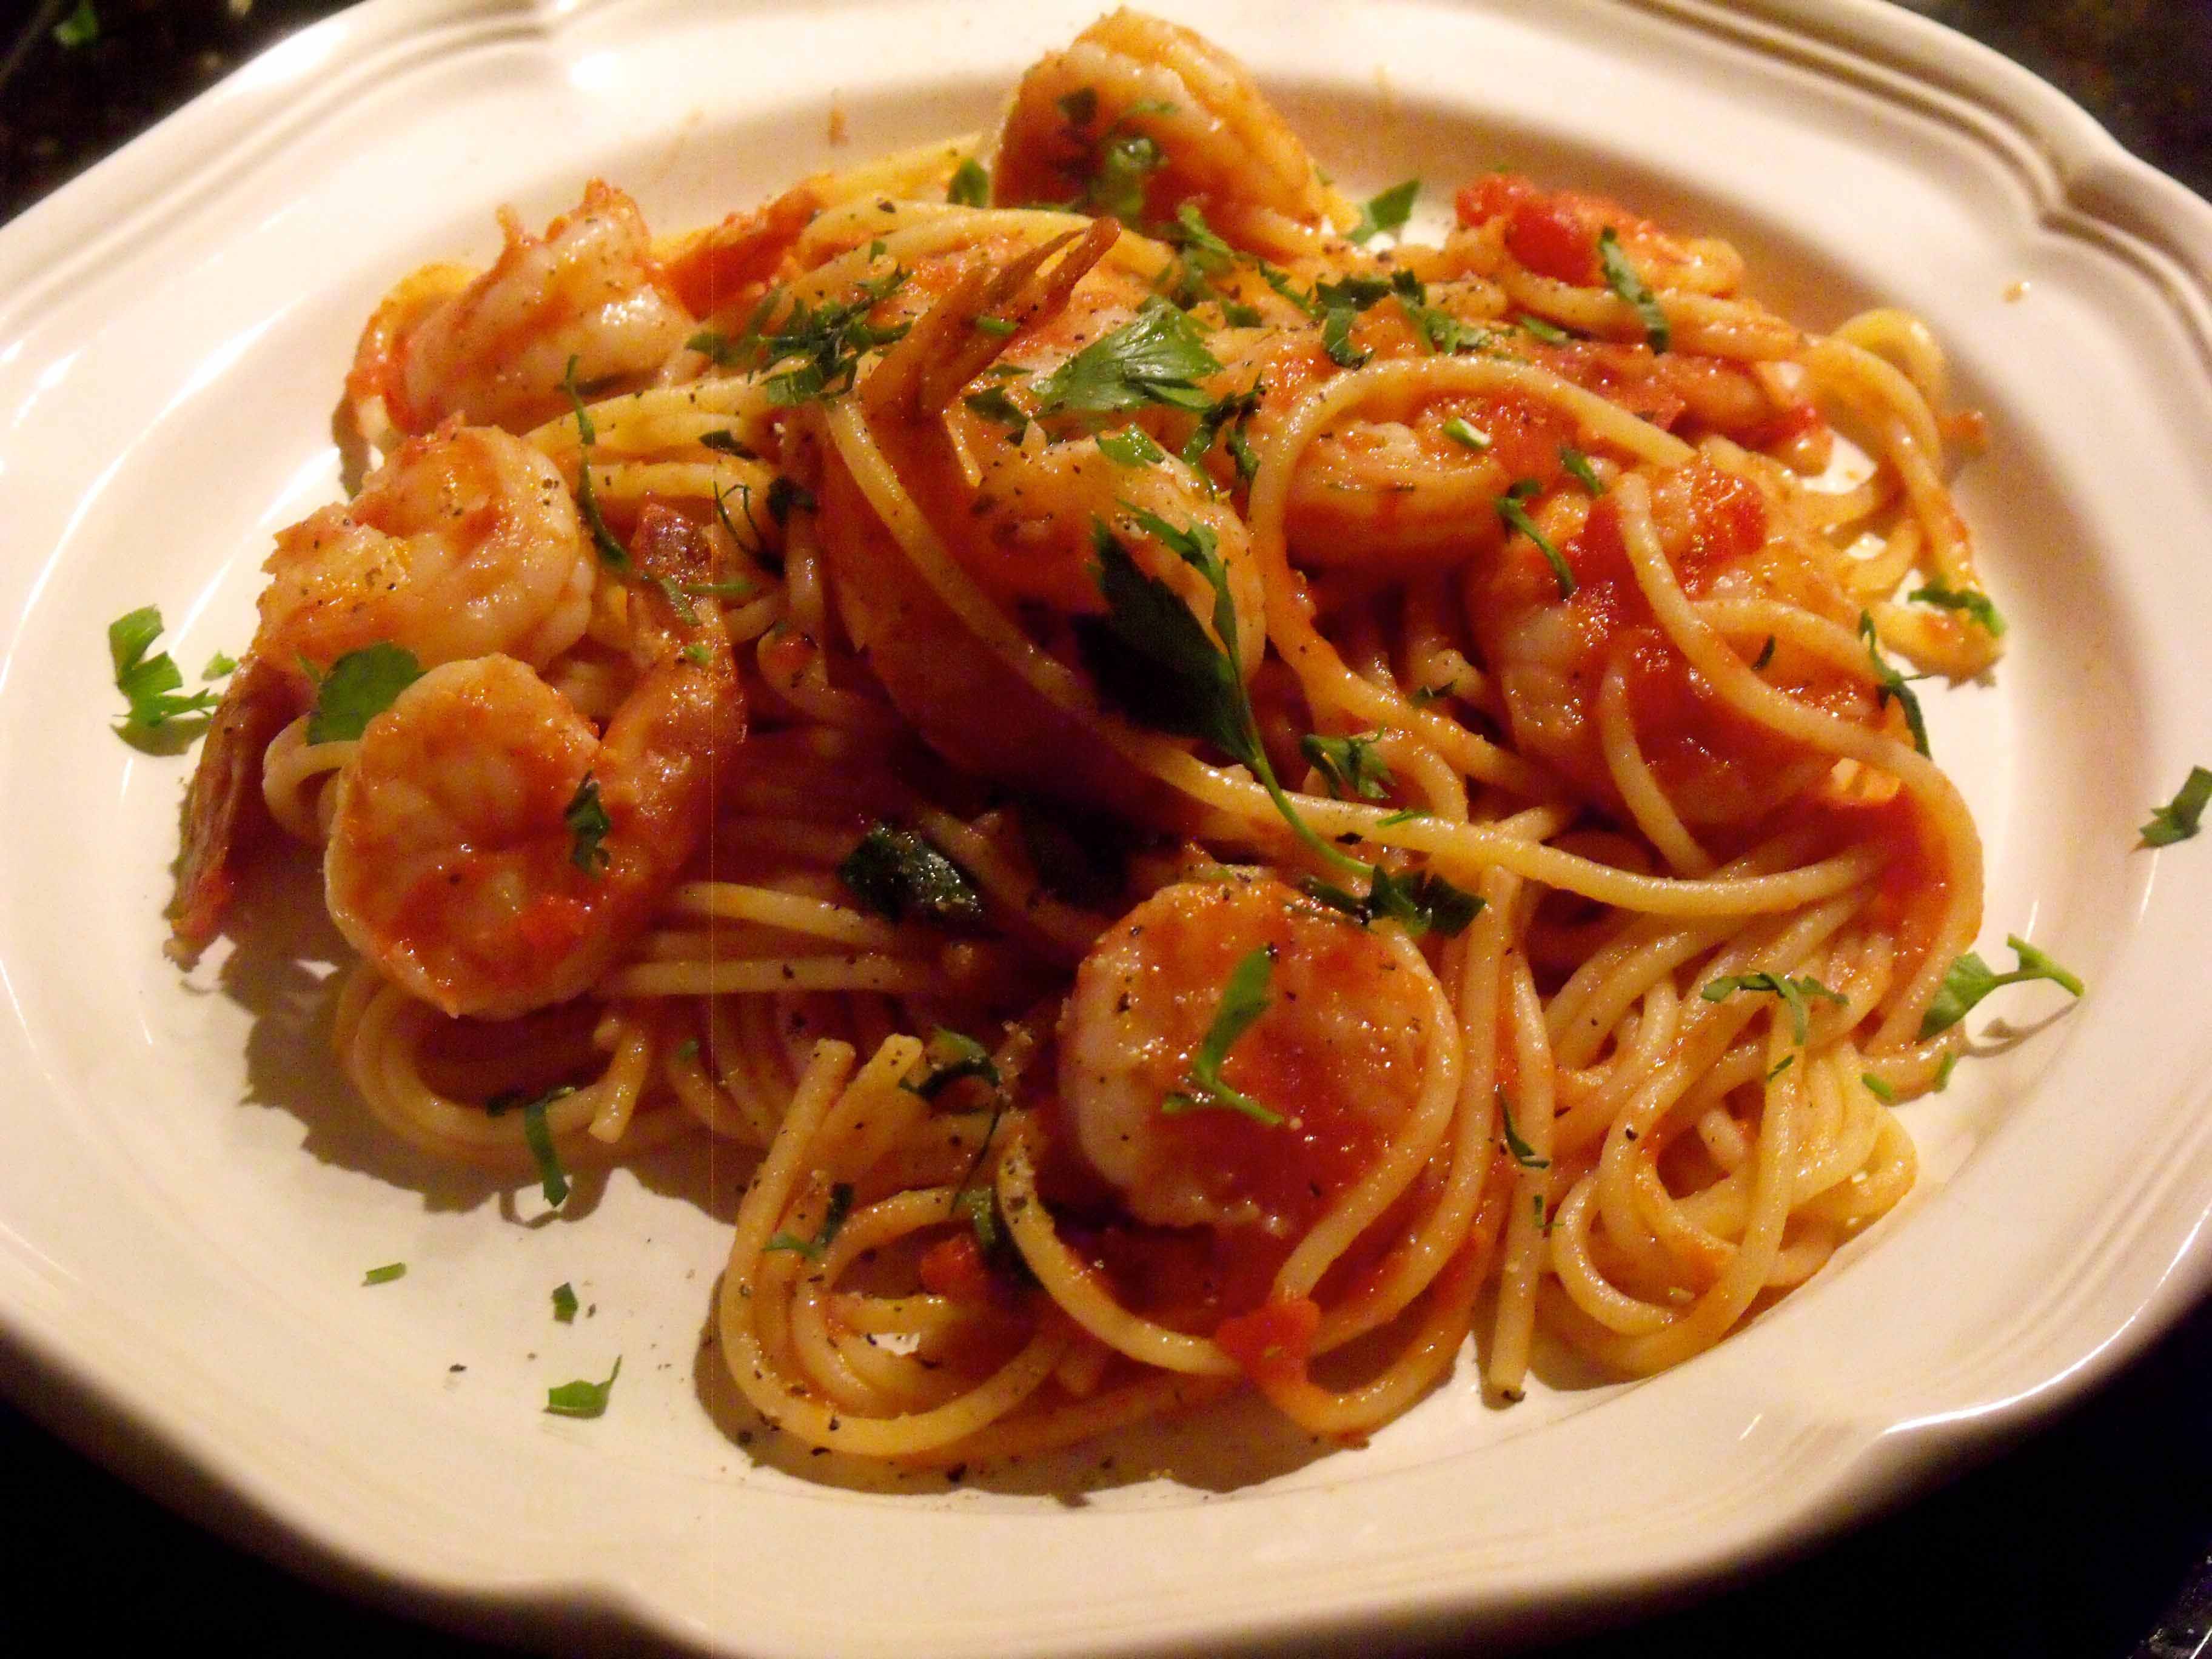
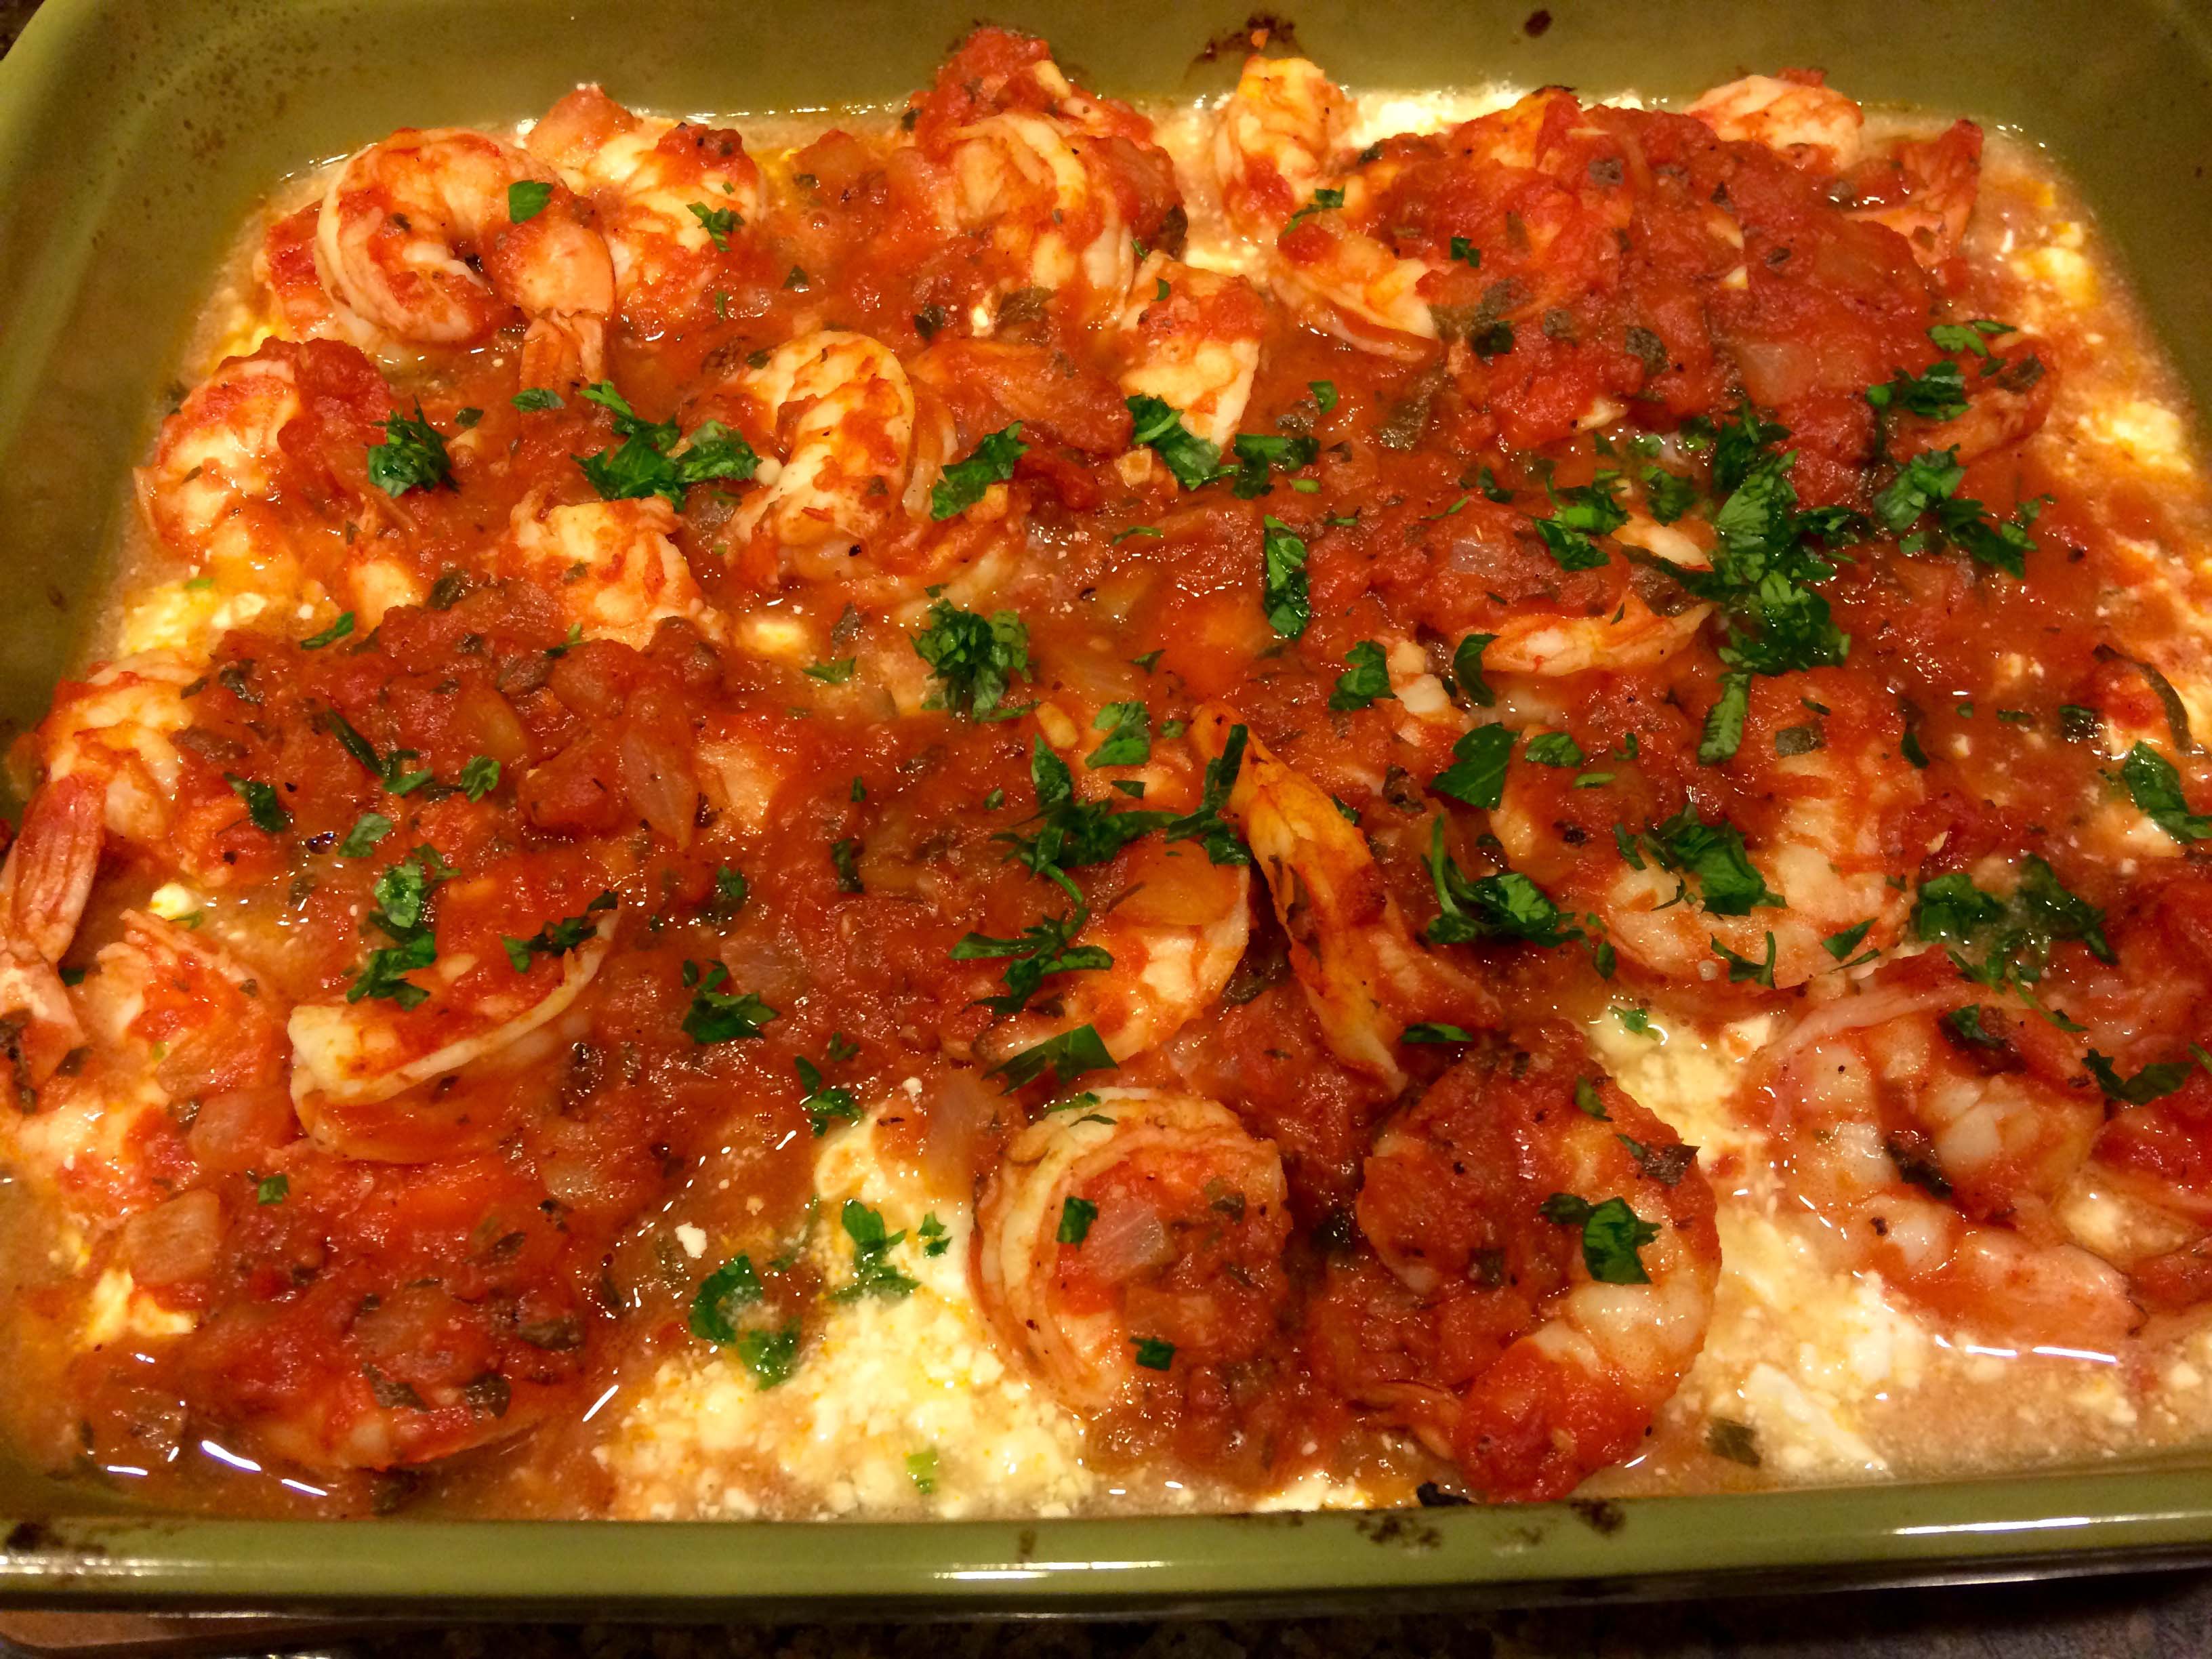
Shrimp and Feta Cheese a la Tourkolimano
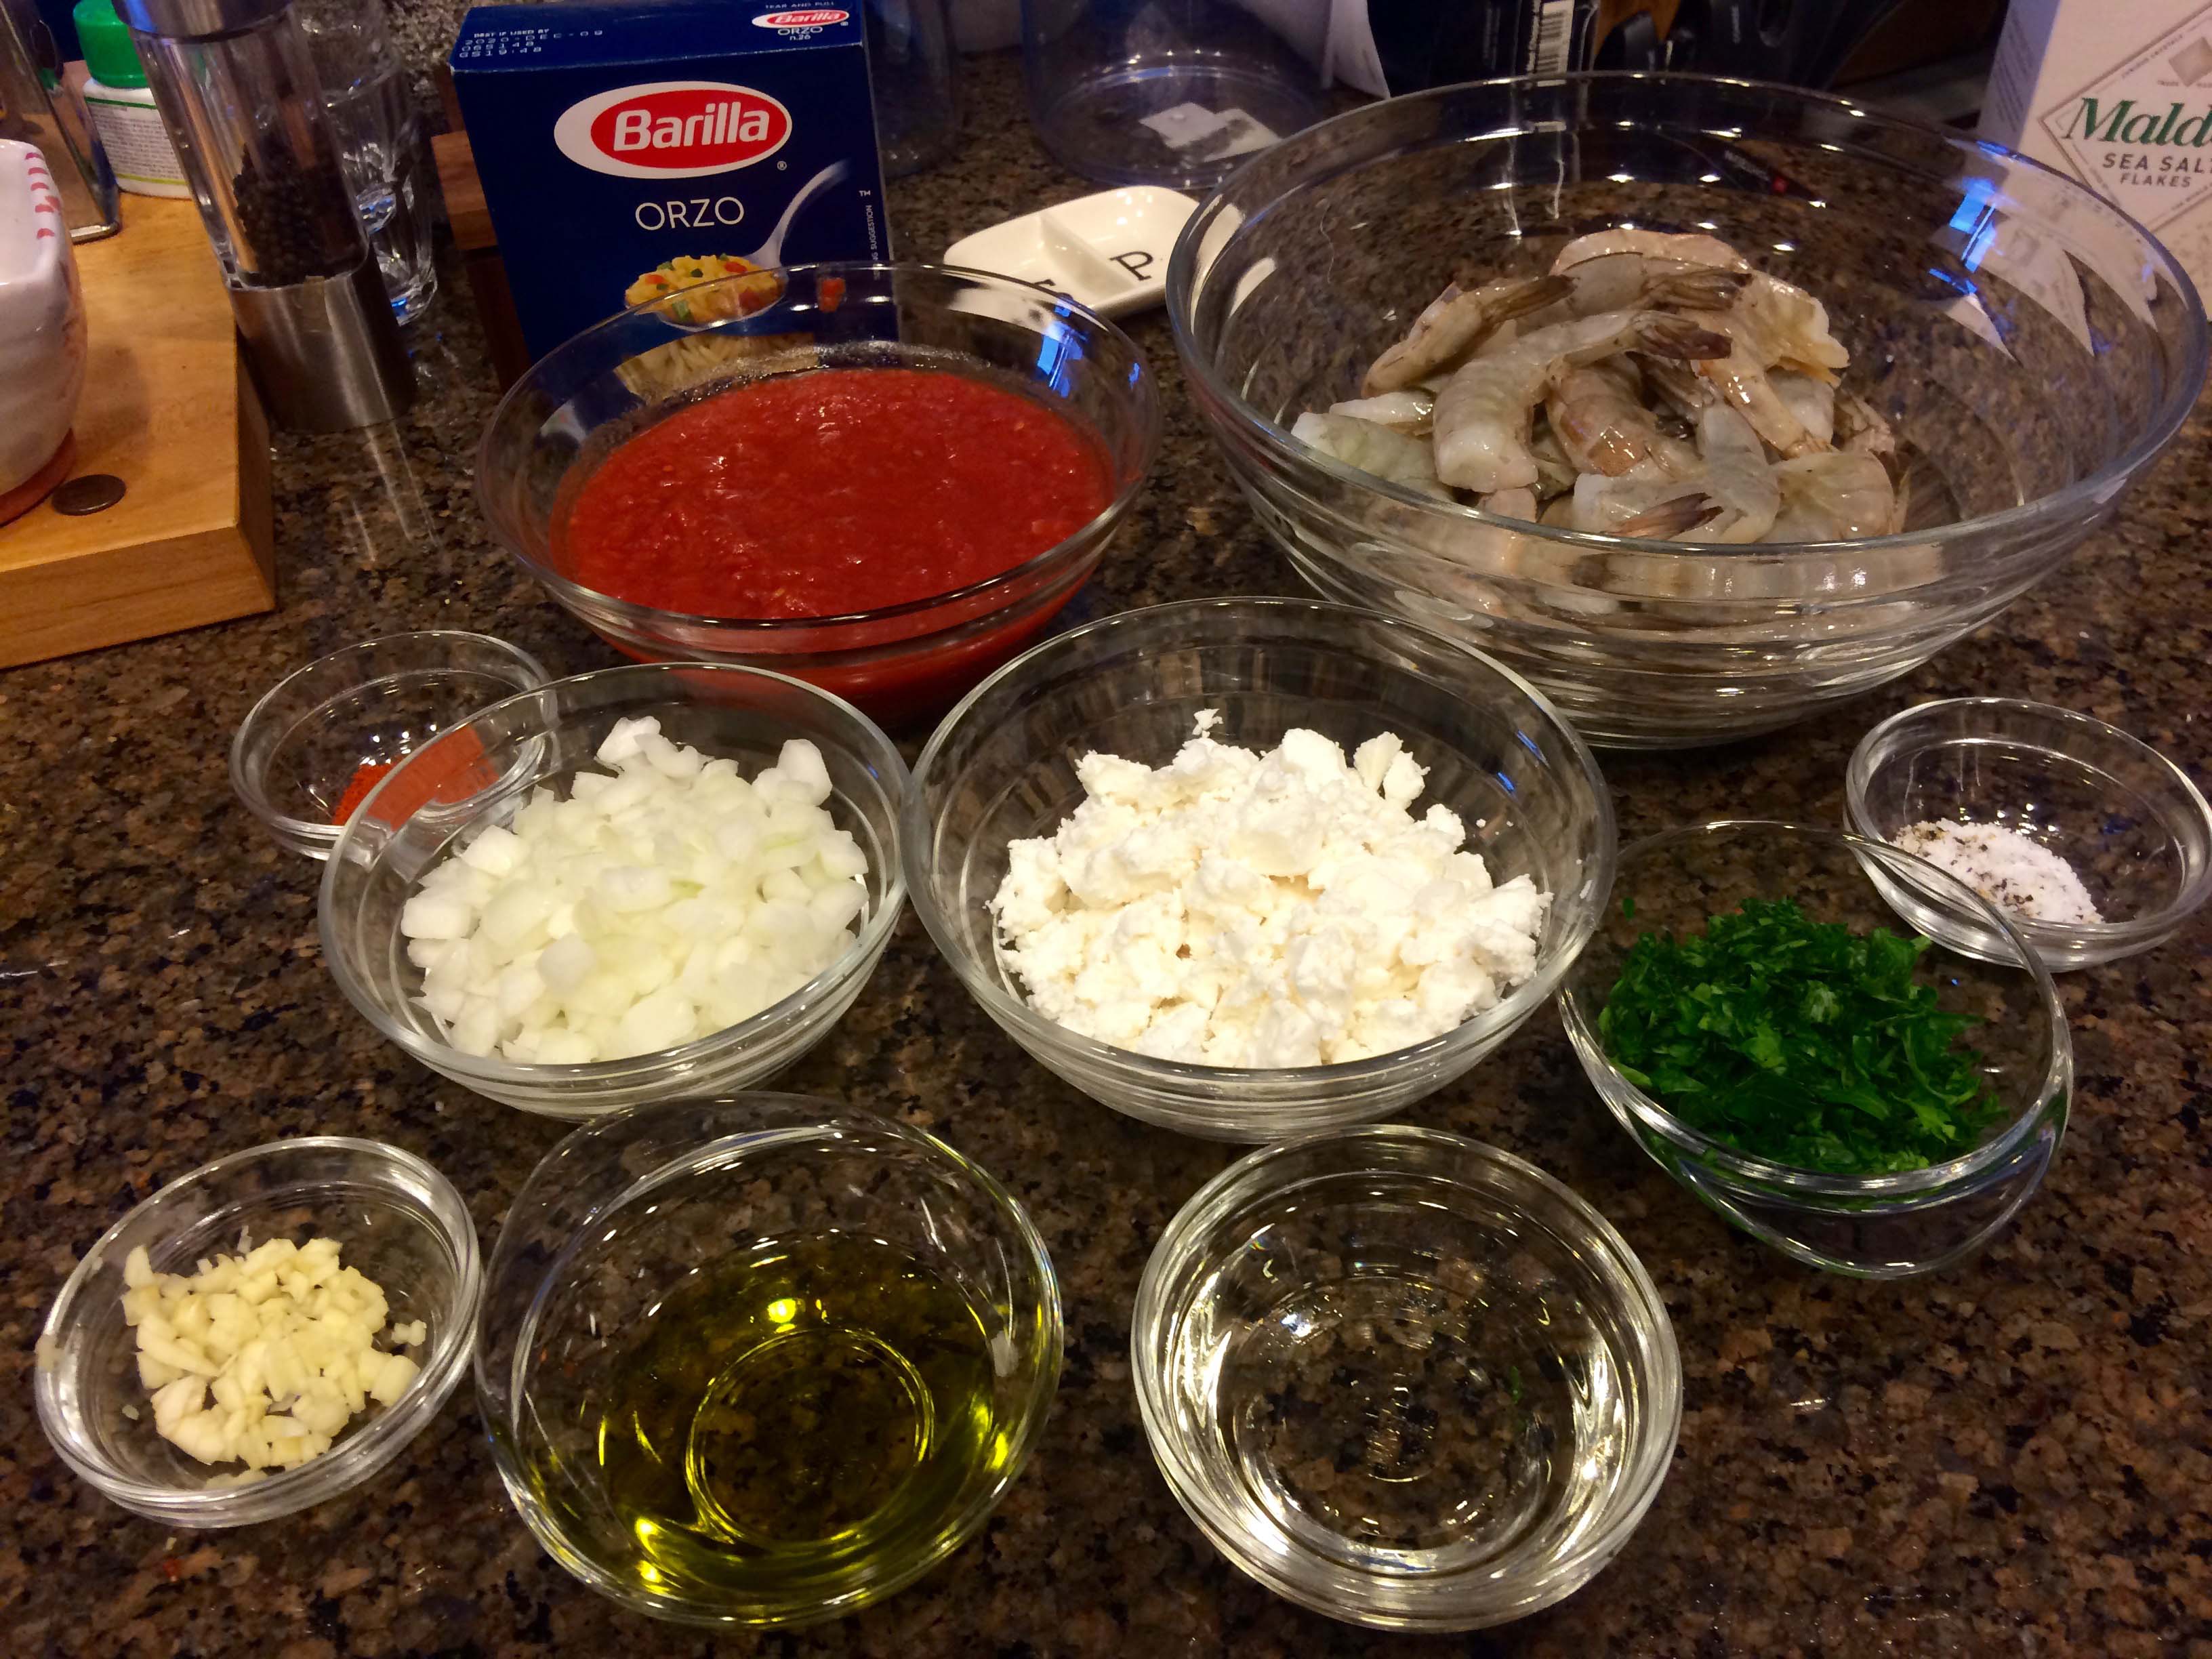
Ingredients
1/2 cup chopped onion
3 tablespoons olive oil
1 clove garlic, peeled and chopped
2 cups fresh or canned tomato sauce
1/4 cup dry white wine
1/4 cup chopped parsley
Freshly ground pepper and a dash of salt
Pinch of cayenne
1 1/2 to 2 pounds raw shrimp (about 50)
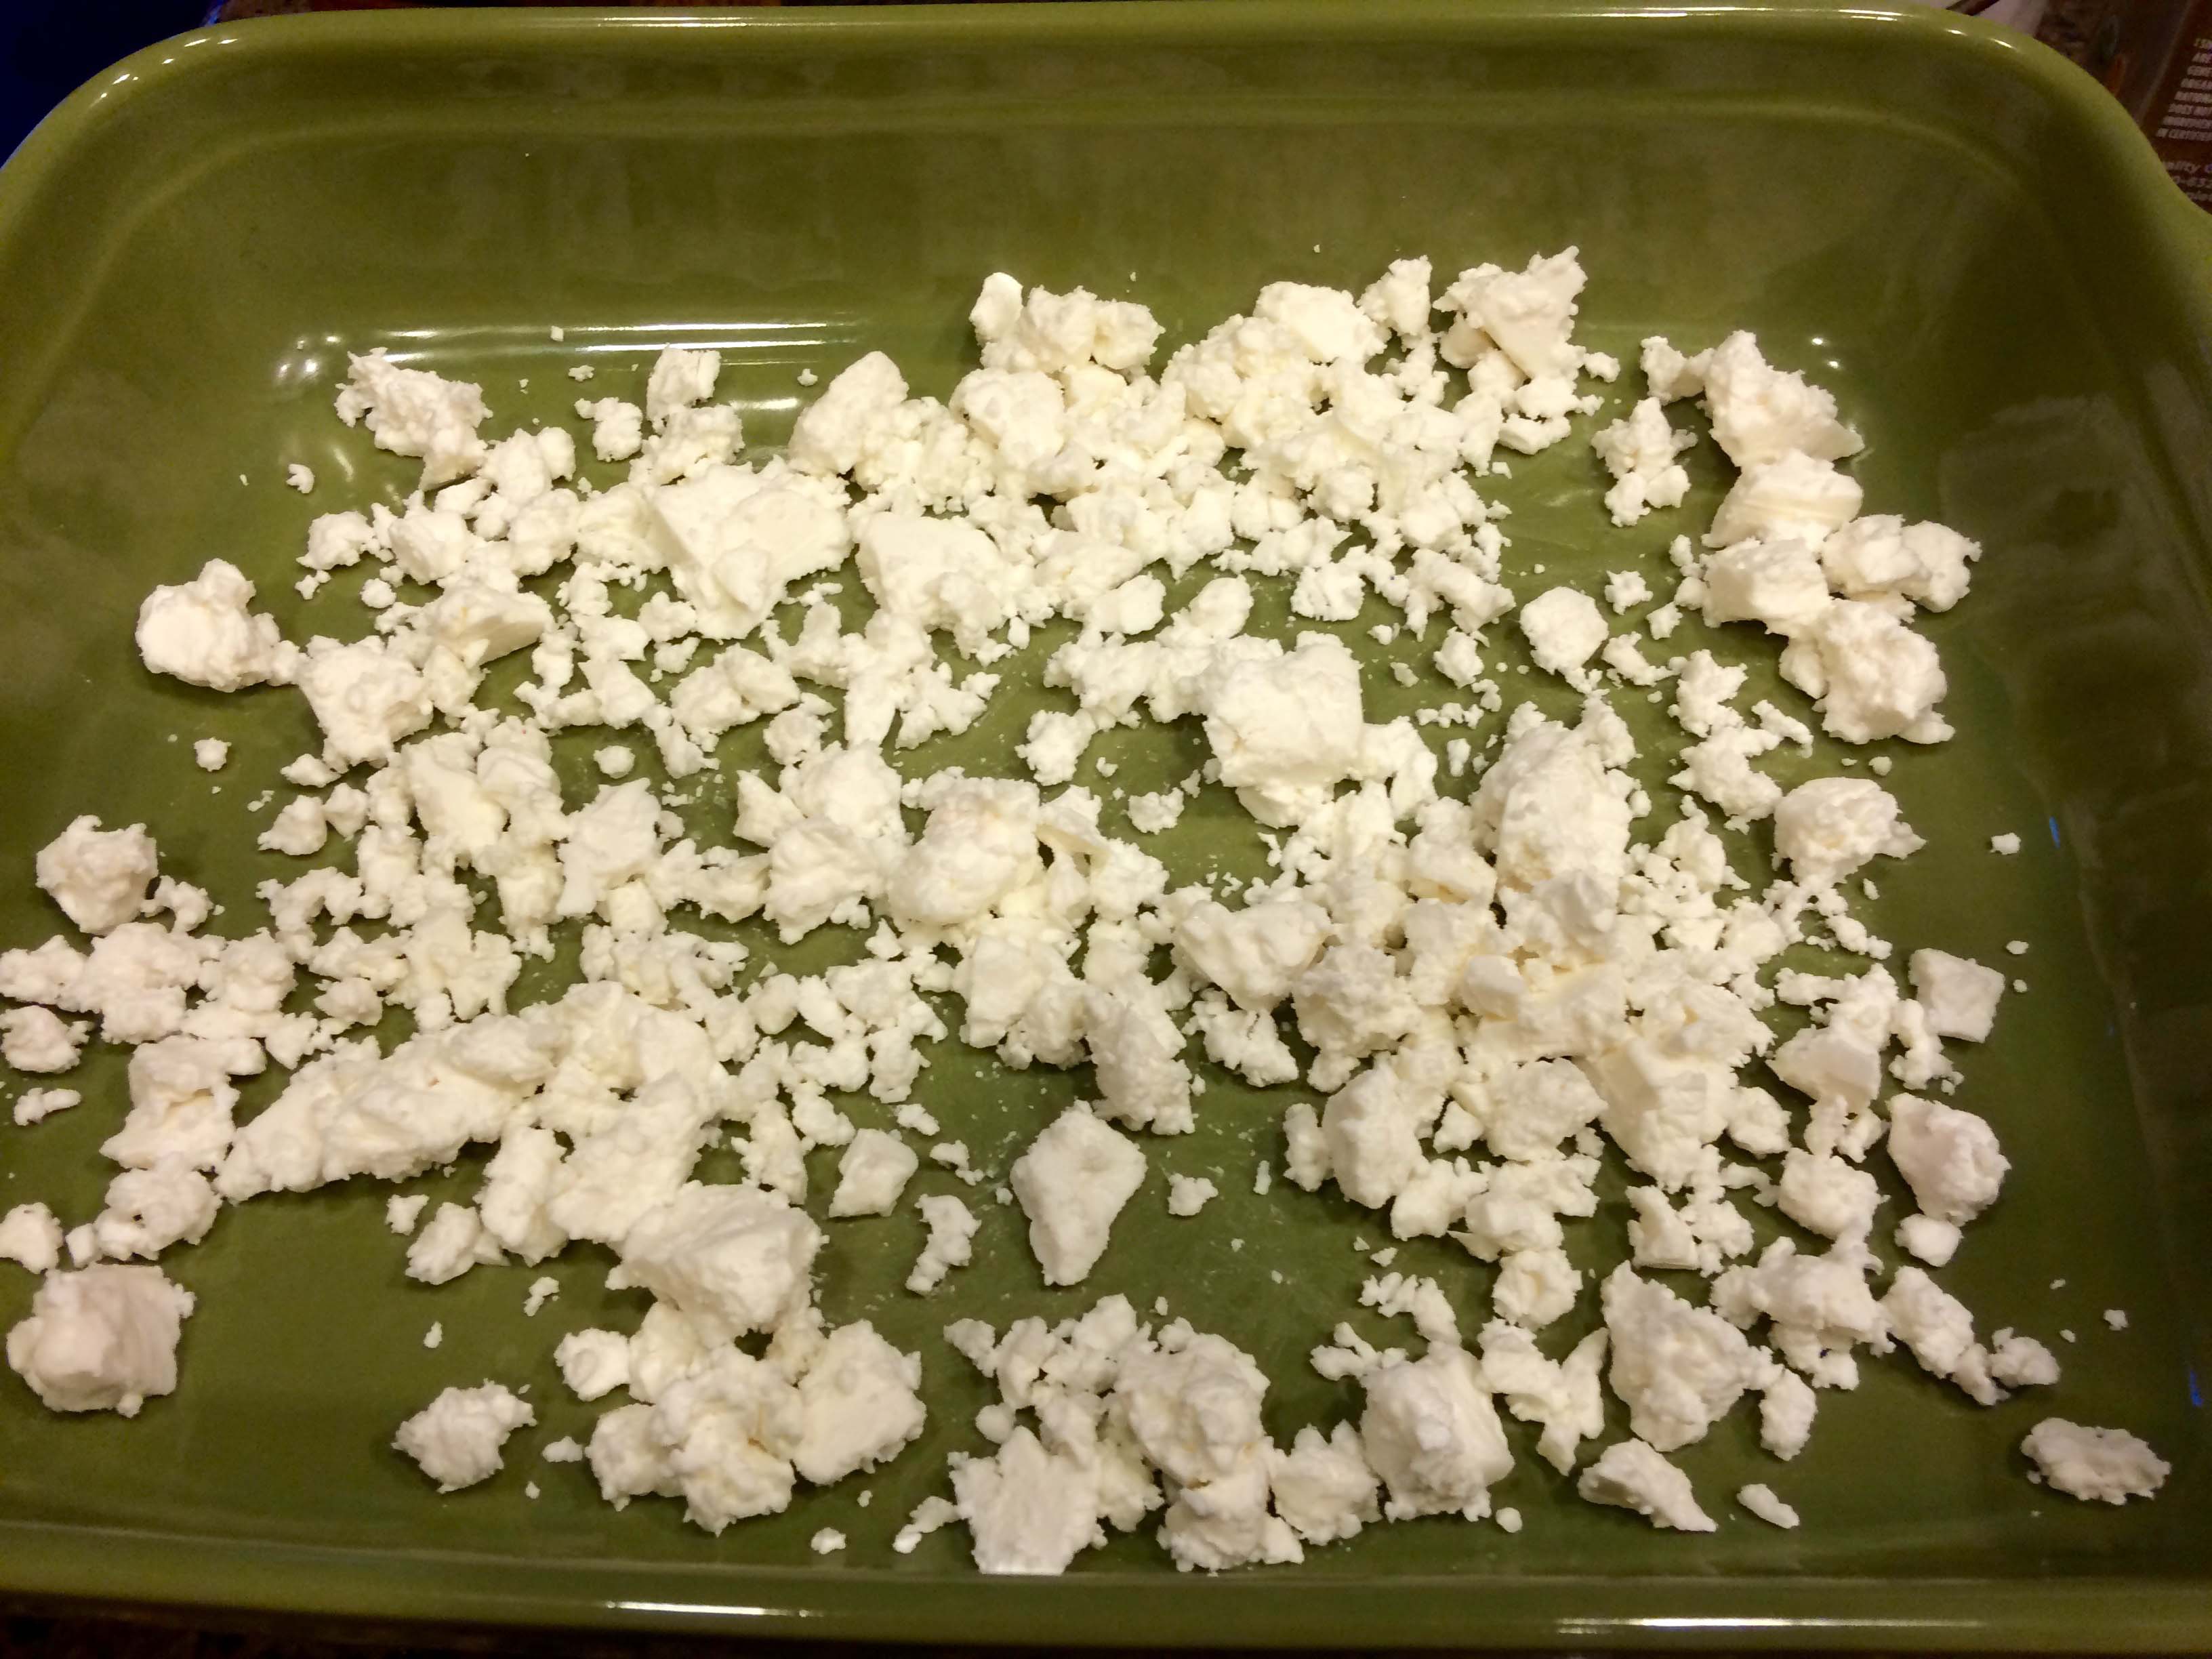
1 cup crumbled feta cheese
Preparation
1.- Preheat oven to 450 degrees. Peel and de-vein the shrimp.
2.- In a skillet cook the onions in olive oil until translucent.

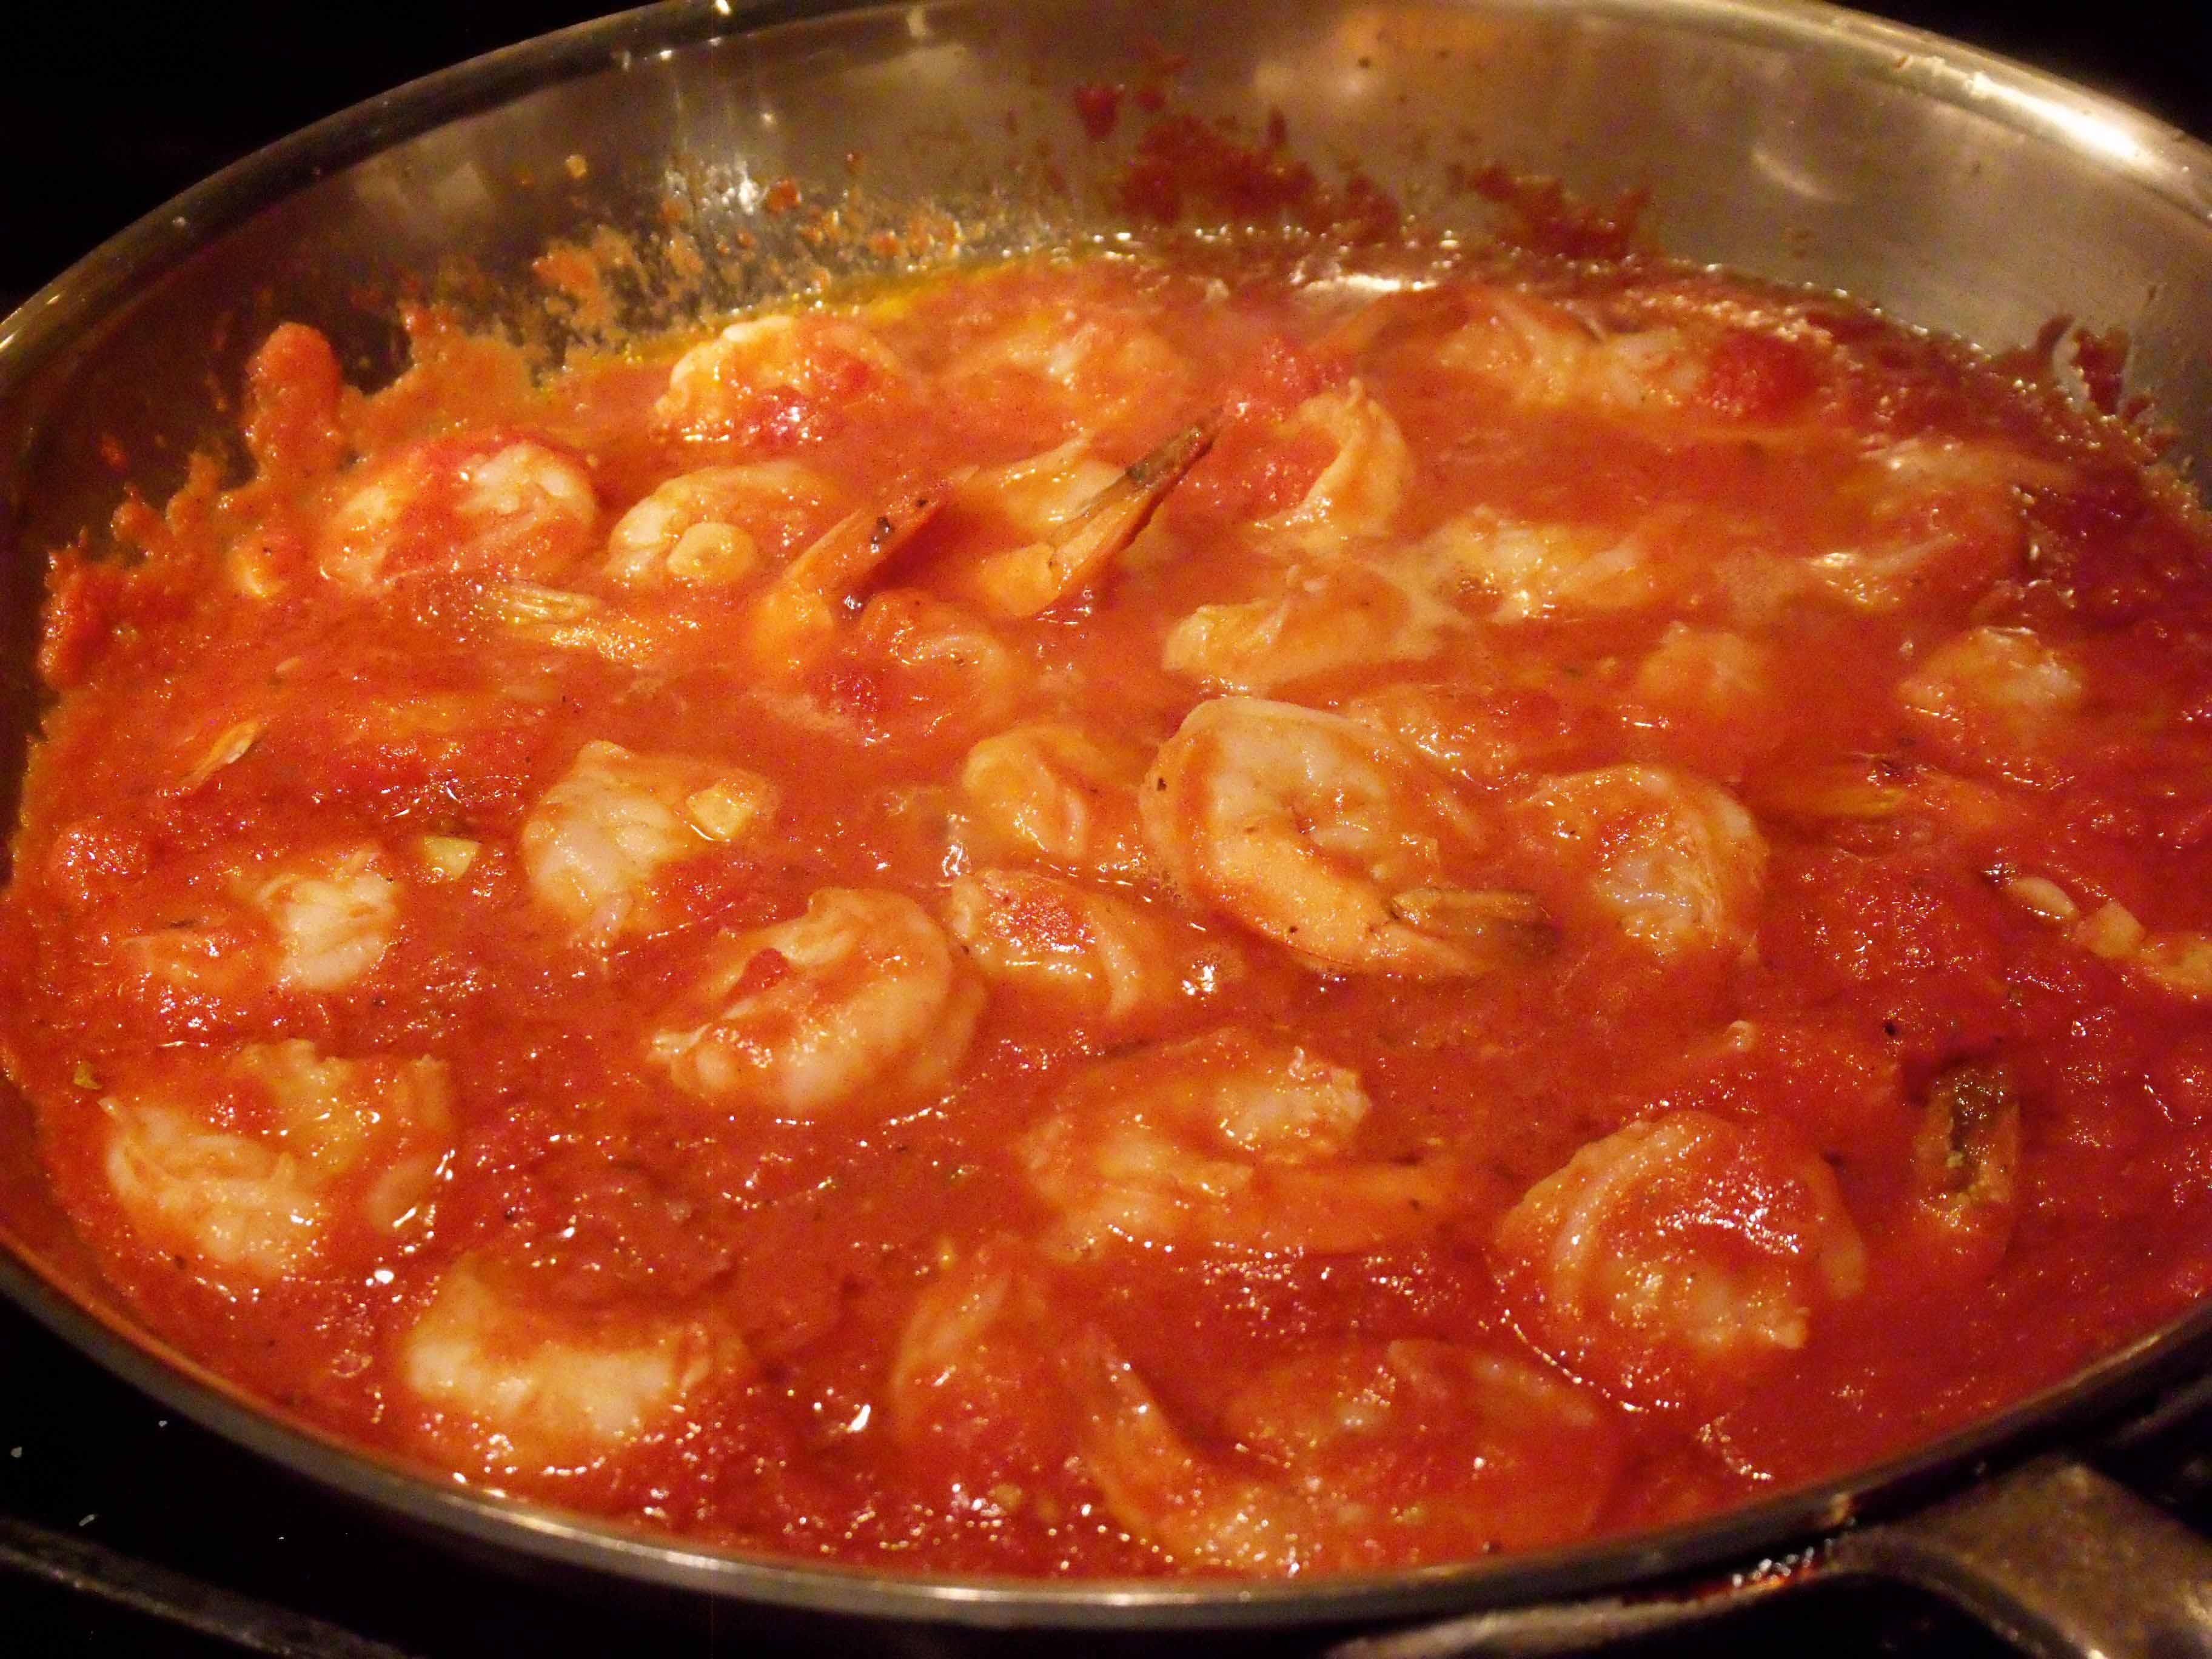
3.- Add the garlic, tomato sauce, wine, half the parsley, salt, pepper and cayenne. Simmer, uncovered, for 15 minutes, stirring often. The tomato sauce should be rather thick.

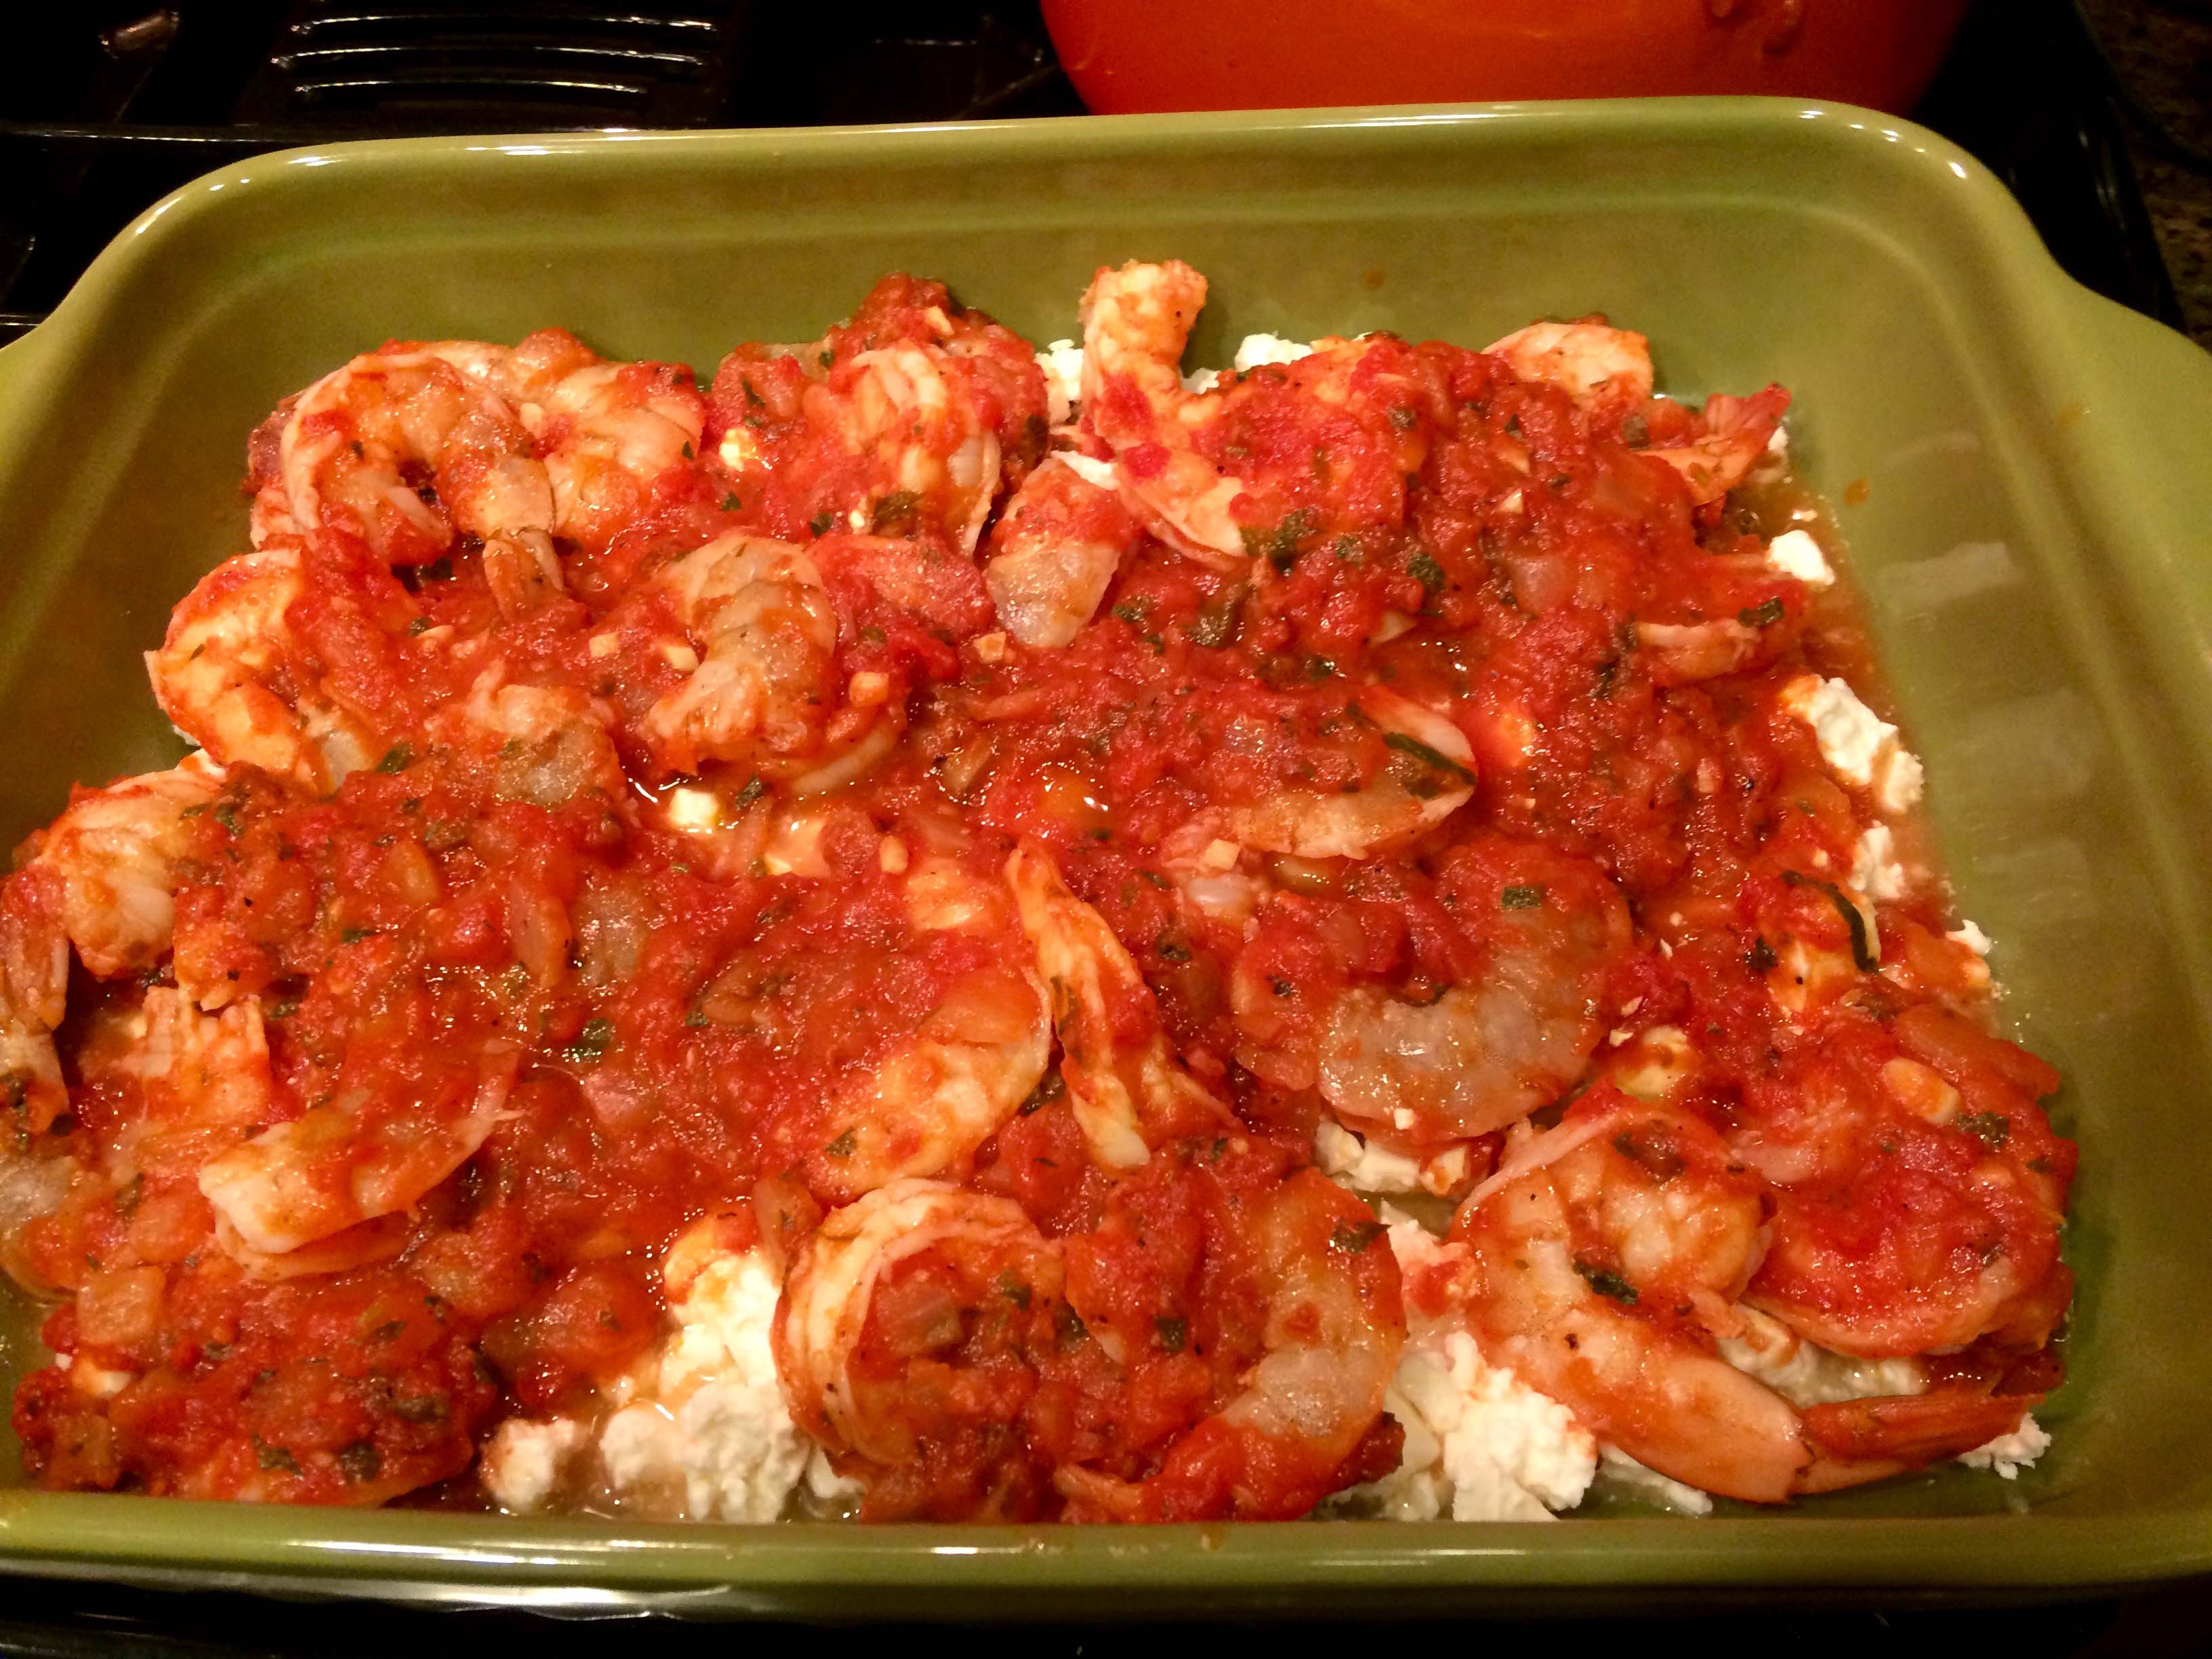
4.- Add the shrimp to the sauce and cook 5 minutes.

5.- Place the cheese in the baking dish.
6.- Cover with the shrimp and tomato sauce and set in the oven to bake 10 minutes.
7.- Sprinkle with remaining parsley and serve very hot.
Makes 4 servings.
Wine Pairing: Syrah, Rose